There’s nothing like a handmade touch to bring warmth and personality into your home.
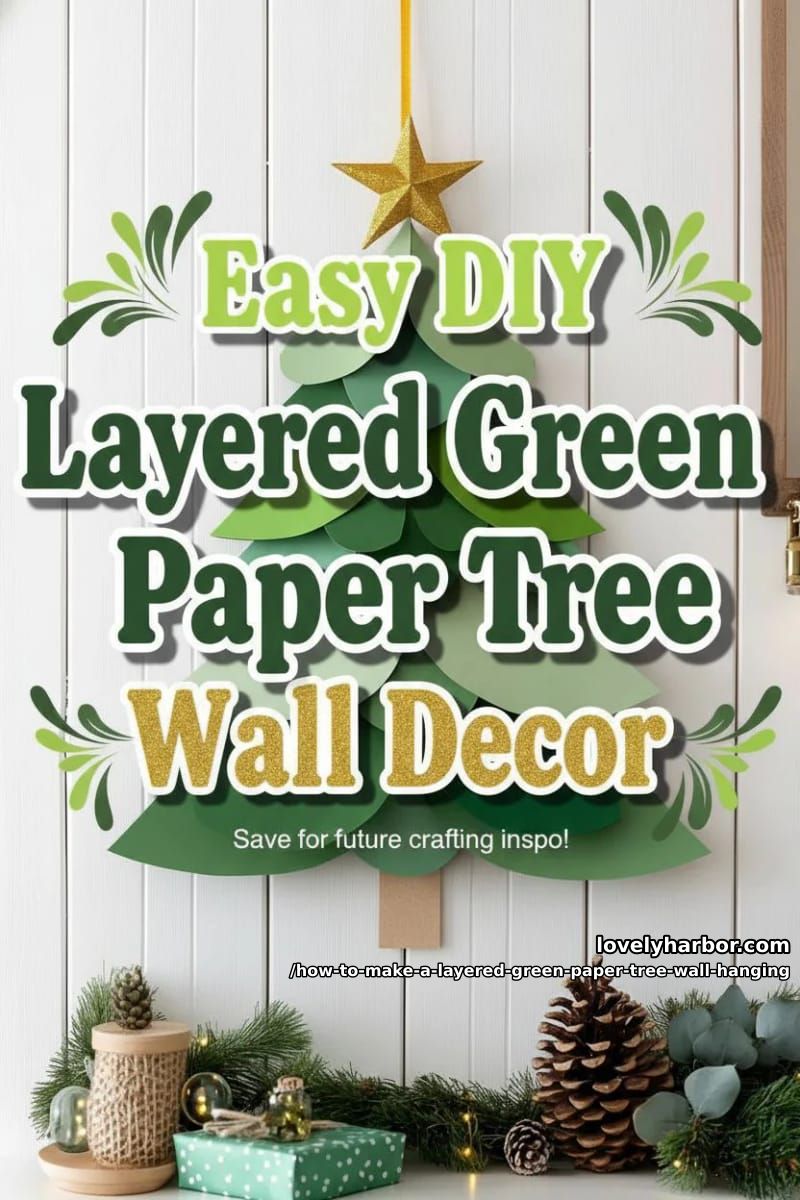
If you’re looking for a simple, budget-friendly way to decorate for the holidays (or just want a fresh, leafy accent), this layered green paper tree wall hanging is a perfect project.
It’s approachable for all skill levels, customizable to your favorite shades of green, and forgiving of little imperfections, which just add extra charm! With a few supplies and an afternoon, you’ll have a unique wall feature you can proudly say you made yourself.

Let’s dive in!
Materials You’ll Need
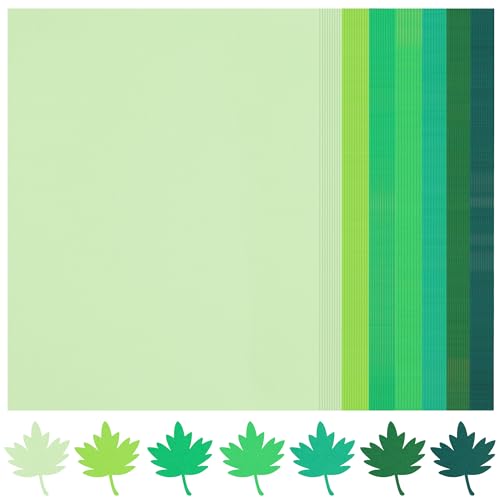
- Heavy-weight coloured paper or cardstock (3–5 different shades of green)
- Gold or metallic paper (for the star topper)
- Scissors (craft or regular, sharp enough for cardstock)
- Craft glue or clear-drying adhesive
- Ruler or straight-edge (optional for sizing layers)
- Pencil (to lightly sketch curves)
- String, ribbon, or yarn (for hanging)
- Flat backing board or large sheet of sturdy paper/card (optional, for mounting)
- Wall-safe adhesive or removable tape/hook (for attaching to your wall)
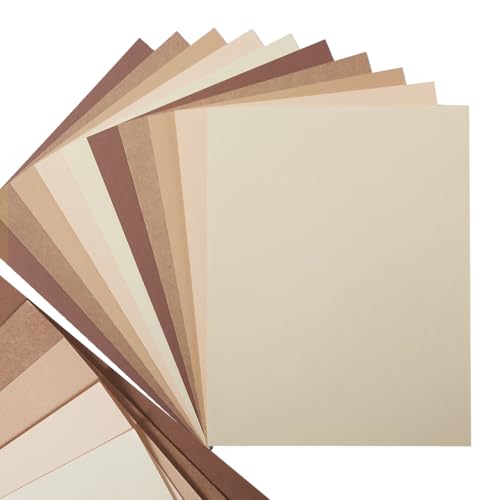
- Brown or tan paper (for the tree trunk)
- Double-sided adhesive dots (optional)
Step-by-Step Procedure
1. Select and Prepare Your Greens
Pick out 3 to 5 shades of green cardstock or heavy paper, think mint, sage, emerald, forest, or lime. The more variety, the more dimension your tree will have.
If your paper is large (like A4 or 8.5×11"), trim each sheet into a manageable width. About 6 inches wide is a good starting point for a medium tree.
Having each layer a bit smaller than the last will help create that stepped, tiered tree effect. Don’t worry about making every line perfect; a bit of variation adds to the homemade charm.
2. Cut the Layered Tree Shapes
On your darkest or largest green sheet, use a pencil to lightly sketch a gentle curved “hill” or tree tier. The base layer should be the widest. Cut along the curve to form the bottom of your tree.
Repeat with each subsequent shade, making each curve slightly narrower and shorter. Stack the pieces on top of each other as you go to check the sizing and create a tiered look.
Cut a small rectangle from brown or tan paper for your tree trunk.
3. Layer and Glue
If you’re using a backing board, start by gluing the bottom (largest) green layer first. Apply glue only along the top edge, this lets the curved bottom hang freely for a dimensional effect.
If you’re gluing directly to the wall, use small dots of removable adhesive along the top edge of each layer.
Work your way up, slightly overlapping each layer over the previous one, gluing just the top edge each time. Attach the brown trunk piece underneath the bottom green layer.
4. Make and Attach the Golden Star Topper
Cut a star from gold or metallic paper, about 2 to 3 inches wide for a medium tree. You can freehand the star or trace a cookie cutter or template.
Glue the star at the very top of your tree, either to the topmost green layer or just above it on the backing board/wall.
If you want extra dimension, attach the star with a little foam tape.
5. Attach Hanging Hardware
If you mounted your tree on a backing board, attach string or ribbon to the top corners and hang it using a removable wall hook.
For trees built directly on the wall, use wall-safe adhesive strips behind the top and middle layers to keep everything secure and flat.
Double-check that your tree is level and centered in your chosen spot before pressing everything firmly in place.
6. Finishing Touches
Step back and see if each green layer is visible. If needed, gently adjust the overlapping to showcase every tier.

Feel free to add extras, small paper “ornaments,” colorful pom-poms, or even a string of battery-powered fairy lights tucked between layers for sparkle.
Let all glue dry completely (at least 30–60 minutes) before hanging or moving your tree to avoid any slipping.
Tips for a Successful DIY Project
- Use heavy cardstock, not thin printer paper, for crisp layers that lay flat and hold their shape.
- Pick a mix of green tones for a dimensional, eye-catching effect.
- Don’t stress about perfectly even curves, irregular edges add a handmade, whimsical touch.
- Lay your layers out on a table before gluing to get the spacing and order just right.
- If kids are helping, assign them bigger, simpler cuts and gluing tasks, and handle the star and mounting yourself.
- For uneven walls, use a poster board as a sturdy backing for a neater finish.
Common Mistakes to Avoid
- Gluing the whole surface of each layer flat, just glue the top edge for a tiered look.
- Using very thin paper, which curls and looks messy, stick with thicker paper or cardstock.
- Cutting all layers the same size or using greens too similar in shade, the tree will look flat and less interesting.
- Hanging up before glue dries, layers can slip or sag if not set.
- Placing your tree in direct sunlight or a humid spot, paper can fade or warp.
Safety Precautions
- Always cut away from your body and keep fingers clear of scissor blades, especially with kids helping.
- Use non-toxic, child-safe glue and ventilate your workspace if using stronger adhesives.
- If reaching high on the wall, use a stable step-stool or ladder on a flat surface.
- Make sure your hanging hardware is secure to prevent the decoration from falling, especially if it’s above furniture or in a high-traffic area.
Enjoy Your Space-Saving Unique Christmas Tree!
Making your own layered green paper tree wall hanging is a rewarding way to bring holiday spirit, and a little bit of your own creativity, into your home.

It’s easy, affordable, and fun for the whole family. Plus, it’s a unique piece you’ll be proud to hang up year after year.
Give it a try, and don’t forget to share your finished masterpiece with friends or on social media, then don't forget to tag us! For more simple DIY decor projects and ideas, check out our website. Happy crafting!
Related Posts
- Paper Christmas Decorations
- How To Make Stacked Button Christmas Trees
- Christmas Craft Decorations
- Natural Christmas Decor
- Homemade Christmas Decorations


