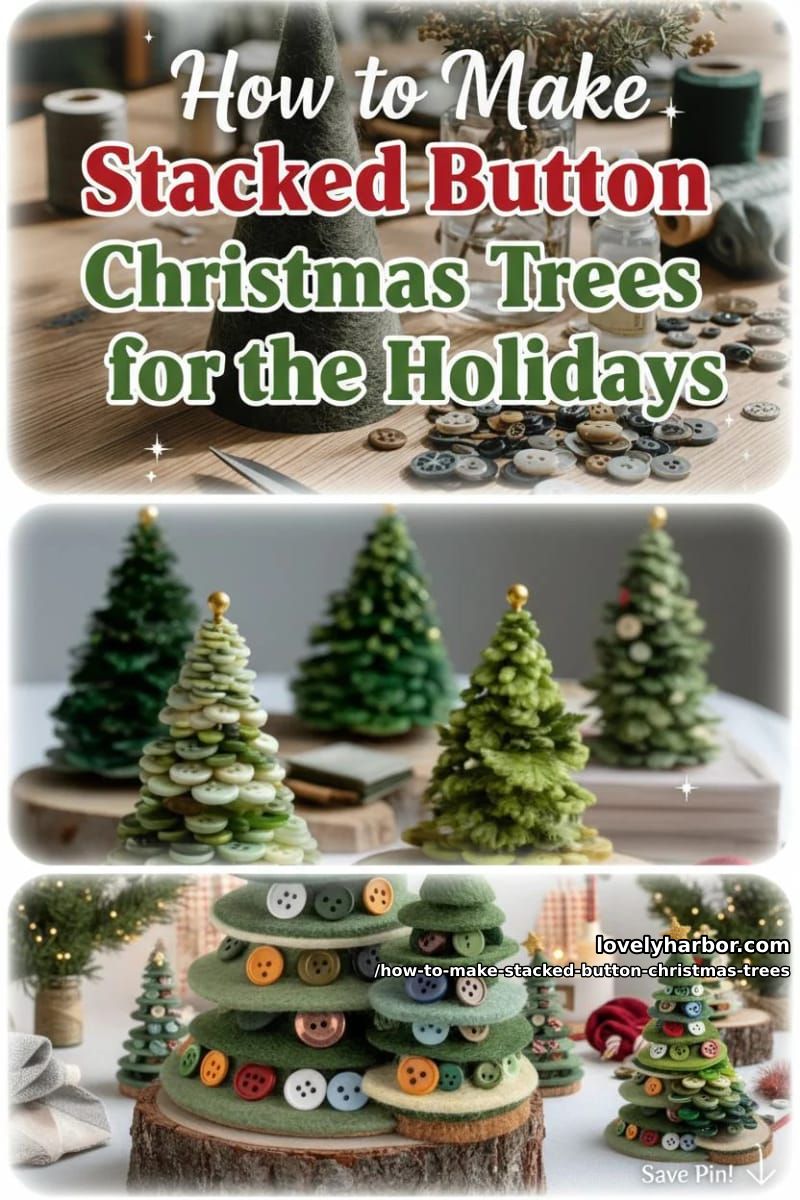
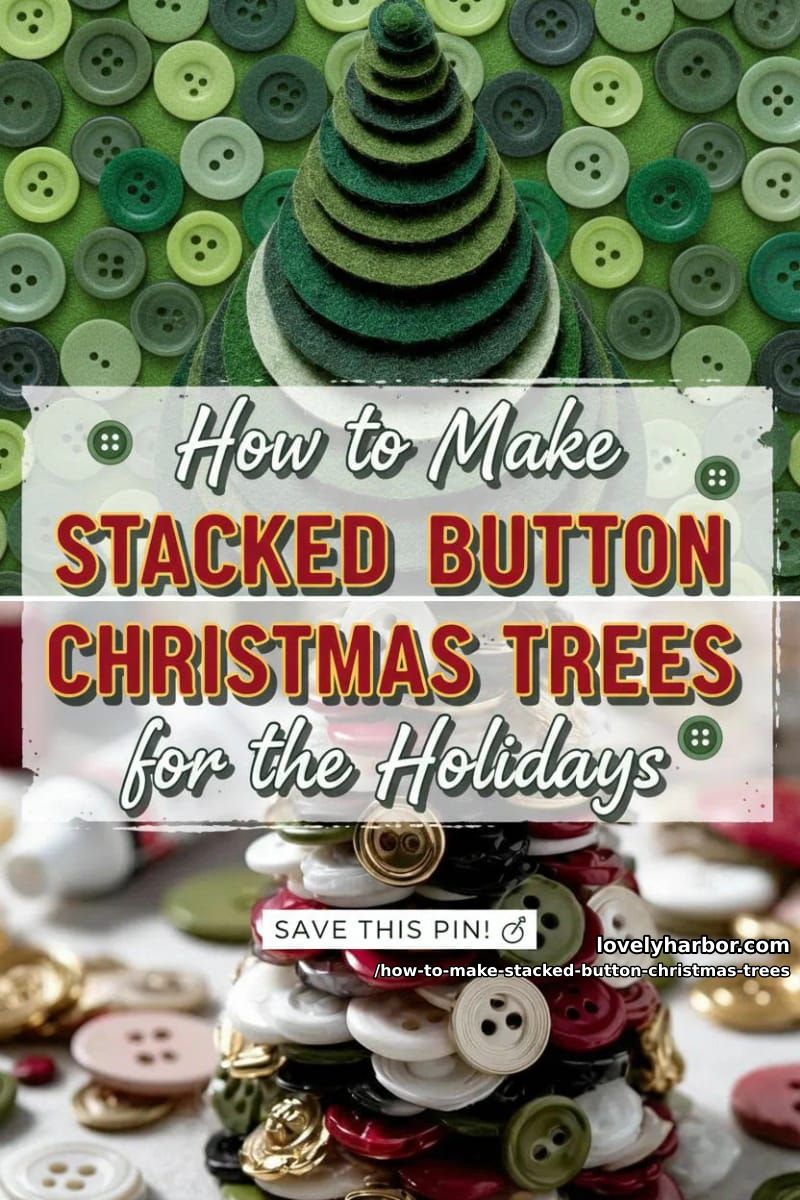
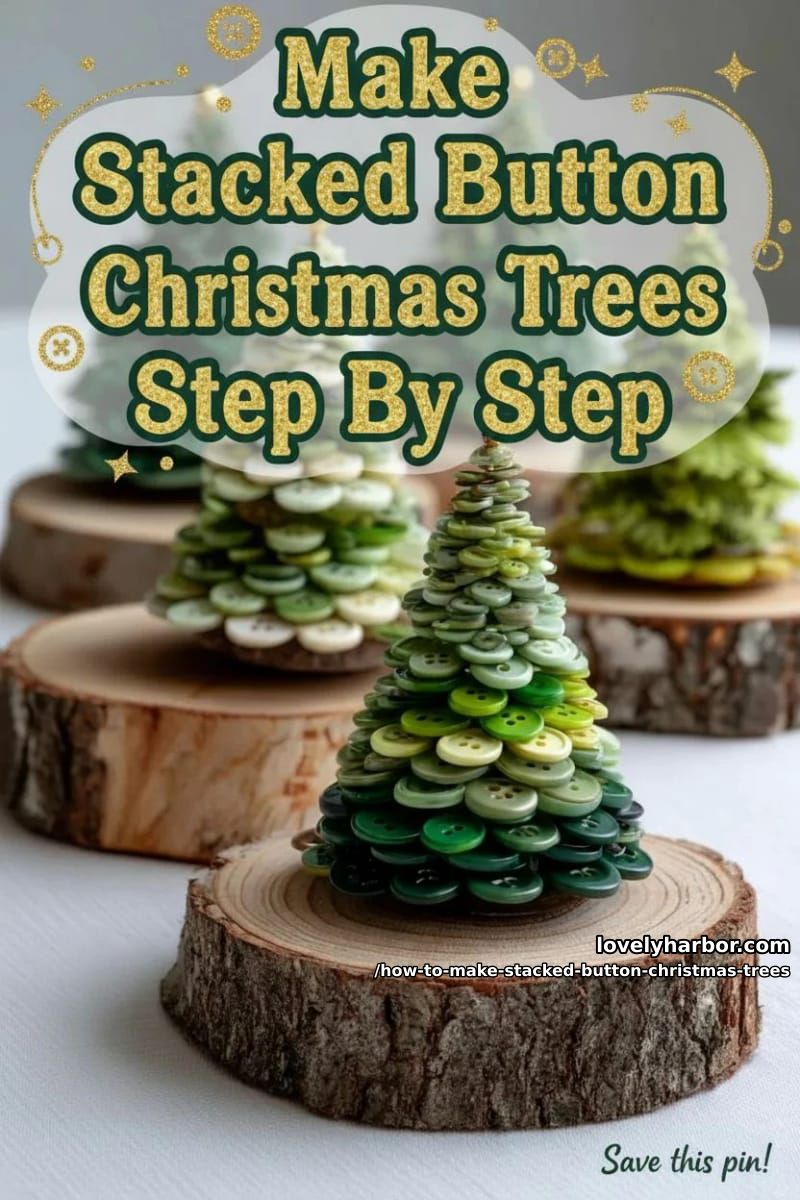
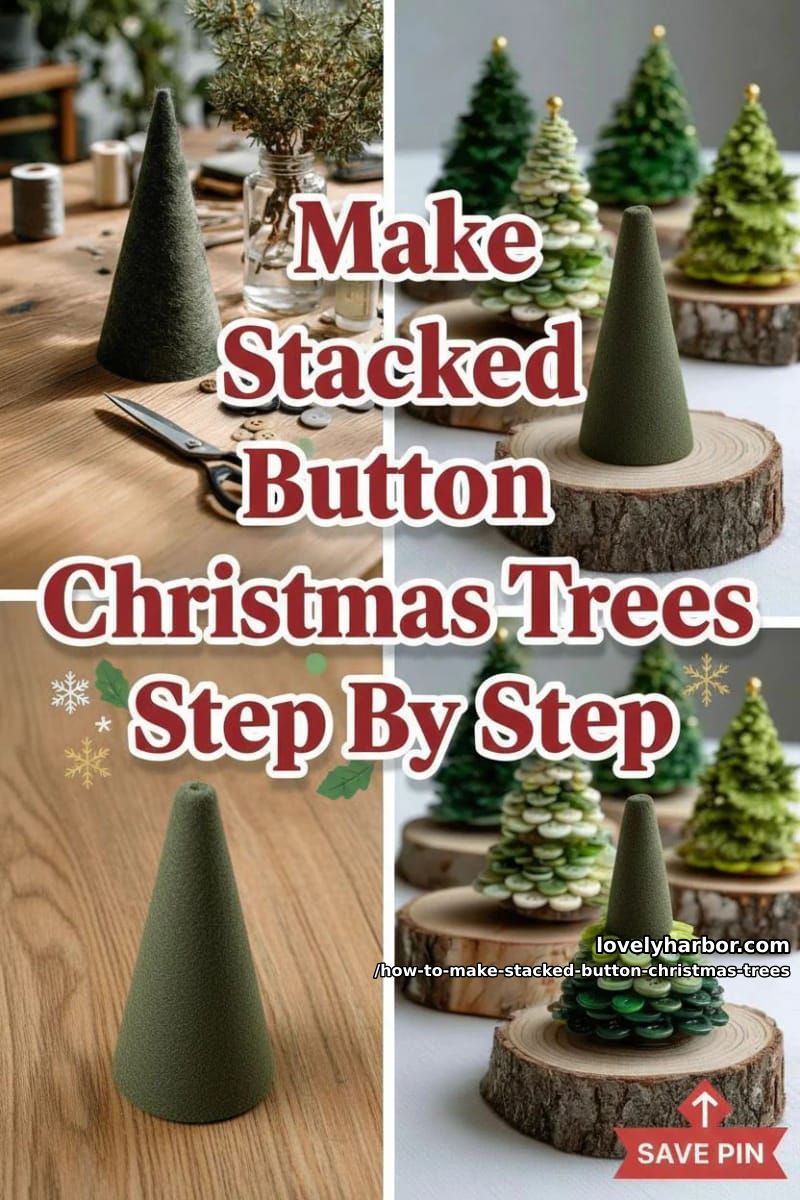
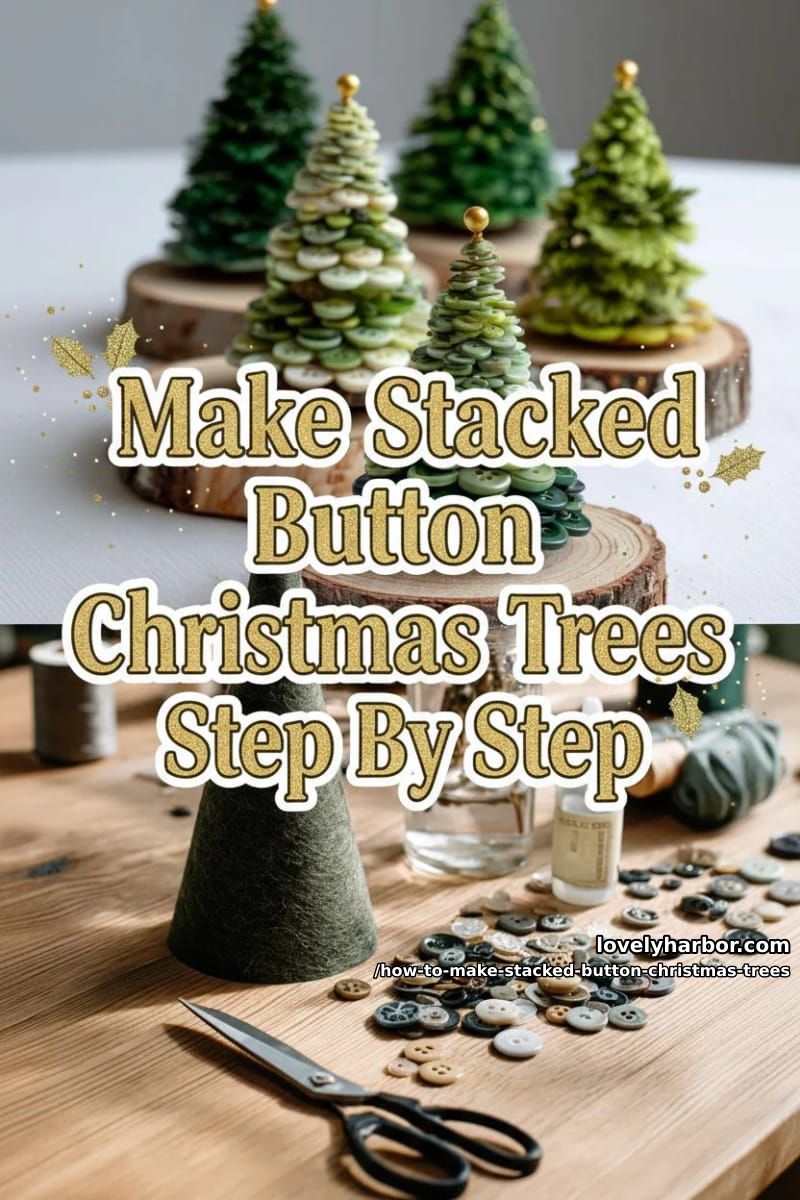
Looking for a festive, crafty way to decorate your home this holiday season? Stacked button Christmas trees are a delightful project you can make with simple materials, and they look absolutely charming displayed on shelves, mantels, or as a sweet handmade gift.
Whether you’re a beginner or a seasoned crafter, these miniature trees are easy to assemble and offer lots of room for creativity.
In this guide, you’ll learn two approachable methods for making stacked button Christmas trees: one uses a foam cone and overlapping buttons for a crisp, conical look, and the other stacks button-embellished fabric discs on a sturdy central rod for a soft, modular style.
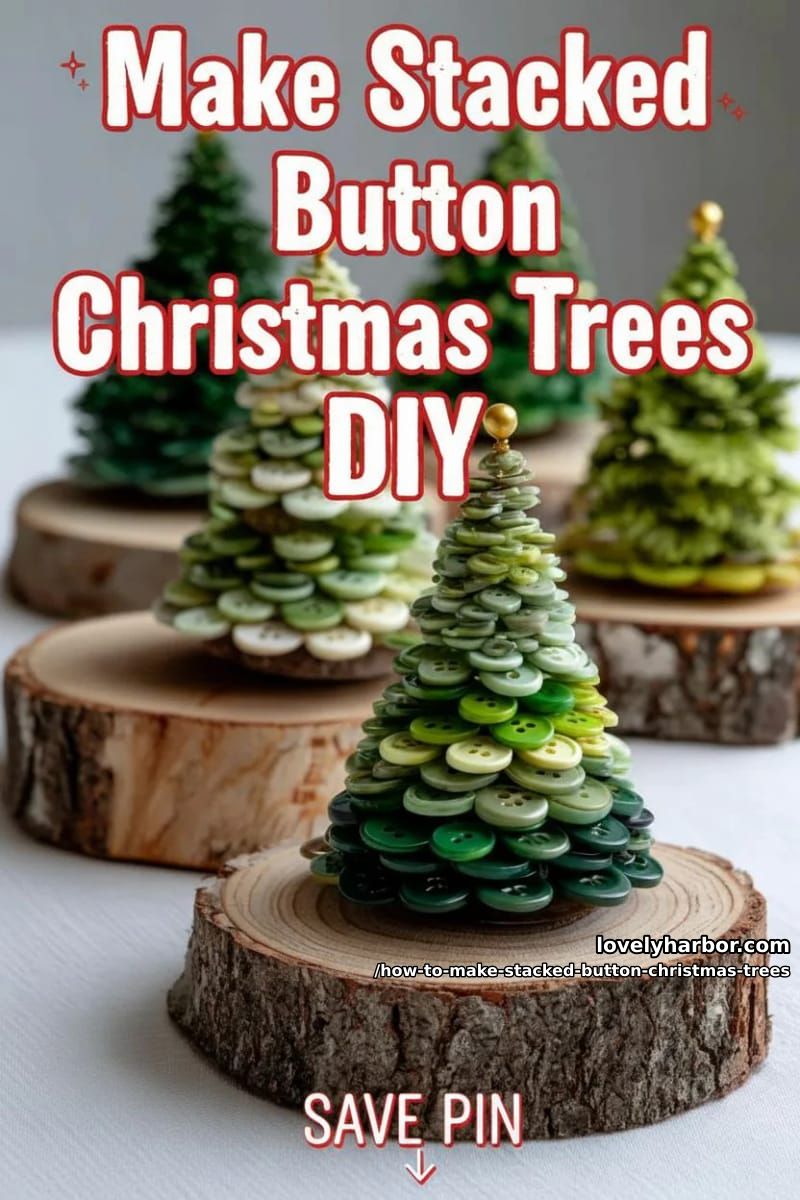
Both techniques use mostly items you likely have at home or can easily find, so you can jump right in and start crafting!
Materials You’ll Need
For Foam Cone Button Trees
- Dense foam cone (green or black, about 3–8 inches/8–20 cm tall)
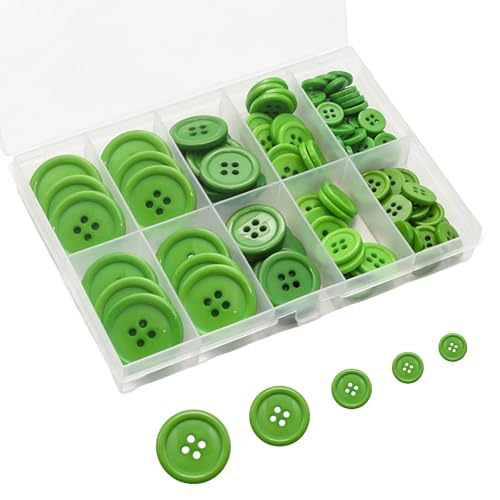
- Small green buttons (sizes 6–14 mm, sorted largest to smallest)
- Foam-safe glue (tacky glue, thick/gel cyanoacrylate, or low-temp hot glue)
- Awl or T-pin, fine tweezers, toothpicks
- Dark felt or acrylic paint (optional, for covering the cone)
- Scissors
- Matte clear spray (optional, for sealing)
- Wood slice for the base + toothpick or skewer for mounting
- Bead or tiny star for the tree topper
For Stacked Fabric Disc Trees
- Felt or sturdy fabric in green shades
- Fusible interfacing (for stiffness)
- Circle templates or compass, scissors or rotary cutter
- Small green buttons, needle, strong polyester thread
- Central spine: receipt desk spike, or M4/M5 threaded rod with washers and acorn nut
- Spacers: small felt/cardboard washers (or foam)
- Wood slice for the base; epoxy or nut/washer to secure rod
- Bead or cap for the topper
Method 1: Foam Cone with Overlapping Buttons
Prepare the Cone
To keep your tree looking sharp and free of visible gaps, start by covering your foam cone.
Either wrap it in a layer of dark felt, gluing the seam neatly at the back, or paint it with dark acrylic paint and let it dry completely.
This background will help any small spaces between buttons blend in.

Mount the cone upright by sticking a toothpick or skewer into the base, then glue the bottom of the cone to a wood slice for stability.
Let this dry before you move on, so your tree stands firm while you work.
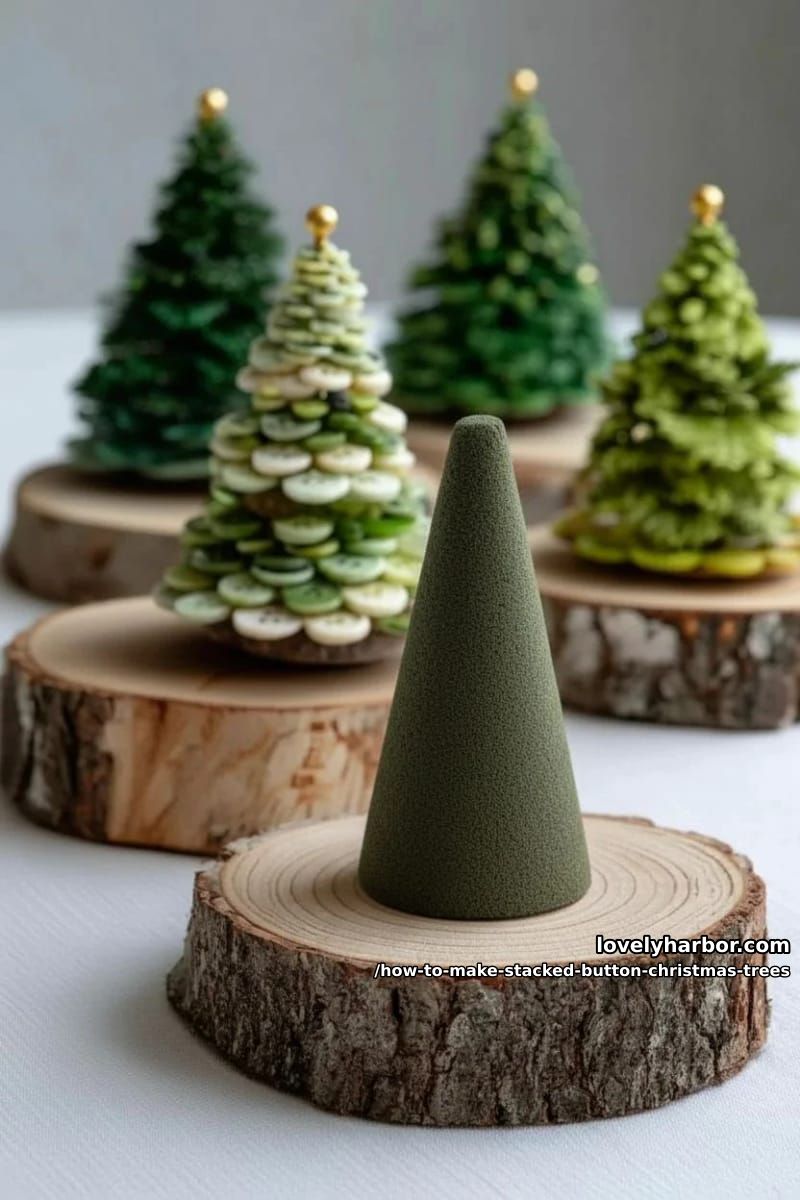
Mark Guide Rings and Make Pilot Holes
Use a pencil to lightly draw guide rings around the cone, spacing them about 8–10 mm apart. Make the rings a bit closer together near the top for a natural taper.
Along the bottom ring, use an awl or T-pin to poke shallow holes at a 30–45 degree downward angle, spaced so your buttons will overlap like shingles.
This step helps keep the rows even and makes it easier to place each button.
Glue and Place the Buttons
Start with your largest buttons for the bottom row. Put a tiny dot of foam-safe glue near the inner edge of each button, the side that will touch the cone.
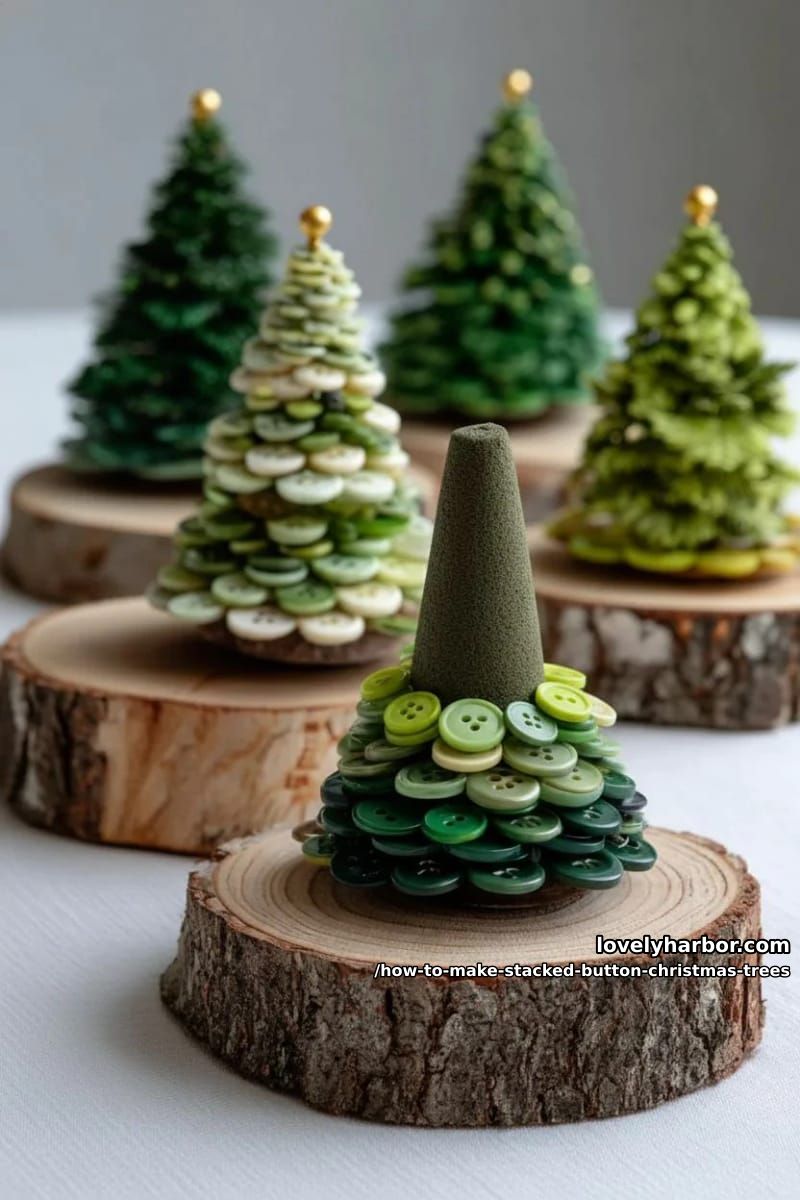
Using tweezers, press each button into a pilot hole so the outer edge sticks out, overlapping the button next to it.
Hold each button a few seconds to set, and continue all the way around.
Build the next rows by moving up to the next guide ring and using slightly smaller buttons.
Place each button so it sits between two in the row below, creating a staggered "brickwork" look. Continue up the cone, switching to your smallest buttons near the top.
Fill any tiny gaps with the smallest buttons you have for a polished finish.
Add the Topper and Finish
Glue your chosen bead or tiny star to the very top of your tree.
If you like, add a light spray of matte clear sealer to even out the sheen and help everything stay put.
For any tricky buttons that won’t stay glued, you can gently push a short sequin pin through a buttonhole for extra hold.
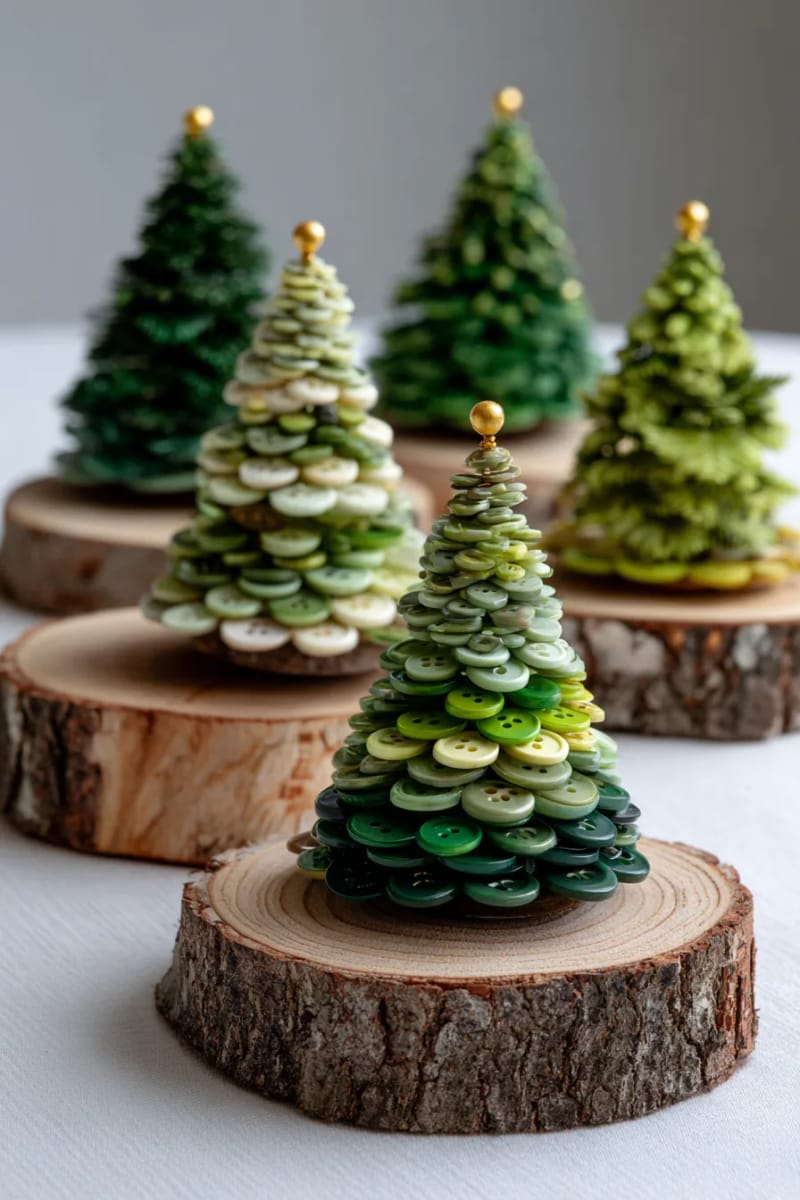
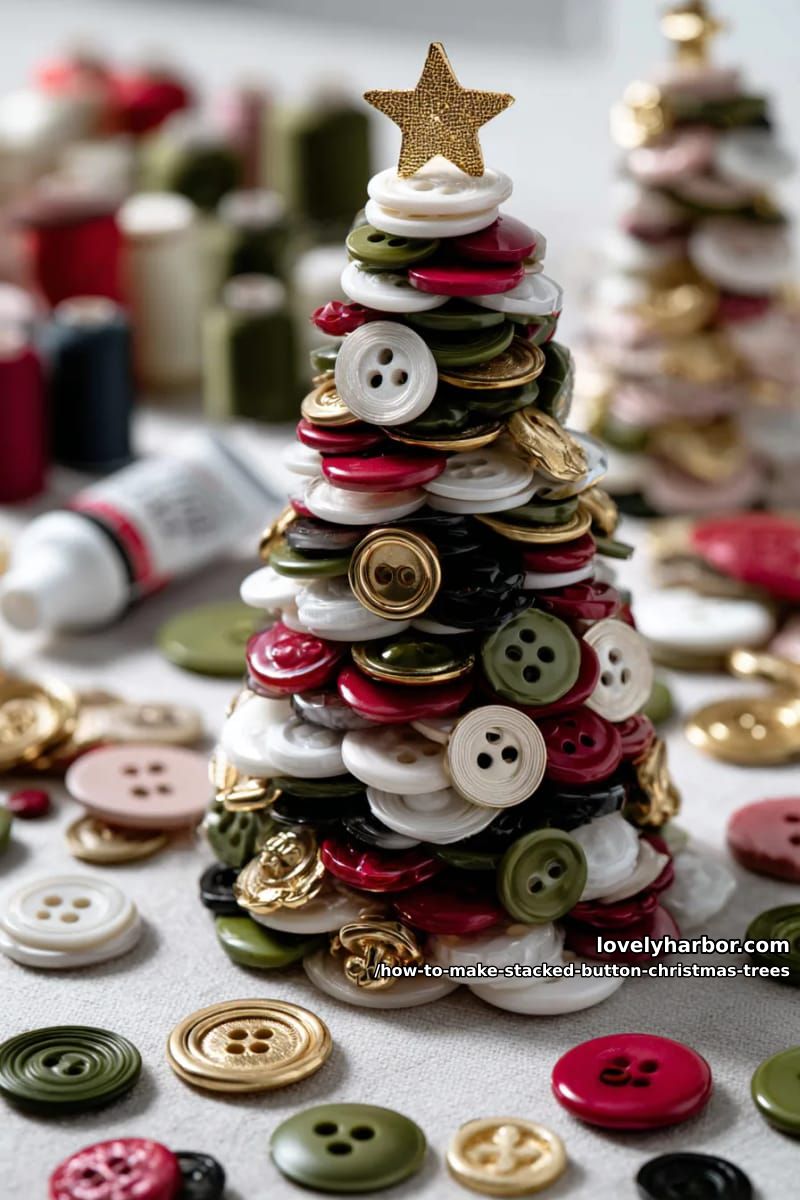
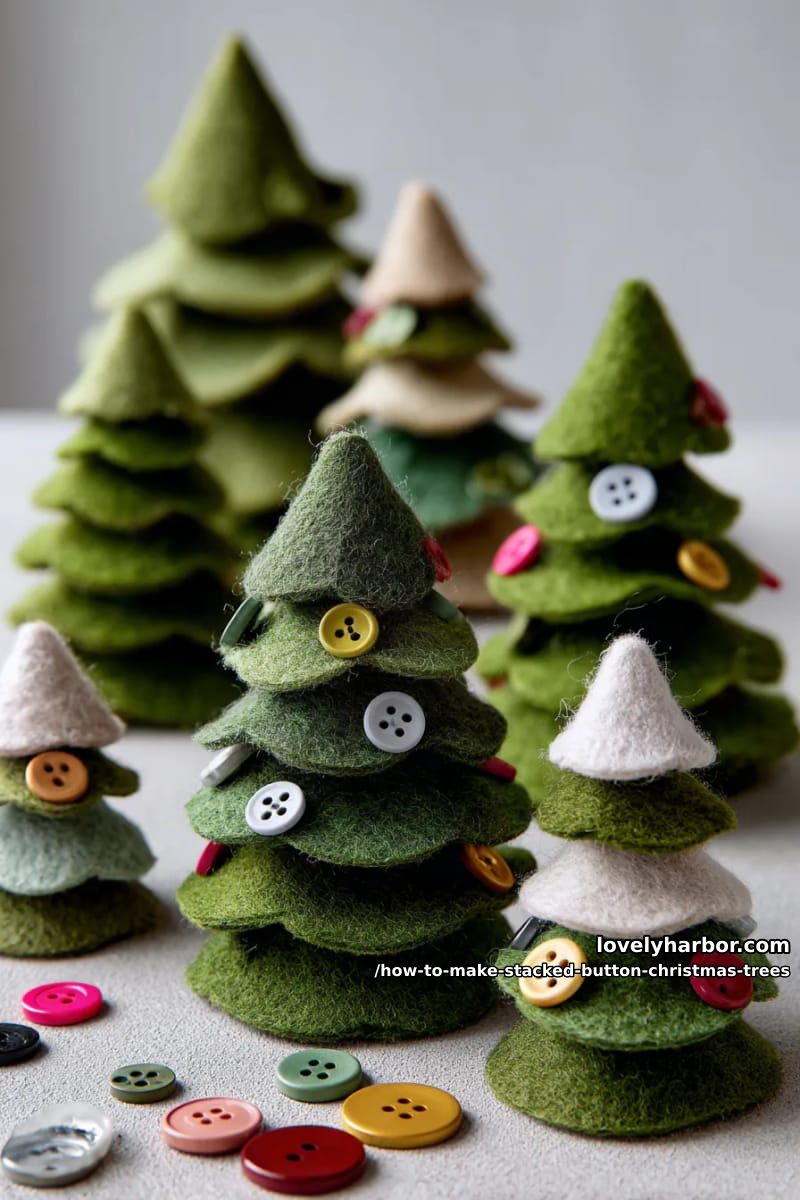
You can make those trees with very different styles, like the one below.
- Use foam-safe glue only, solvent-based glues can melt the foam.
- Work slowly and let each row dry a bit before moving up to avoid shifting.
- If a button pops off, add a little more glue and hold it in place with a pin while it dries.
Method 2: Stacked Fabric Discs with Buttons
Cut and Stiffen the Discs
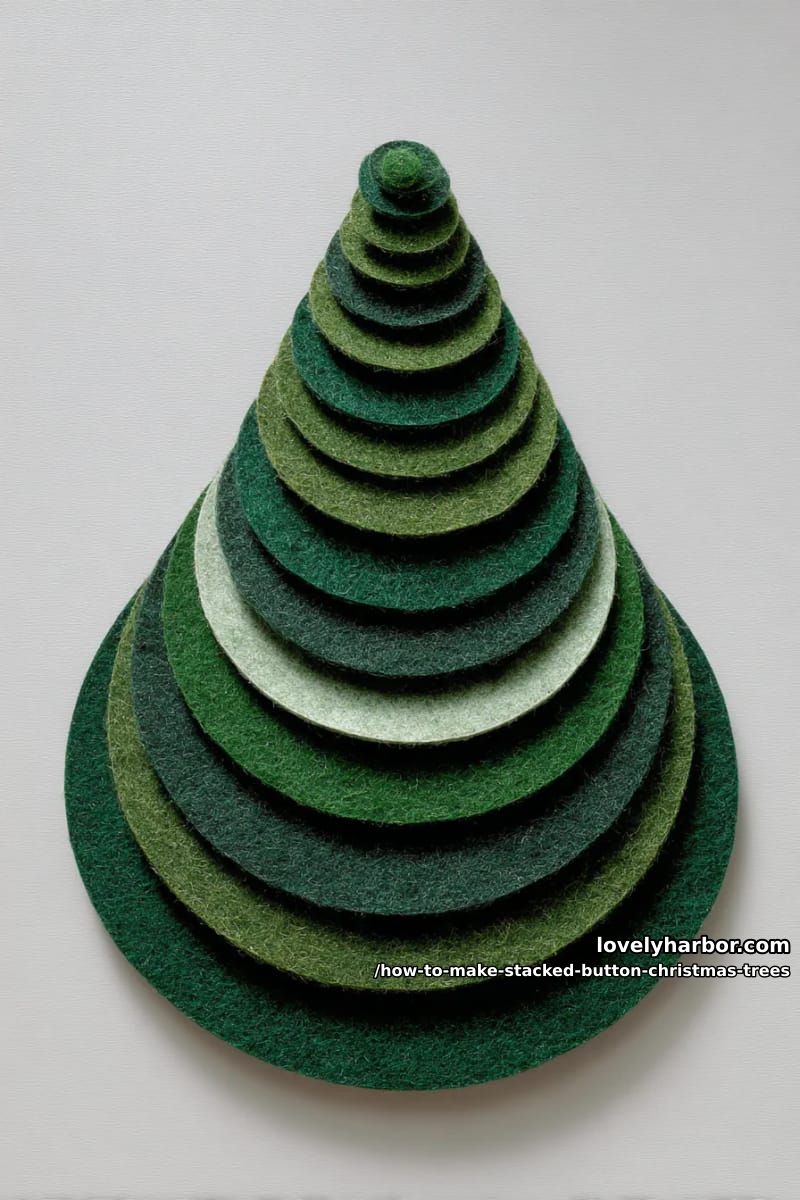
Decide how tall you want your tree, then cut about 10 to 14 circles from felt or sturdy fabric, starting with the largest (around 9–12 cm) and decreasing each by about 0.7–1.2 cm down to the smallest (about 1.5–2 cm).
Iron fusible interfacing to the back of each disc to keep them stiff and help your tree hold its shape.
Use a pencil or awl to mark the center of each disc for stacking later.
Sew Buttons onto the Discs
Using a needle and strong polyester thread, sew small green buttons onto each disc, starting from the edge and working inward.
Cover as much of the surface as you like, but keep the center area clear for stacking.
On the largest discs, you can add a second inner ring of buttons for a fuller look. Knot your thread securely on the back of each disc when finished.
Assemble the Tree on the Spine
Secure your chosen central rod or spike upright in the wood slice base using epoxy or a nut and washer underneath.
Start stacking from the bottom: place the largest disc onto the rod, then a felt or cardboard washer as a spacer, then the next largest disc, and so on.
Use thicker spacers at the base and thinner ones near the top to create a pleasing taper.
Rotate each disc a little as you go to stagger the button positions and hide any gaps.
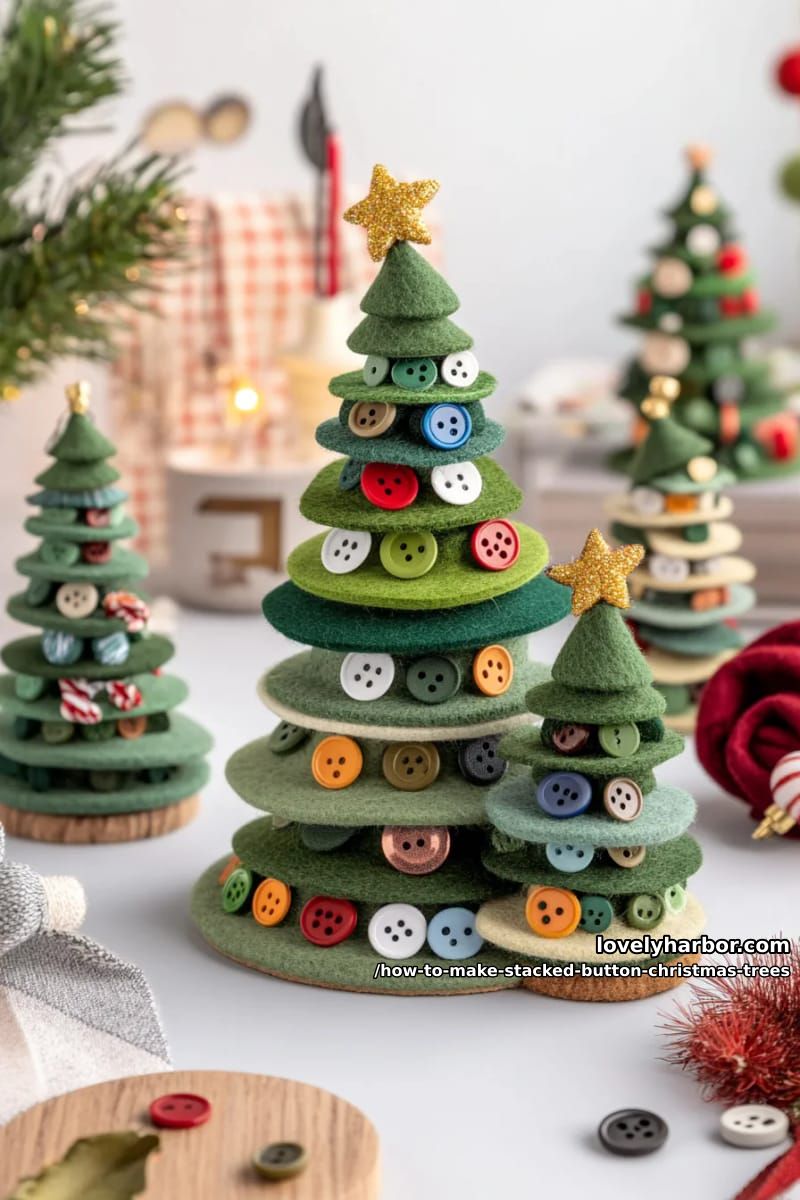
Finish by capping the top with a bead, cap, or star, then tighten the acorn nut or cap just enough to hold everything in place without crushing the discs.
If you want, use a tiny dot of removable tacky glue between a few layers to keep them from spinning.
- Make sure the base is heavy or wide enough so the tree doesn’t tip over.
- Don’t overtighten the rod; just snug enough to keep the discs steady.
- If you want extra polish, blanket-stitch the edges of each disc before stacking.
Troubleshooting and Tips
- If your tree feels wobbly, check that the base is secure and that spacers are even.
- Use tweezers for tricky button placement, especially near the top of the cone or on small discs.
- Sort your buttons by size before starting, it saves time and makes stacking smoother.
- If you see gaps, rotate a disc or nudge a button into place before the glue dries.
Enjoy Your Handmade Button Christmas Trees!
Creating stacked button Christmas trees is a fun, relaxing project that adds a touch of homemade joy to your holiday décor.
Whether you display them on your mantel or gift them to friends, these little trees are sure to bring smiles.
Give it a try, the process is simple, and you might find yourself making a whole forest before you know it!
Related Posts
- DIY Christmas Decorations
- Christmas Craft Decorations
- Handmade Christmas Decorations
- Christmas Decoration Crafts
- Upcycled Christmas Crafts


