
Red velvet ribbon is the fastest way to make a tree look expensive, and the fastest way to make it look like a craft-store display if you get the width, the placement, or the amount wrong. The difference is almost never the ribbon itself. It is whether the velvet reads as one deliberate layer or as red piled on red until the whole thing goes flat. The twelve ideas below are sorted by the decision you are actually making, which is how to work the ribbon, which reds and neighbors to pair it with, and how to finish the top and the base so the tree looks styled rather than wrapped.
Working the ribbon into the tree
1. Cascade red velvet ribbon in a vertical river, not a spiral
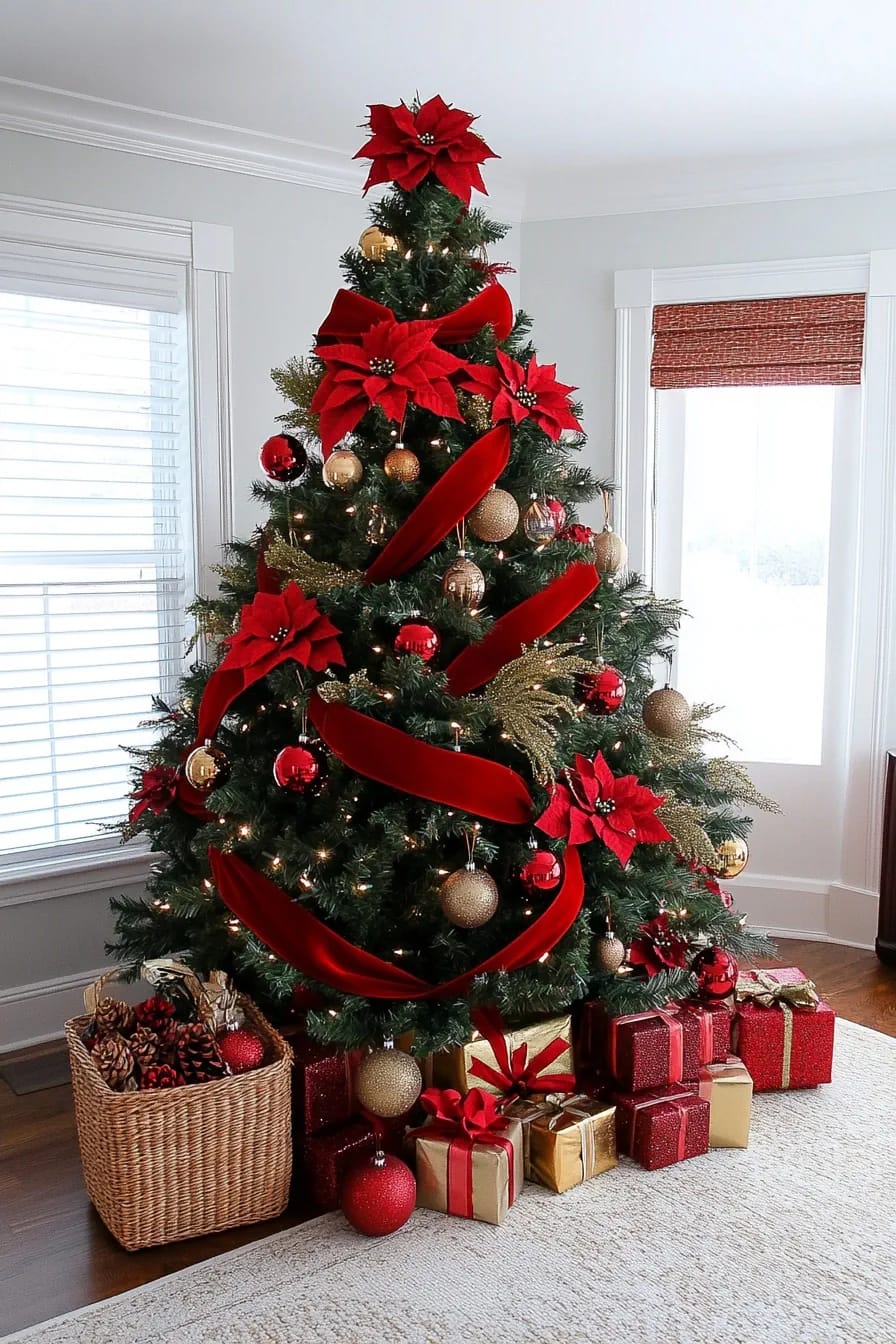
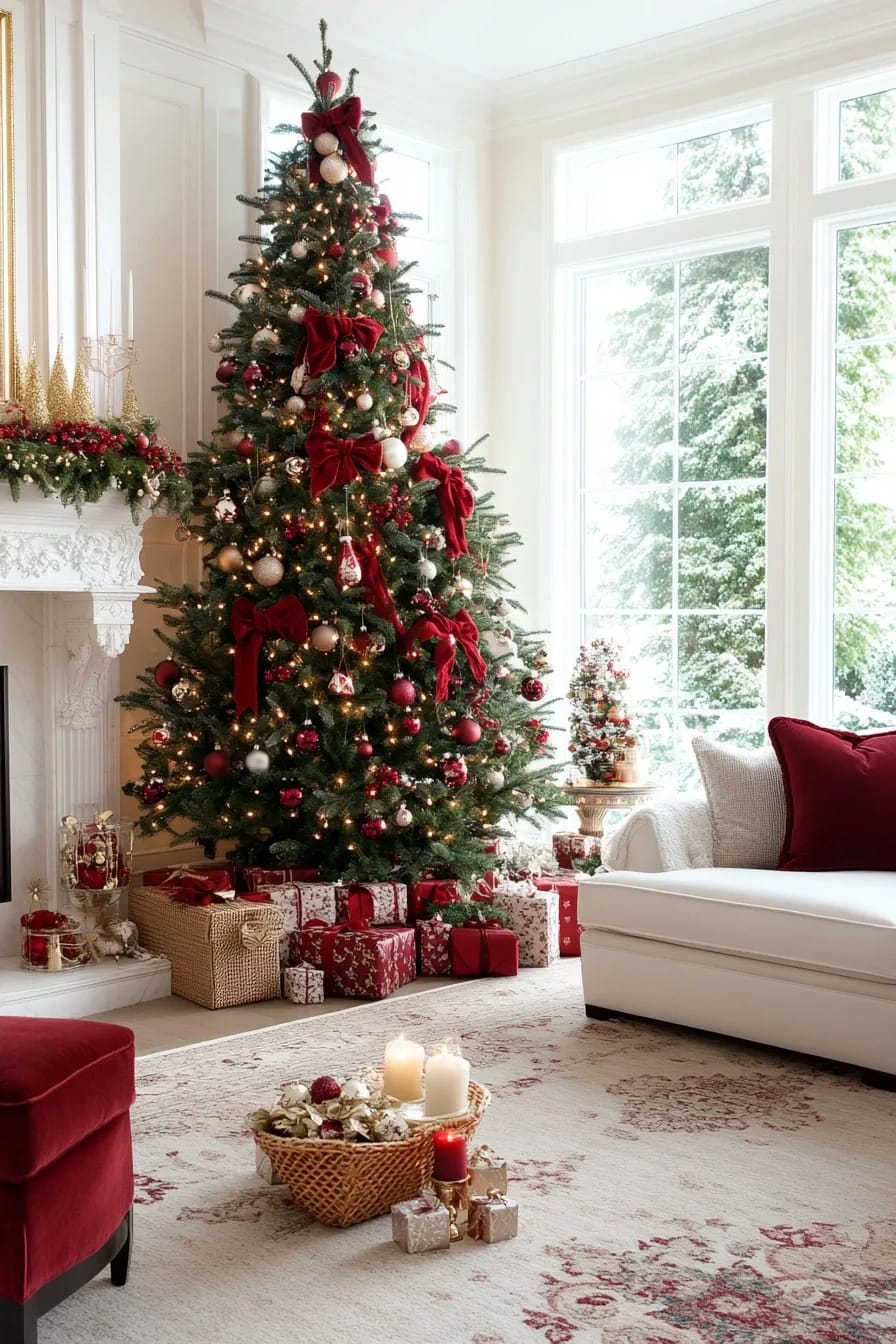
Cut the ribbon into three-foot pieces and hang them as vertical streamers rather than winding one long strand around the tree in a candy-cane spiral. Sources that decorate trees professionally almost all land on the same trick: short lengths, tucked at the top near the trunk and again in the middle so each piece makes two soft loops, with the next piece offset a few inches left or right instead of starting directly below the last. That offset is the whole thing. It is what turns rigid vertical lines into a river that seems to move down the tree.
Wired ribbon holds the wave; unwired velvet flops and you spend the evening re-tucking it. Plan on roughly nine to fifteen feet of ribbon per foot of tree height, and lean toward the higher end for cascades, which eat more than a tuck. A dense 7.5-foot tree can swallow two or three ten-yard rolls before it looks intentional, so buy one more roll than you think you need.
A 2.5-inch wired velvet with a gold satin back, so the ribbon still looks finished on the twist where the reverse shows.
Lugailly 2.5-inch red and gold wired velvet ribbon, 10 yards2. Weave horizontal loops between the branches for a candy-ribbon look
Instead of running ribbon top to bottom, pinch a two-foot length into three loops, push the pinched center deep into the tree, and fan the loops open so they sit horizontally among the branches. Repeat around and down, staggering the height, and the velvet reads like clusters of red blooms rather than a single stripe. This is the more forgiving technique for a beginner, because a loop that lands badly just gets pulled out and re-pinched, and nothing about the design depends on continuous lines staying straight.
It also carries a bare tree. If your ornament collection is thin, horizontal velvet loops fill negative space fast and hide the gaps in the greenery that show up on cheaper artificial trees.
3. Tuck and pouf the ribbon deep so it looks built into the tree
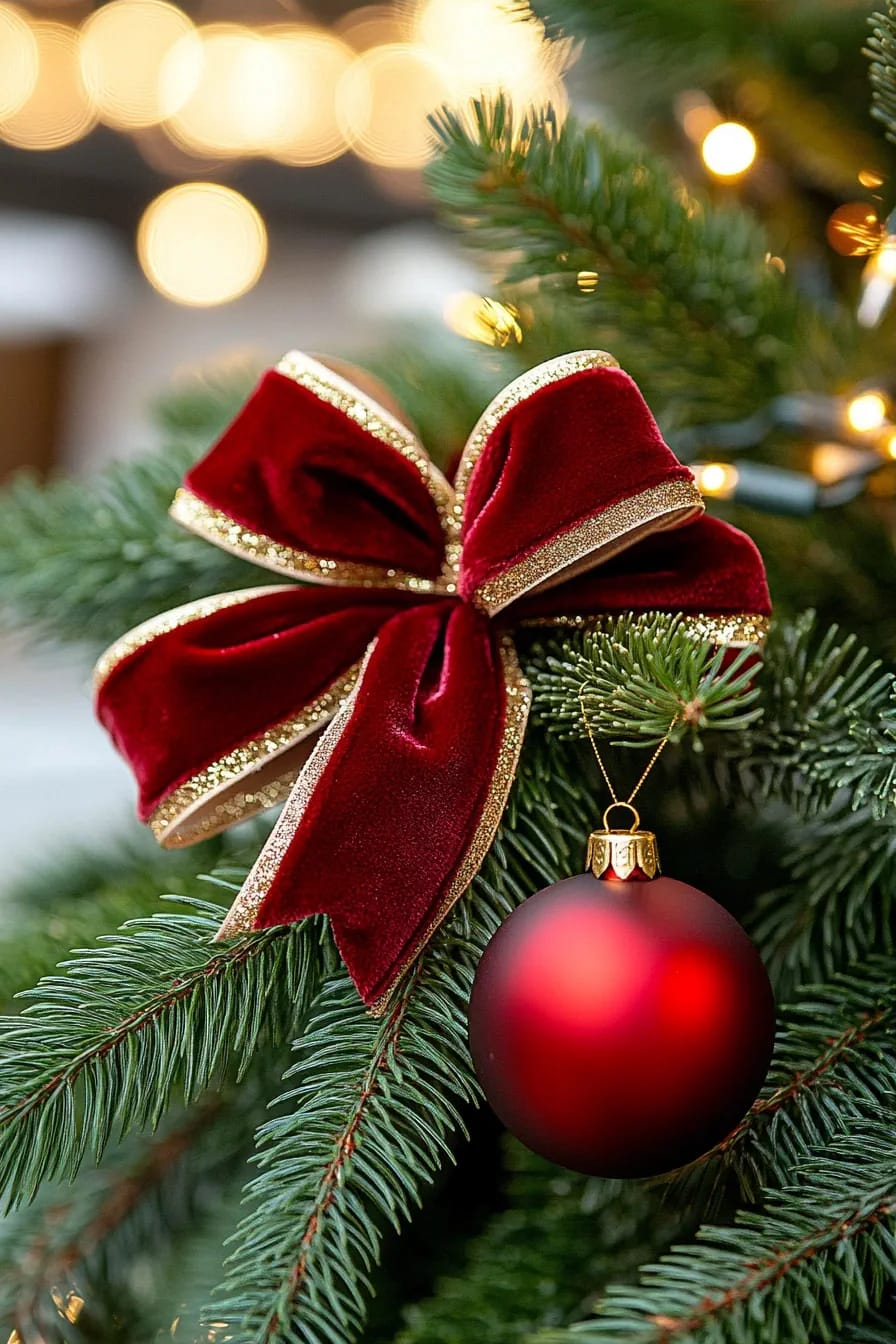
This is the designer move that reads as most expensive and takes the most patience. Rather than letting ribbon hang, you bunch short lengths and bury them so the velvet appears to emerge from inside the tree in soft folds, the wired edges scrunched to hold volume. The artificial tree's PVC branch tips are the anchor: bend one around the ribbon and it stays without floral wire. On a real tree you will need florist wire or a green pipe cleaner at each tuck.
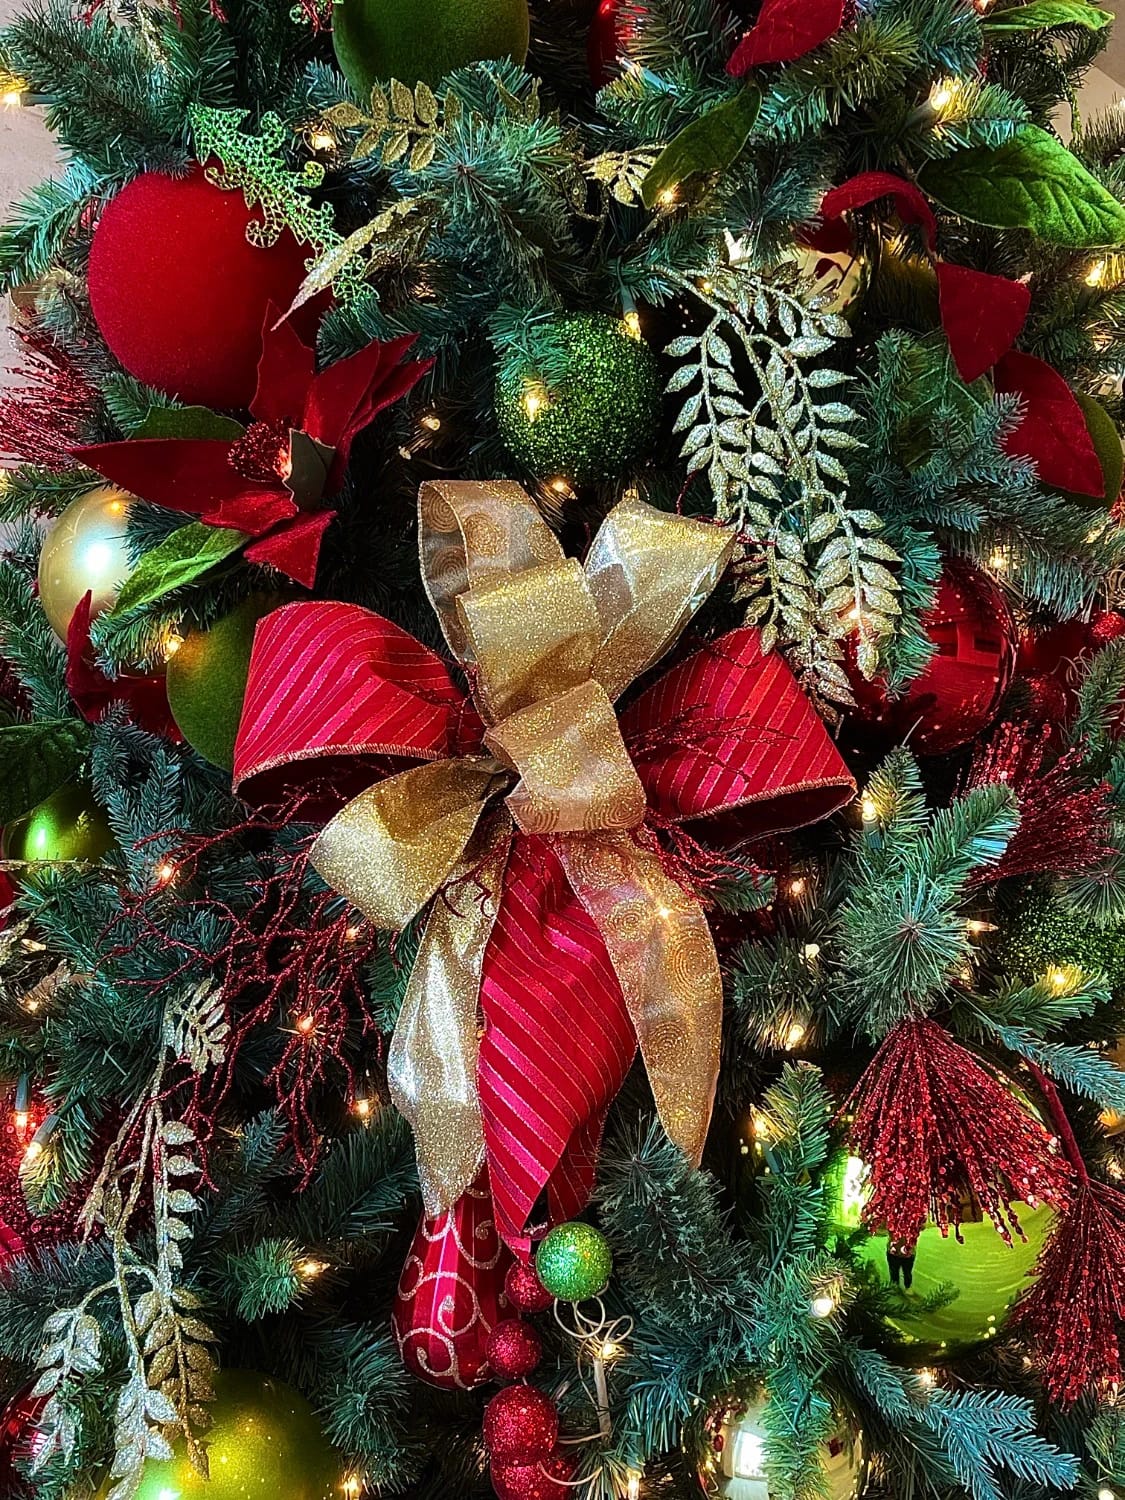
4. Add velvet bows in threes and fives, never scattered evenly
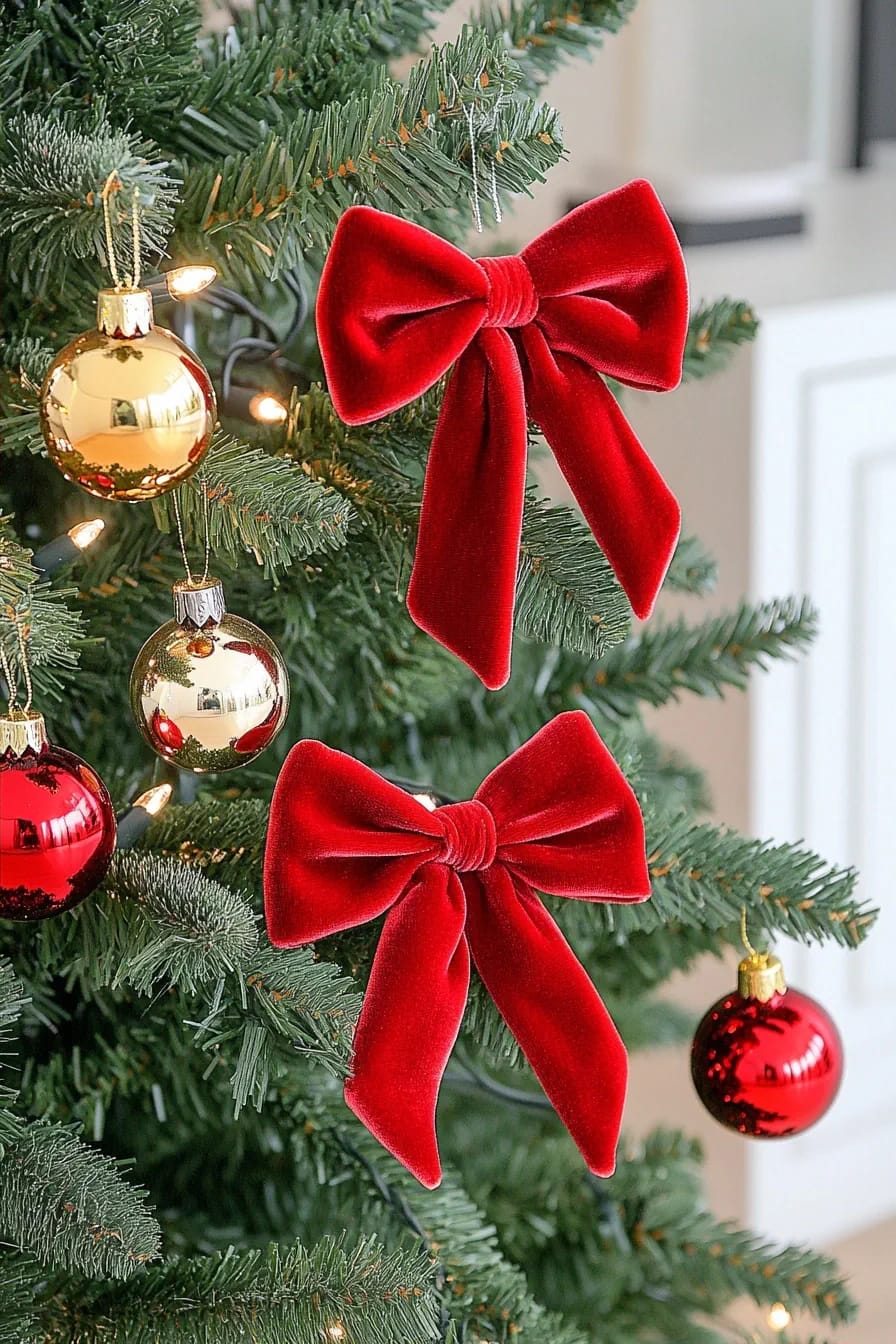
Even spacing is what makes a bowed tree look like a chain store did it. Group the bows the way a florist groups blooms, three here, five there, tucked at slightly different depths, and leave whole sections with none. The eye reads the clusters as intentional and the gaps as breathing room. If you are buying pre-tied bows rather than tying your own, the five-by-seven-inch size disappears on a full 7.5-foot tree; go larger than feels right in the package.
Two dozen pre-tied velvet bows on wire twist ties, enough to cluster generously and still dress a bannister with the leftovers.
24-pack pre-tied red velvet Christmas bows, 5×7 inchMatte red velvet ribbon plus matte red velvet bows plus red glass ornaments, all the same red, and the tree turns into a single red mass with no depth. Velvet absorbs light rather than bouncing it, so an all-velvet-red tree photographs darker and duller than it looks in the room. Break it with at least one reflective red (mercury glass, a foil bauble) and one non-red anchor: gold, warm white, or the green of the branches left deliberately bare. If every layer is the same flat crimson, adding more ribbon makes it worse, not better.
Getting the reds to agree is its own problem once a wall color or a painted door is in the mix, and the fix is the same one that saves a red front door from fighting its own Christmas decorations: match undertones before you add more of the color.
Choosing the palette around the velvet
5. Pair red velvet with warm gold, not silver
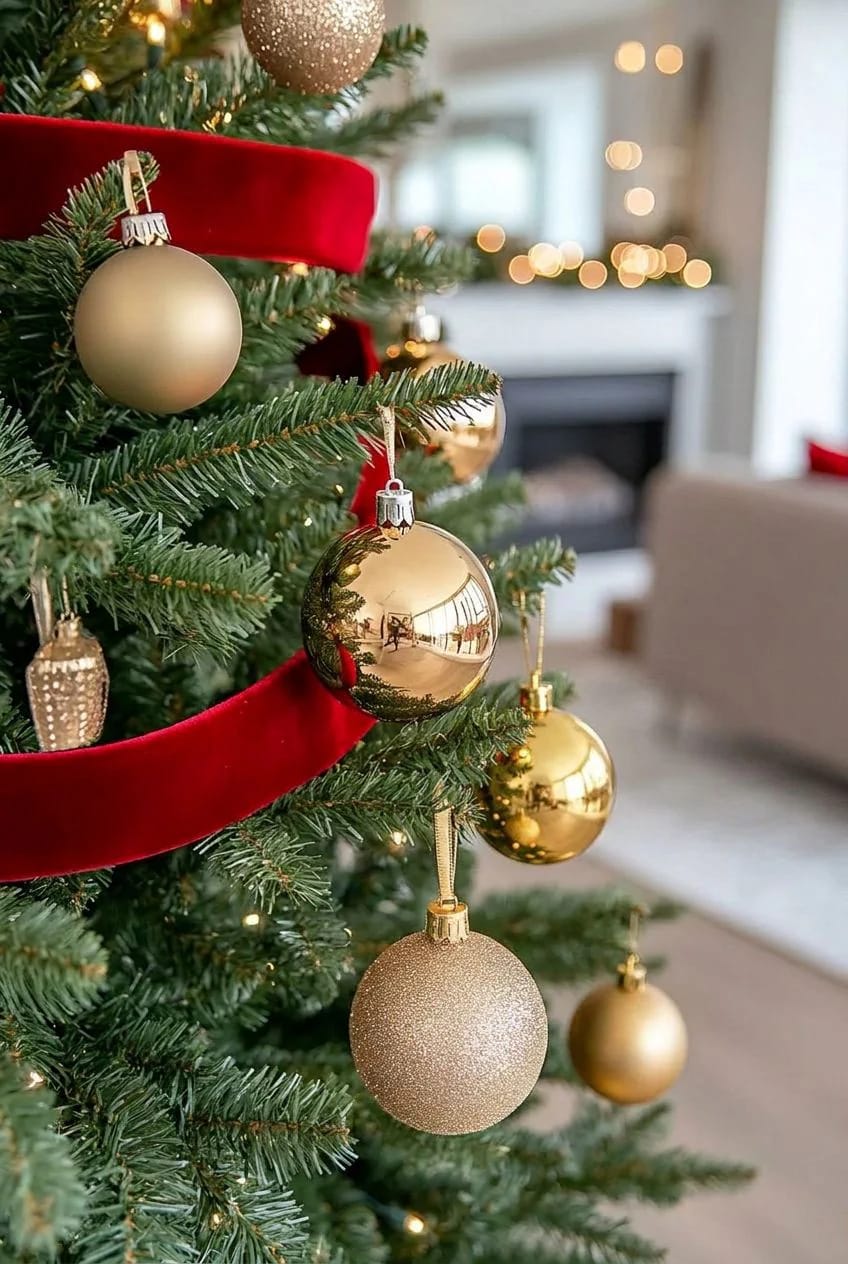
Warm gold is the pairing that makes red velvet look like a Ralph Lauren catalog instead of a school pageant. Gold shares red’s warmth, so the two sit together without one going cold; silver and icy white pull against velvet’s warmth and make the red look slightly muddy by contrast. If you want metallics, use antique or matte gold rather than bright chrome, and let the warm white lights do half the metallic work. This is the classic red and gold Christmas combination that reads traditional without reading dated.
One caveat worth stating plainly: gold plus red plus green (the bare branches) is already three warm colors doing a lot. Resist adding a fourth. A red-gold tree with a burgundy ribbon accent is refined; a red-gold-burgundy-copper-bronze tree is a pile of warm metals with no focal point.
6. Go burgundy on a flocked or white tree instead of true red
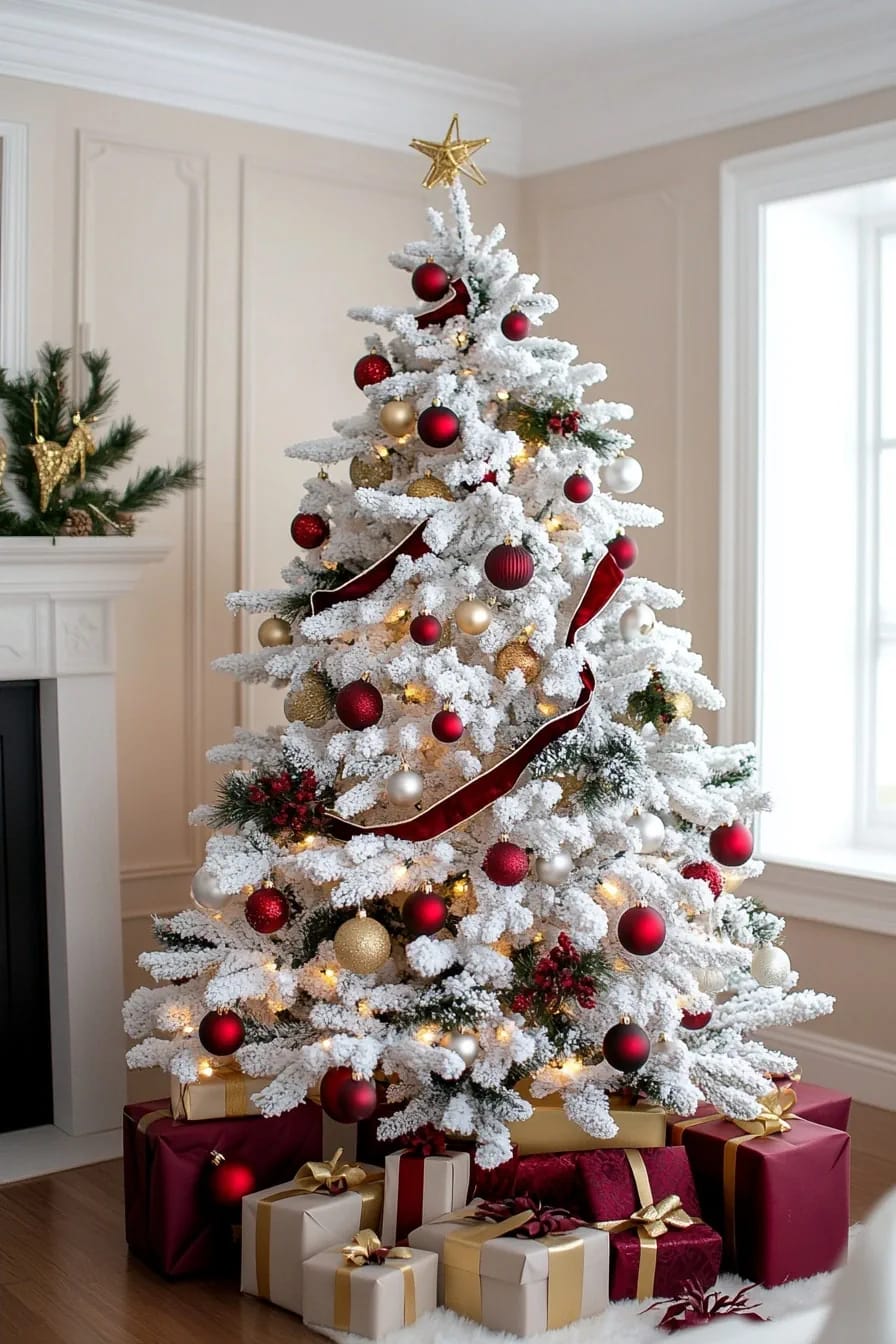
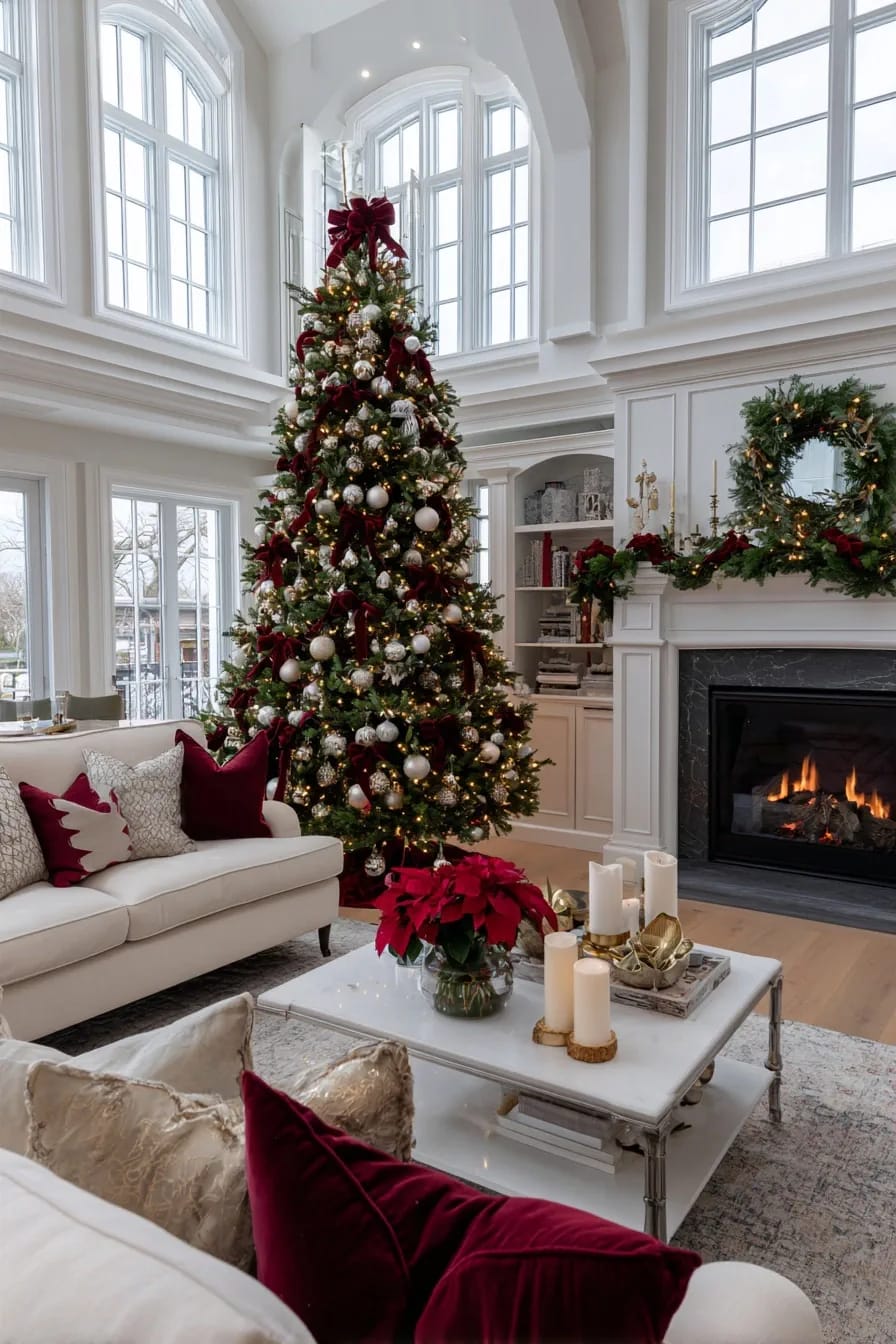
On a white or heavily flocked tree, true fire-engine red velvet can look loud, almost cartoonish against all that pale. Burgundy or oxblood velvet is the better call: deep enough to hold its own against white, muted enough to read grown-up. The snow-white background also solves the flat-red problem from earlier, because the ribbon now has maximum contrast to sit against instead of disappearing into green.
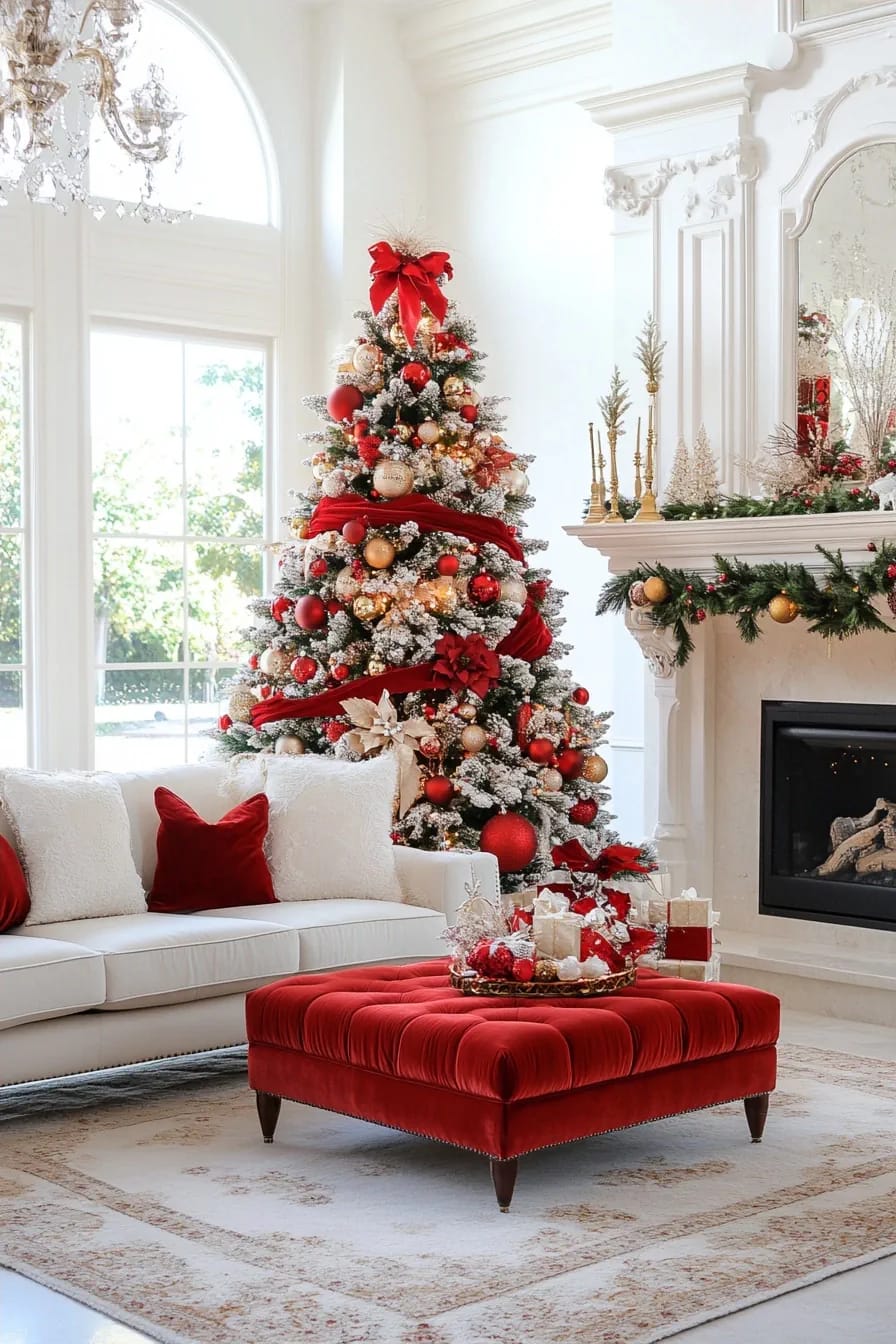
Keep the lights warm white here too. Cool blue-white bulbs on a flocked tree tip the whole thing toward icy, and icy plus burgundy velvet reads more Halloween than Christmas.
7. Layer tartan plaid ribbon under the velvet for a traditional tree
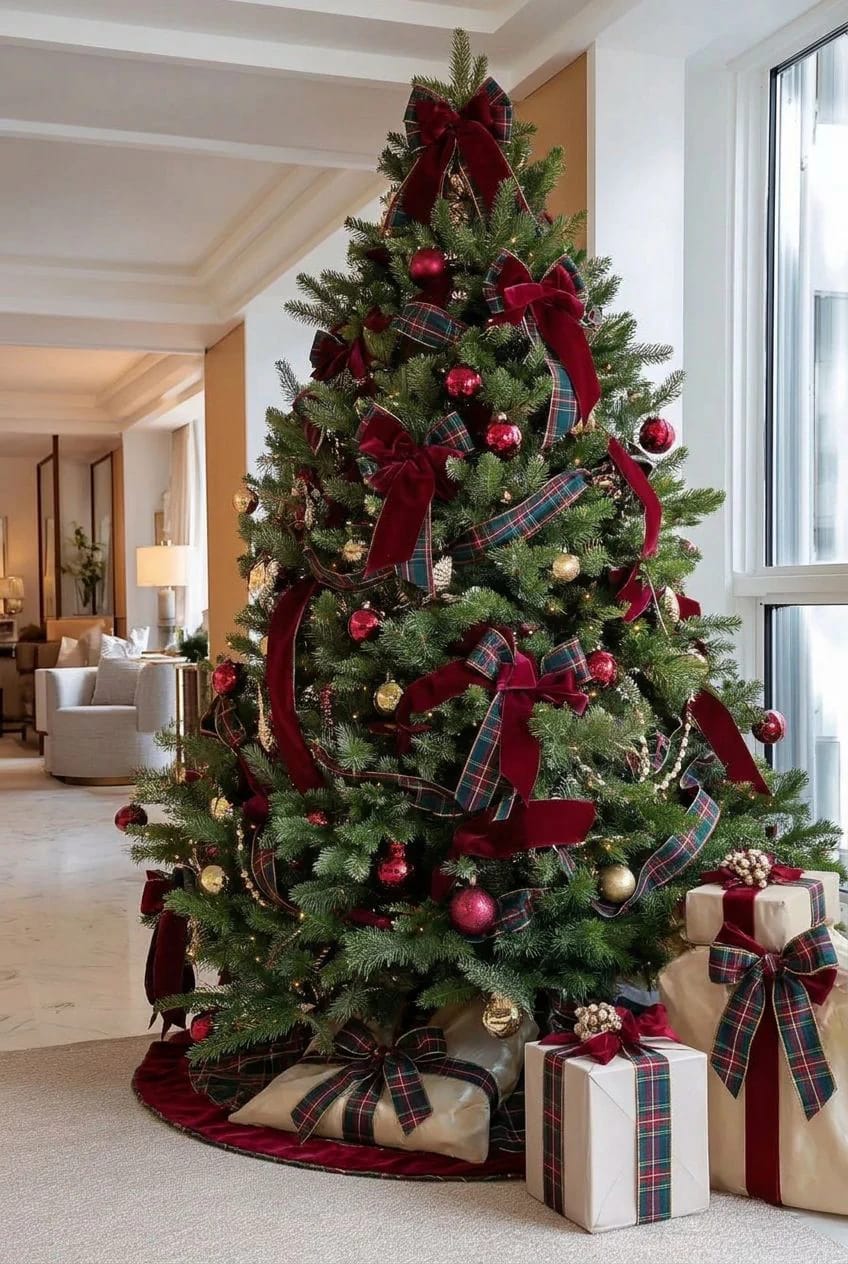
Two ribbons beat one when you want the tree to read old-fashioned in a good way. Use a red-and-green tartan as the wider base layer, woven horizontally, then run a narrower solid red velvet over the top so the plaid peeks through between the velvet loops. The plaid supplies pattern and the green pulls the bare branches into the scheme; the velvet supplies the richness plaid alone lacks. Keep one ribbon clearly wider than the other or they compete.
A classic red-green-gold tartan with a monofilament wired edge, so the base layer holds its loops under the velvet.
Ribbon Traditions red and green tartan plaid wired ribbon, 2.5 inch8. Try red velvet with white and cream for the calmer version
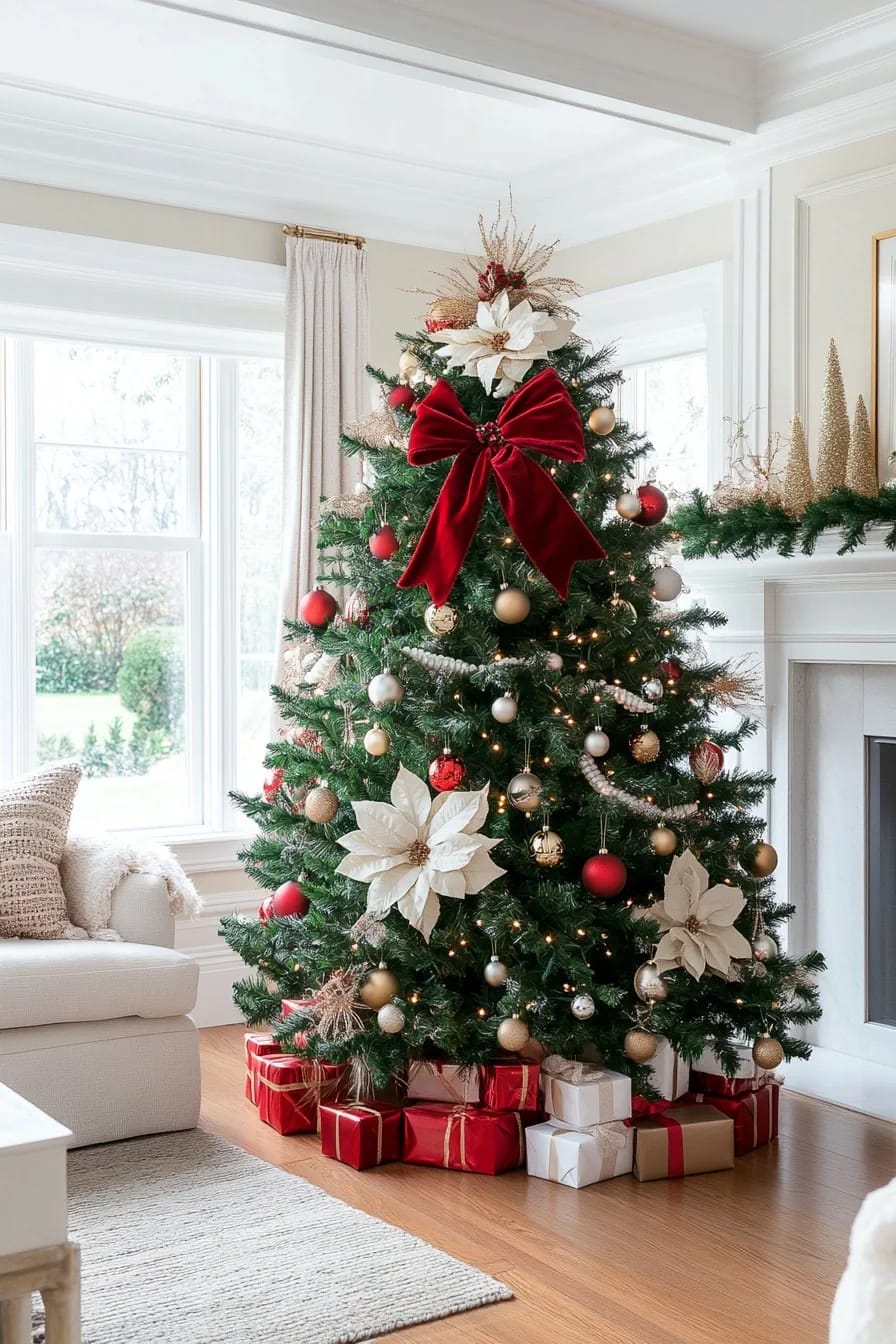
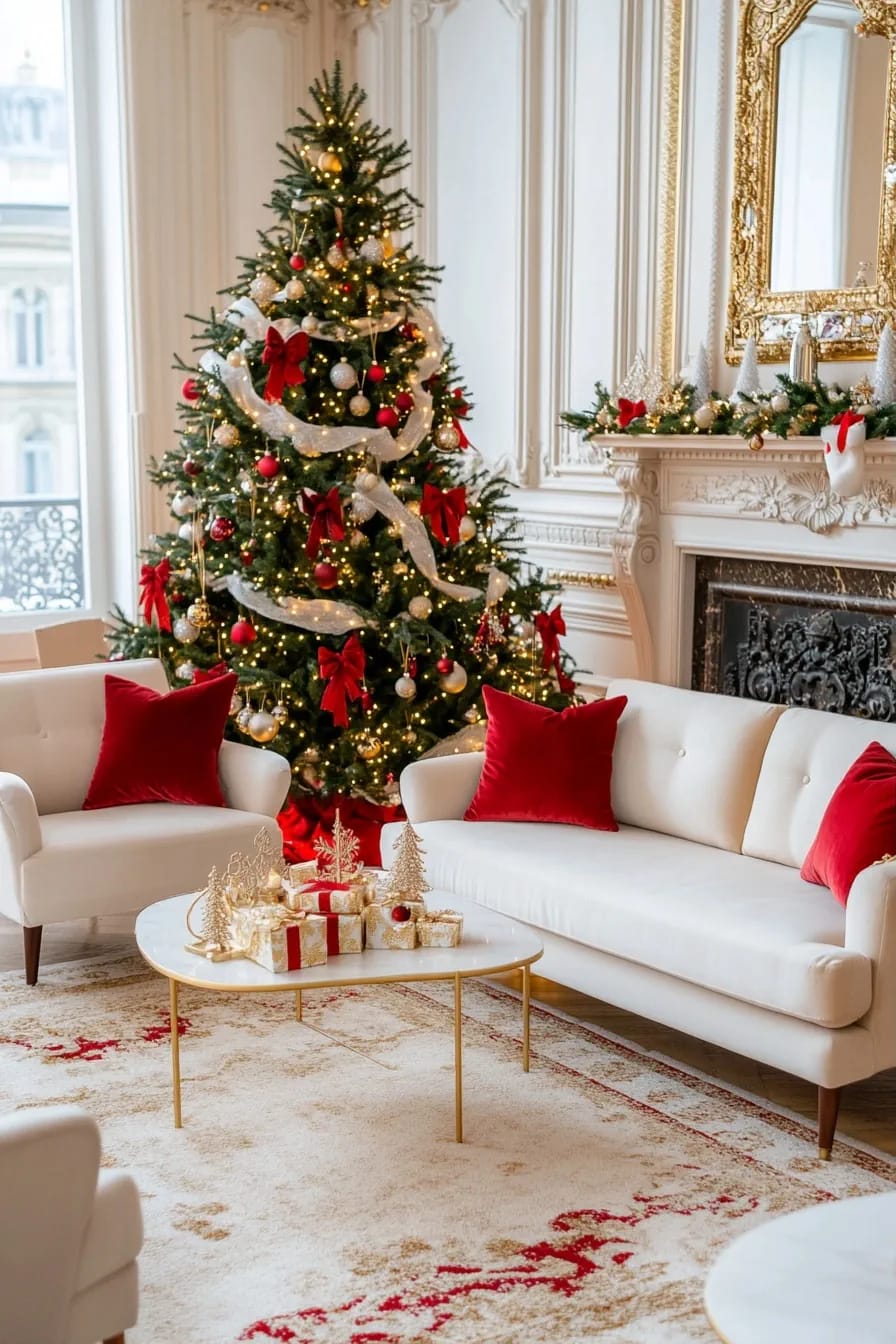
If the traditional red-and-green tree feels heavy for your room, pair the red velvet with white, cream, and a little brass and let the velvet be the only saturated color on the tree. The red stops being one competitor among many and becomes the accent everything else defers to, which is a calmer, more current look than the maximal red-green-gold tree. This is the same restraint that makes a red and white Christmas scheme feel fresh rather than nostalgic.
Do this
- Pick one red and repeat it exactly. A crimson bow next to a brick-red ribbon reads as a mistake, not a layered palette.
- Let real branch show. Bare green between the velvet is what keeps the tree from looking upholstered.
- Add ribbon after the lights and before the ornaments, so you can space the baubles around the velvet.
Avoid
- Cool metallics with warm velvet. Silver and chrome fight the red.
- Wrapping the ribbon tight and even. Uniform spacing is the tell that reads as store display.
Finishing the top, the branches, and the base
9. Crown the tree with one oversized bow instead of a star
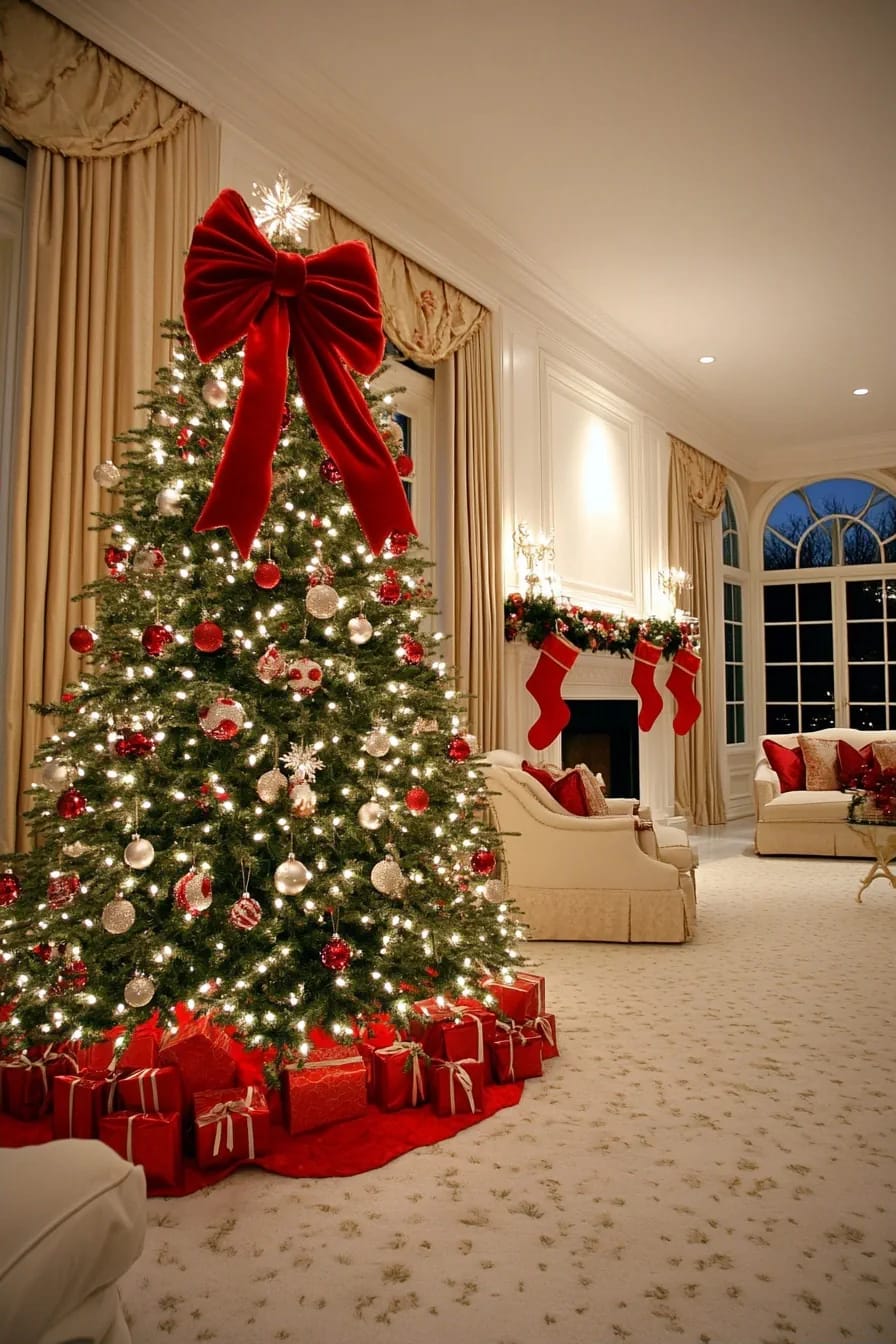
Skip the star and let a single large velvet bow with long tails be the topper. It ties the bows lower down into one idea and it looks intentional in a way a mismatched store-bought star rarely does. Scale is the thing people get wrong: a bow that looks big in your hands is small on a tree. For a 7.5-foot tree, the topper bow wants a roughly sixteen-inch spread with tails long enough to cascade a foot or more into the branches, so the top does not look pinched.
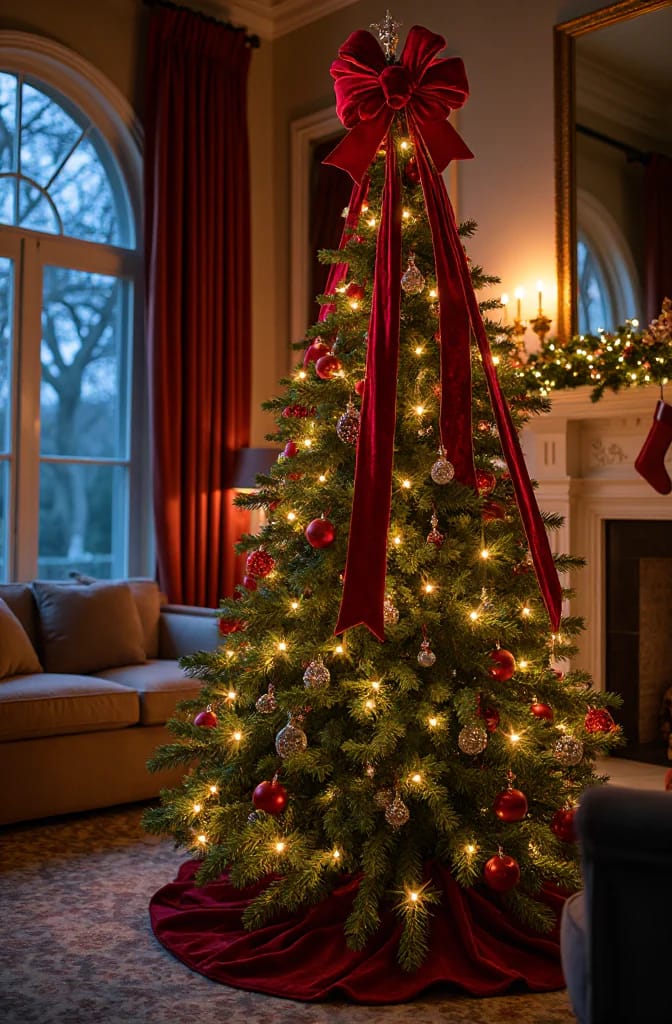
Oversized 16-by-24-inch pre-tied velvet bows, sized for a topper on a full tree where the small craft bows vanish.
Set of 12 oversized 16×24-inch red velvet bows10. Make bows the whole theme on a minimalist tree
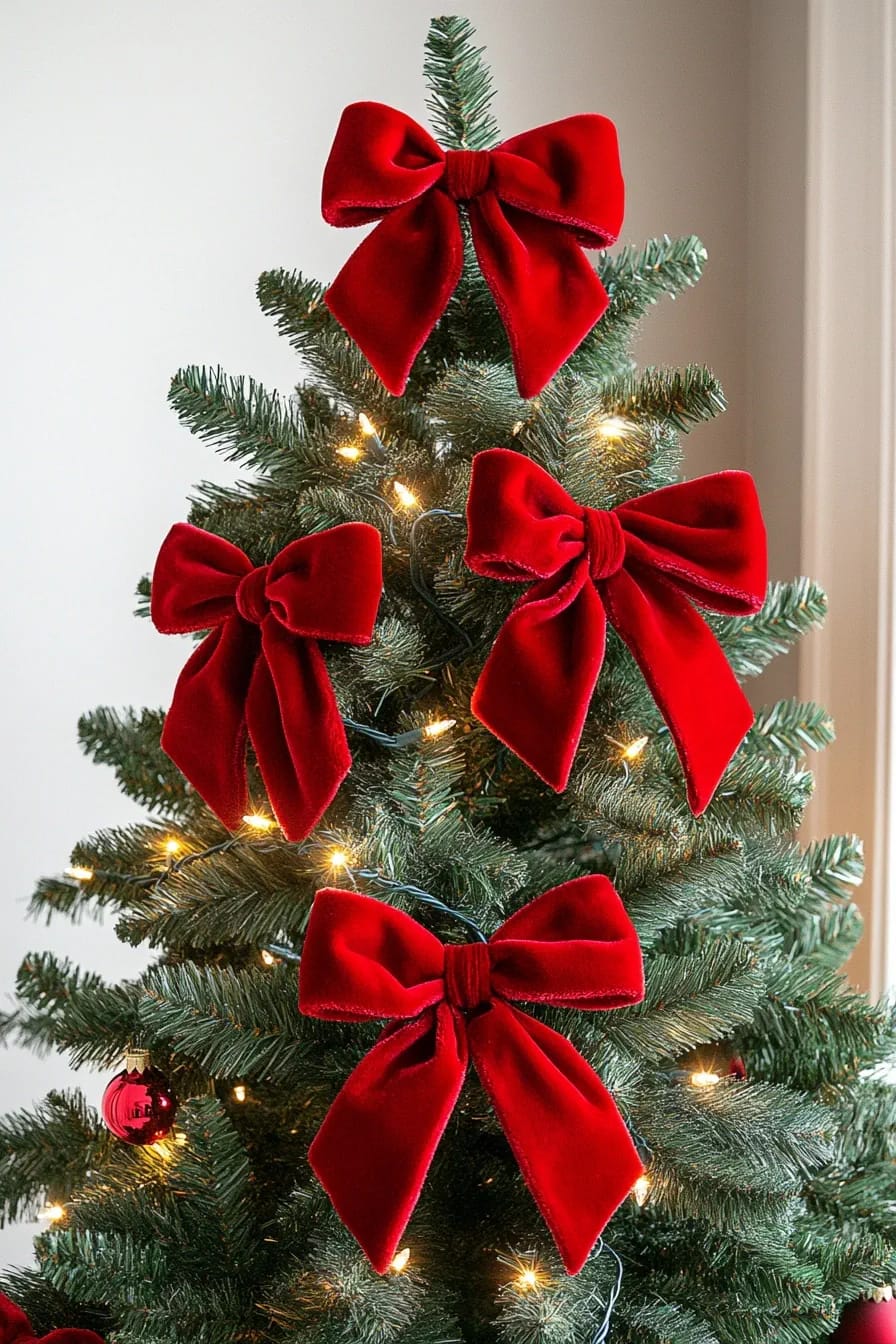
A bows-only tree is one of the strongest looks going right now and one of the cheapest to pull off. Skip the ornaments almost entirely, cover the tree in red velvet bows of two or three sizes, string warm lights, and stop. It photographs beautifully because there is nothing competing with the velvet, and it is forgiving of a cheap tree because the bows hide the branches. The one demand it makes is quantity: a convincing bows-only tree needs far more bows than you would guess, two to three dozen on a mid-size tree, or the branches show through and it looks unfinished rather than minimal.
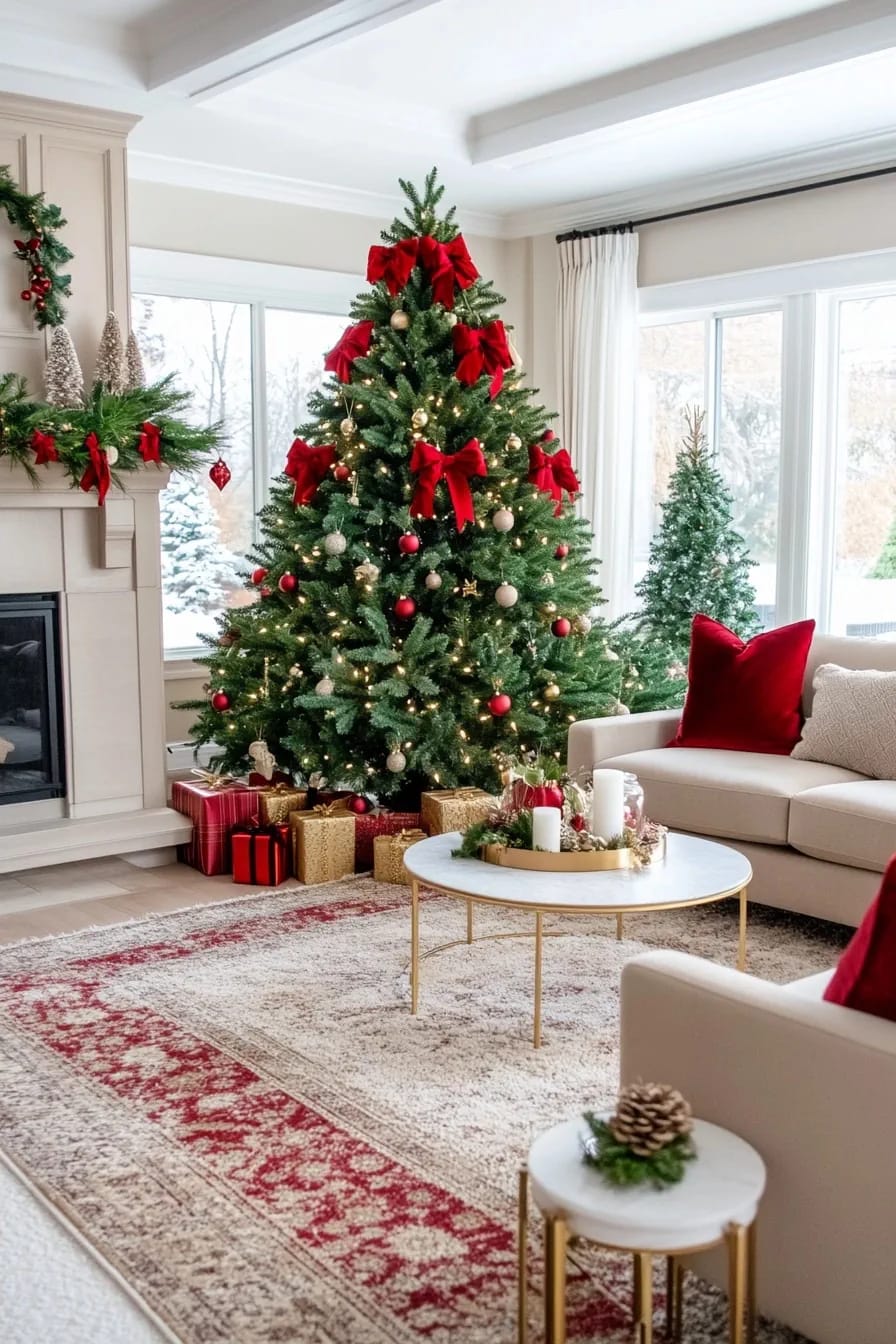
11. Ground the velvet with pinecones and dried orange for texture
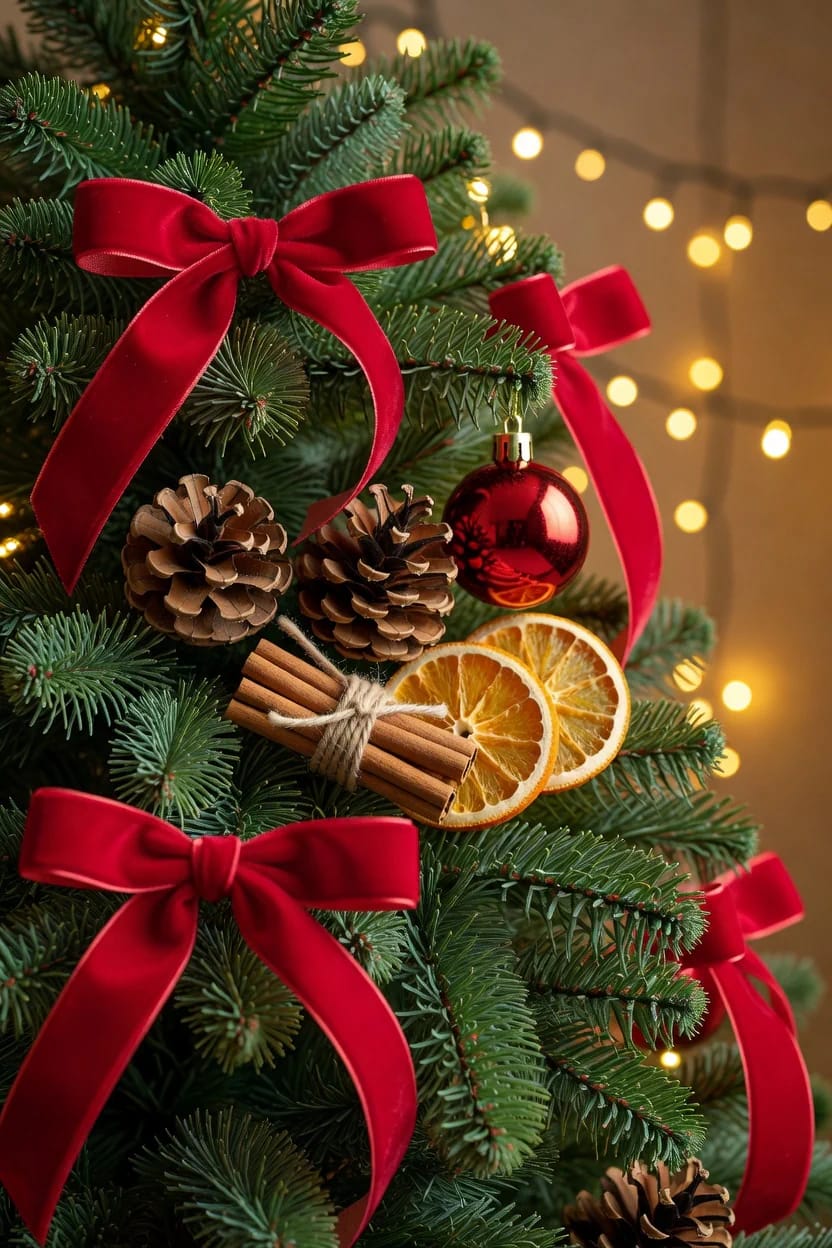
Velvet is smooth and light-absorbing, so a tree built only from velvet and glass goes slightly one-note: every surface is either soft nap or hard shine, with nothing rough in between. Pinecones, dried orange slices, cinnamon bundles, and a few sprigs of faux berry give the eye rough matte texture to rest on between the sheen of the baubles and the nap of the ribbon. It also warms the whole thing toward cozy rather than formal, which suits a red velvet tree in a room you actually live in. Cluster the naturals the same way as the bows, in uneven groups, not sprinkled one per branch.
12. Match the ribbon to the tree skirt and garland, not just the tree
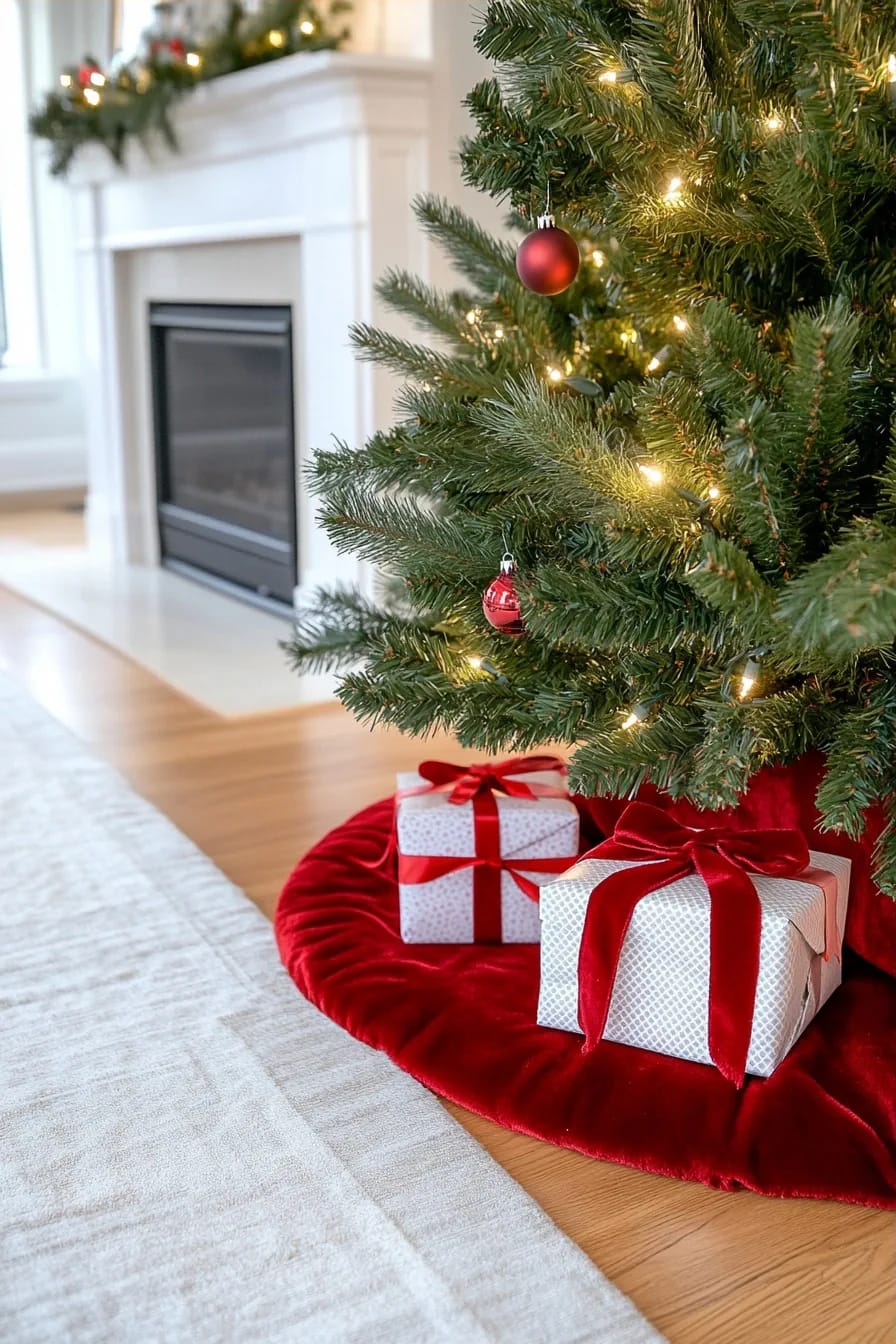
The tree stops looking like an island when the red velvet shows up once more somewhere near it: a bow on the tree skirt, a length of the same ribbon woven into the mantel garland, two velvet bows on the stair rail leading to the room. One repeat is enough. It signals that the whole space was decorated together rather than the tree being wrapped in whatever ribbon was on sale. The same three moves that make garland read intentional on a shelf, which are what you layer under it, how you drape it, and what you leave off, apply to carrying velvet from the tree into the rest of the room, and once the velvet is doing its job you can go back to the wider roundup of Christmas tree decorating ideas for the ornaments, lights, and toppers this piece only touched.
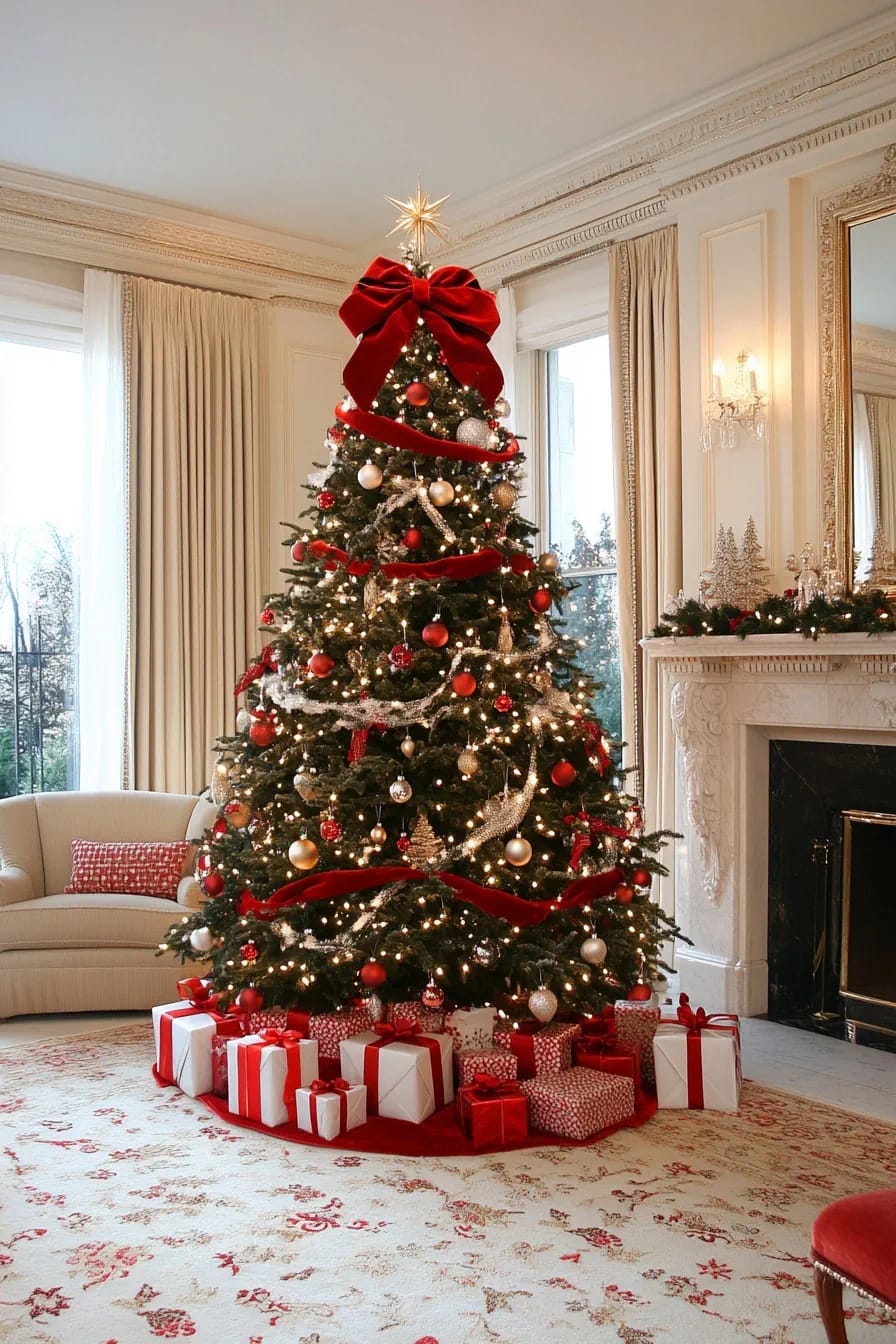
 Christmas Mantel Decor Ideas With Garland That Look Designer, Not Draped-On The layering, draping, and editing moves that make mantel garland look styled, so the velvet reads the same on the shelf as on the tree.
Related Posts
- 21 Ways to Make Your Pink Christmas Tree Shine!
- 23 Kids Christmas Tree Ideas Full of Color, Whimsy, and Holiday Cheer
- 21 Fun Ways to Decorate Stockings Christmas Style
- Farmhouse Christmas Decor: 12 Ideas That Skip the Red-and-Green Cliché
- 31 Dreamy Christmas Tree Decorations for a Unique Festive Touch
- 15 Trendy Christmas Tree Fall Decorations for Your Home