
A whole-house display lives or dies on coordination, not on how many strands you own. The houses that stop traffic usually run fewer light types than the cluttered ones, lit at a single color and turned on as one unit. What follows is a zone-by-zone plan, roofline to lawn, plus the calls that actually move the needle: which white to commit to, whether permanent eave lights earn back their four-year math, and the net-light trick that ended my relationship with hand-wrapping shrubs. The projector verdict is near the bottom, and you may not like it.
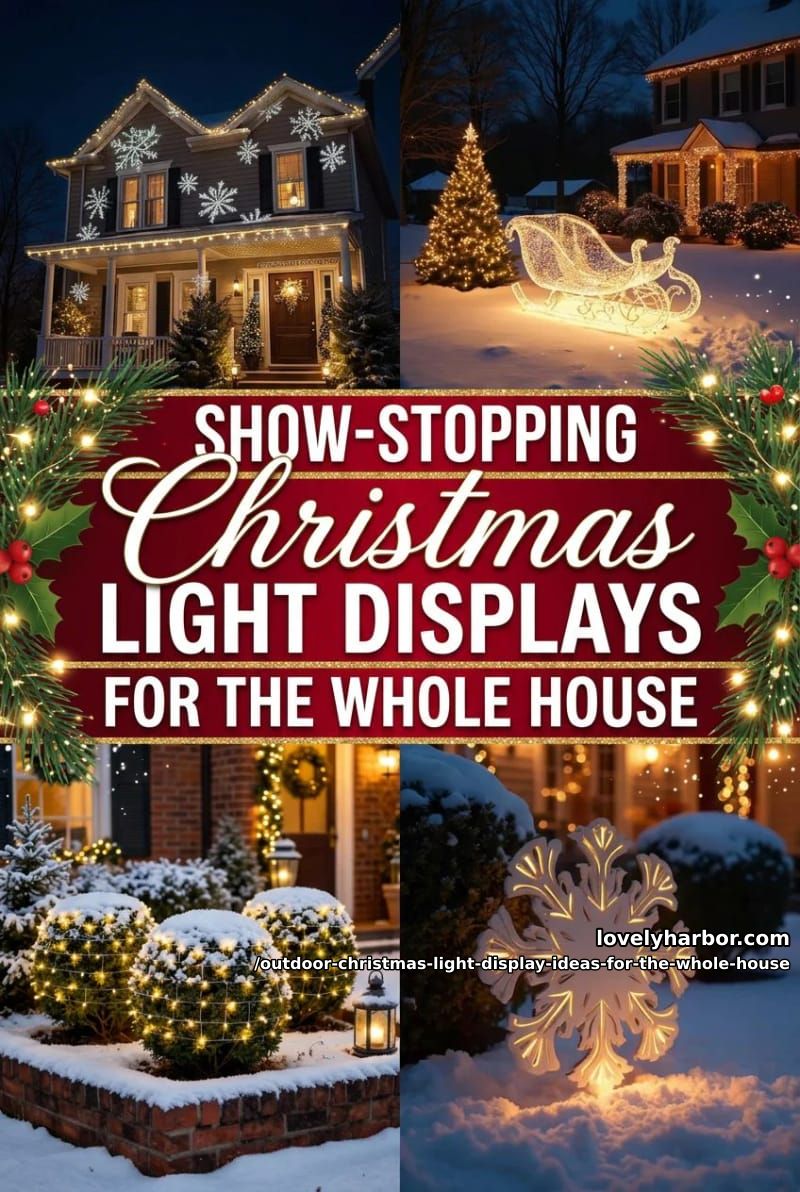
1. Choose your white before anything else, and refuse to break it
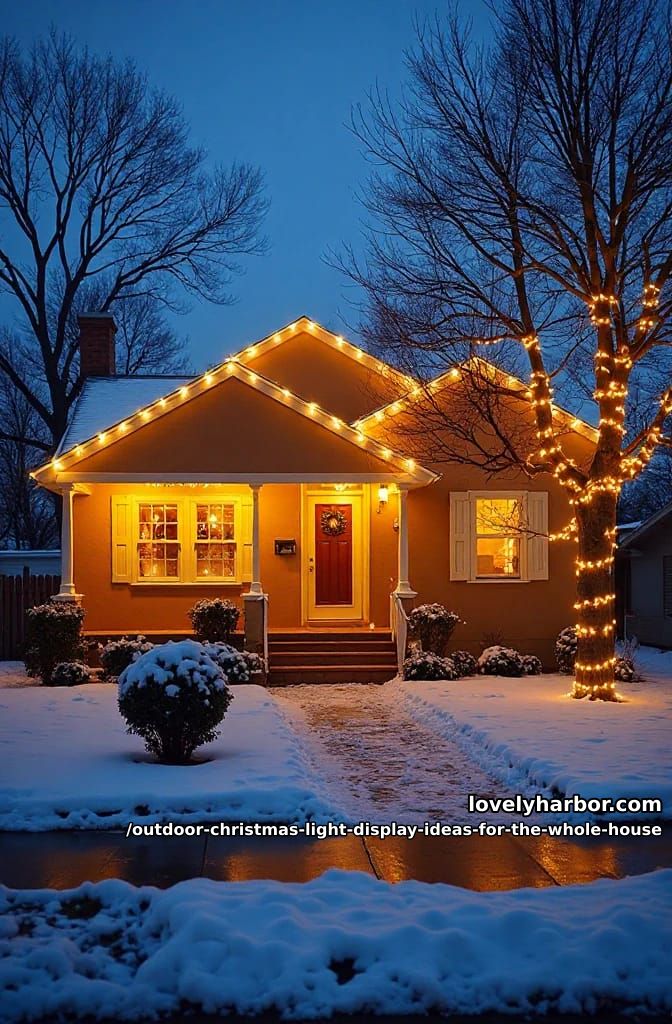
Decide on one white before you buy a single strand. Warm white, the 2700K to 3000K range, is the amber glow most people picture when they think Christmas; pure and cool whites sit up around 5000K to 6500K and photograph with a faint blue cast that looks sharp on a modern house and slightly clinical on an older one. Neither is wrong. What goes wrong is buying warm-white roofline strands one year, cool-white icicles the next, and a bluish net light because it was on sale, then wondering why the house looks busy instead of lit.
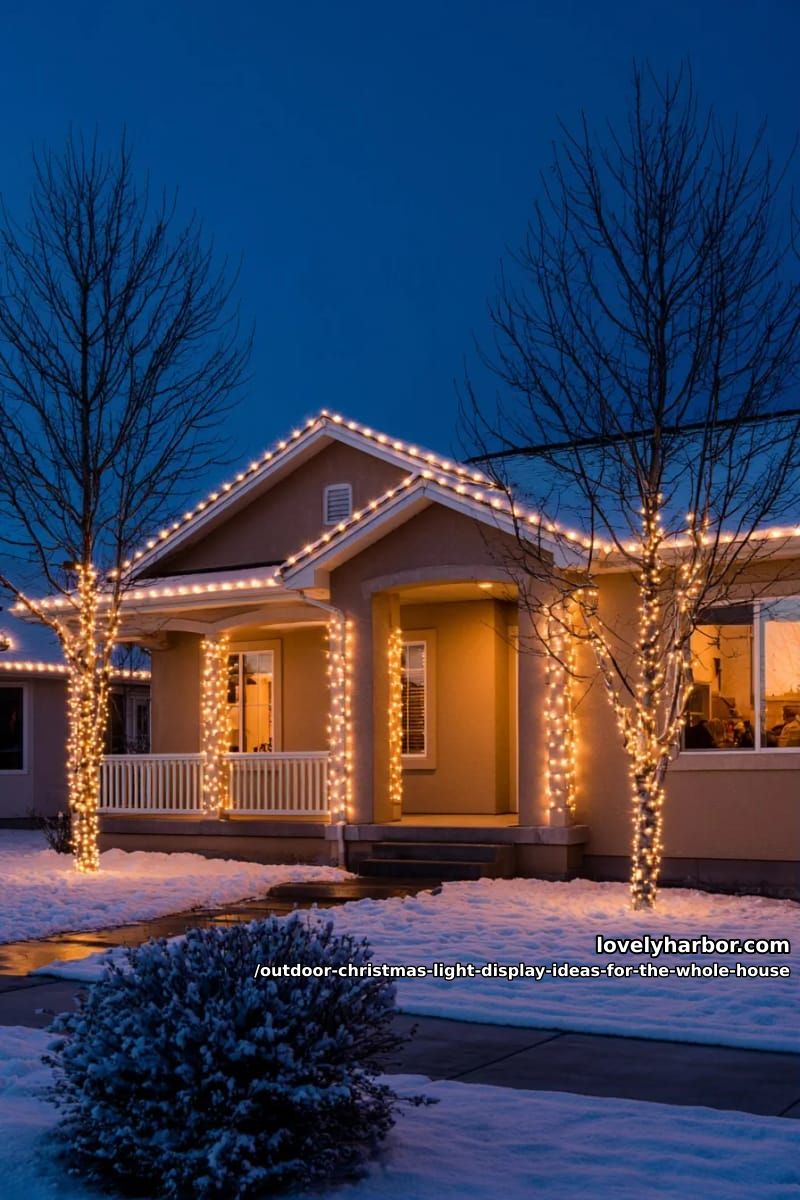
Everywhere the lights are meant to read as a single glow, use one color temperature. Pick warm or cool, write it on the box of every strand you own, and keep colored bulbs as a deliberate accent on one element, never sprinkled across three zones.
For most houses I push warm white, partly because it hides the cheapness of budget strands, which cool white is merciless about. I can't fully explain why 2700K photographs warmer than it looks standing in the driveway. It does, though, so if you are decorating for the people driving past, lean warm.
2. Outline the roofline in C9 bulbs to draw the whole house
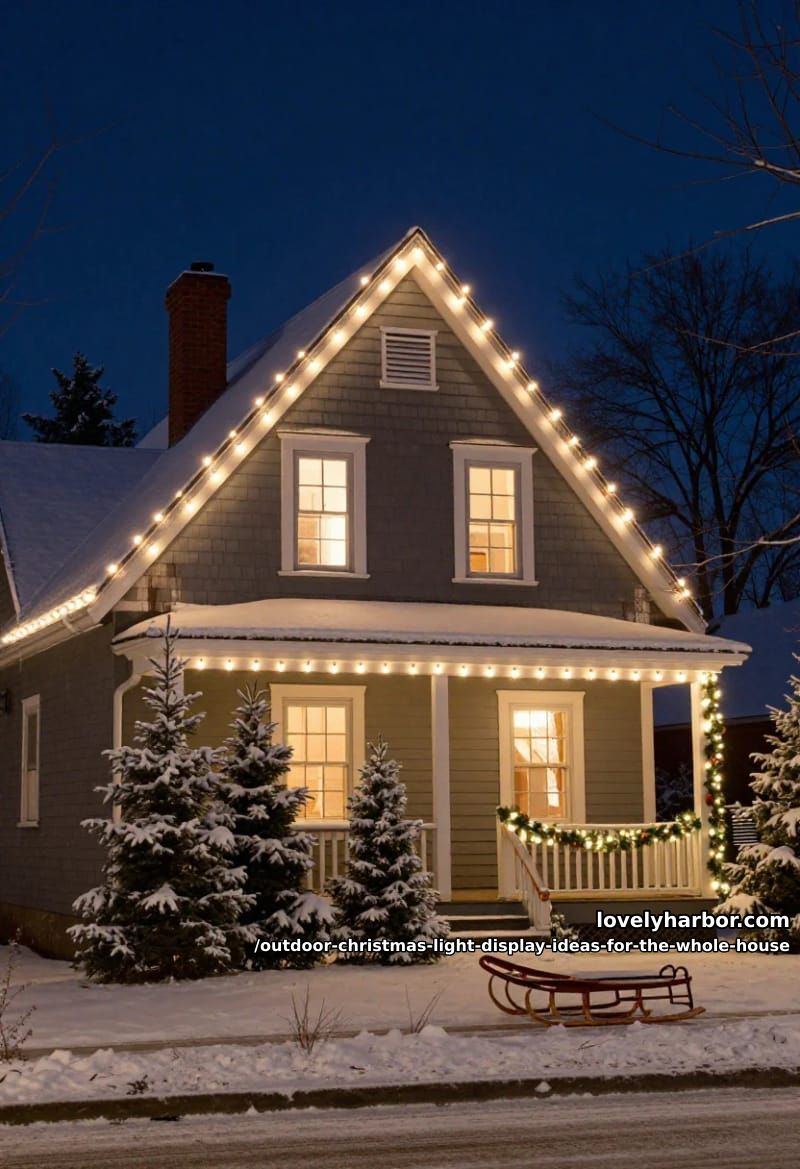
Outlining the roofline does more for a whole-house display than anything else you can hang, because it gives the house a drawn edge the eye follows from the curb. Use C9 bulbs for this, the ones roughly the size of a strawberry, on a stringer spaced about twelve inches apart. Mini lights disappear from forty feet, and the roofline is the one place that distance is guaranteed. Clip them along the fascia and rake boards with all-in-one clips that grab both the shingle and the gutter lip, and follow the real silhouette, peak and dormer and all, instead of running a lazy straight line across the gutter. The silhouette is what registers as a house instead of a glowing bar.
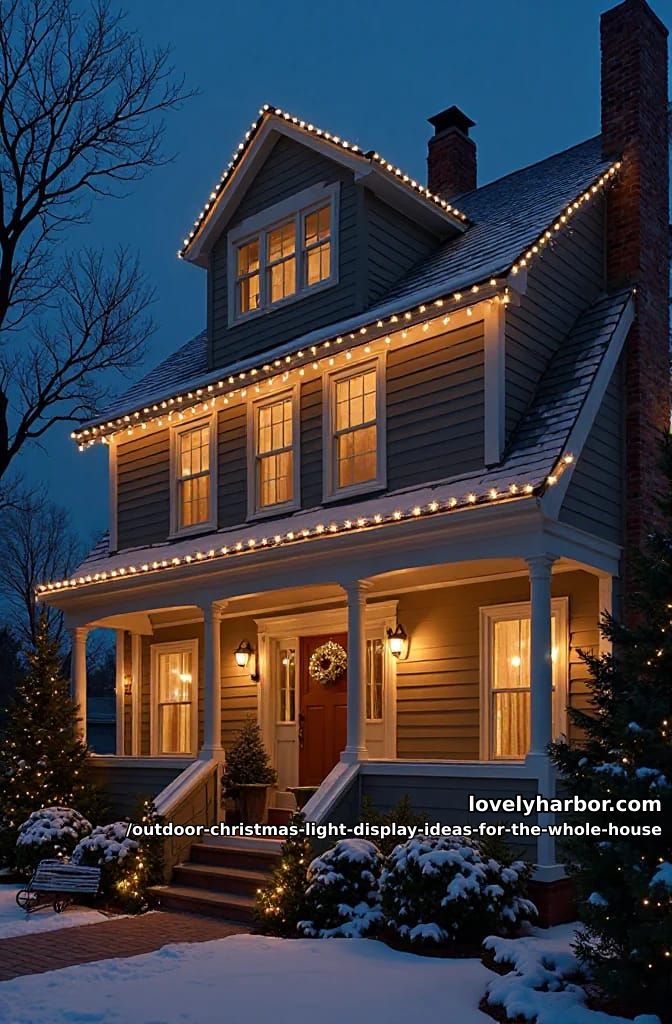
Incandescent C9 strings draw enough that the old rule of three (no more than three to five sets end to end) still applies, and a full roofline blows past it fast. LED C9 strands fix this, you can often run twenty to forty-plus sets in series on one outlet, but the run still has a ceiling: UL caps any end-to-end series at 210 watts, and a 15-amp outdoor circuit tops out near 1,440 usable watts. Outdoors, everything goes on a GFCI outlet. No exceptions.
This is also the honest place to talk about ladders. If your eaves are two stories up and December ice is involved, either hire the roofline out or skip it in favor of permanent lights, which is the next idea.
3. Permanent eave lights: the year-round system worth the math
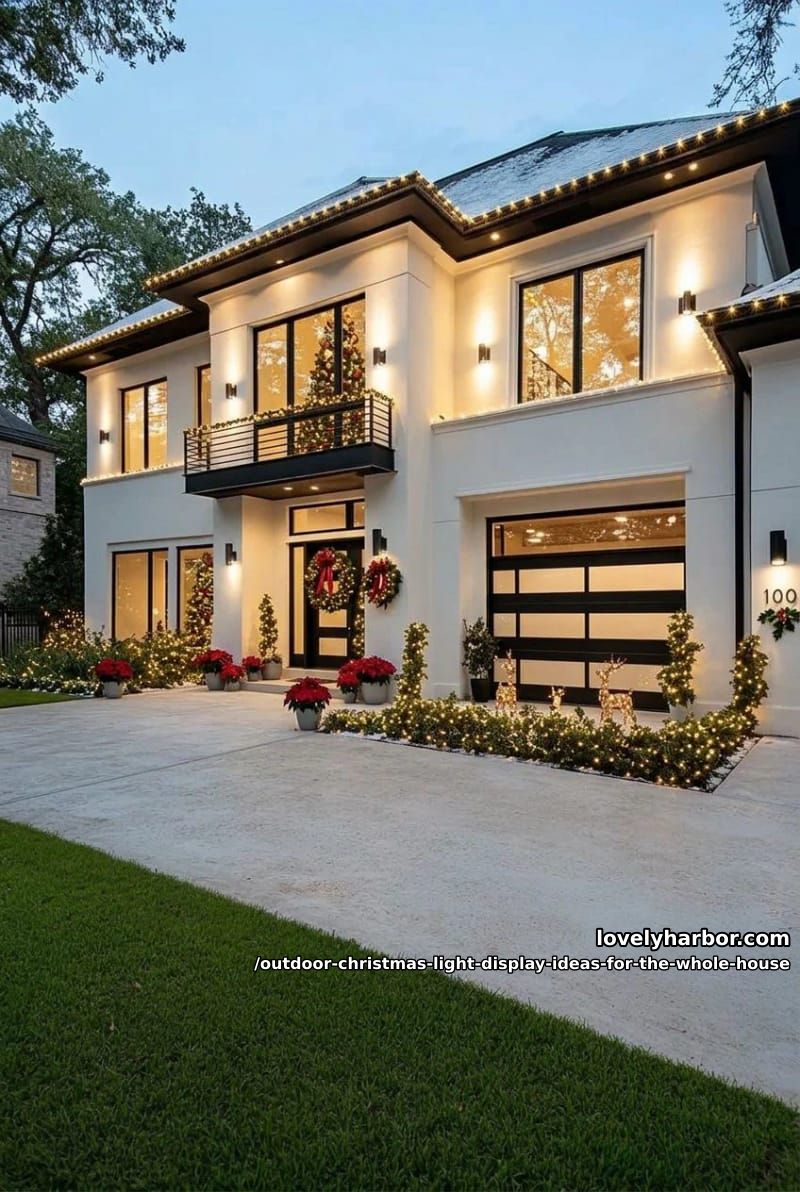
Permanent eave lights are the real shift in outdoor decorating, and for a whole-house display they solve the worst part: you install once and never climb the ladder again. These are low-profile LED fixtures mounted under the fascia that sit nearly invisible by day and wash the wall in warm white, holiday color, or anything else from a phone. The choice between approaches is mostly budget and how long you plan to own the house.
| Approach | Upfront cost | Lifespan | Daytime look |
|---|---|---|---|
| Seasonal C9 strings (DIY) | $150 to $400 in lights | A few seasons per set | Wire shows, comes down yearly |
| Govee permanent (DIY) | $300 to $600 per kit | Roughly 2 to 3 years before clips and adapters degrade | Thin line of pucks visible up close |
| Pro install (Jellyfish, Trimlight, Gemstone) | $20 to $40 per linear foot, often $2,000 to $8,000+ | 10 to 20 years | Color-matched channel, near invisible |
The pro systems break even around year four or five against the cost of buying strands and either paying for a seasonal install (roughly $300 to $900 a year) or donating a Saturday to it. Govee is the honest middle: a 100 to 200 foot kit runs $300 to $600 and its app beats either pro brand's, but the included adhesive clips and the power supply start failing in year two or three, especially in hard sun, so plan on screw-in clips and treat it as a five-year product. People email me asking whether Govee "is as good as Jellyfish." For day-one curb appeal at a tenth of the price, close enough. For the invisible-by-day look an HOA cares about, no, the pucks hang where you can see them.
4. Wrap the trunks and bare branches of every front tree
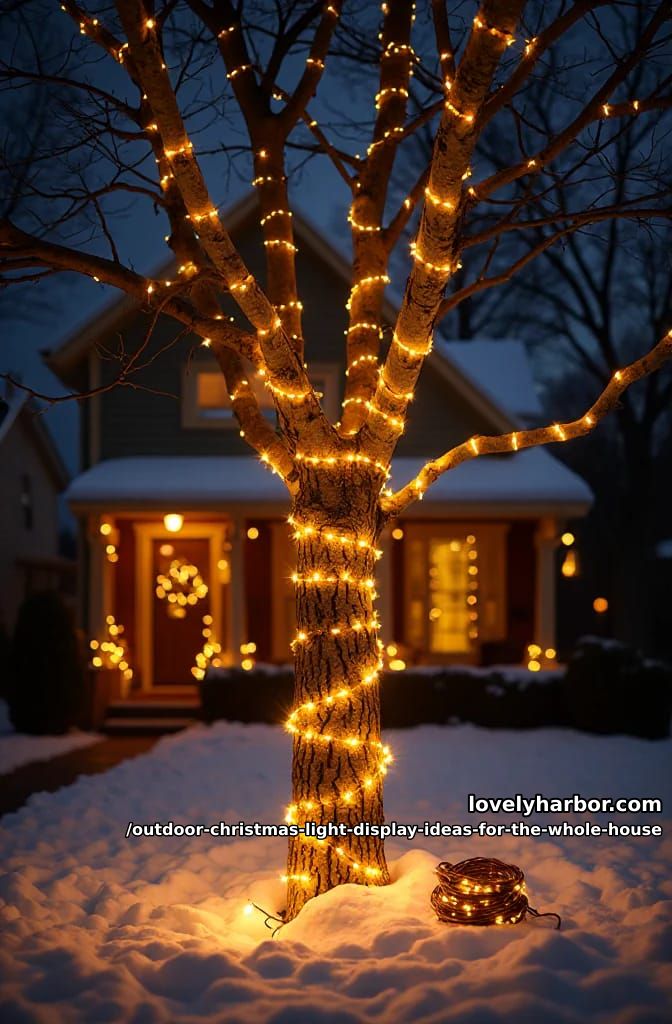
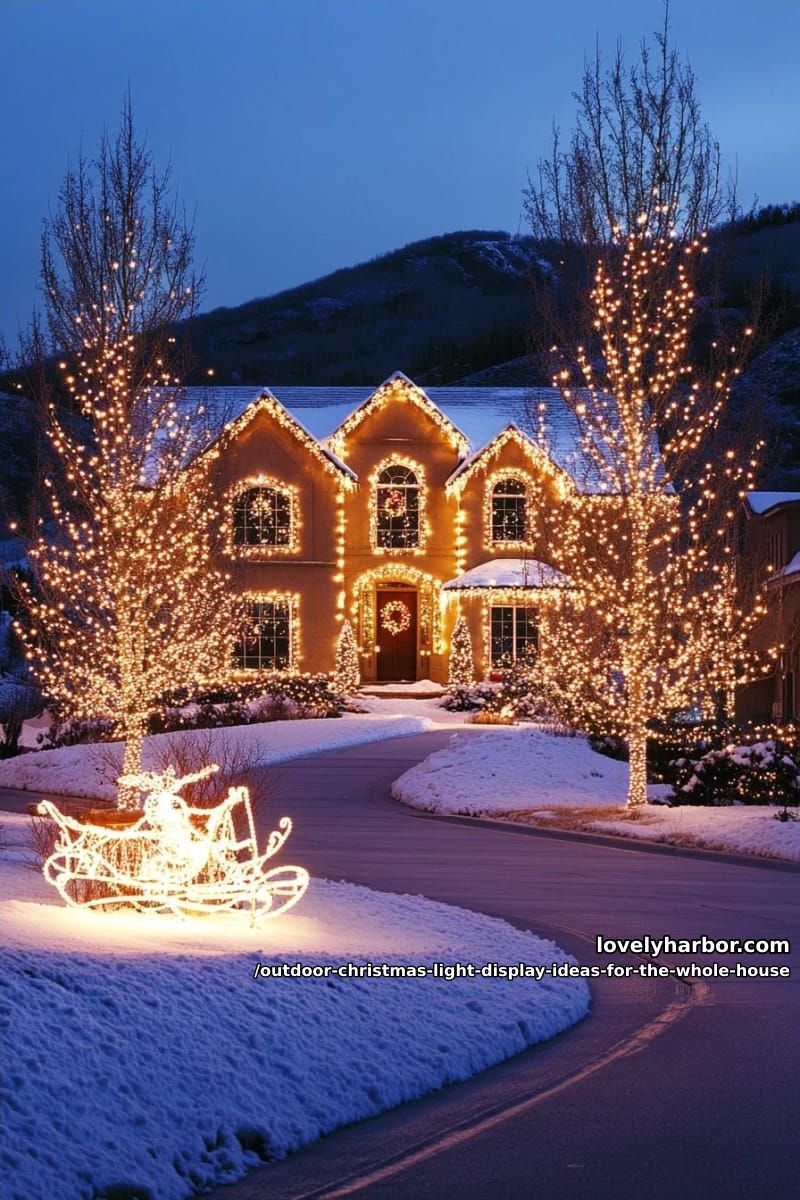
Wrap the trunks and main branches of your front trees rather than draping a net over them, because vertical lines of light are what give a flat front yard depth. Spiral mini-light strands up the trunk with wraps two to three inches apart, widening as you reach the big limbs, and stop once a branch gets thinner than your thumb. Nobody reads light on the twiggy tips, and you will run out of strand chasing them. A mature trunk swallows light fast, so a single fifteen-foot maple and its first branches can eat three or four hundred bulbs.
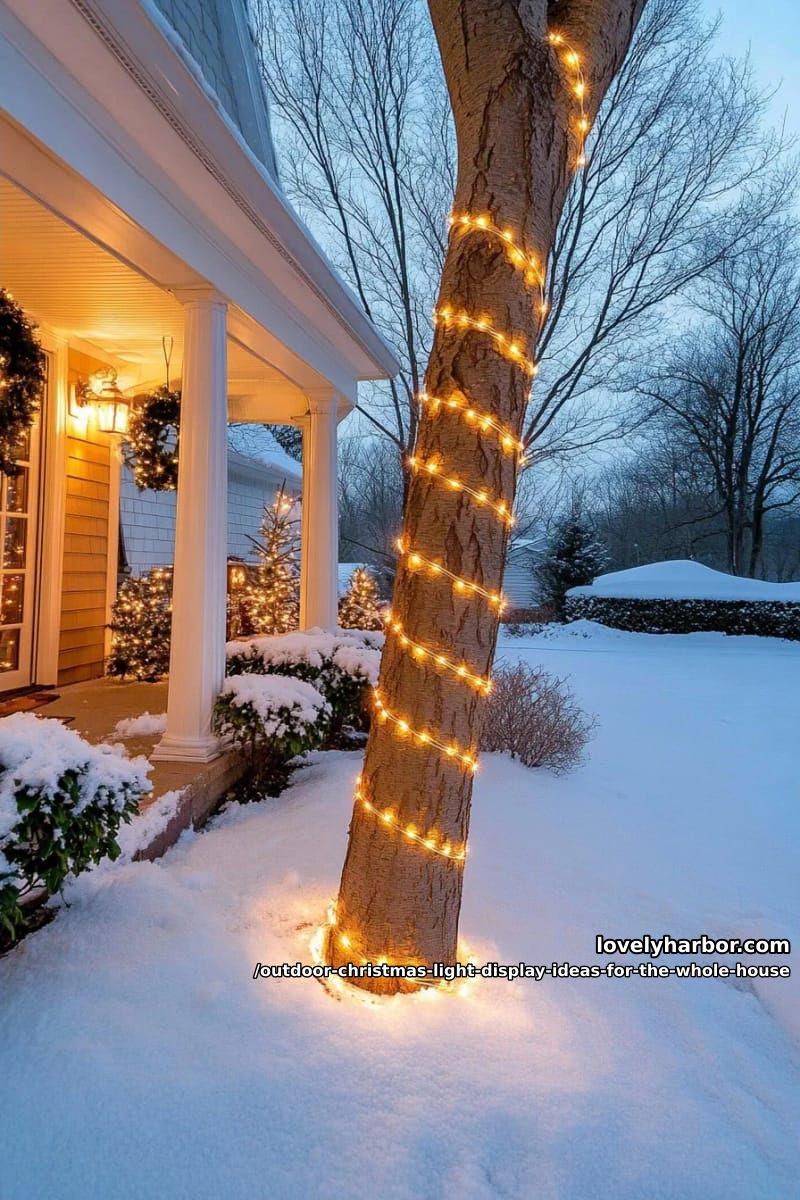
Warm white only here. Colored wrap on a bare tree reads carnival, and once you have committed to your one white this is the easiest zone to honor it.
5. Net lights over the shrubs, so you can stop hand-wrapping them
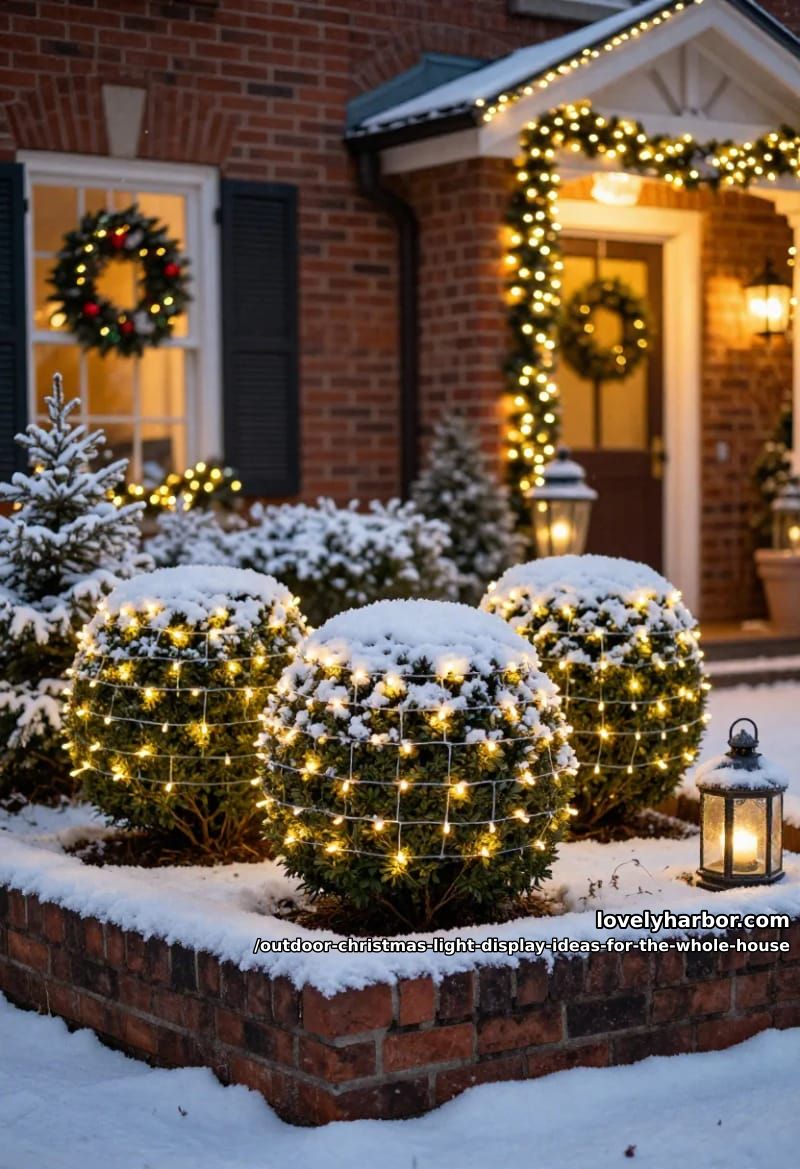
Net lights over the shrubs are the single biggest effort-to-payoff trade in the whole display, and I say that as someone who hand-wrapped boxwoods with mini strands for years before admitting defeat. A net light is a pre-spaced grid you drape over a rounded shrub and tug into shape: ten seconds versus the twenty cold-fingered minutes a spiral wrap takes, with even spacing instead of one bald side. Buy them sized to your shrubs rather than stretching a small net over a big boxwood, which is exactly where the gaps come from. They are also the fastest zone to take down in January, which matters more than anyone admits in November.
6. Light the path and driveway edges to pull the eye to the door
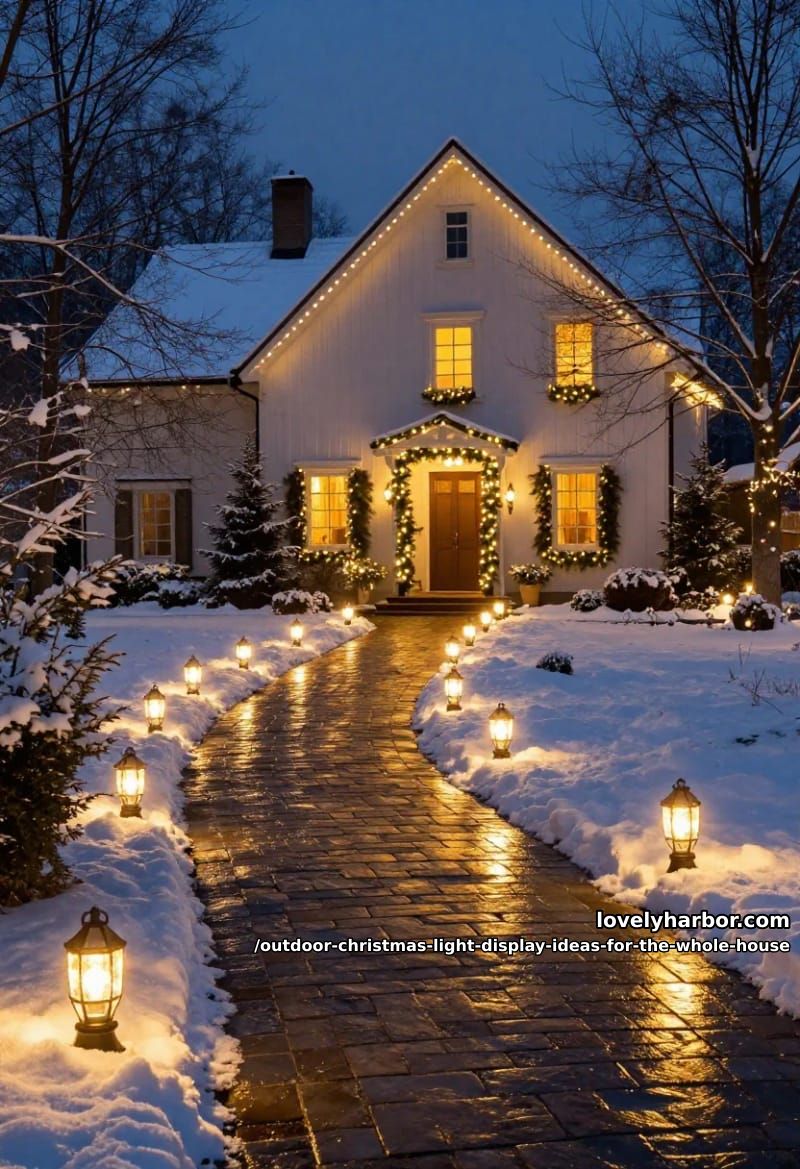
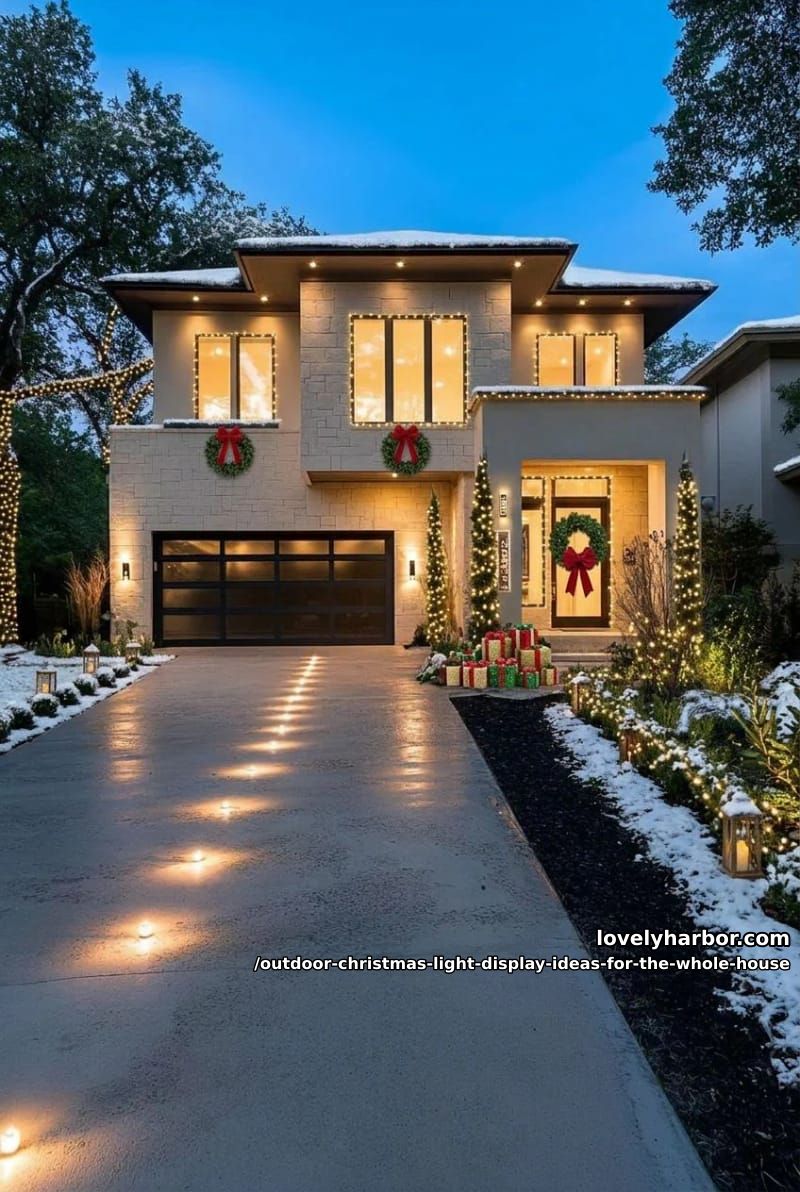
Line the front walk and the driveway edge to drop the composition to ground level and steer the eye toward the door. Low stake lights, either C9 pathway markers or short bollard stakes spaced eighteen to twenty-four inches apart, do this without competing with the roofline; you want a quiet dotted line, not a runway. On a curving path, follow the curve exactly, since the bend is the part that reads as intentional.
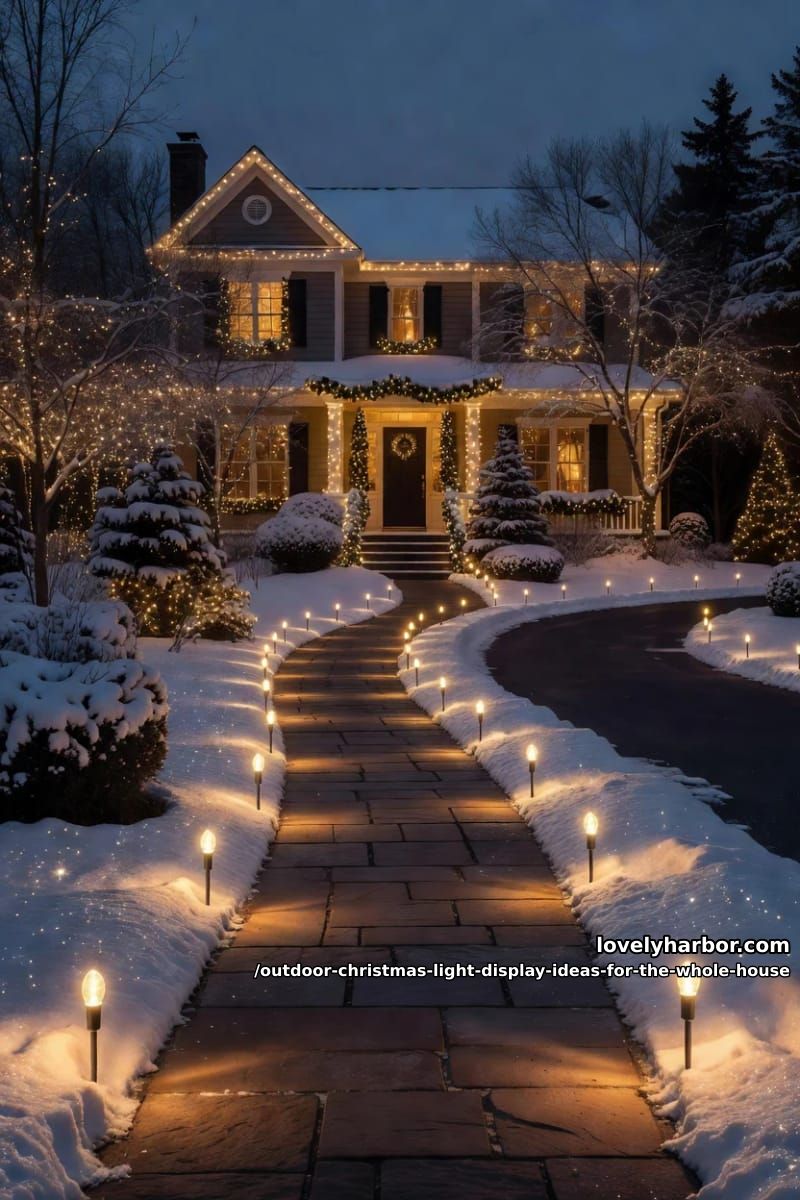
If snow is in your forecast, set the stakes an inch or two in from the path edge so the shovel or the plow doesn't behead them by mid-January.
7. Anchor the yard with one oversized focal piece
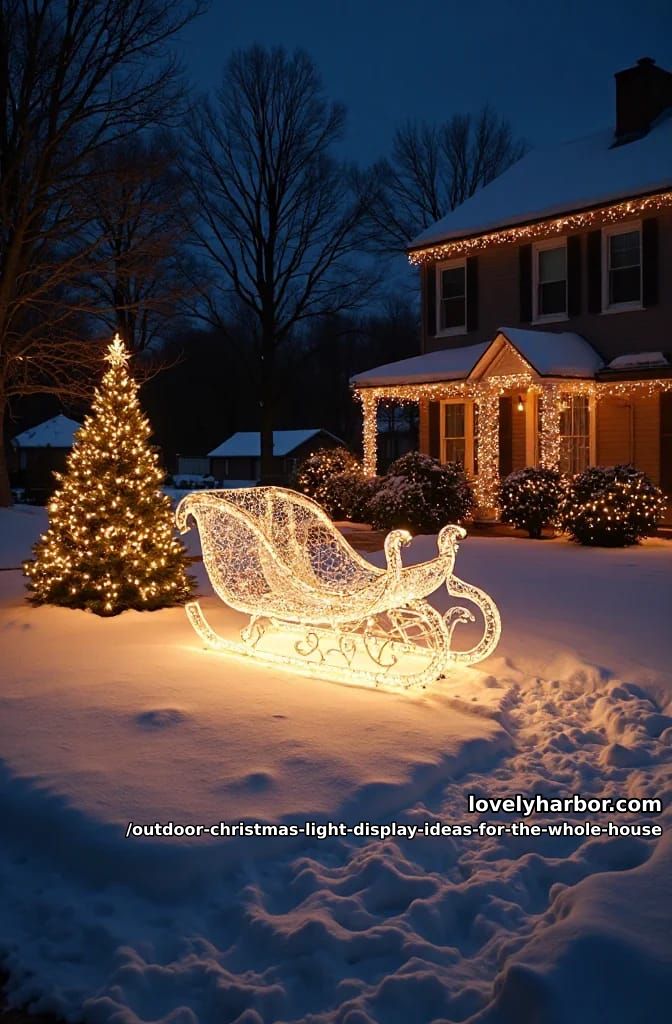
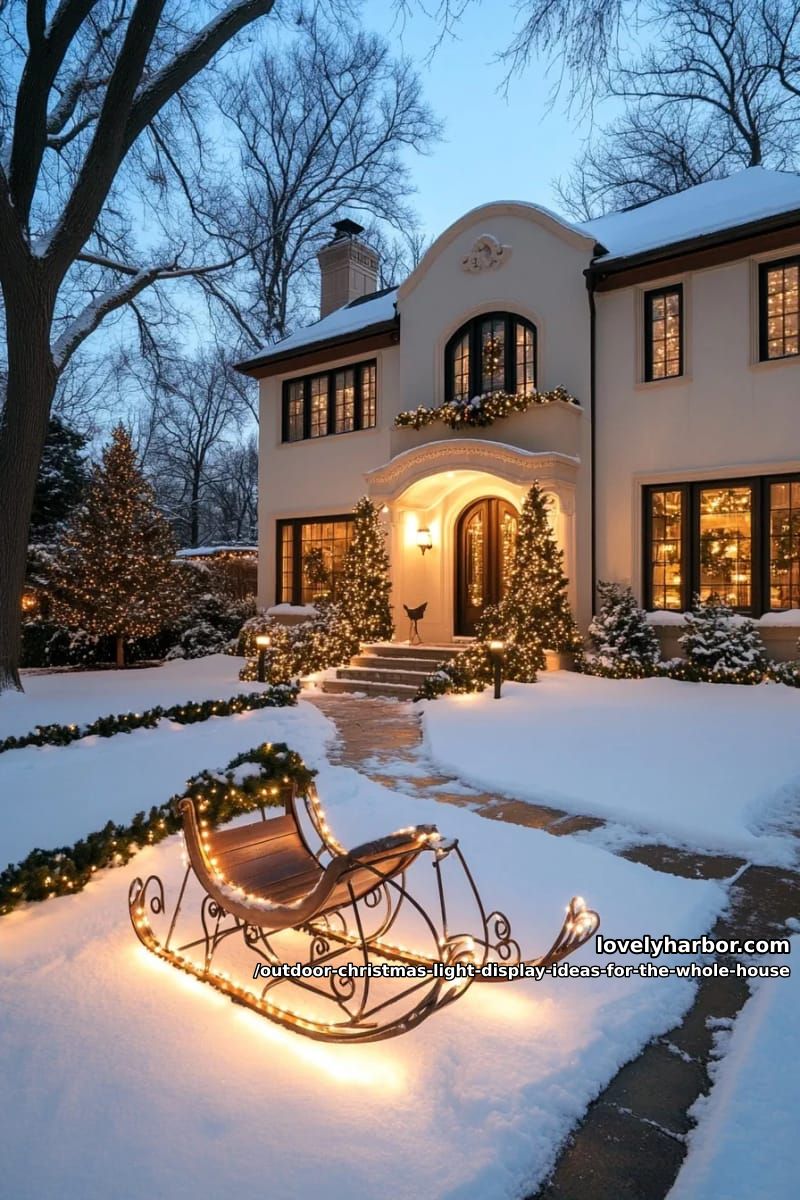
Give the yard one oversized focal piece and keep everything else subordinate to it. A whole-house display reads cluttered the moment three or four medium things compete, a snowman, an arch, two inflatables, a wire deer, all the same size; one large anchor (a five-foot lit sleigh, an oversized lit ornament cluster, a single backlit star on the gable) gives the eye somewhere to land and lets the rest read as a frame. Scale is the whole game. The anchor has to be visibly bigger and brighter than its neighbors or it just joins the pile.
Do this
- Pick one anchor and oversize it.
- Leave a clear ring of open snow or lawn around it so the shape is legible from the street, not crowded by shrubs and stakes.
- Keep it in your one white so it belongs to the display.
Avoid
- Five inflatables spaced evenly down the lawn (a car lot, not a display).
- A near-equal second piece across the yard that splits the eye in two.
- Lighting the anchor at the same brightness as the roofline, so nothing wins.
8. Put a candle or lit wreath in every front-facing window
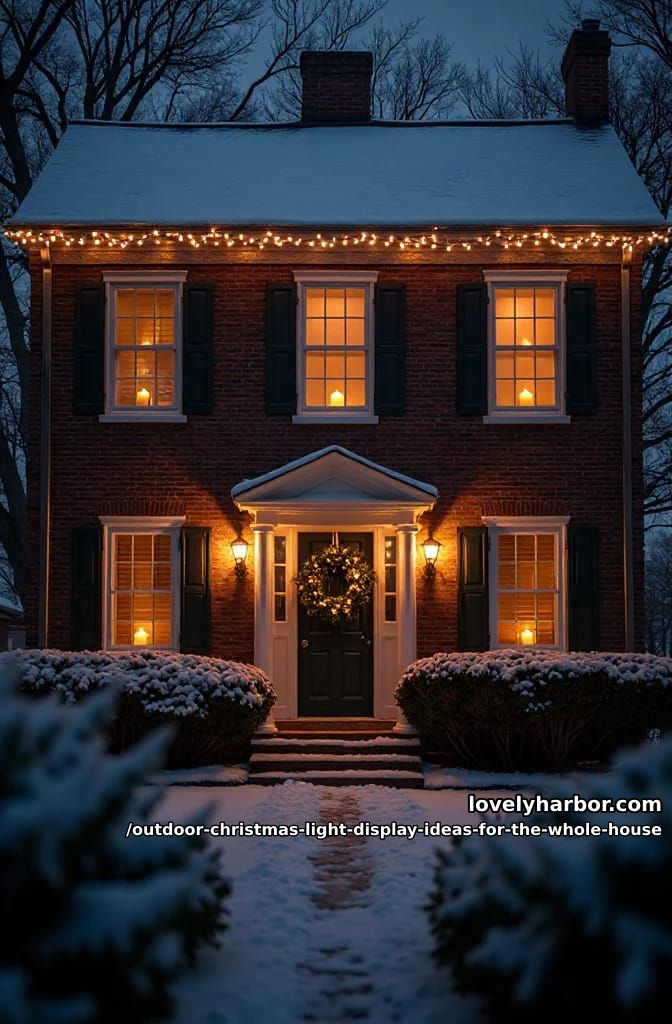
Put a single light in every front-facing window and a lit wreath on the door to give the house an interior glow the exterior strands can't fake. The trick is symmetry: one identical candle or star centered in each window at the same height, so the front face reads ordered rather than random. Colonials and anything with a grid of matched windows have an unfair advantage here. A house with mismatched window sizes should light the matched front-facing set and leave the oddballs dark rather than force it.
Battery candles on a six-hour timer beat the plug-in kind, because you are not running cords up the inside of the wall to six different sills. Warm white again, to match what you built outside.
9. Cut a backlit plywood silhouette for the lawn
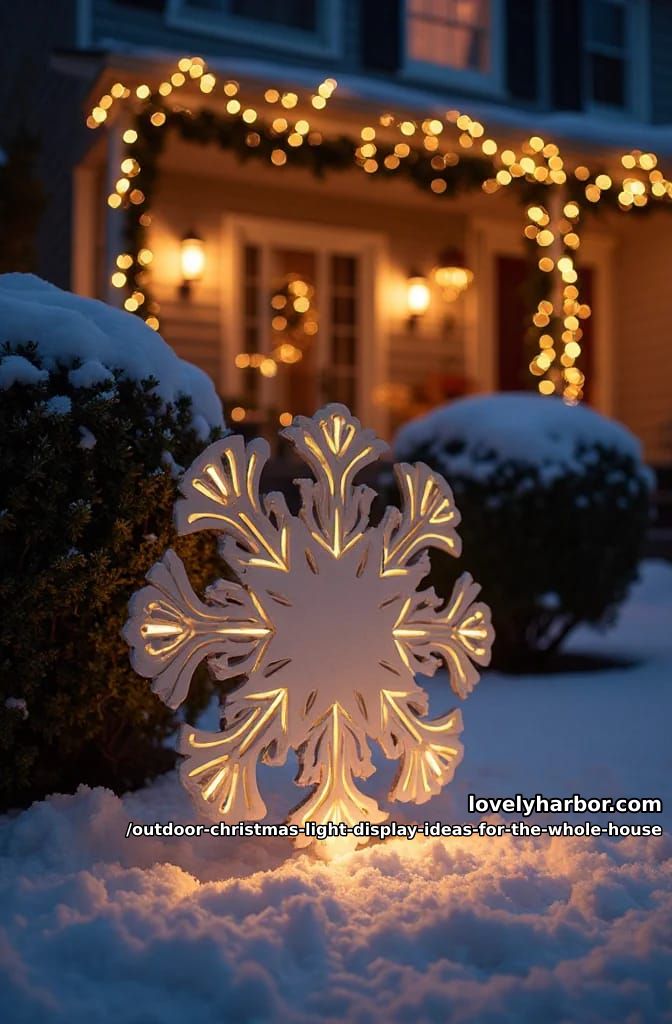
Cut a flat silhouette from plywood and light it from behind for a lawn piece that looks custom because it is. A snowflake, a star, a deer, a single word, jig-sawed out of half-inch plywood and backlit with a warm white string stapled to a frame behind it, glows through the openings while the panel itself stays a clean dark shape. This is a weekend project, not a quick one, you are cutting fretwork and weatherproofing a panel, so I won't pretend it belongs next to net lights on the effort scale. It is also the single element most likely to make a stranger slow down, because it isn't something they can grab off a shelf at Lowe's.
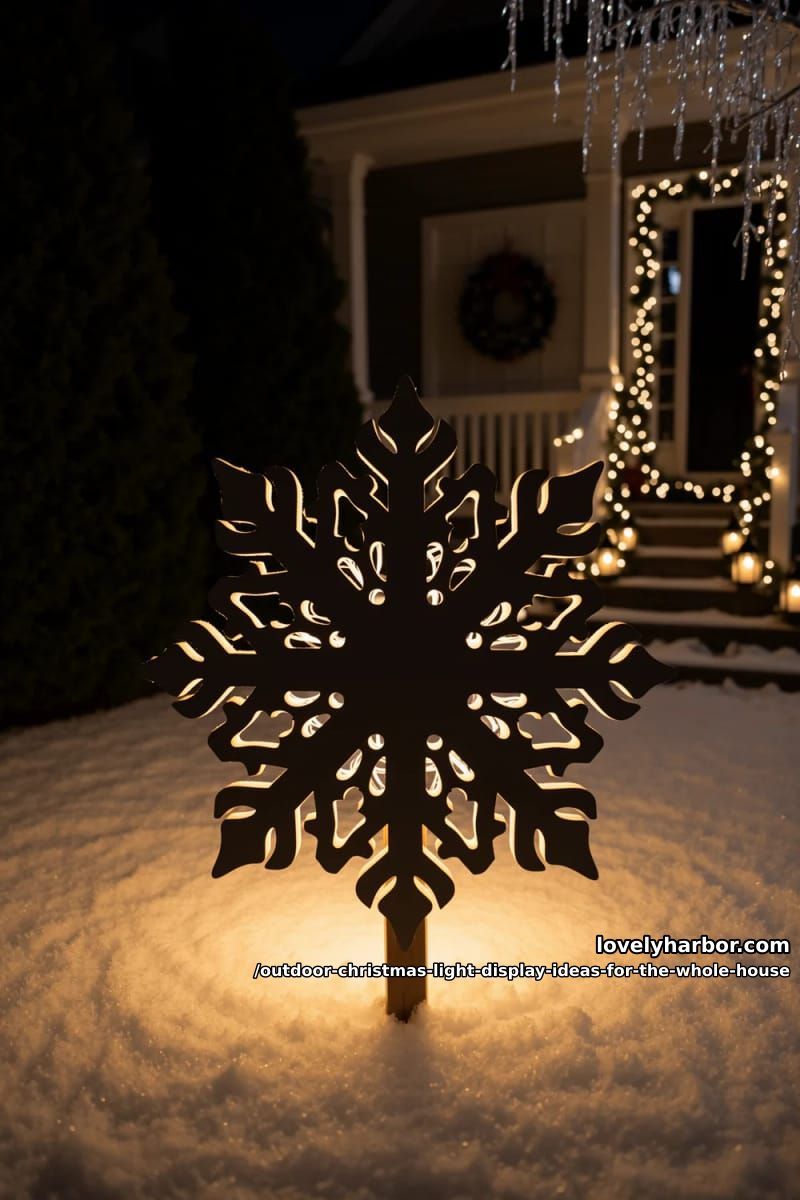
Keep the backlight a few inches off the panel so the glow spreads instead of hot-spotting through the cuts, and seal the edges with exterior primer unless you want it delaminating by New Year's. Etsy sells cut-ready PDF templates for a few dollars if you don't trust your own jigsaw line, which, fair.
10. Skip the cheap projector, or commit to a good one
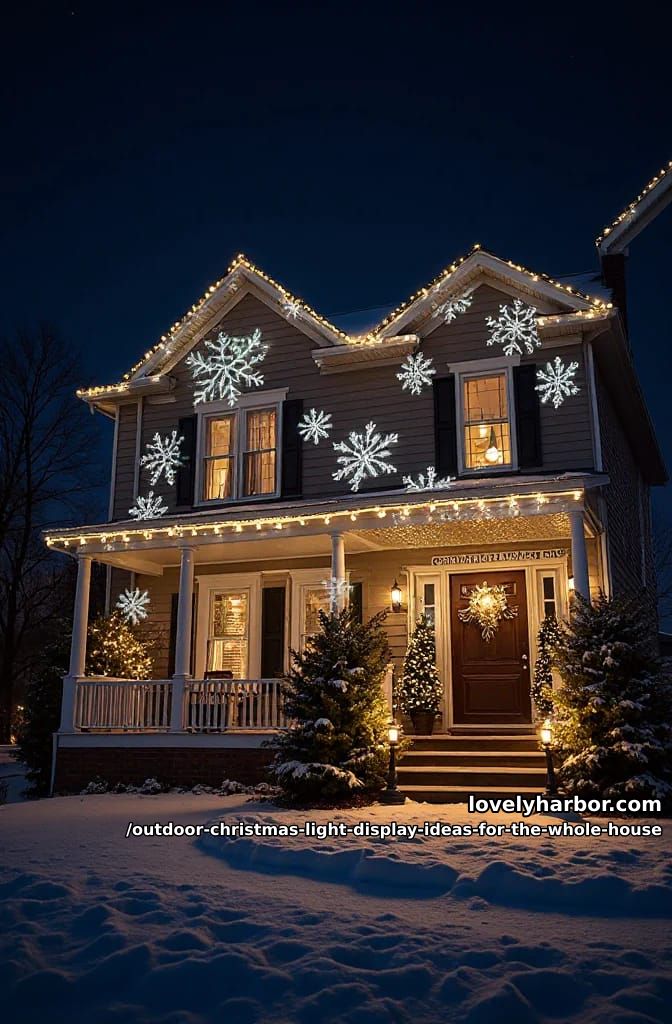
Skip the $25 laser projector, or commit to a real one, because the cheap red-and-green dots scattering across your brick are the fastest way to make a careful display look careless. The moving-dot lasers read as a screensaver and wash out everything else you hung. If you want projection, the version that works is a static gobo-style projector throwing one in-focus pattern (falling snow, a single large snowflake field) in a single color onto a blank wall, set so it complements your white instead of fighting it.
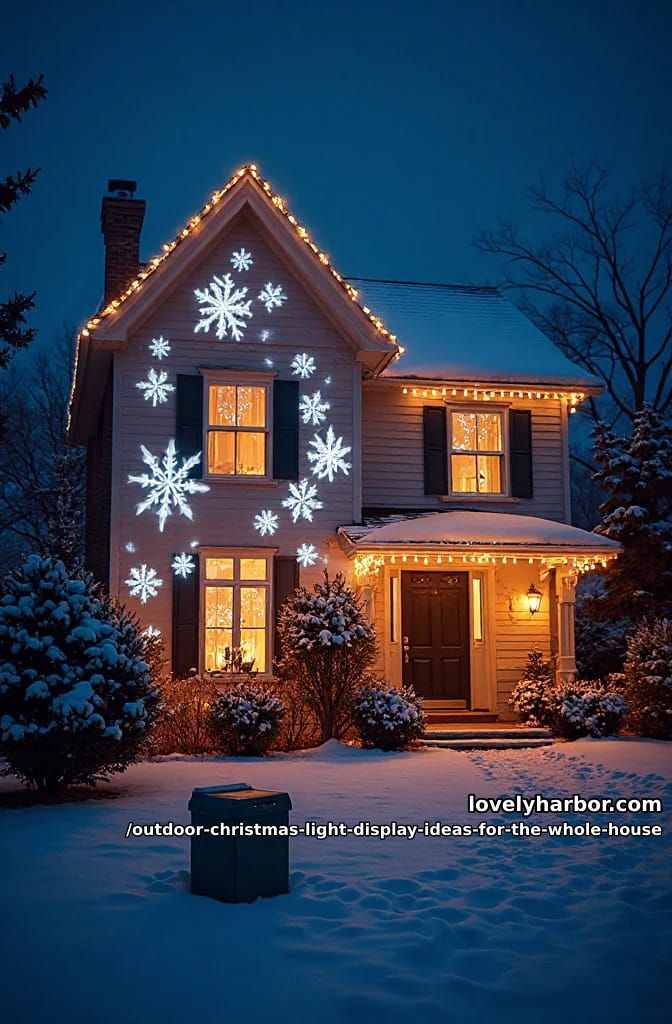
People push back on this, because the lasers are cheap and easy, and I get it. My honest answer is that they undercut the forty dollars and three hours you put into the roofline. One good static projector on a featureless garage wall, sure. A laser fan blasting the whole front of the house, no.
11. Run the whole house on one schedule
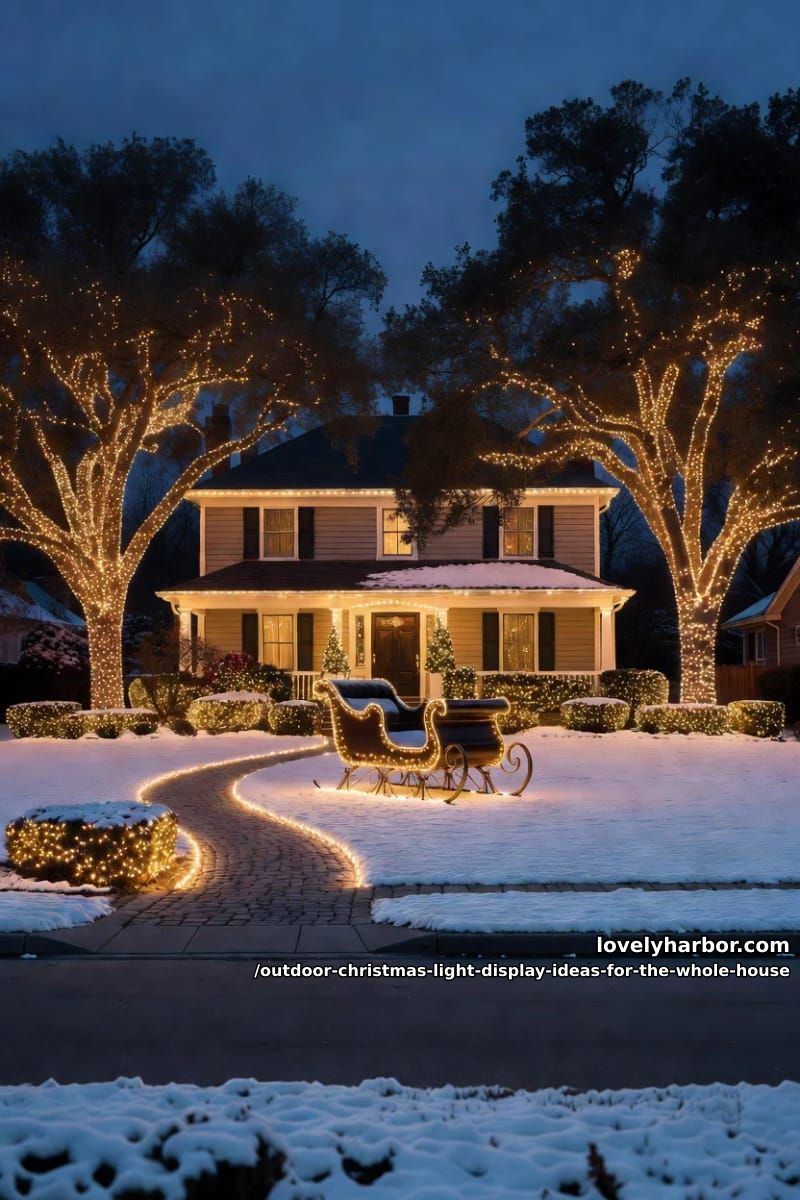
Put the entire display on one schedule so the house turns on and off as a single unit, which is the difference between a coordinated display and a yard where three zones are lit and two went dark because someone forgot a switch. Group everything onto outdoor-rated smart plugs or one astronomical timer set to dusk-on and a late-night-off, and consolidate runs so you flip one schedule instead of patrolling the yard. If you went with permanent eave lights, the app already handles this; if you didn't, a couple of GFCI-friendly outdoor smart plugs do the same job for the strands and the focal piece.
Set the off-time to something like 11 p.m. rather than dawn. It trims a little power, it spares the neighbors a wall of light through their bedroom window, and it is exactly the nudge DarkSky International gives decorators without asking anyone to go dark. A display that runs itself is also the one you'll actually keep up all season instead of abandoning by the 20th.
Conclusion
Starting from nothing, do it in this order: pick your white, outline the roofline, wrap the trees, fill in shrubs and pathway, add the one focal piece, and wire the whole thing to a single schedule last. The order matters because every later choice has to honor the white you chose first, and because the focal piece only works once the quieter layers exist to frame it. The part I still get wrong most years is restraint. I buy one more thing in November, add it to a yard that was already balanced, and spend an evening taking it back off. The houses that stop traffic tend to be the ones that stopped adding a strand or two before I would have.