
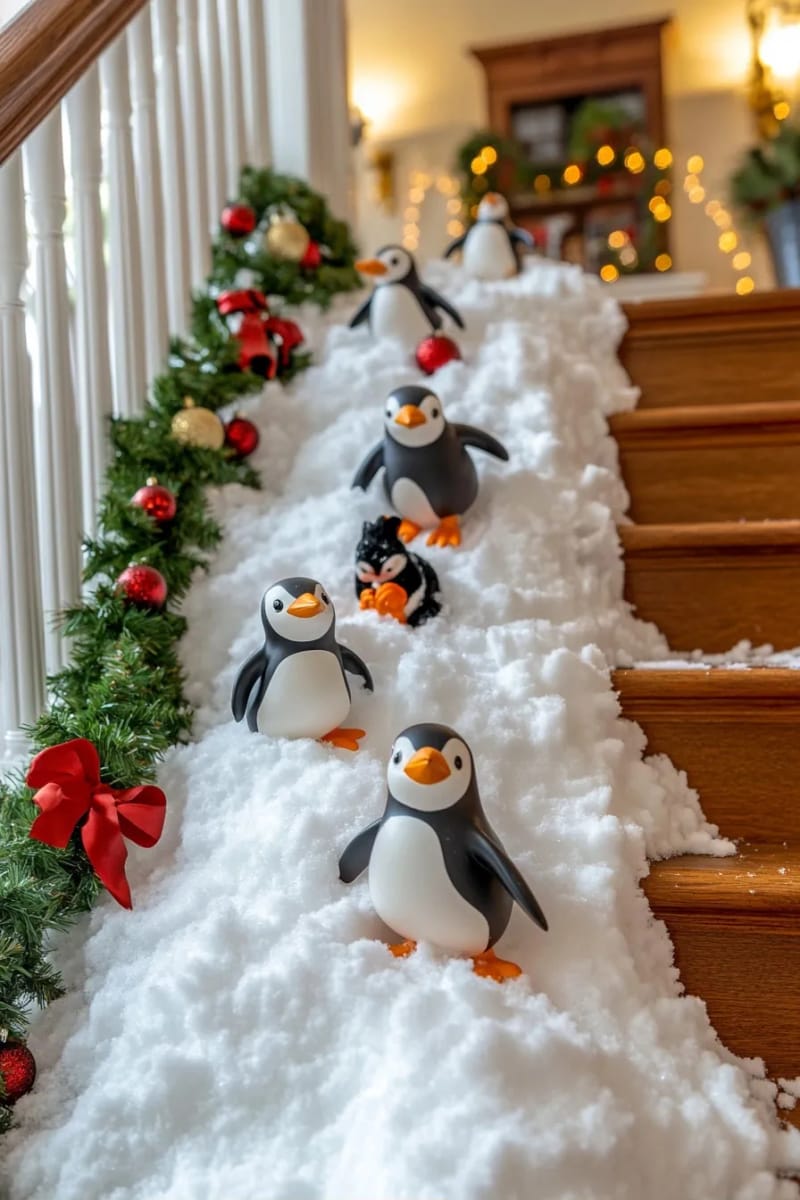
A row of stuffed penguins, bellies flat on a strip of fake snow, nosediving toward the newel post while a light string glows somewhere under the pile. That is the entire trick, and over the last few winters it has quietly become the one decoration people stop and photograph on the way in, ahead of the tree. The distance between the versions that look like a set piece and the ones sagging off the rail by the second week of December comes down to three specific choices: what you use for the snow, how you anchor it, and whether your penguins are resin or plush.
Some of what follows is a ten-minute, open-the-box job; some is a Saturday afternoon with a bag of poly-fil and a fistful of zip ties. I have flagged which is which, and called out the parts that reliably trip people up so you are not rebuilding it on the 3rd.

The snow slope does the work, the penguins just ride it
Get the snow ridge right and everything else falls into place; get it wrong and you have three penguins clinging to a bare rail with visible ties. The snow is the structure here, not the garnish. It gives the penguins something to sit in, it hides the hardware, and it is what reads as "slide" from across the room. Build a continuous, slightly overstuffed drift along the top of the handrail before you think about a single penguin.
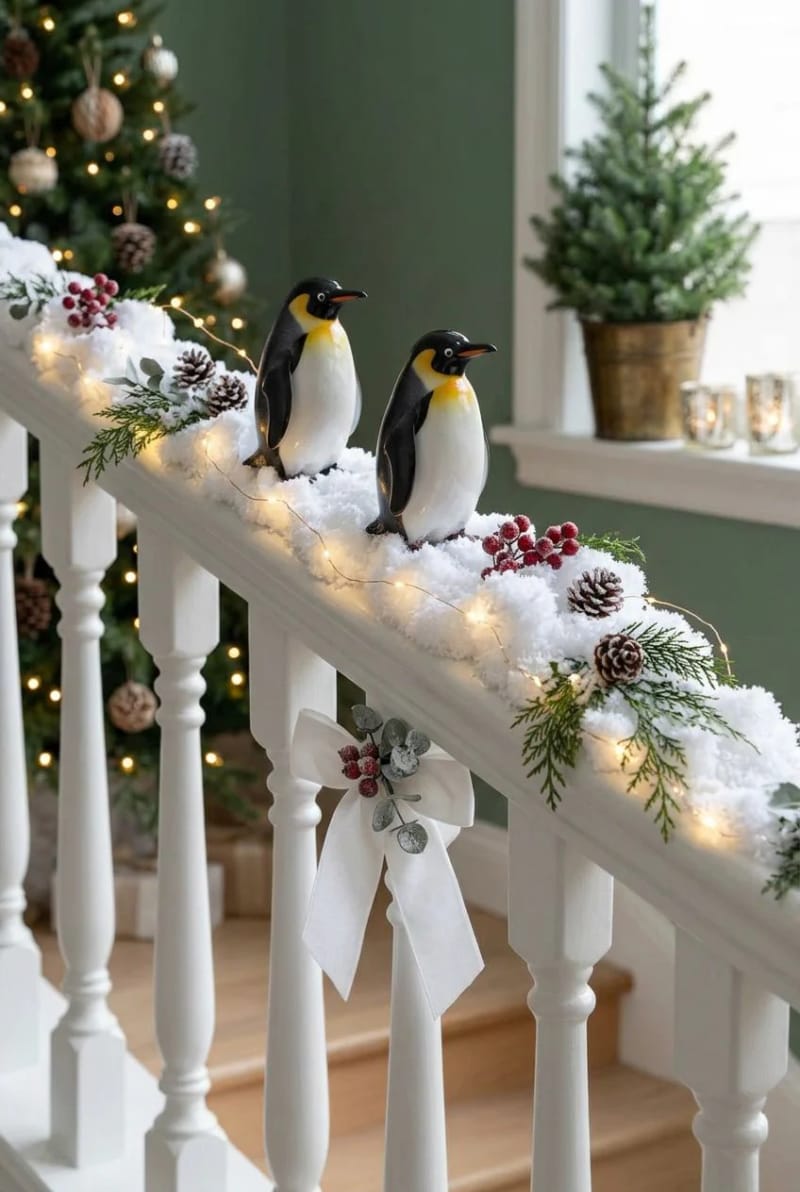
What to use for the snow
Reach for craft batting or bagged poly-fil, not the thin web-like stretch snow sold in party aisles, which pills and goes grey the moment you tug it. A bag of fiberfill runs a few dollars and pulls apart into a far fluffier drift than the pre-cut stuff. If you want something you can wrap and re-wrap for years, a flame-retardant snow blanket roll holds its shape better and lies flatter over a handrail.
A reliable one is the PREXTEX flame-resistant artificial snow blanket roll, 2-pack, which you can cut down the length of the rail with fabric scissors.
Where the penguins actually grip
The penguins never attach to each other or balance on their own; they ride on the snow, and the snow attaches to the rail. Loop a zip tie or a length of florist wire around a spindle or under the handrail every foot or so, cinch the batting down, then tuck a tuft of fluff over each tie so it disappears. Resin figures have a flat molded belly that sits into the drift; plush ones usually need a bit of wire or a hidden loop, because they want to roll.
Let them crash: a penguin pileup at the bottom of the stairs
Stack the last two or three penguins in a heap where the rail meets the newel post, one upside down, one wedged sideways. A tidy evenly-spaced row looks like a product listing; the pileup is what makes people grin, because it implies the ones up top are about to join the wreck. It costs nothing and takes thirty seconds, and it is the single detail most store-bought sets leave out.
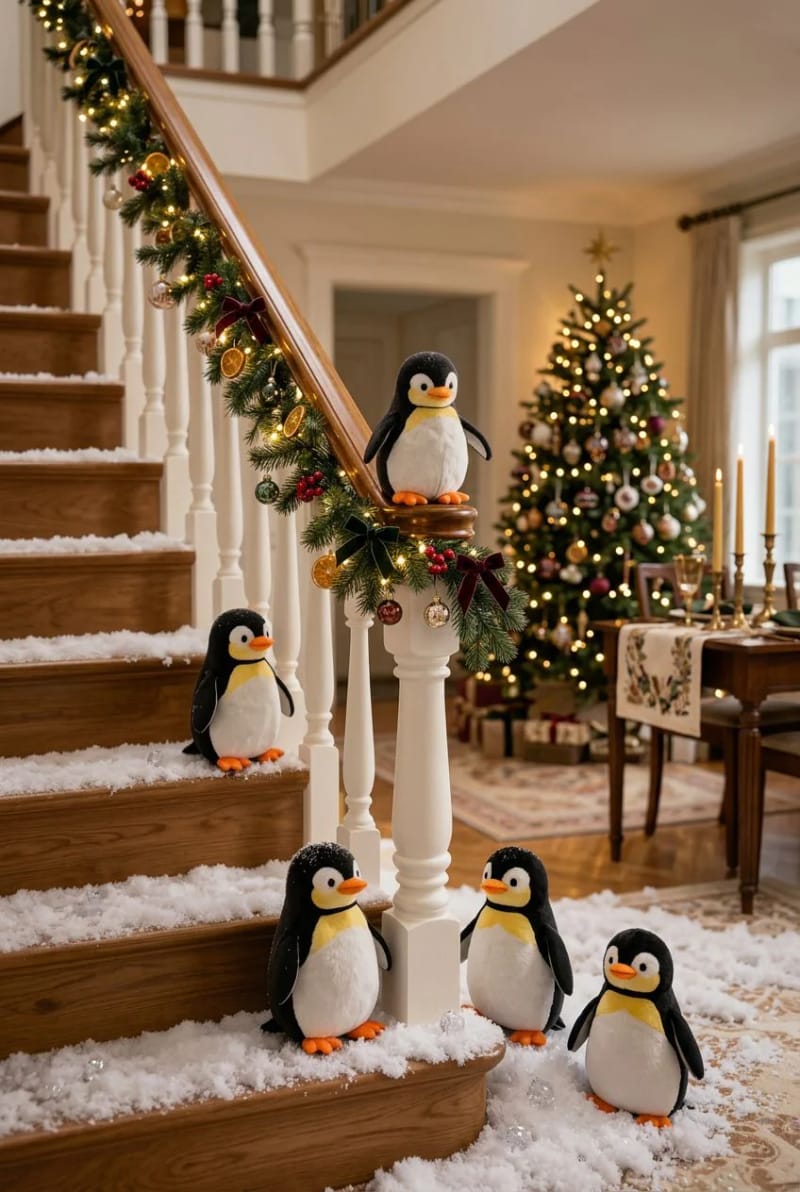
The no-craft route: a resin penguin stairway set
If you do not want a project, buy the resin set and be done in ten minutes. These come as three matching penguins molded in a sliding pose, a pre-cut snow wrap, and usually a short light strand, all secured with zip ties (most run on 3 AA batteries you supply). The Midlee and Holiday Aisle sets are the ones that keep circulating; a full kit typically lands somewhere in the $30 to $60 range, and the resin holds its shape year after year where plush flattens.
Three flat-bellied resin penguins that sit into the snow without wire, indoor-rated, with extra single penguins sold separately for a long staircase.

I would steer most people to a resin set over the six-plush bargain kits. The cheap plush versions are heavier than they look and the included tie-string is slick, so they slide down and bunch at the bottom, which owners on Amazon reviews complain about constantly (one described giving up and taping the penguins down by their clothes). Here is the honest trade-off between the three routes:
| Approach | Effort | Look | Holds up? |
|---|---|---|---|
| Resin set | Ten minutes | Uniform, catalog-clean | Best; keeps shape for years |
| Plush DIY | An afternoon | Soft, cuddly, a bit uneven | Slides unless you add wire anchors |
| Crochet or felt your own | A weekend of making | Handmade, one of a kind | Light and grippy; you control it |


Light it from underneath so the banister glows after dark
Run the string under the snow, not over the penguins. Buried in the batting, a warm-white LED strand lights the whole drift from within so the fibers glow and no single bulb is sharp; laid on top, it just looks like tinsel got loose. This is the difference between a decoration that reads at night and one that goes dark the moment the overhead light is off. Battery strands with a timer are the least fussy for a rail with no nearby outlet.
A 33ft warm-white strand on bendable wire with a timer, thin enough to vanish inside the snow and long enough for a full flight of stairs.

Warm white every time, incidentally; the multicolor sets turn the snow into a gas-station forecourt. If your staircase has an outlet at the base, a plug-in strand saves you the battery swaps over a six-week season.
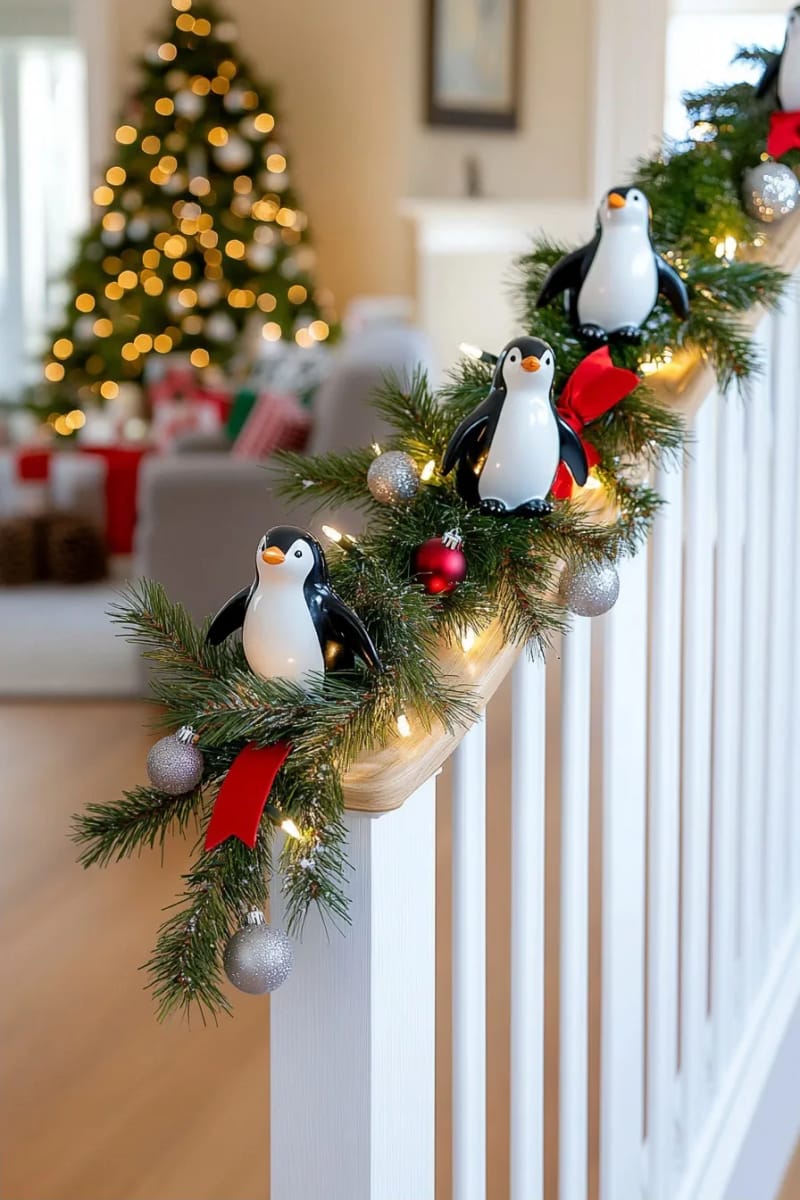
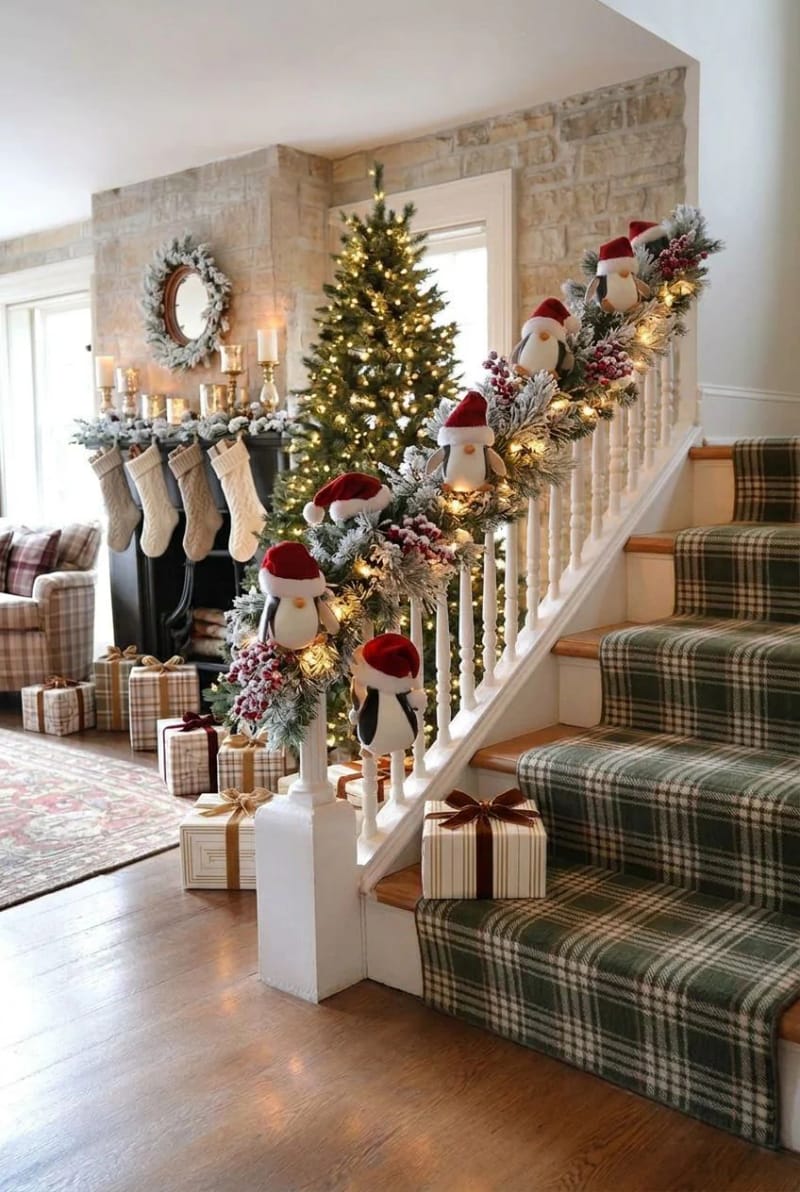
Skip the handrail and bury the whole staircase in snow
Cover the treads and the rail together and you get the version that has been all over Pinterest lately: a full winter-wonderland flight with penguins scattered top to bottom. It is a bigger commitment in batting and time, but it turns a five-foot rail trick into a floor-to-ceiling scene. The move is to treat the staircase as a hillside rather than a single slide.
Snow on the treads
Lay batting or a snow blanket along the outer edge of each tread and let it spill toward the rail, so the whole staircase reads as one slope. Bunch old pillows or a pool noodle underneath in spots to give the drift some height instead of a flat sheet. Anchor it at the back edge with pins or tape where feet never land.
Keeping it off the walk line
Leave the middle of every tread bare. It is tempting to blanket the entire step, but snow batting on the surface you actually climb is slick underfoot, and someone will find that out at speed. Keep the fluff to the outer third and the rail.
Do this
- Wrap the outer face of the rail and the tread edges, building height with a noodle or pillow underneath.
- Anchor at the back of each tread where no one steps.
Avoid
- Covering the center of the treads. Batting there is a genuine slip hazard.
- Taping directly onto finished wood; the adhesive can lift the finish when you pull it in January.
A pool noodle gives the snow a spine
Slide a pool noodle over the handrail first, then wrap the snow over it, and the drift suddenly has volume instead of lying flat like a draped towel. This is the cheap structural fix nobody photographs but everybody notices, because it lifts the penguins into a proper ridge and keeps the profile rounded down the whole run. Split the noodle lengthwise with a knife so it clamps over the rail, tuck the light strand between the noodle and the snow, and zip-tie the whole sandwich to the spindles.
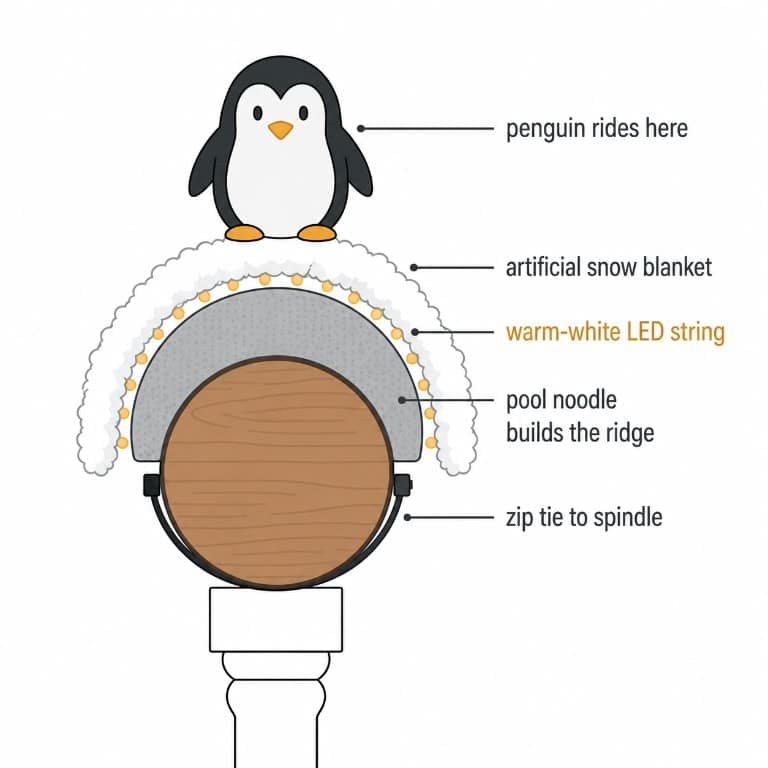
Two things sink this project. First, weight: heavy plush figures on a slick tie-string creep downhill until they all pile at the base (not the fun way), so anchor anything soft with wire rather than trusting the string it ships with. Second, heat: fake snow and poly-fil are fluffy synthetics, so keep them to low-voltage LED strands and away from old incandescent minis, which run hot enough to matter when buried in batting.
Swap the snow for a candy-cane rail
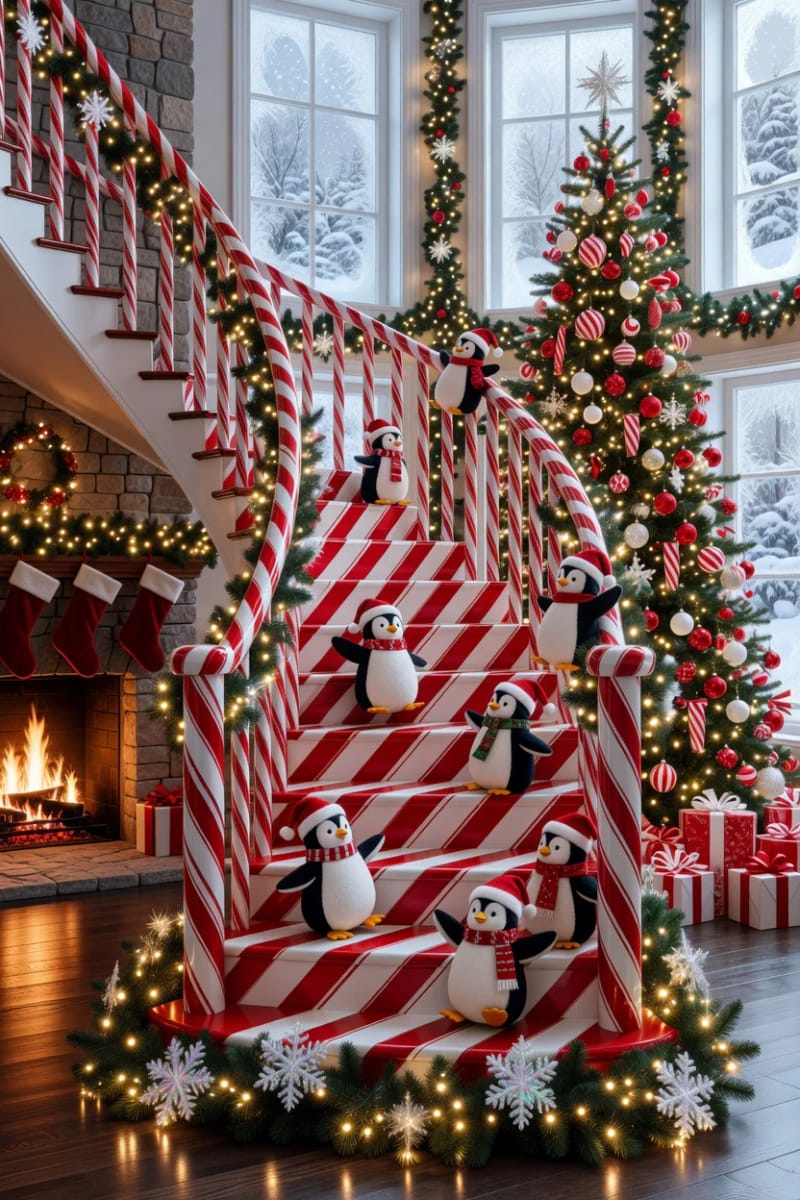
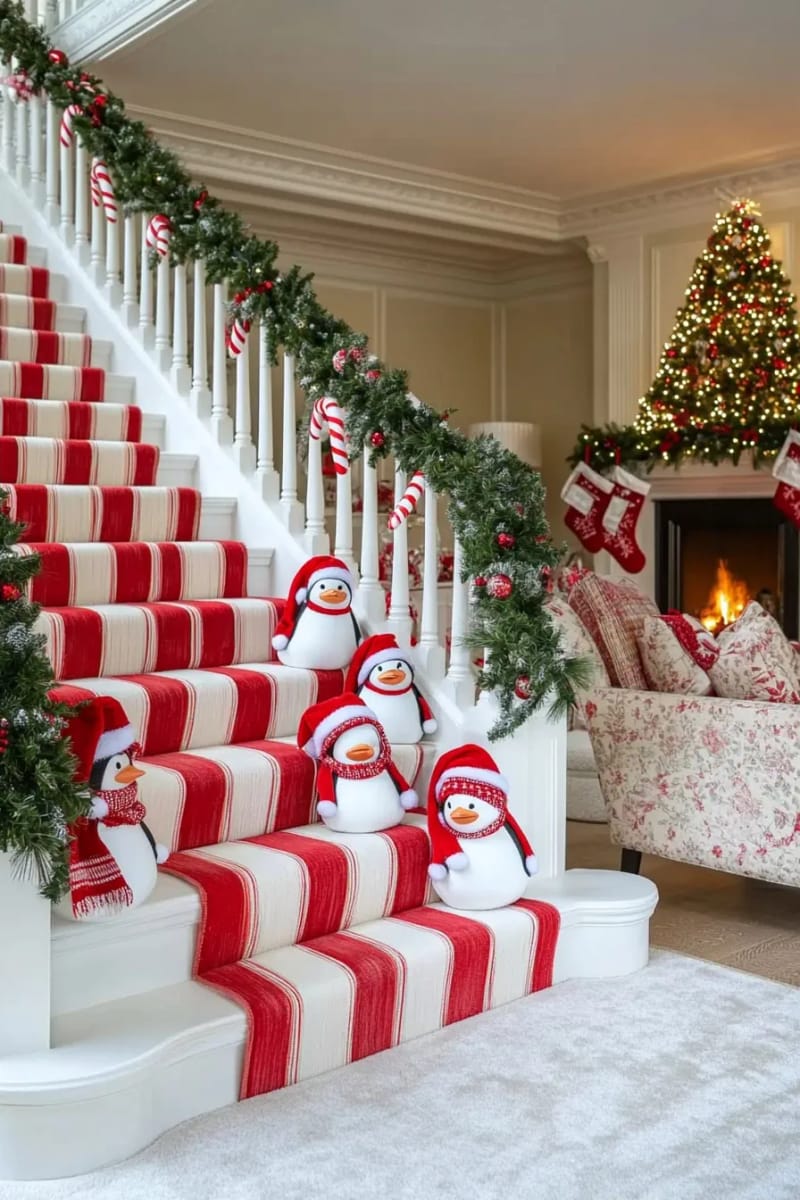
Wrap the handrail in a red-and-white candy-cane stripe and let the penguins slide down that instead of snow. It is a sharp change of pace on a landing where a white drift would disappear against pale walls, and the graphic stripe photographs hard. You lose the glow-from-within trick, so this one is better by day than at night.
No staircase? Run the slide down a mantel or console
Build the exact same drift along a mantel, a bookshelf edge, or a long console and the penguins slide there instead. Renters and anyone in a single-level place get the whole effect without a banister; the snow ridge and the downhill angle do all the work regardless of what they are sitting on. A fireplace mantel is the natural stand-in, since it already reads as a horizontal ledge for a row of figures.
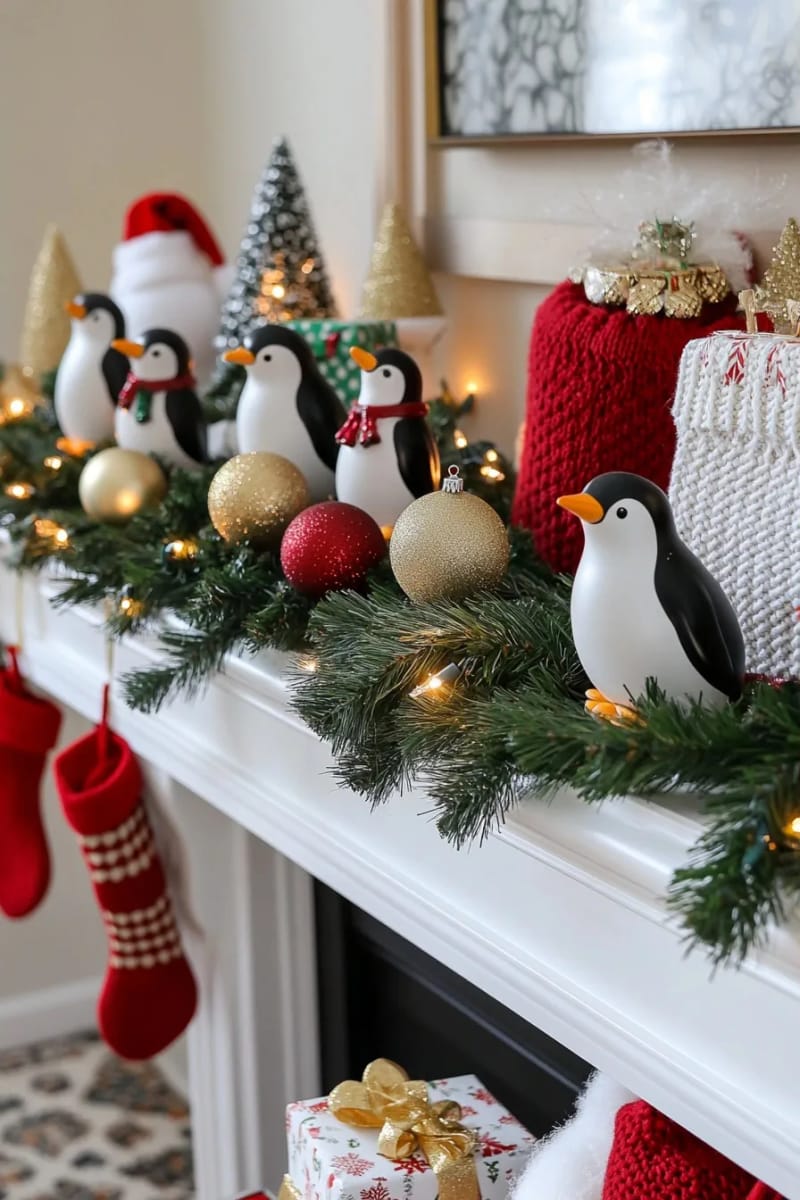
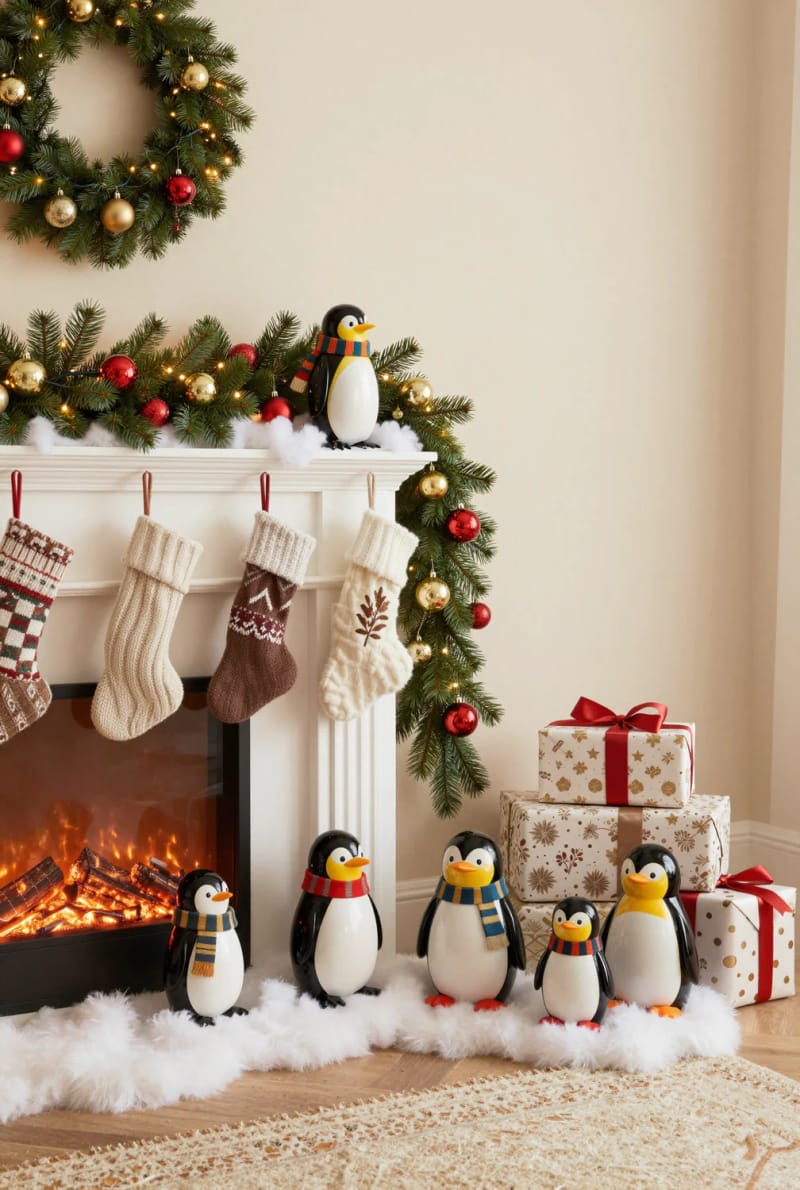
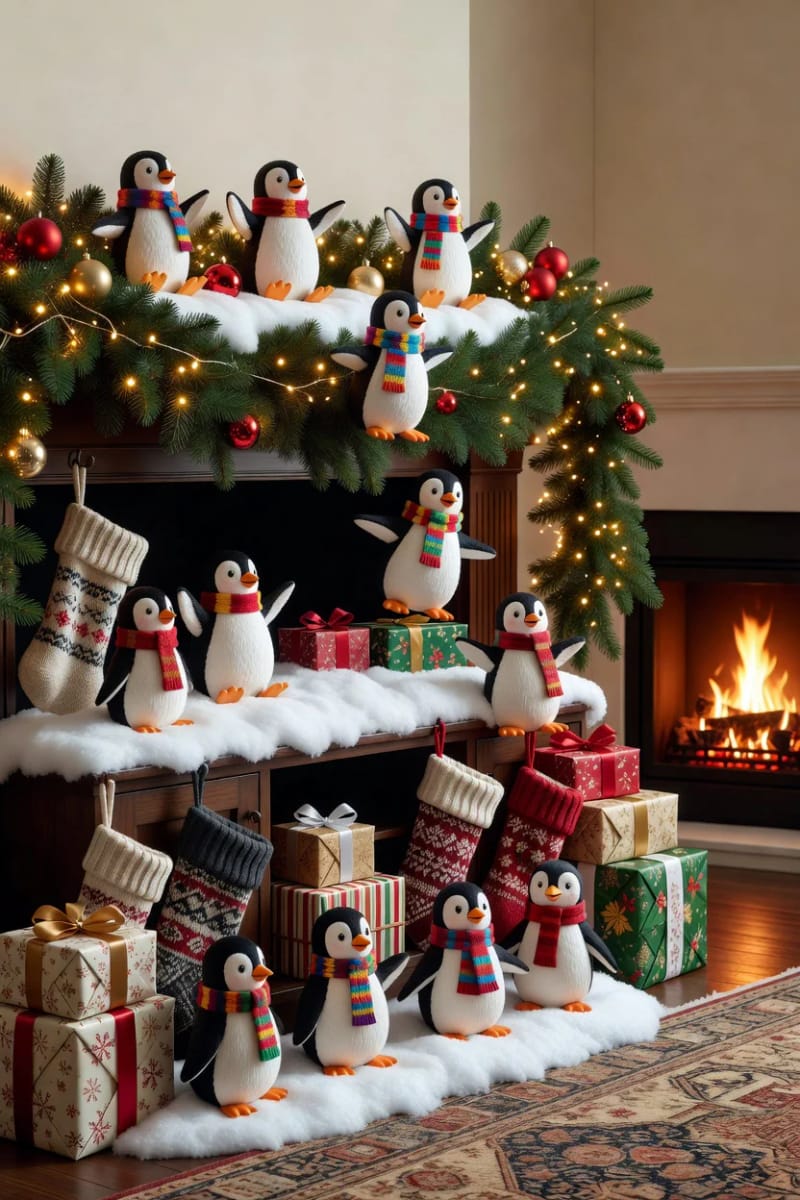
One caution unique to this spot: a mantel puts the snow directly above a heat source. If you actually light the fireplace, keep the batting well back from the firebox and stick to LED lighting, or run the slide along a console on the other side of the room.
Crochet or felt your own penguins
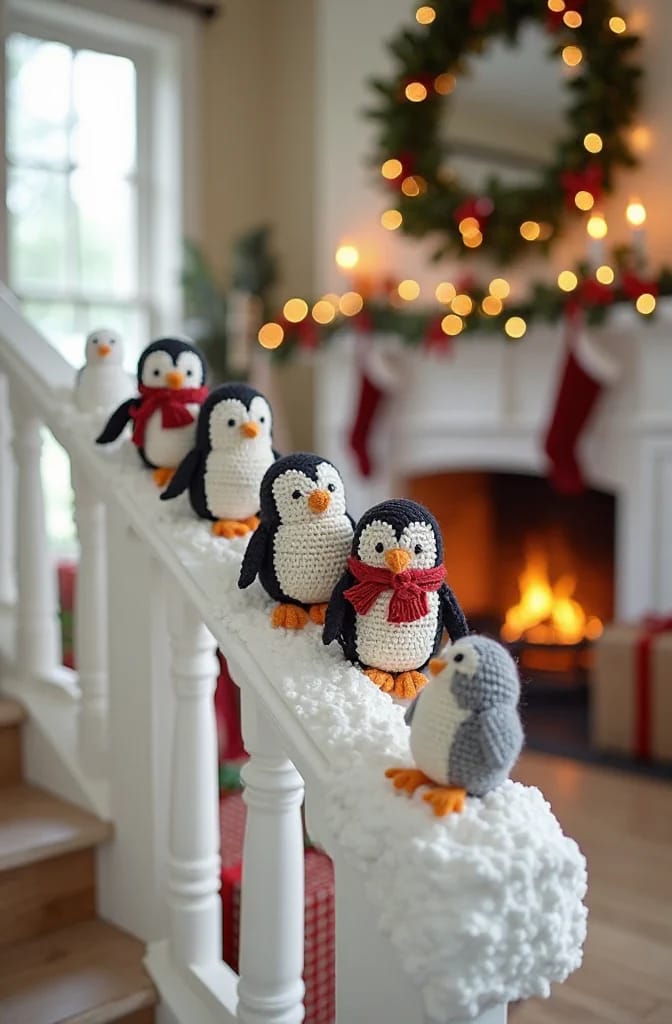
Make the penguins instead of buying them and you get a soft, one-of-a-kind cast that grips the snow far better than slick resin. Handmade figures are light, so they do not creep downhill, and worsted-weight yarn or felt has enough texture to sit where you put it. This is the route if you want the staircase to look like nobody else's.
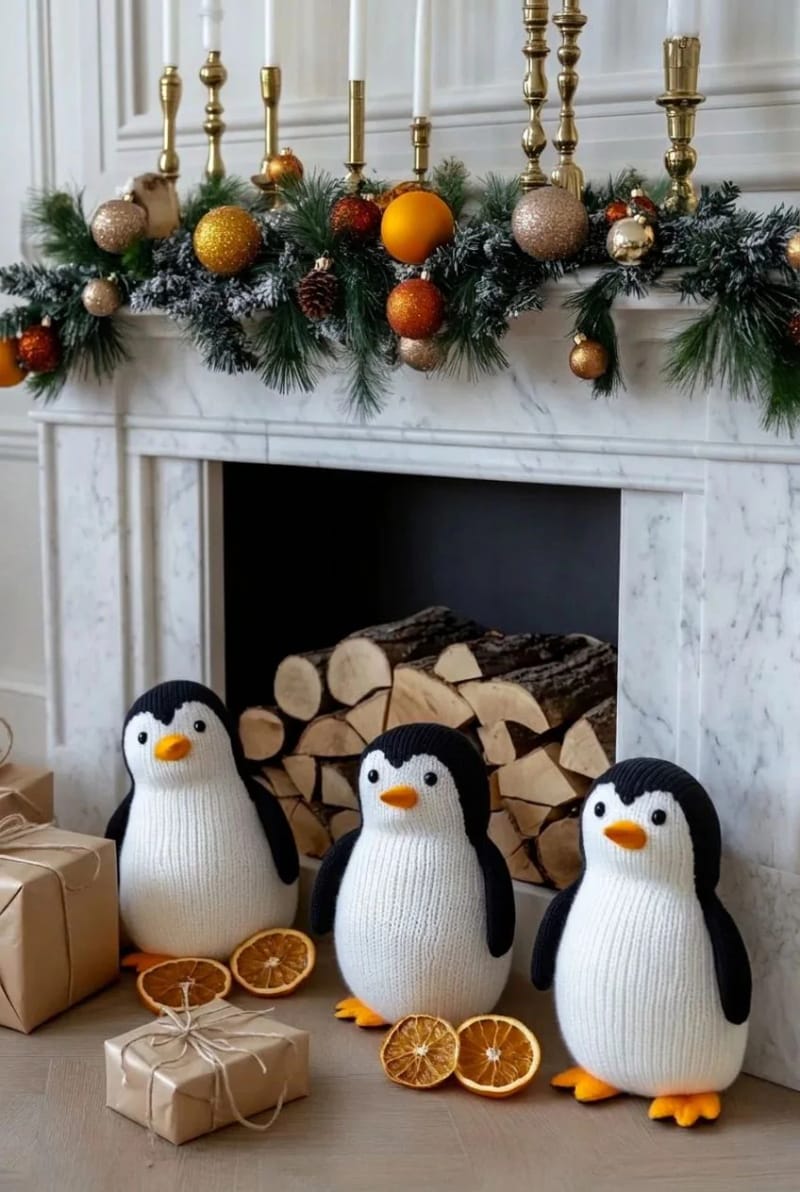
Finally, if you don't want to buy the fake snow, then you can simply use a white towel for that!
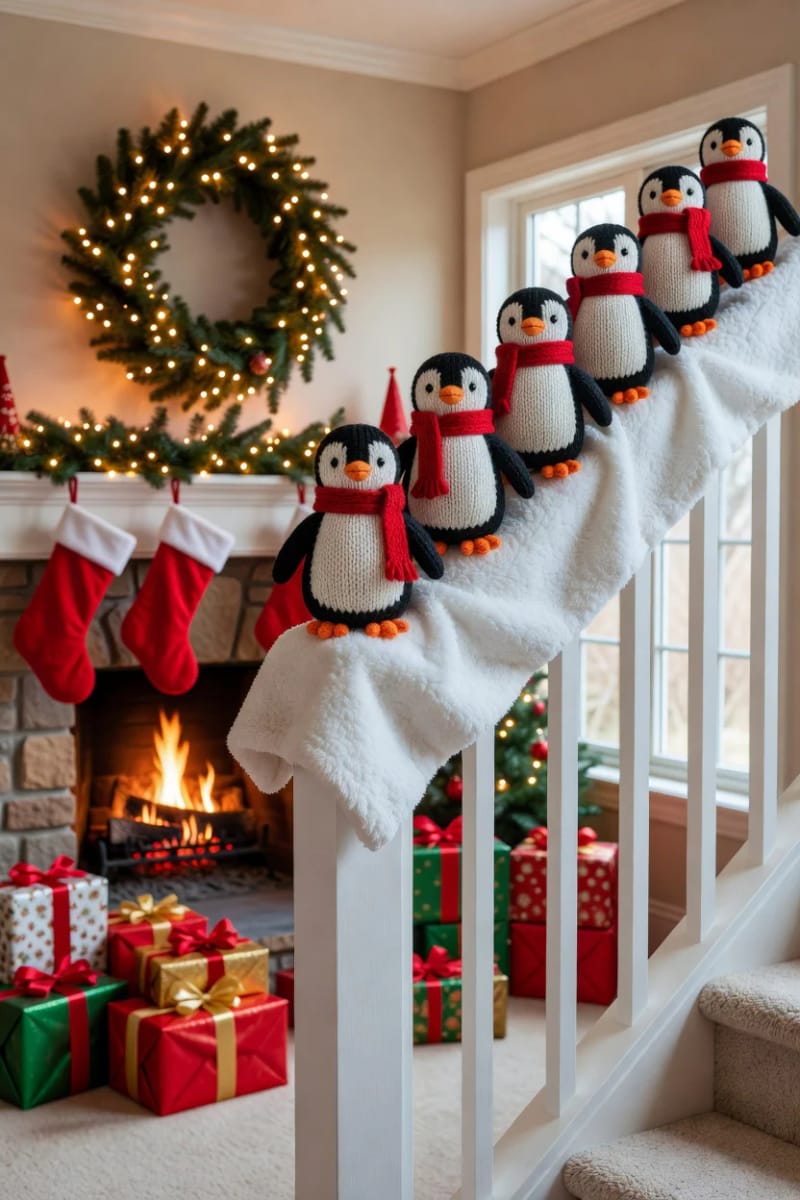
Yarn versus felt
Crochet amigurumi penguins are the more involved option, a small softie each, and pattern shops on Etsy sell versions written specifically as a sliding-down-the-banister set. Felt is the shortcut: two teardrop body panels, a white belly, an orange beak, blanket-stitched or even glued, and you can turn out a whole flock in an evening. Stuff them lightly so they lie belly-down rather than sitting upright, and give each one a small wire loop or a dab of velcro underneath if your rail is steep.
Trade the primary-color penguins for icy white and silver
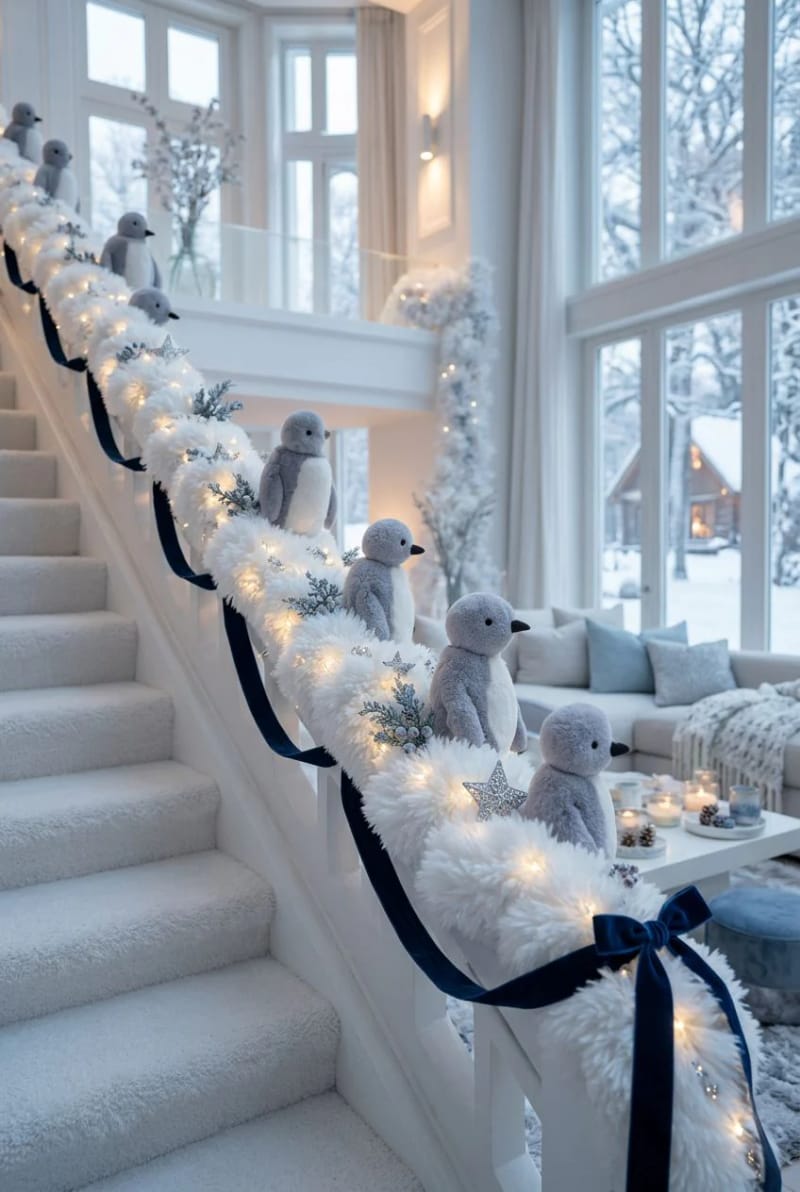
Recolor the whole cast in dove grey, white, and glacier blue and the slide stops reading as a kids' craft and starts matching a grown-up palette. The standard black penguins with red scarves clash with a lot of decor; a tonal white-and-silver version, with a silver bead garland threaded down the rail and cool-white pinpoints in the snow, folds into an elegant scheme instead of fighting it. It is the same idea dressed for a different room.
Give the penguins company: polar bears, a snowman, your elf
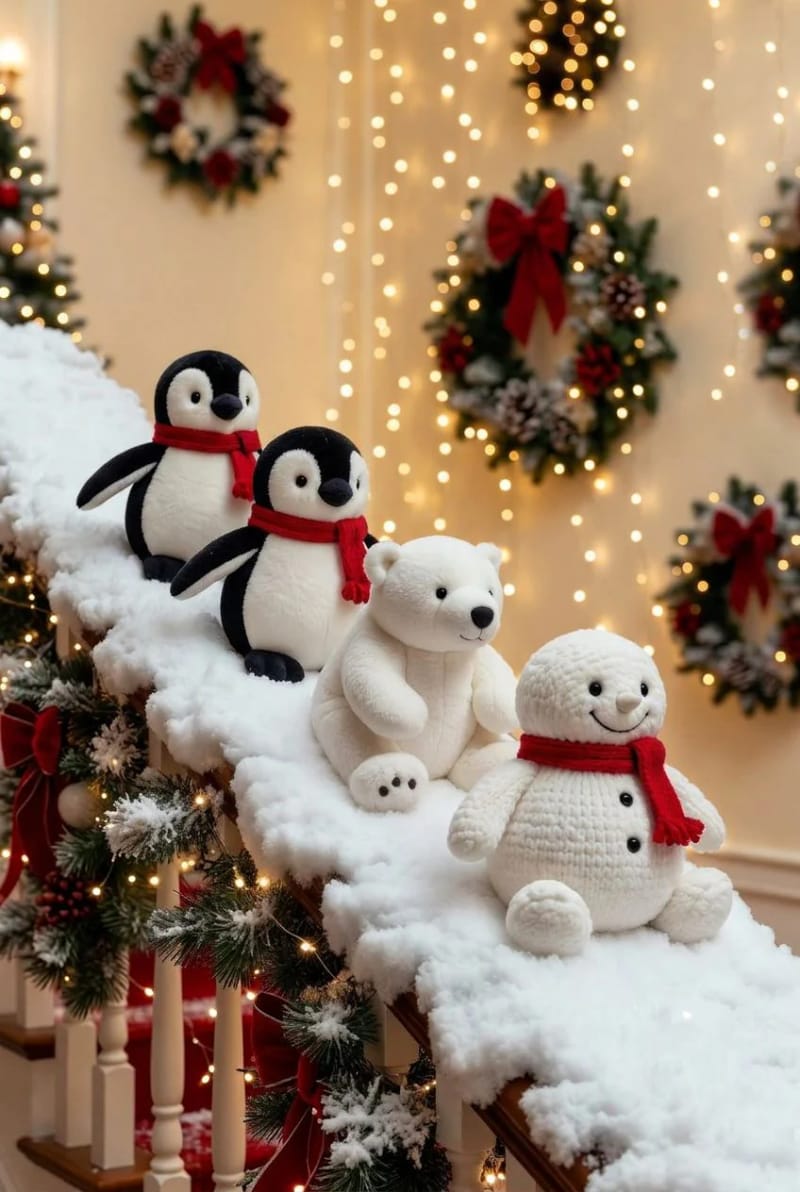
Mix in a polar bear cub, a plush snowman, or the Elf on the Shelf and the slide turns into a scene with a bit of narrative. There is a running joke online about penguins on the banister being the low-effort answer to the nightly elf routine, and the mixed-cast sets (penguin, snowman, Santa) lean straight into it. A single polar bear at the top watching the penguins wipe out reads better than a fourth identical penguin.
Conclusion
If you are starting from nothing, work in this order: snow base first (poly-fil or a flame-retardant blanket, built up over a split pool noodle), the light strand tucked underneath, then the penguins, then the pileup at the newel post as the final move. Get those four right and the palette swaps, the candy-cane rail, and the mixed cast in the sections above are all just variations on a slope that already works.
The resin sets are the safe call if you want it up in ten minutes and holding its shape in five years. But the staircases people actually stop to photograph are almost always the homemade ones, where the drift is a little too deep and one penguin has visibly lost control. However you build it, the downhill angle is what sells the whole thing, so if a penguin looks like it is sitting up and enjoying the view, turn it face-first before you walk away.