
The kitchen is the hardest room in the house to decorate for Christmas, because every surface you want to dress is a surface you also need. Counters have to stay clear enough to work, the stove throws heat, and greasy air settles on anything within a few feet of the range. So the twelve ideas below are grouped by where they actually go, starting with the vertical surfaces most people ignore, then the island and counters, then color and light, and each one flags whether it survives a week of real cooking or just looks good until you turn on a burner.
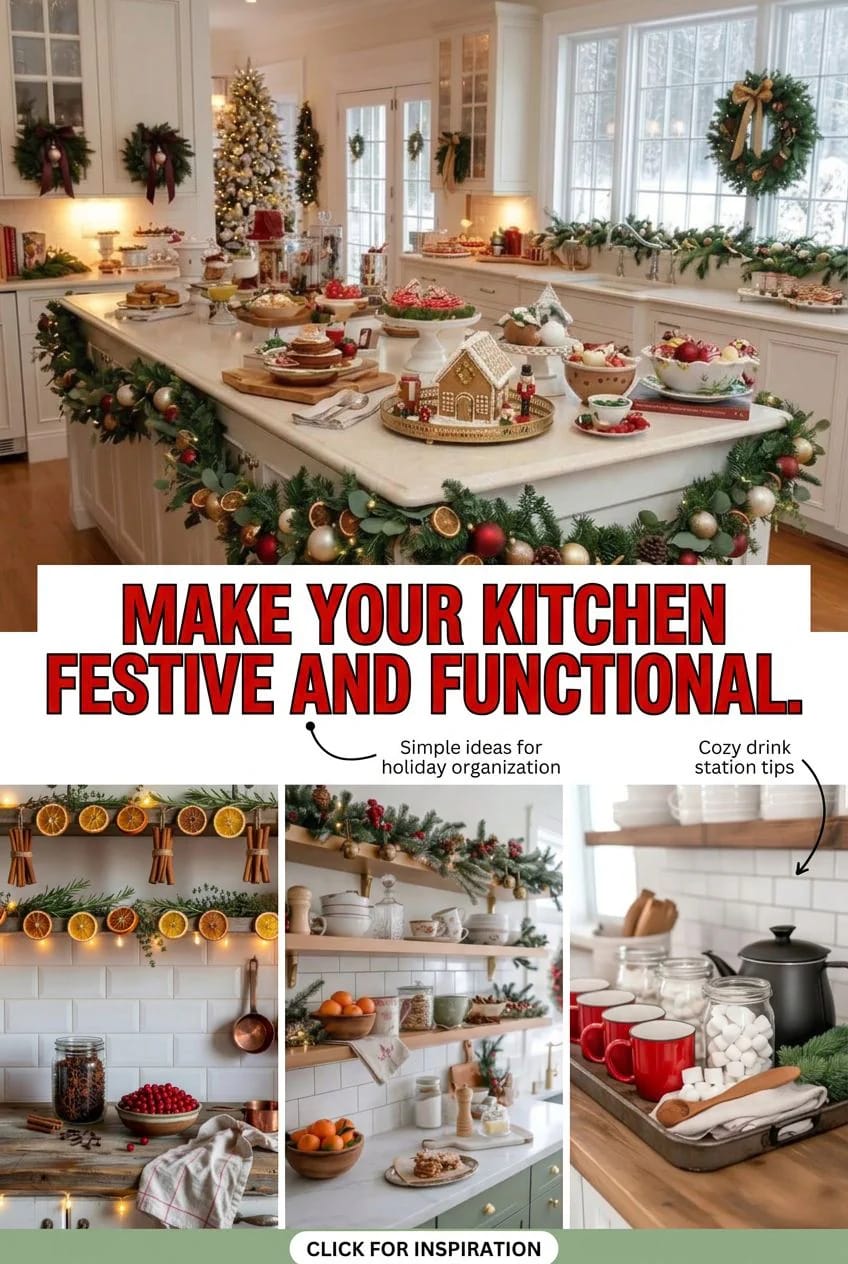
Start with the vertical surfaces
1. Velvet cabinet bows are the fastest Christmas kitchen change you can make
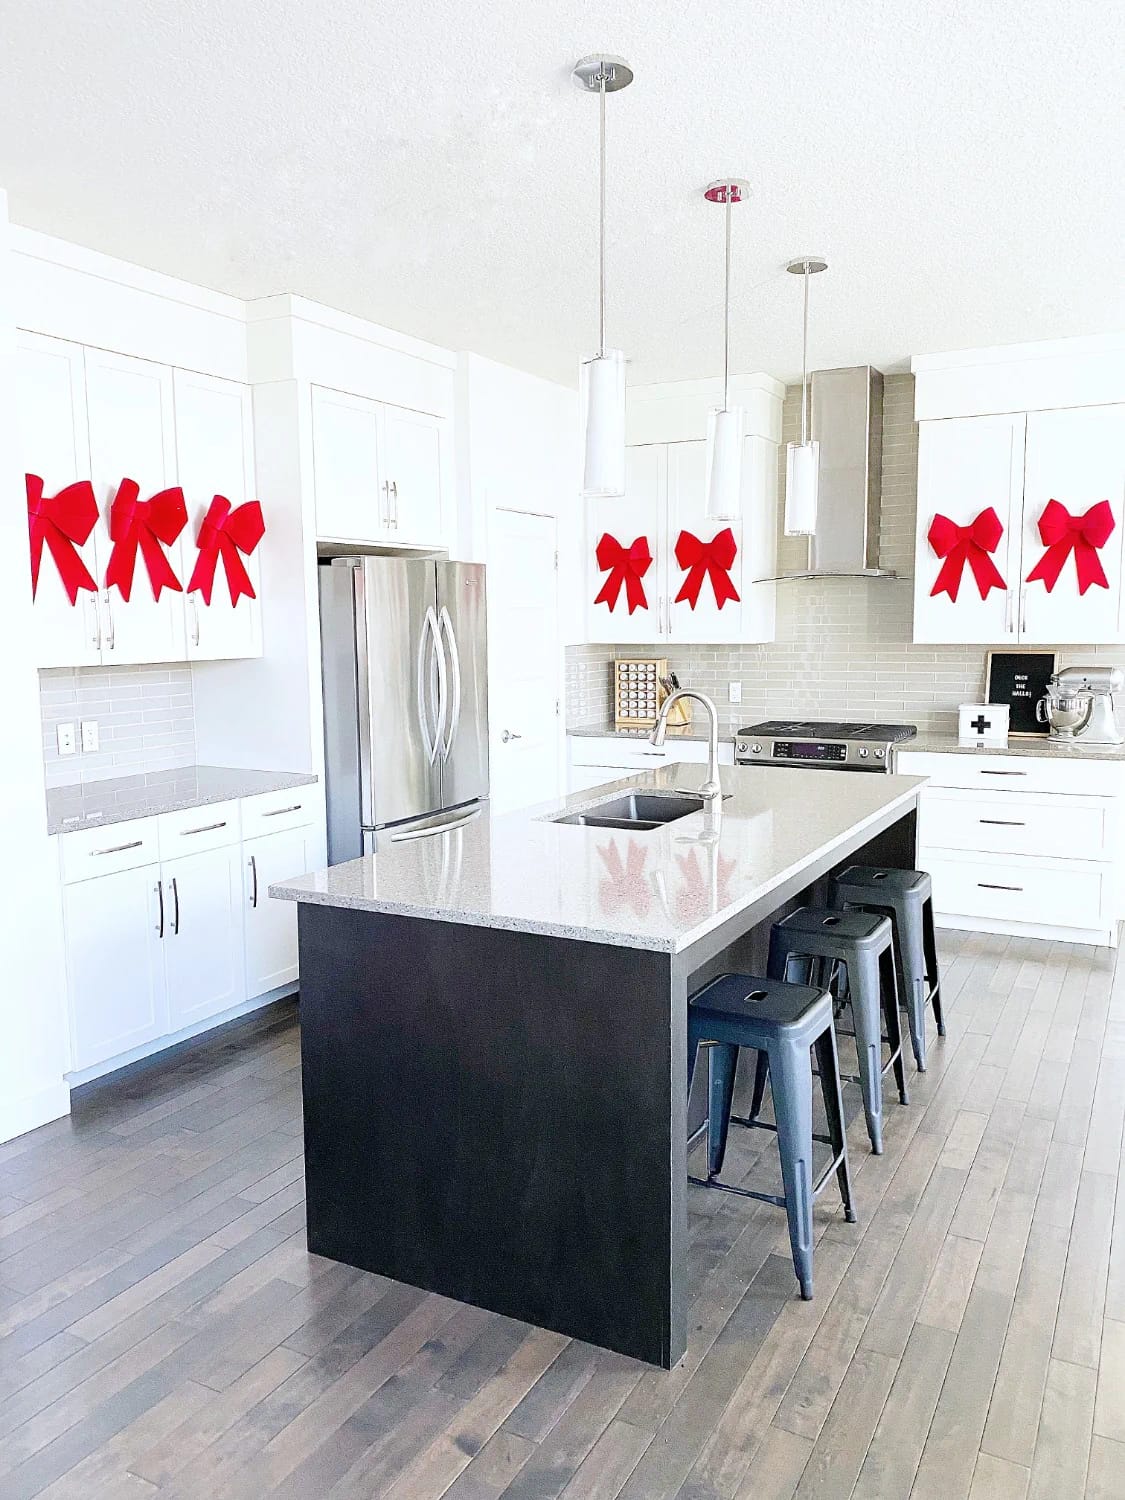
Bows tied to the cabinet knobs give you the biggest visible change for the least money and the least commitment. A spool of wired velvet ribbon runs a few dollars, ties in under a minute, and comes off in January with no adhesive and no nail hole. Burgundy has pulled ahead of true red this year, and the reason is texture: matte crushed velvet reads richer against painted shaker fronts than a flat satin ever does.
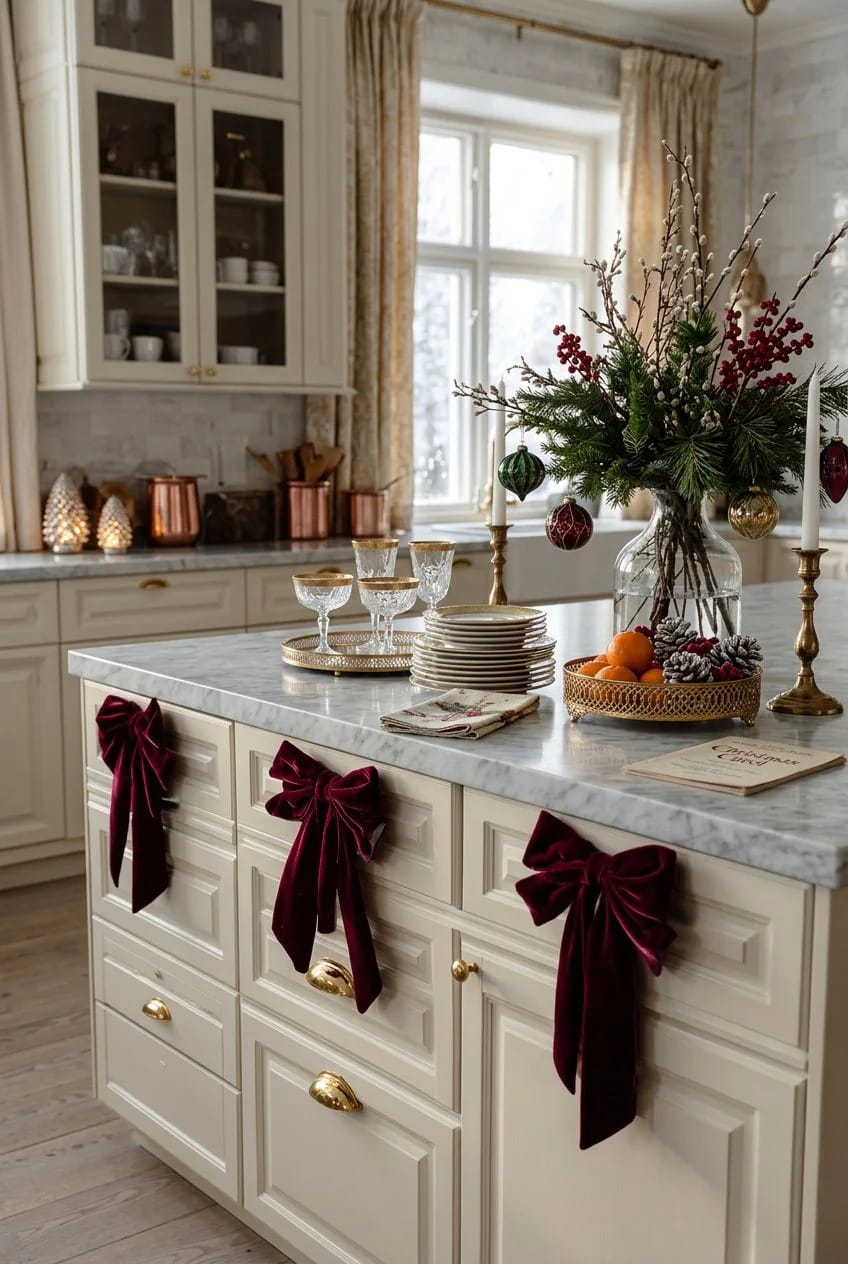
Granted, a bow on every single door looks frantic. Tie them on the upper cabinets only, or on every other door, so the eye gets some blank painted space to rest against. Wired ribbon holds its loops; unwired flops within a day, so check the spool before you buy six of them. Cut the tails on a long diagonal, which hangs better than a blunt end.
2. Run garland along the open shelves, not just the cabinet tops
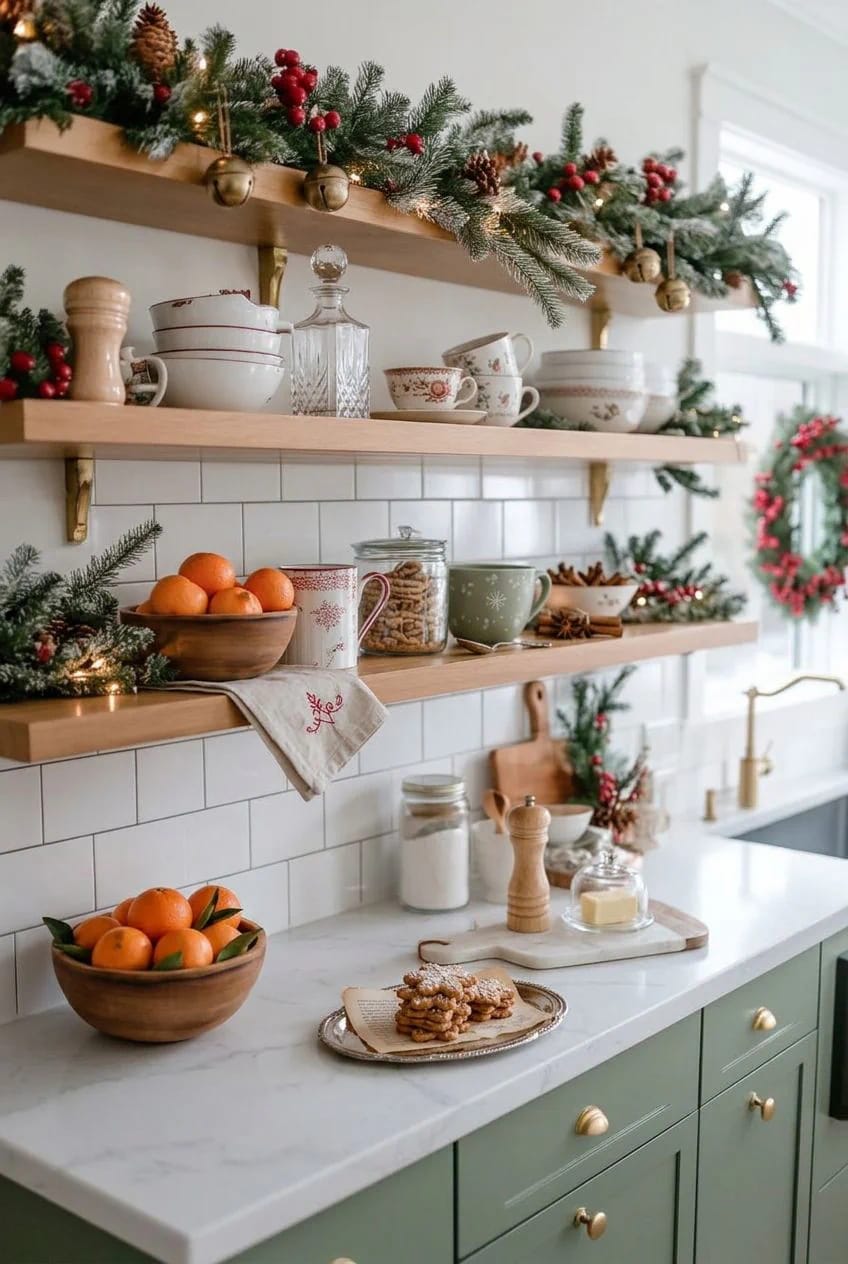
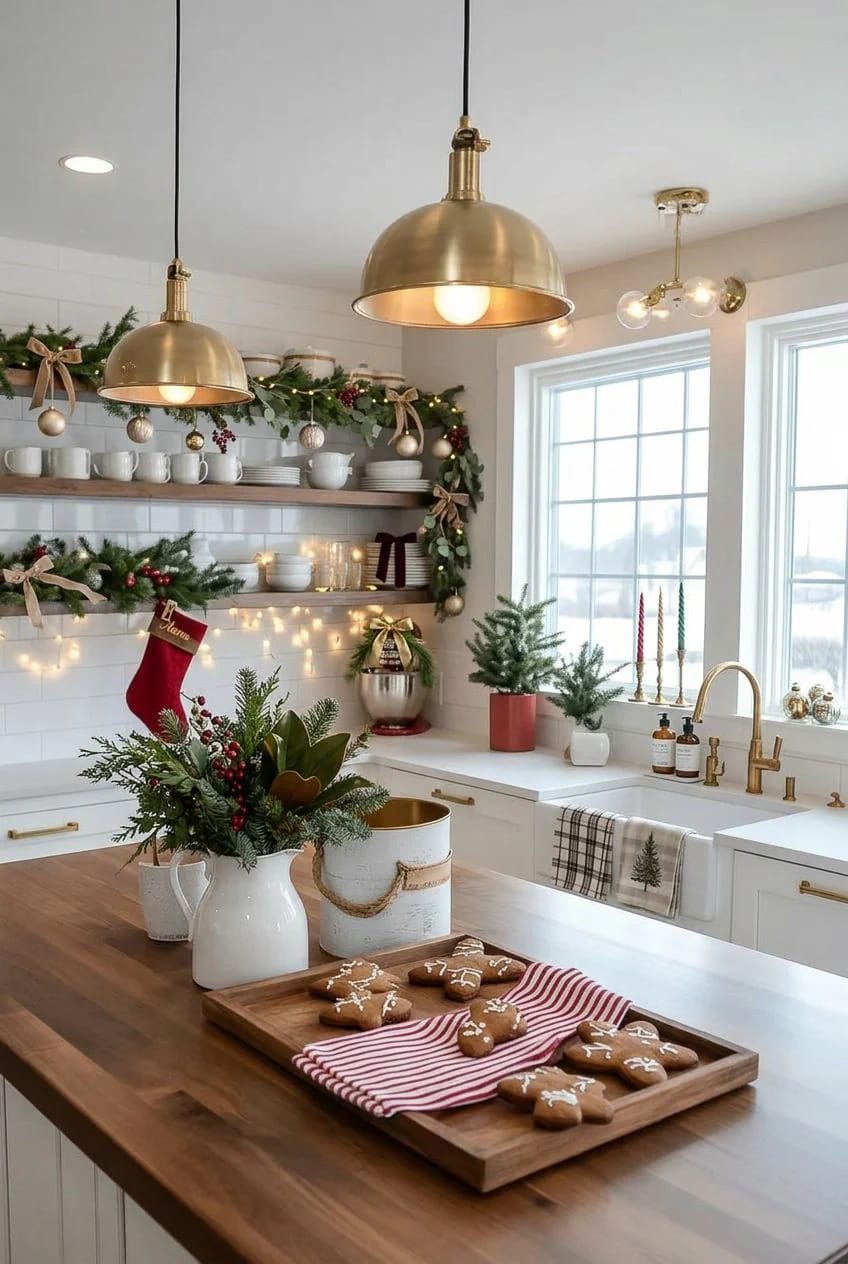
Garland does more work threaded through open shelving than draped across the cabinet tops, which is where most people put it and where nobody looks. Weave a thin eucalyptus or cedar strand between the stacked plates and a couple of mugs so the greenery runs through what is already there rather than sitting above it. If your shelves are styled tight, pull two objects off first; garland needs a little slack to settle into.
3. Hang a wreath in the window over the sink where it reads from both sides
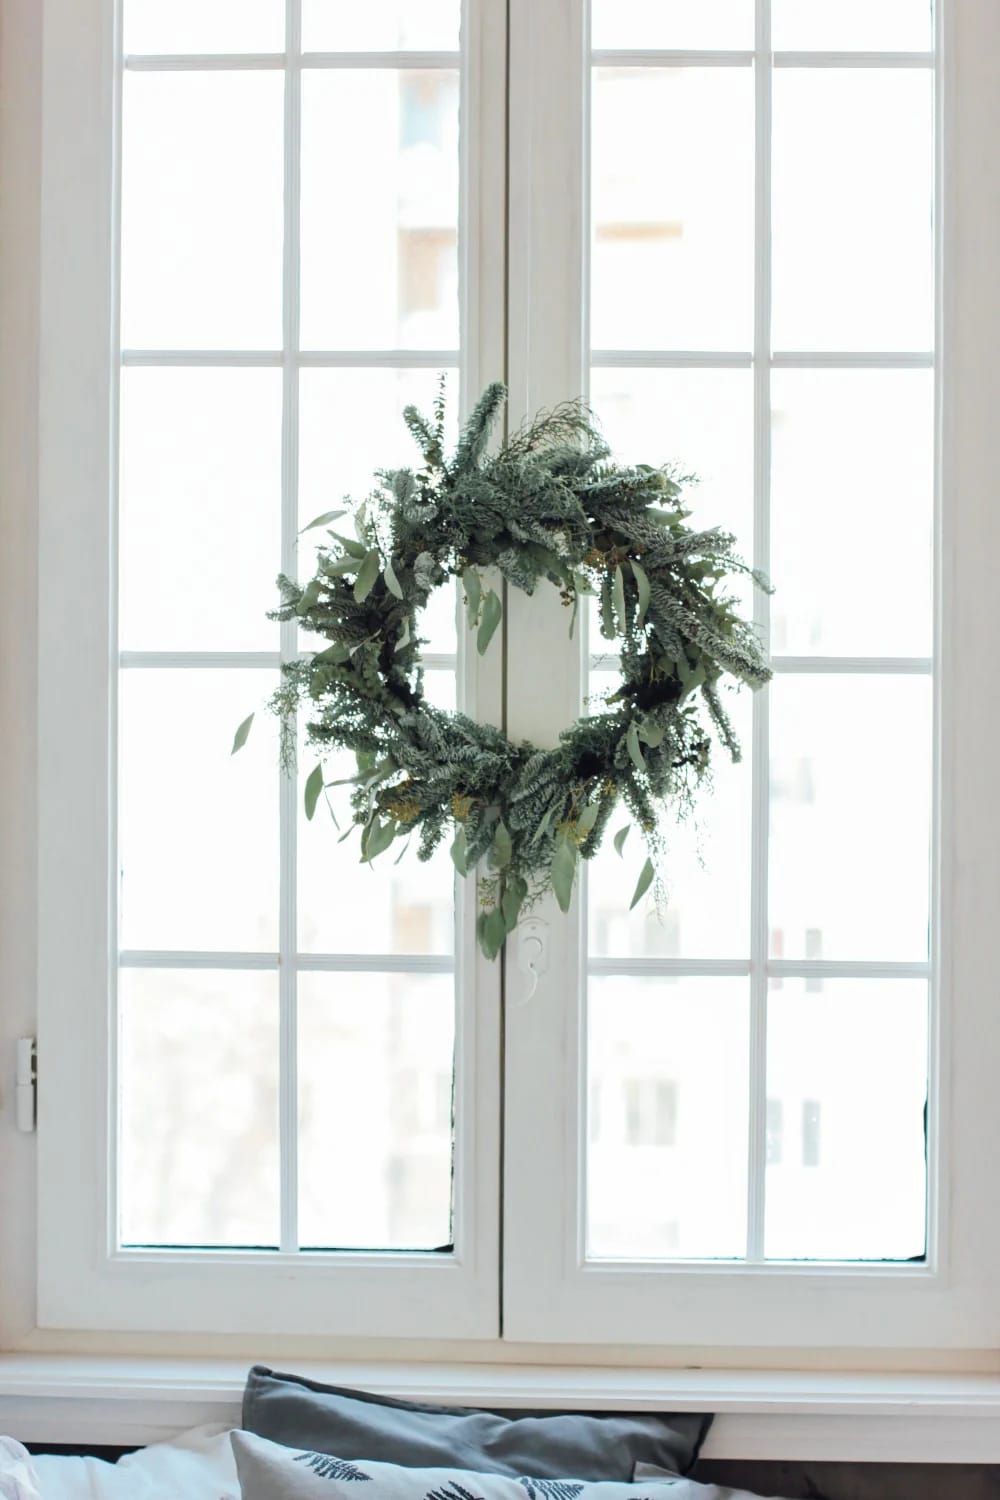
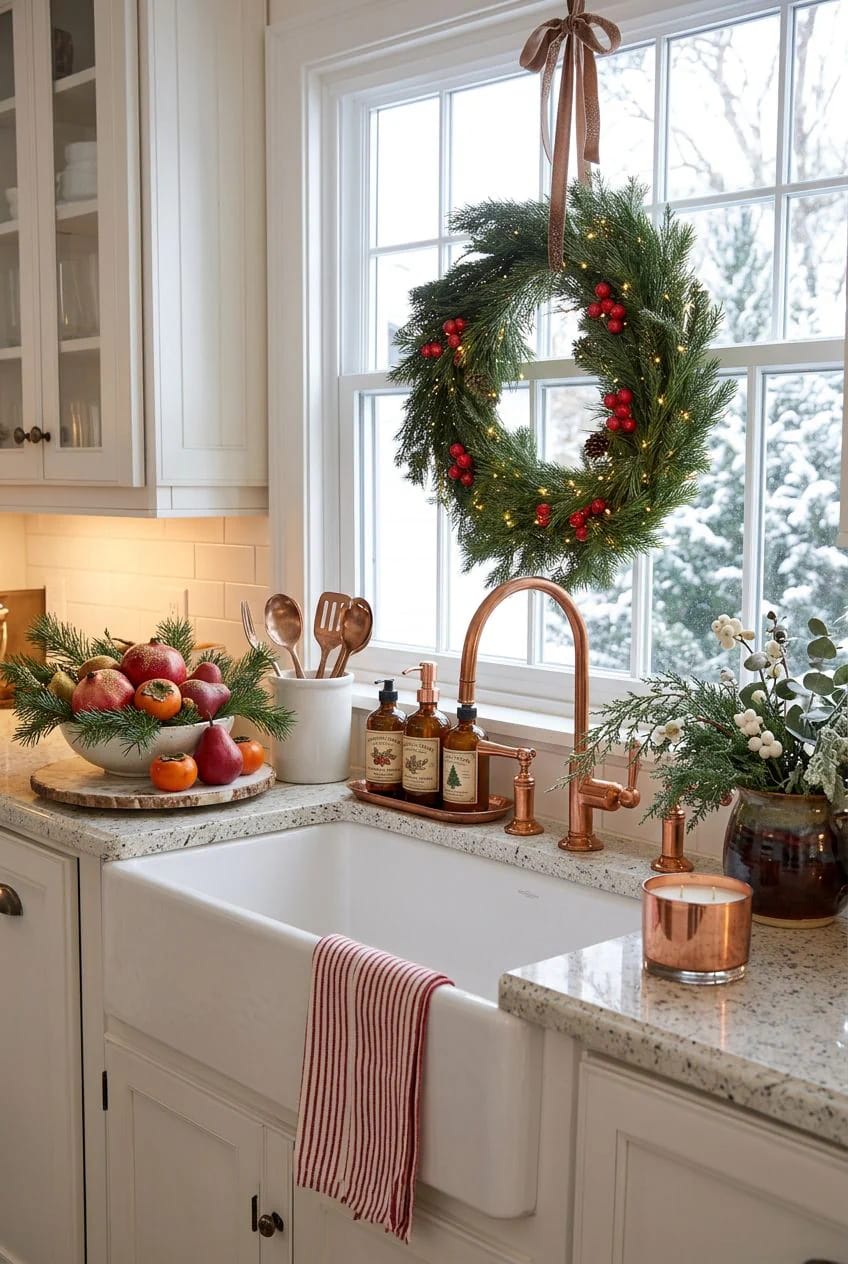
A wreath hung inside the window over the sink pays off twice, once from the counter and once from the yard or street after dark. Keep it small, a foot or so across, so it does not block the daylight you rely on while washing up. A length of ribbon looped over the frame or a suction hook on the glass beats hammering anything into a wet-zone sill.
4. Suspend a few ornaments over the island or stove for height
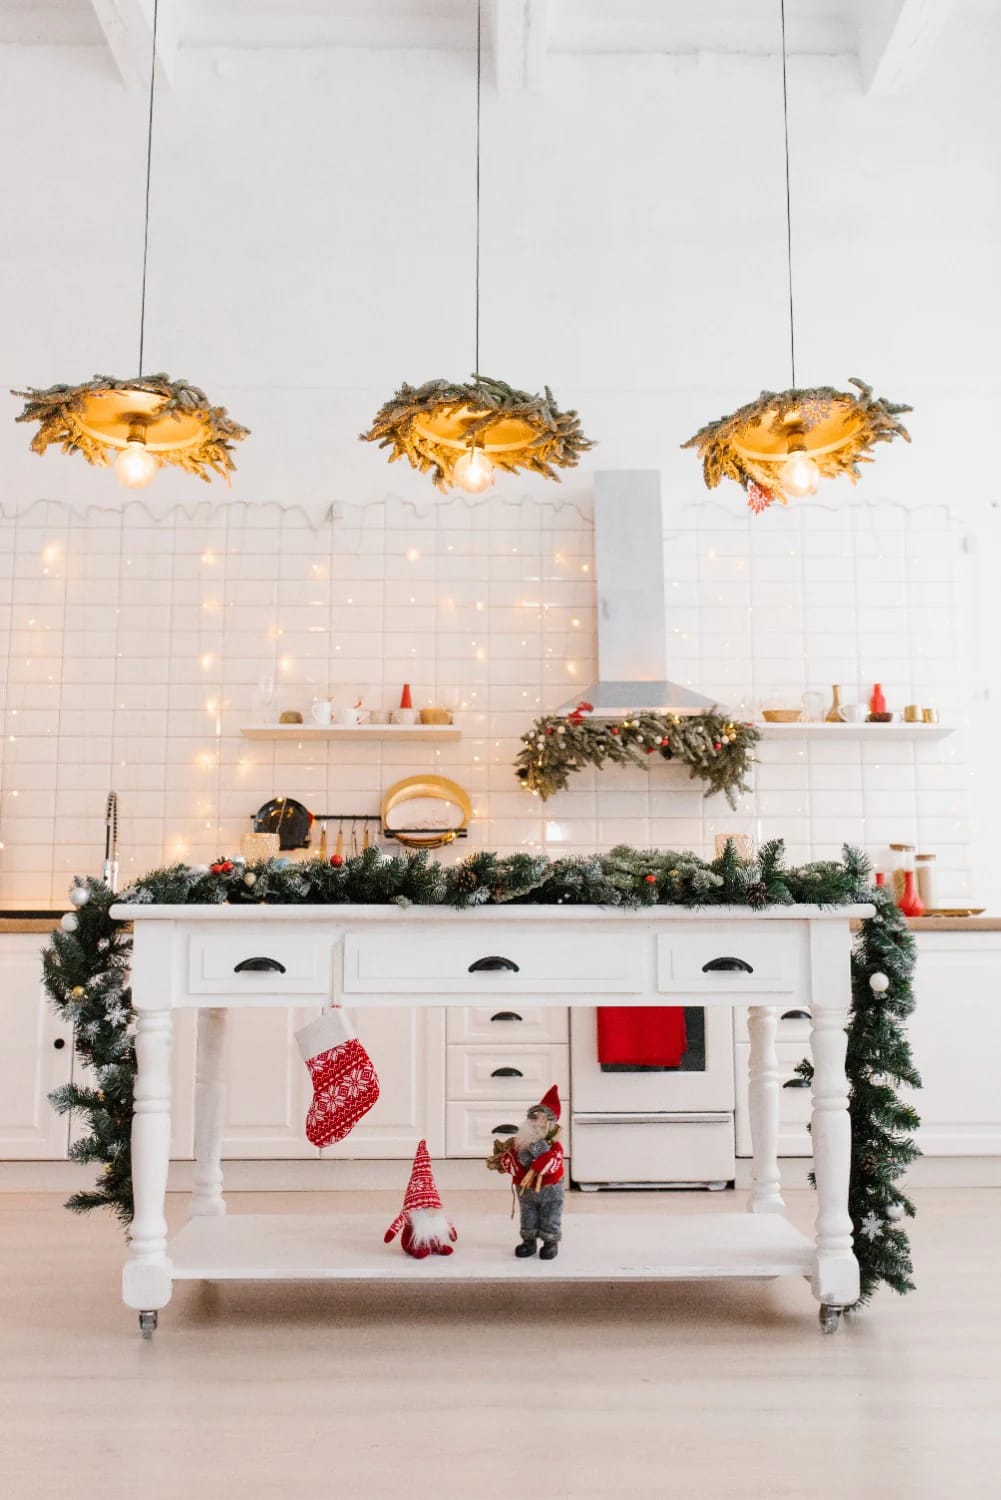
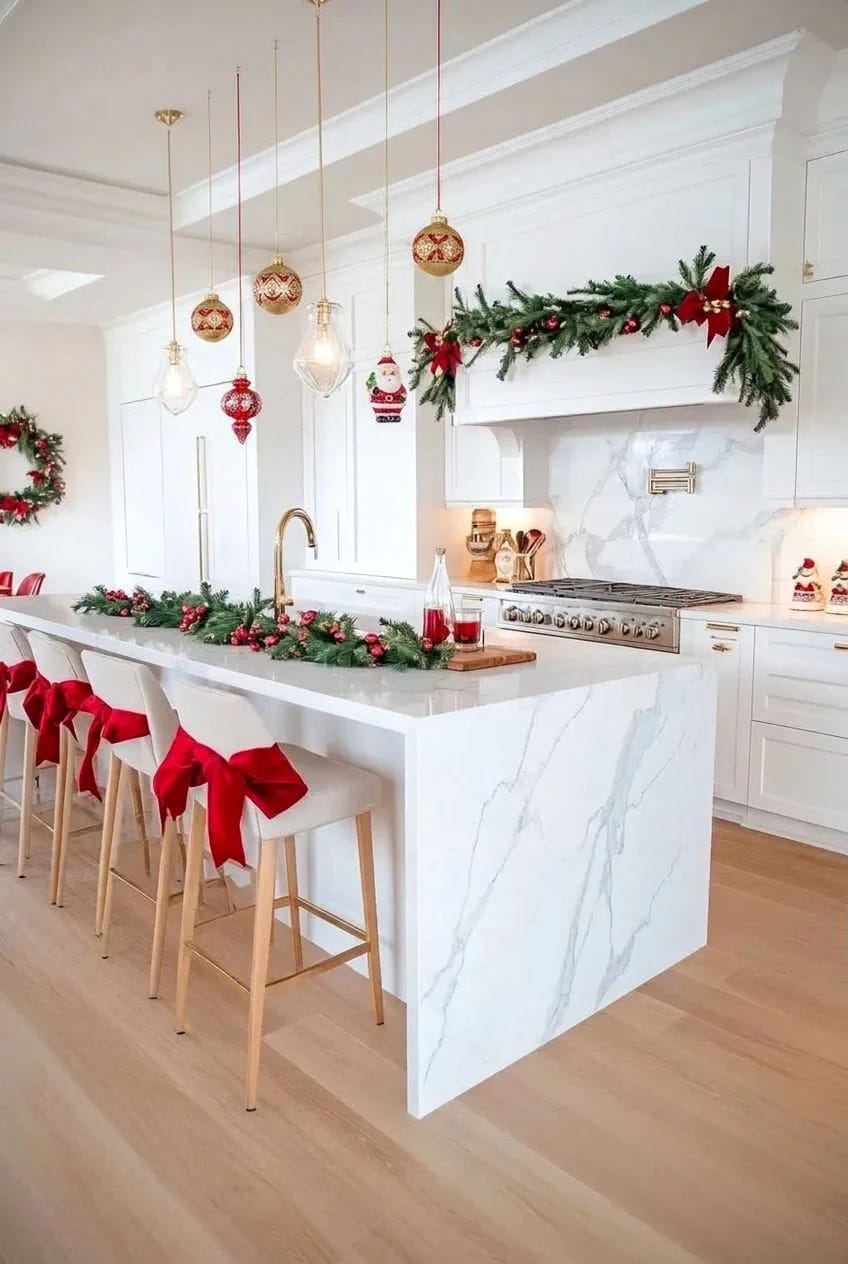
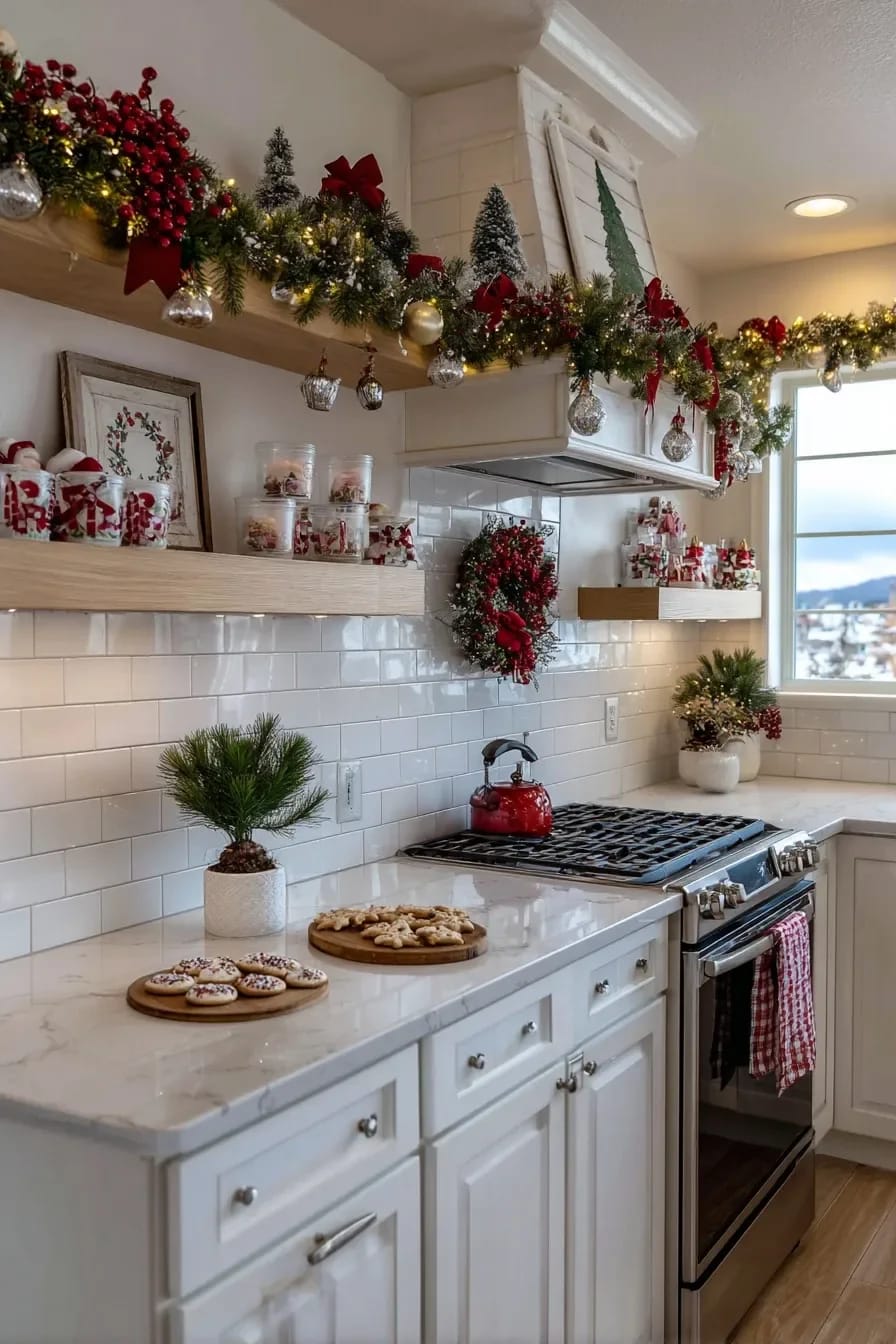
Hanging a small cluster of ornaments at staggered heights over the island adds the one thing kitchen decor usually misses, which is anything above counter level. Drop them on fishing line or thin ribbon from a pot rack, a pendant fixture, or a discreet ceiling hook, and vary the lengths so they scatter instead of lining up in a row. Keep this over an island with a pendant, never over live burners, and buy the shatterproof balls, because one of them will come down.
Let the island and the counters carry the room
5. Keep the island centerpiece low enough to see across
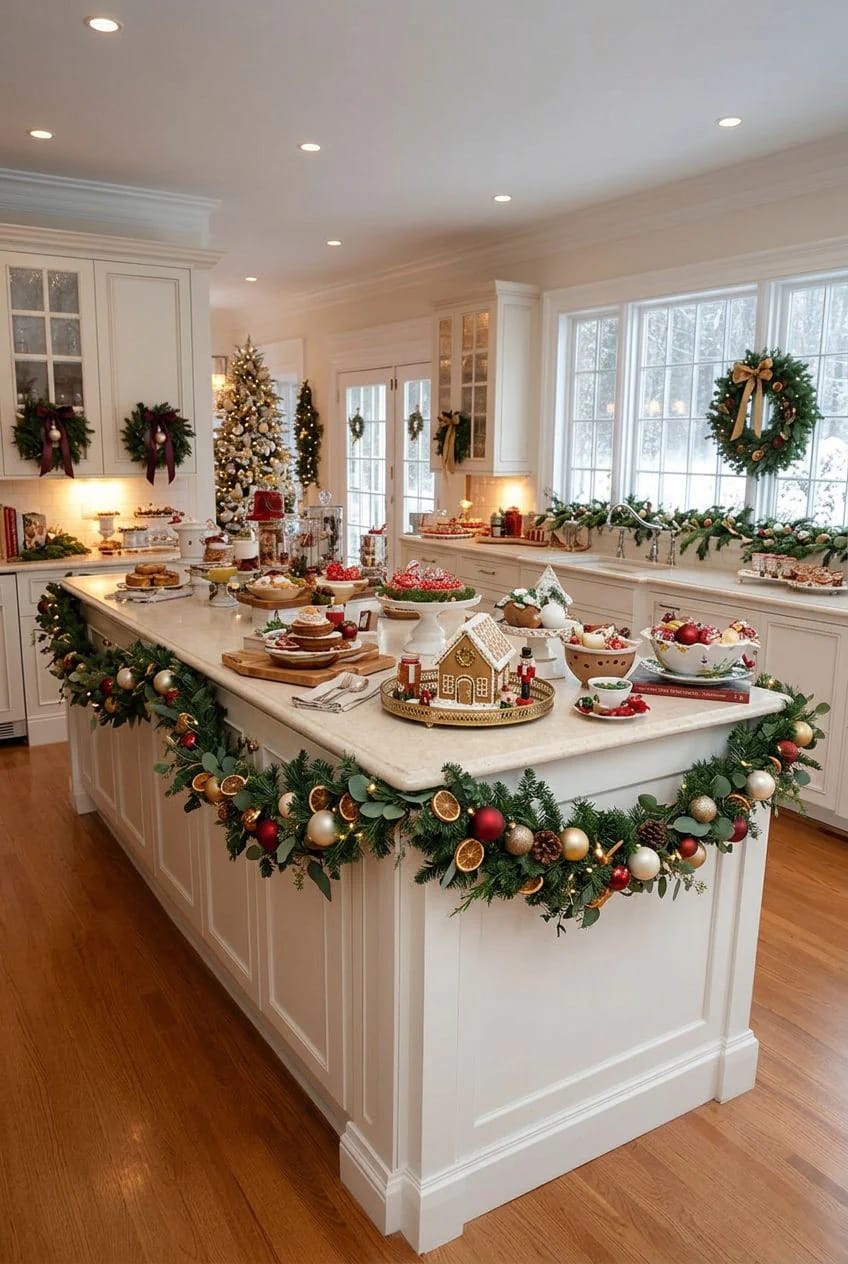
Whatever you build on the island, keep it under roughly ten inches so people can see and talk across it. The most common island mistake is a centerpiece so tall it turns the prep zone into a hedge nobody can reach over. A low runner of loose greenery with three or five squat pillar candles (odd numbers settle better than even) covers most of the length without walling anyone off.
Anchor it with weight and repetition; a wooden dough bowl or a marble board as the base, a handful of candles at slightly different heights, then greenery tucked in to hide the mechanics. Loose glitter and stray berries belong nowhere near where you roll dough. And leave one end of the island clear, because it is still where the cheese board lands on the night it matters.
6. Build a cocoa or coffee bar and let the mugs be the decor

A cocoa or coffee station turns mugs, jars, and a kettle you already own into a display, which makes it the cheapest decor in the house, since you bought all of it for other reasons. The trick is to corral everything on a tray or a board so it reads as one deliberate zone instead of counter clutter. A workable spread:
- Mugs on cup hooks or stacked two high, handles turned the same way.
- Cocoa, marshmallows, and peppermints decanted into clear glass jars so the colors do the work.
- A kettle or a thermal carafe, plus a short stack of napkins.
- One sprig of greenery or a mini bottle-brush tree. That is the whole list.
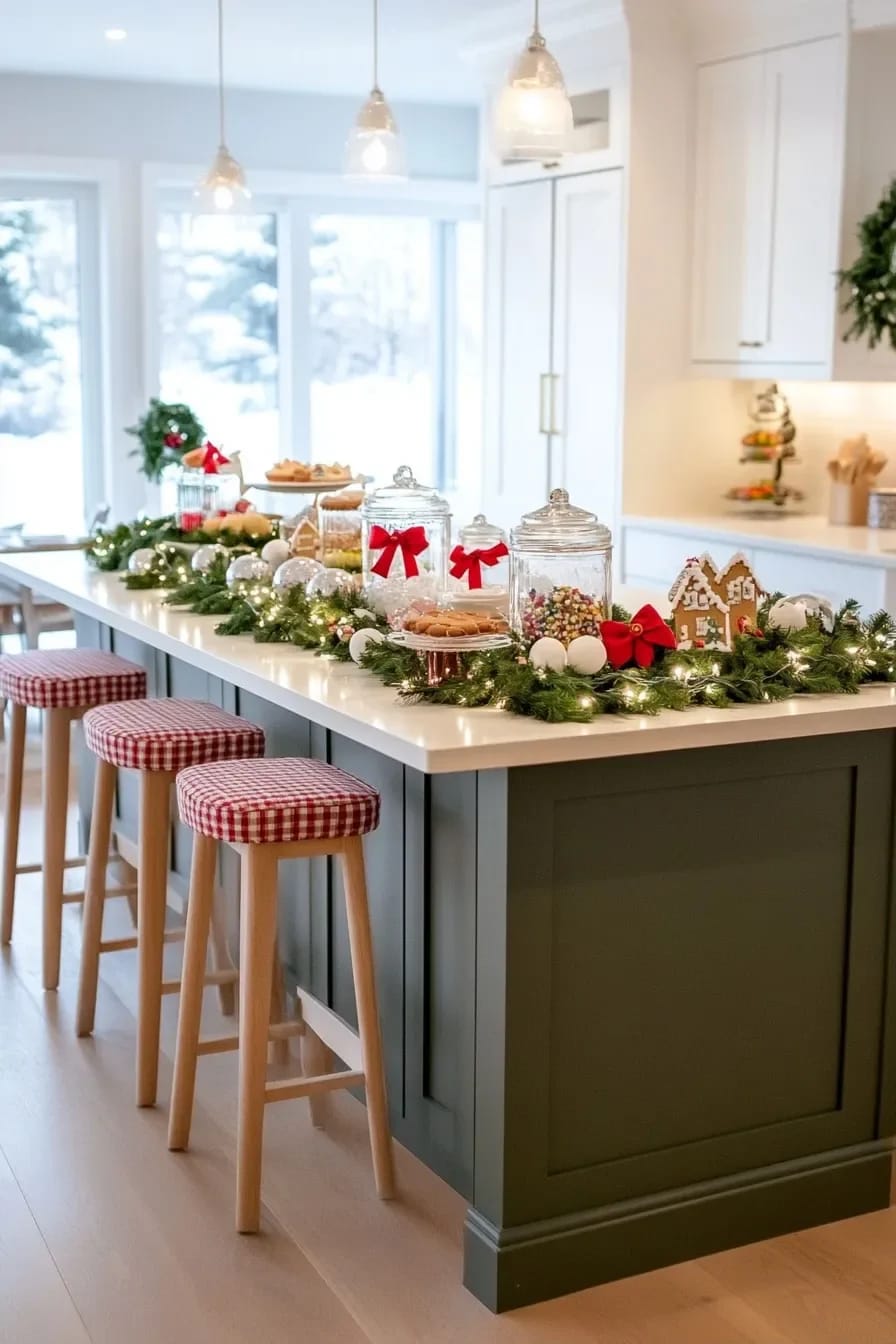
The tray under it all does the visual heavy lifting: it draws a border, and anything inside a border looks intentional. If the mugs are the good part, hang them where the light actually reaches them.
7. Style a tiered tray, then take half of it back off
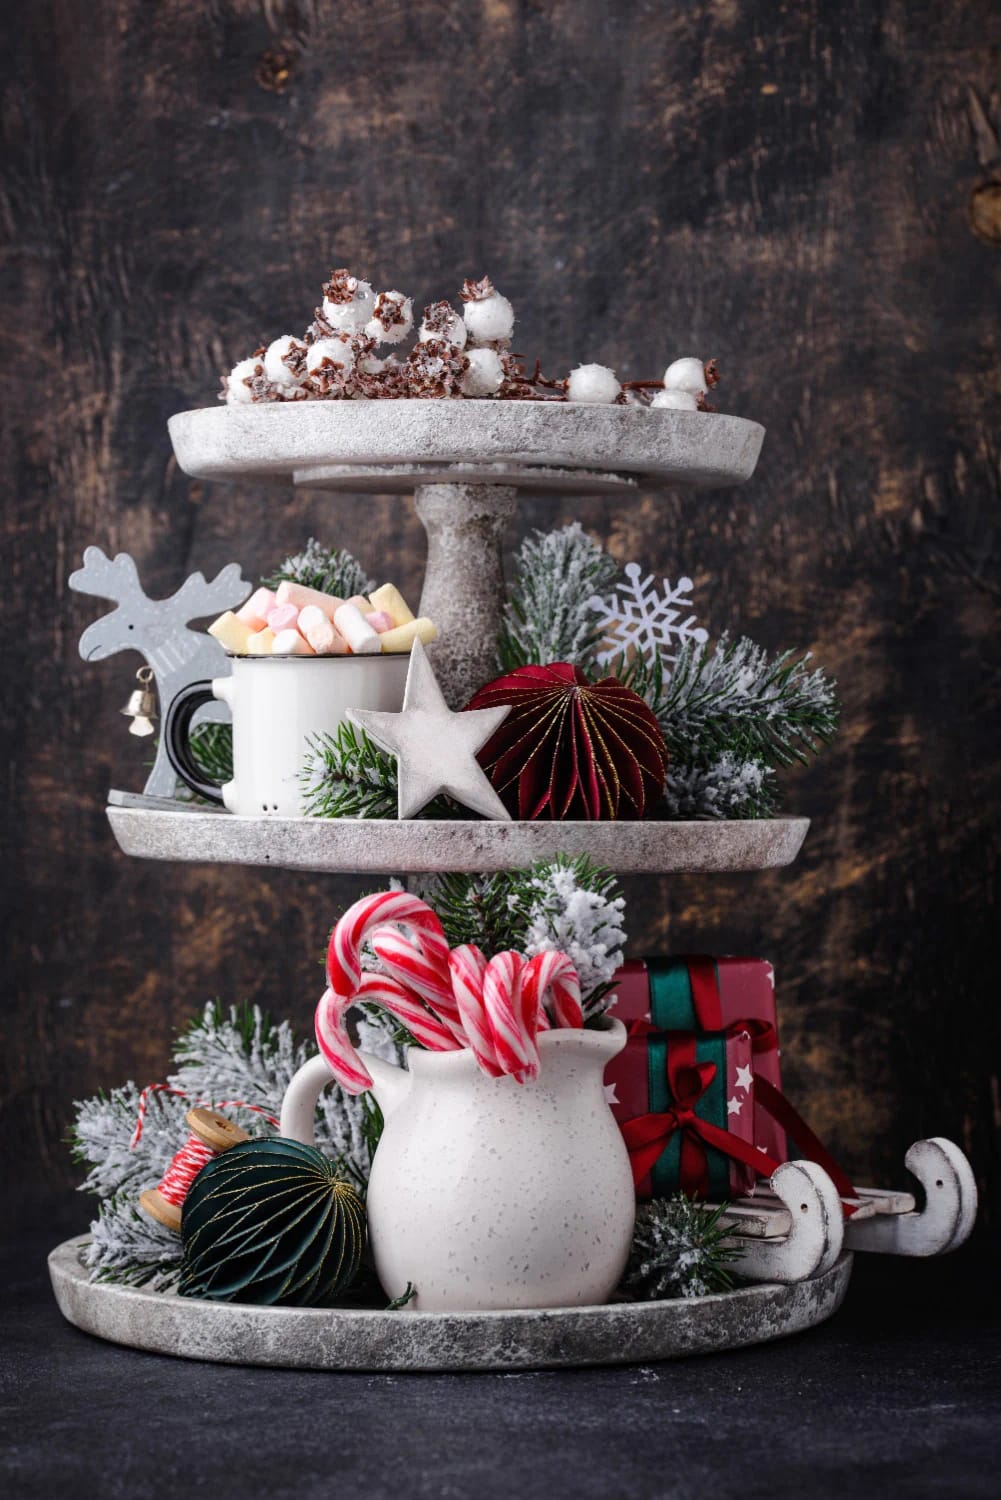
A tiered tray is the easiest way to build a small styled vignette on a counter, and the easiest thing to cram too full. Load it up, then physically remove about a third, because the empty air between objects is what makes the objects you kept read at all. Work in threes per tier, break up the heights with a bud vase or a stacked pair of little books, and let one thing hang slightly over an edge so the whole thing does not sit in a rigid stack.

8. Put a small tree on the counter, or build one from the utensil drawer
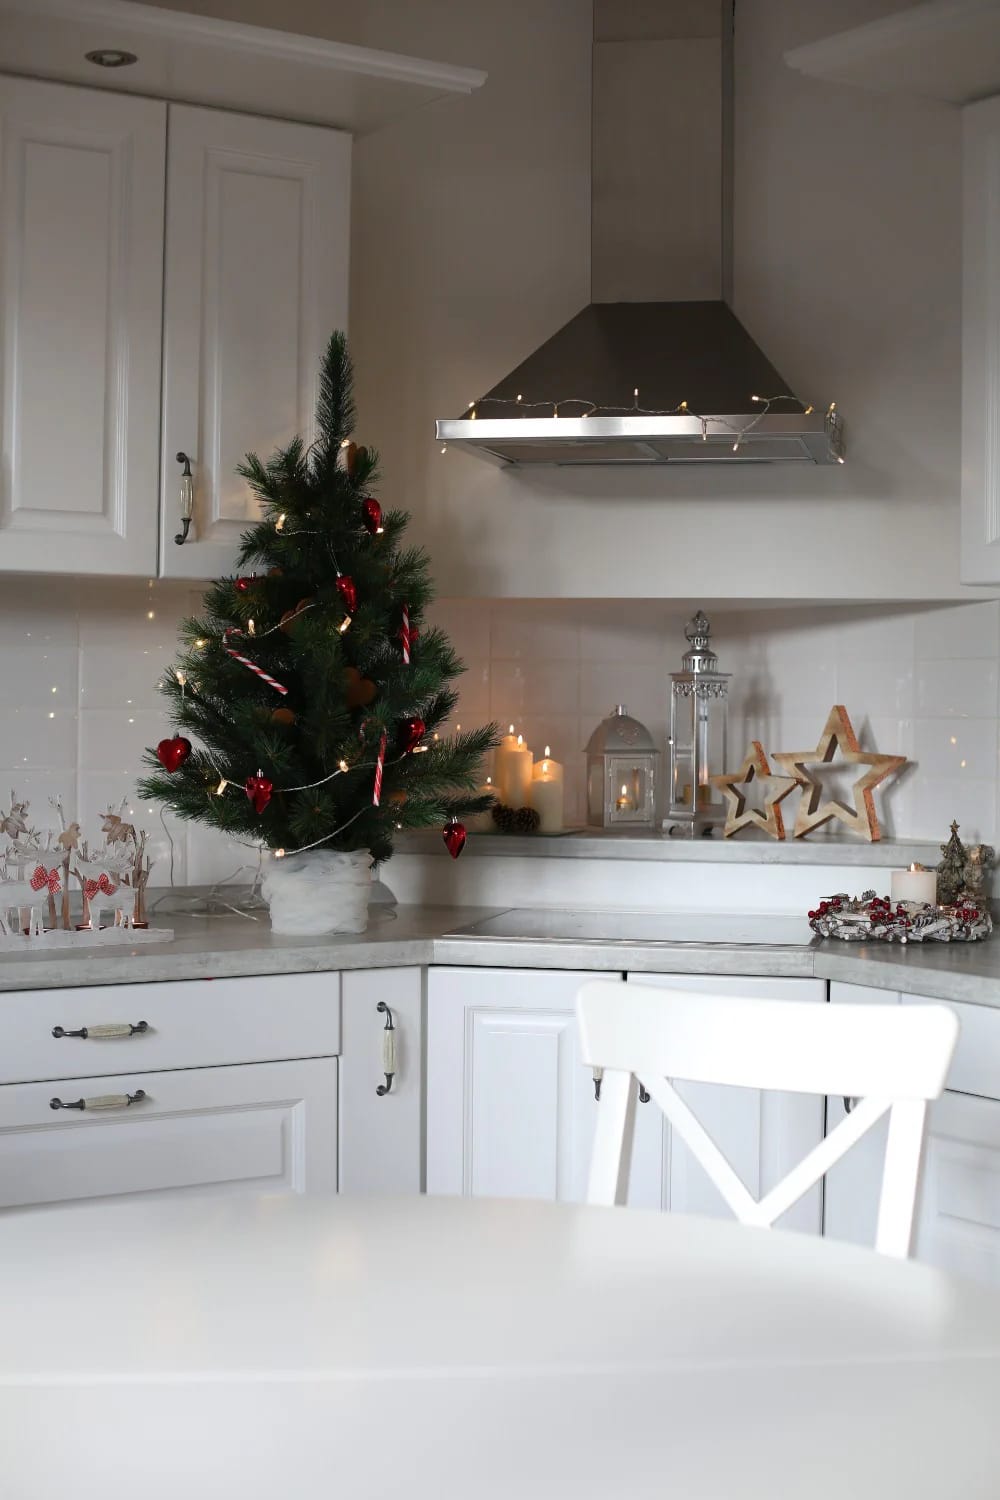
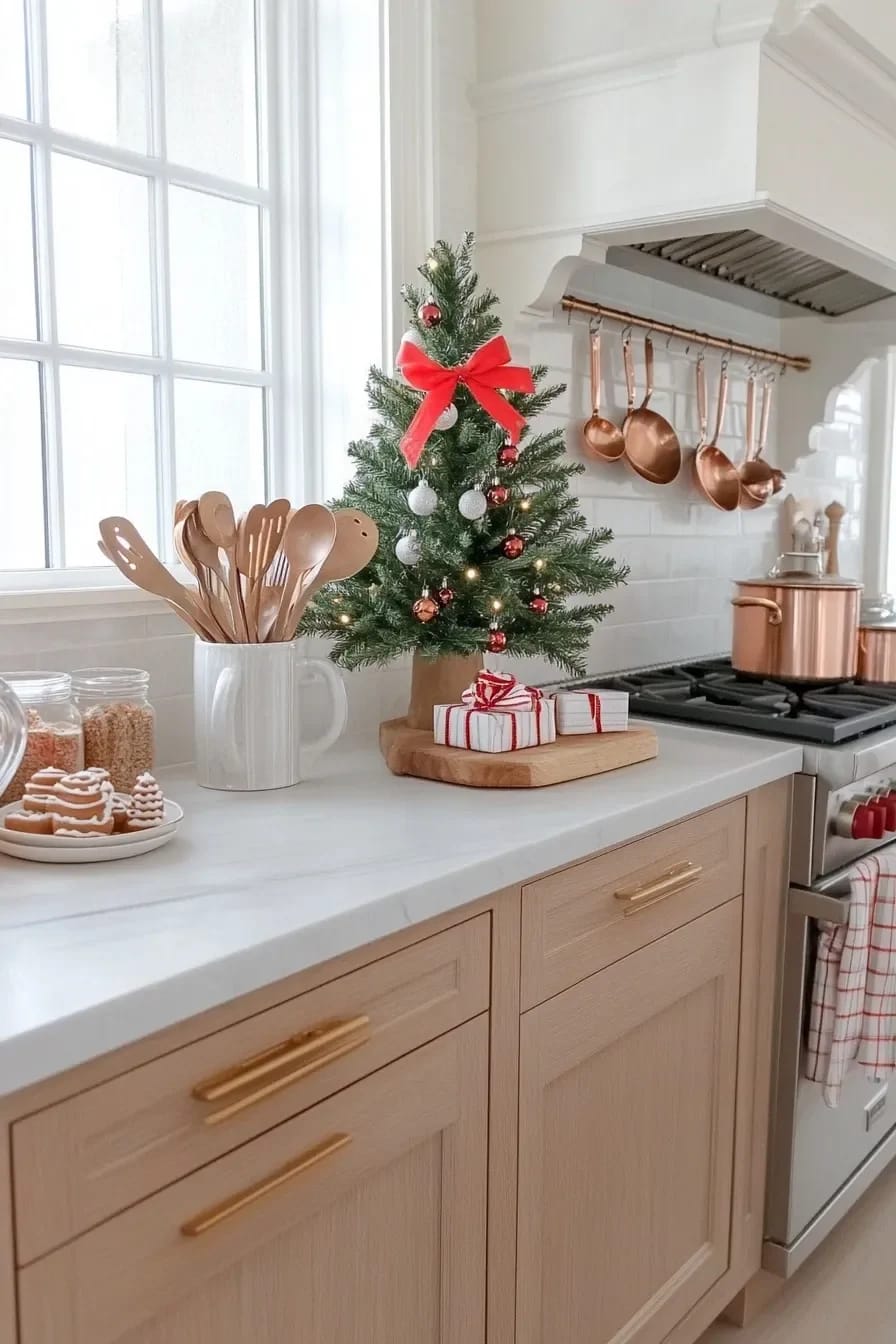
A two- or three-foot tree on the counter gives the kitchen its own small anchor without eating floor space you do not have. Stand it in a crock, a stockpot, or an enamel pitcher rather than the plastic base it came with. The near-free version is a tree built from what is already in the drawers: a stacked cone of whisks, cookie cutters strung on a dowel, or a bundle of wooden spoons, which photographs better than it has any right to and costs nothing.
9. Swap the everyday textiles before you buy a single ornament
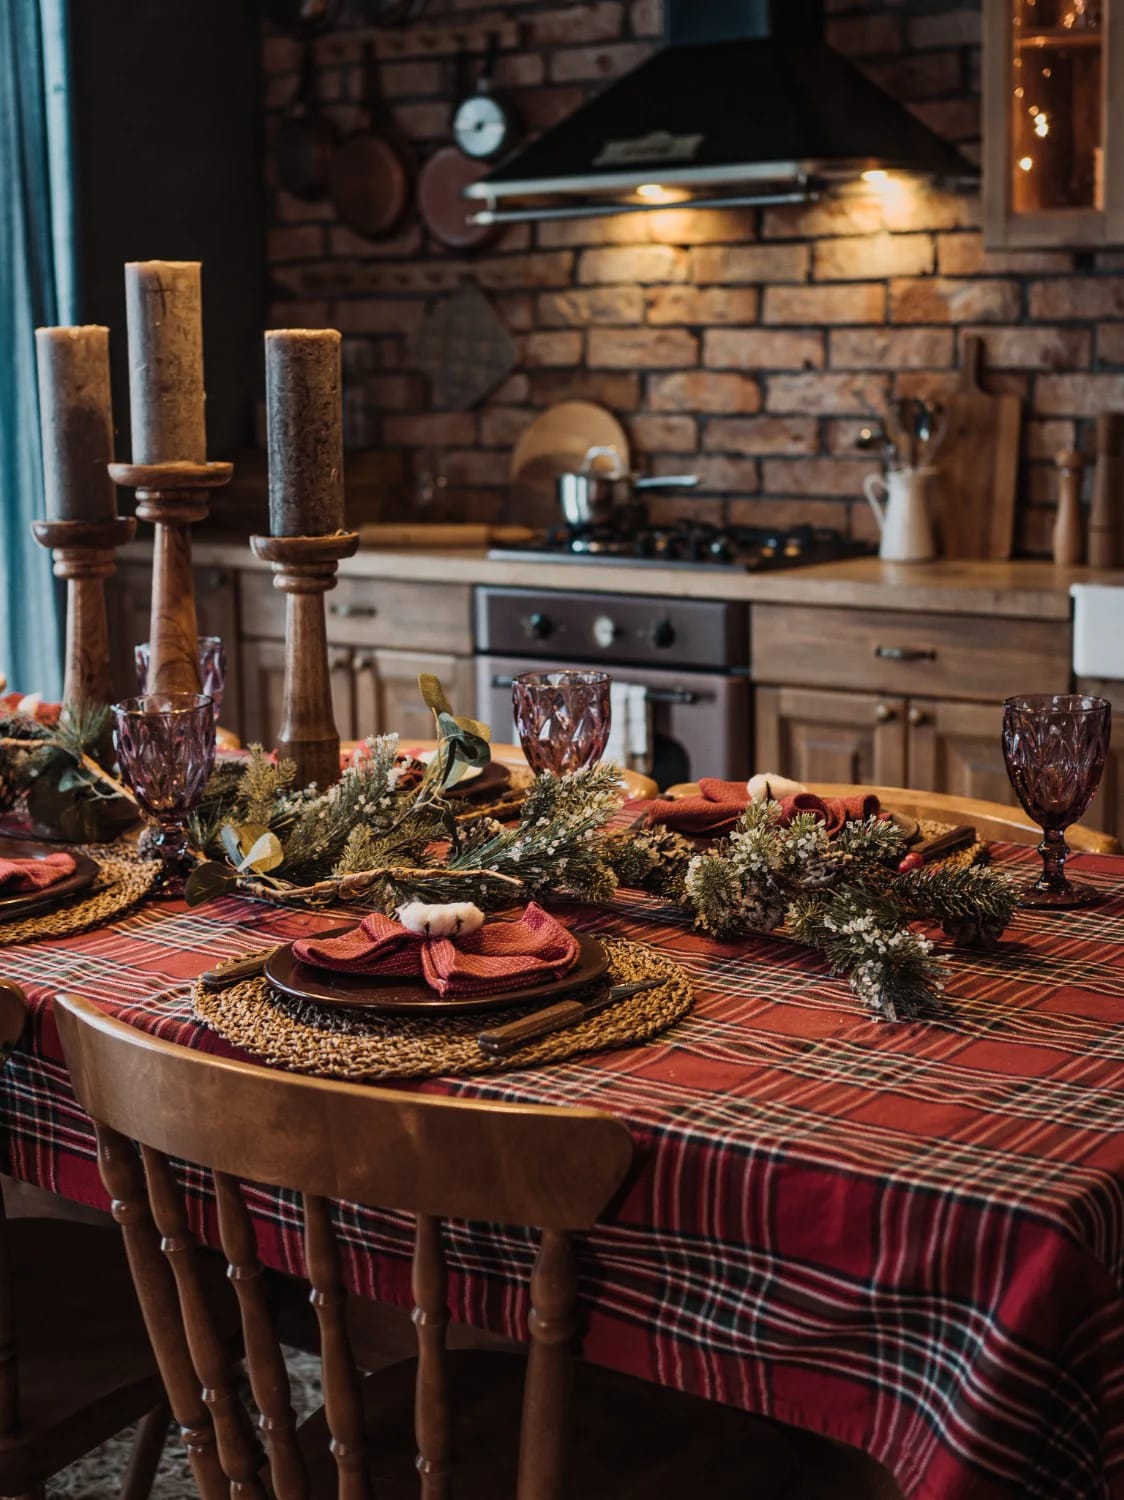
Before buying an ornament, swap the fabrics you already look at every day: the tea towels, the runner on the island, the mat in front of the sink. New linen-blend towels in a red check or a cream waffle-weave reset the whole palette for less than the cost of one decent candle, and they earn their keep because you use them anyway. Fold them over the oven bar with the pattern facing out and you have already done a third of the room.
Layer color and light last
10. Pick one palette and stop, even if it means skipping red and green
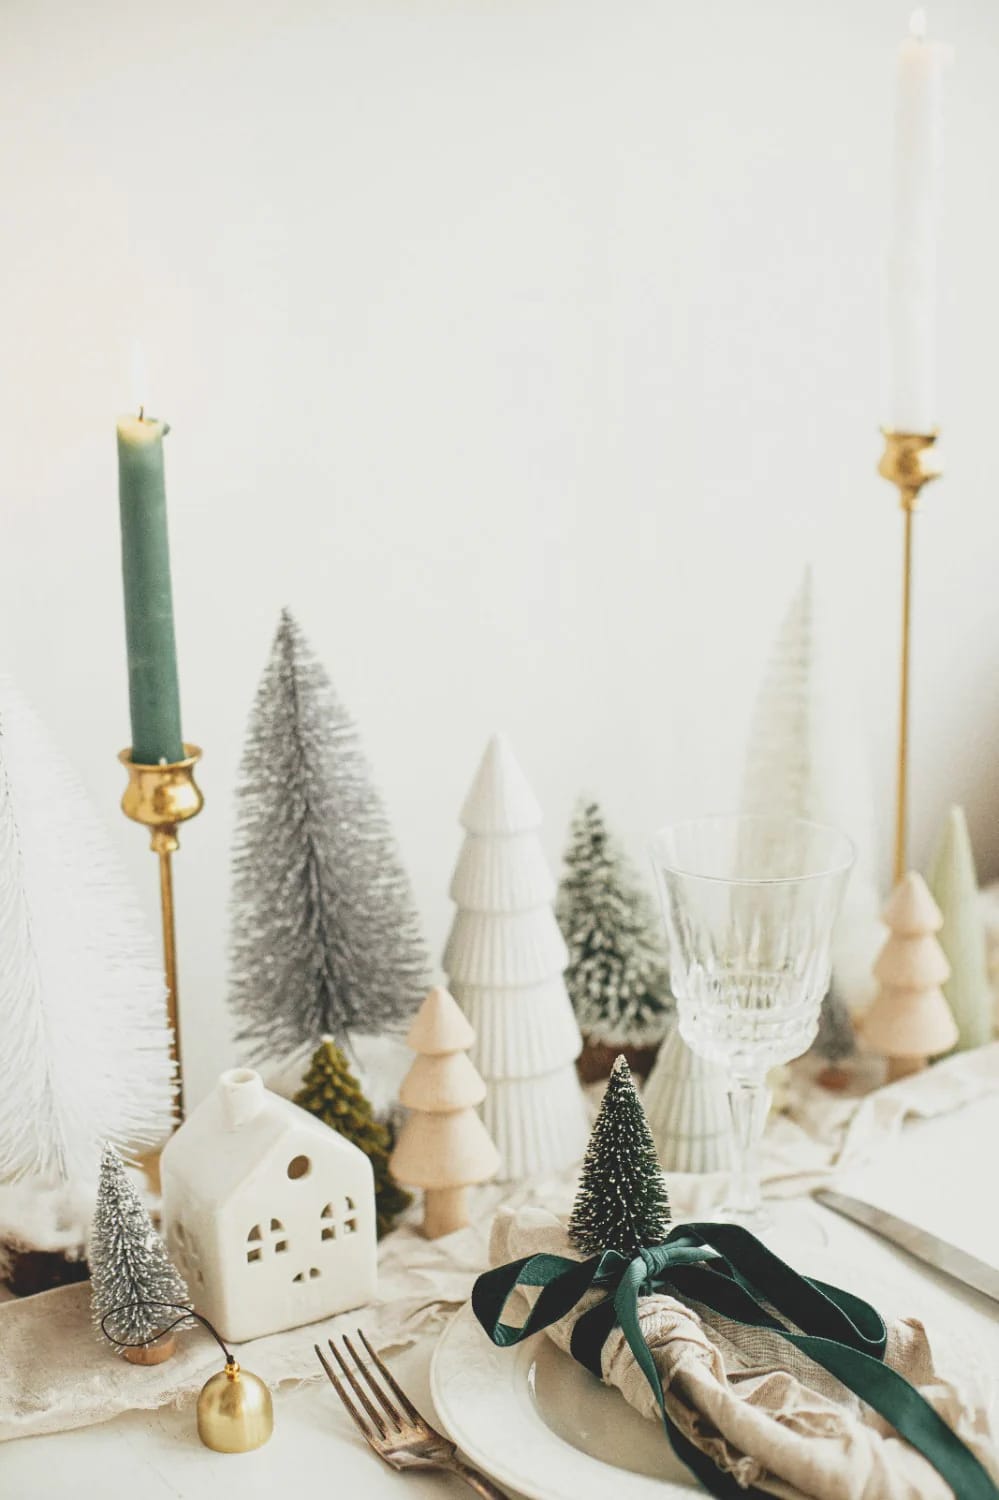
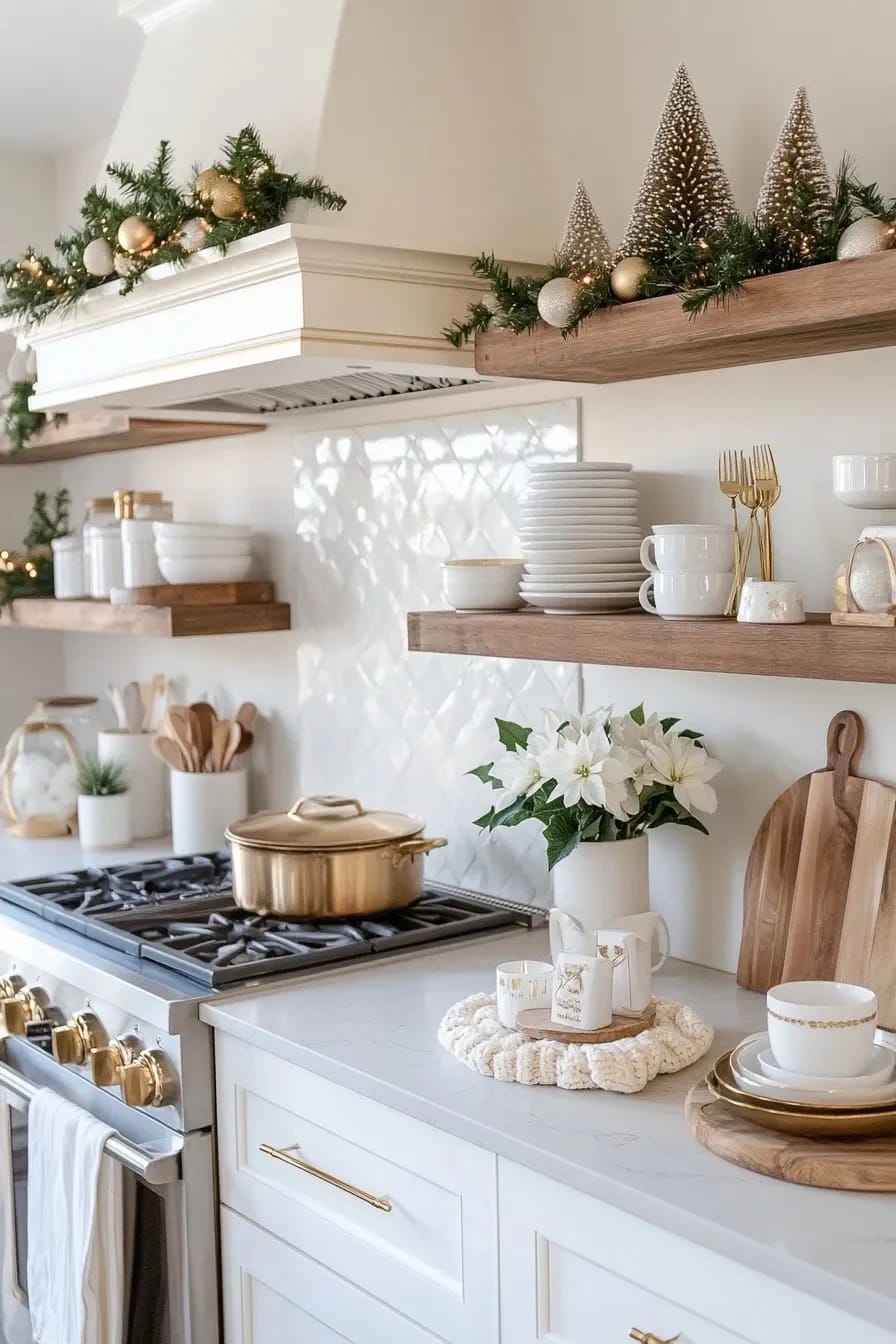
Pick one palette and hold the line, even if that means skipping the default red and green. A kitchen is already visually loud, between the hardware, the appliances, the backsplash, and open food on the counters, so a decor scheme carrying three separate color stories on top of that just reads as noise. Choose a lane and buy only to it: warm traditional (red, brass, evergreen), tonal neutral (cream, wood, bleached greenery), or a cooler blue and silver.
Do this
- Repeat one accent color four or five times around the room, on the bowl, the bows, a towel, the candles.
- Let a color your cabinets or backsplash already carry count as part of the scheme.
Avoid
- Three unrelated color stories layered onto an already-busy room.
- Single pieces bought in whatever shade caught your eye in the aisle.
That said, restraint does not mean beige. One saturated color repeated four or five times around the room looks more deliberate than a scattering of a little bit of everything. If your cabinets or backsplash already carry a strong color, fold that into the palette instead of fighting it with something clashing.
11. Warm the light before you add more of it
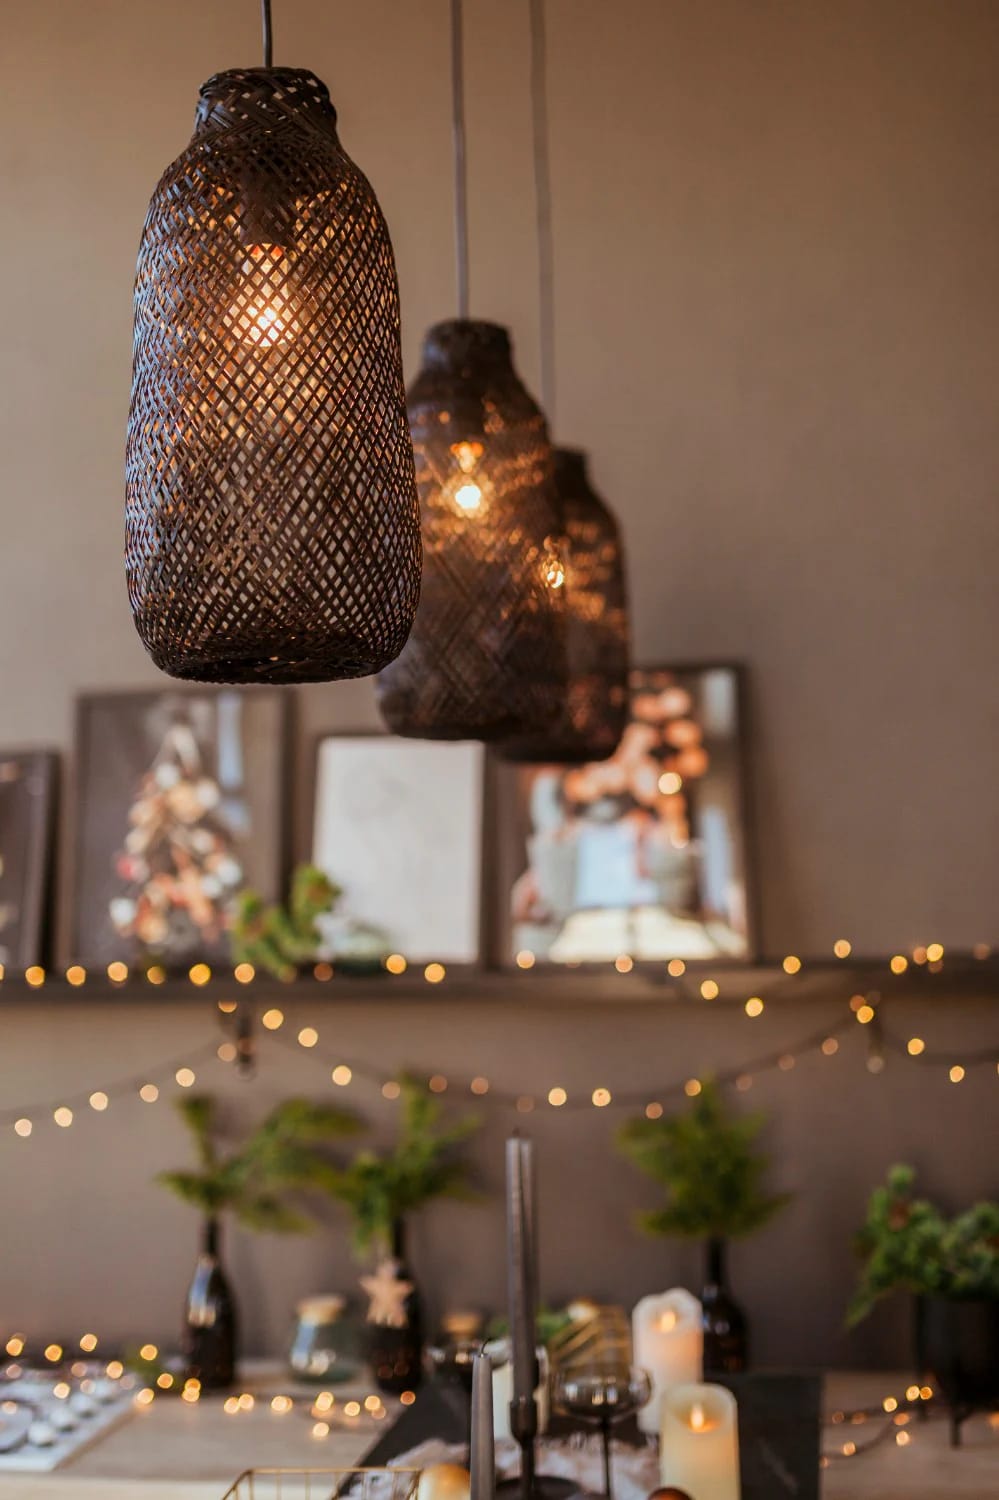
Warm the light before you add more of it. Most battery string lights sold in the big multipacks run cold and blue, which quietly fights every warm thing in the room; look for a label that says warm white, around 2700K, and skip anything marked bright white or cool. A run of under-cabinet strands and two or three real candles do more for the mood after dark than another string of lights ever will, and they do not tint the whole counter that faint hospital blue.
Fresh evergreen dries out fast in a heated kitchen, and garland strung over the stove or draped near the toaster is a real fire risk once it browns. Keep live greenery and any open candle flame clear of the burners, the range hood, and small appliances, and use battery lights rather than plug-in strands anywhere they can reach water near the sink.
12. Use dried oranges, cinnamon, and greenery you can eventually cook with
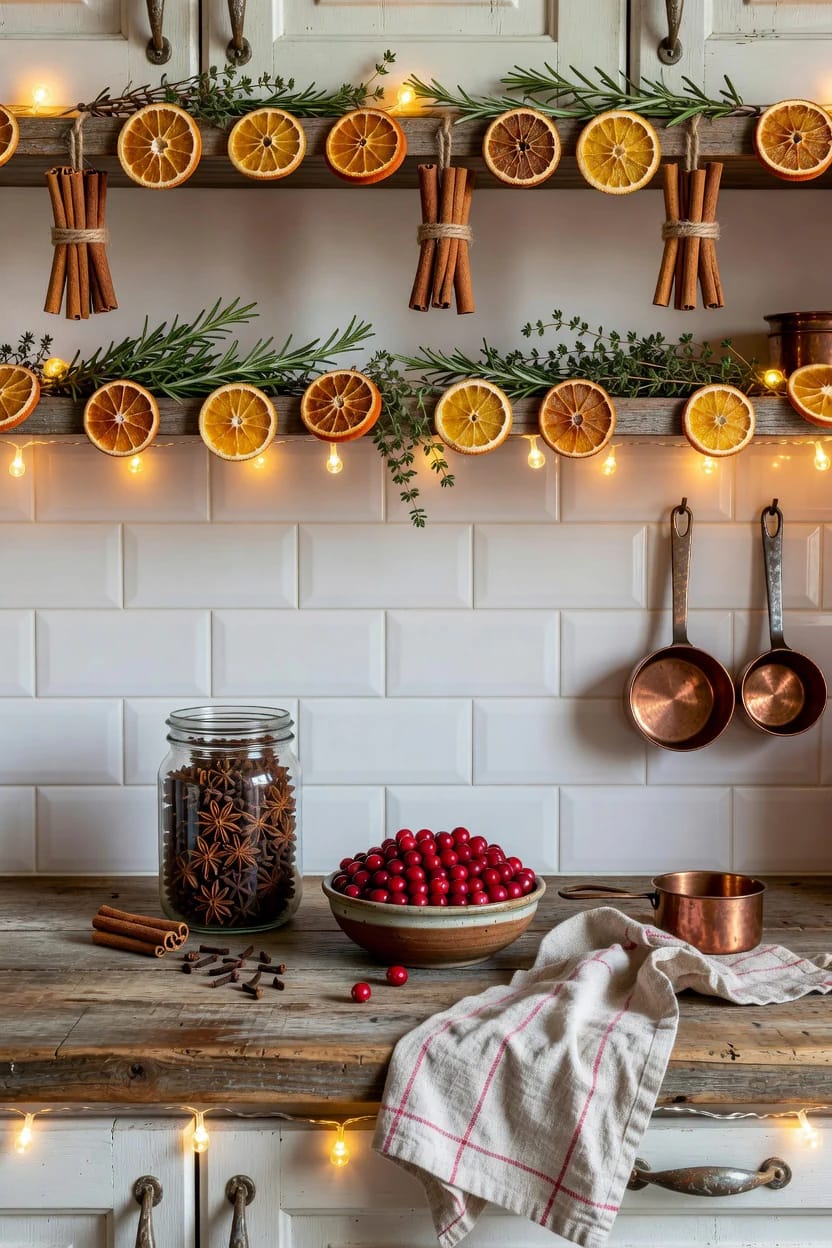
Dried orange slices, cinnamon sticks, bay, and cedar give you decor with a real texture and a real smell, which no plastic garland can, and most of it composts or gets eaten once the season ends. String the orange rounds and cinnamon into a short garland for the window or the shelf edge, and pile spare oranges, pomegranates, and a handful of walnuts in a wooden bowl on the counter.
Dry your own slices low and slow, a couple of hours near 200F with one flip halfway, rather than paying a markup for the pre-dried ones in a plastic sleeve. A clove-studded pomander in that same bowl scents the room for weeks and costs about the price of one orange.
Conclusion
If you only get to three of these, start with the cabinet bows or the shelf garland, add the low island runner, and warm the lighting. That trio alone shifts the whole room, and none of it gets in the way of a week of real cooking.
Everything near the range is a compromise, so treat it like one. Keep fresh greenery and open flame off the burner zone, use battery lights anywhere near the sink, and assume that whatever you set on the counter is going to catch some flour.
The kitchen resists decoration for the same reason it is worth decorating, which is that people stand in it all day. Leave yourself a clear stretch of counter to work on, and let the velvet bows and the dried-orange garland do the rest.