

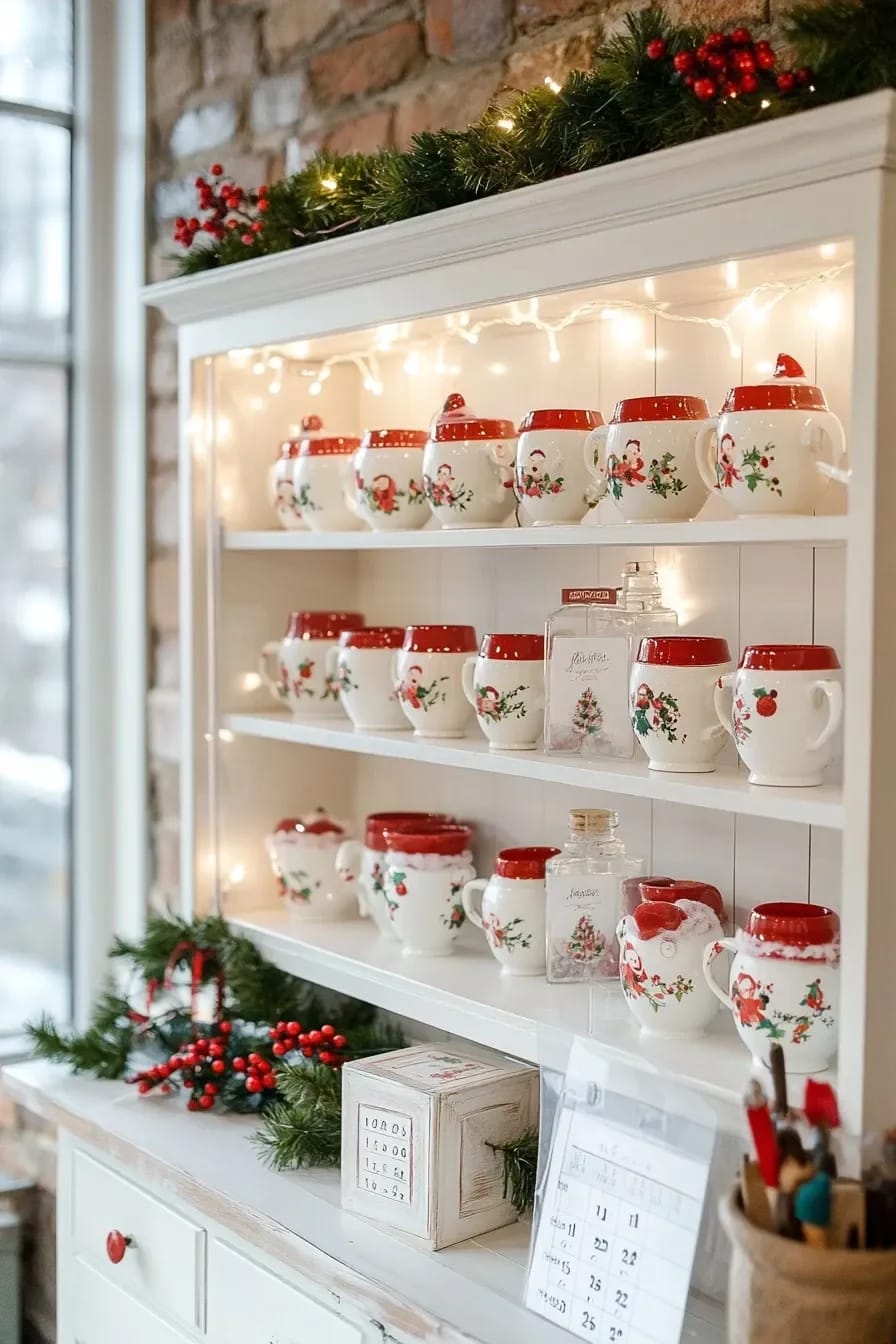
Most Santa mug collections are stored, not displayed. Twenty ceramic Santas nested three deep in a cabinet is a supply of mugs, not a display, and pulling them out onto a shelf in a jumble every December is why the whole thing reads as clutter by the 15th. What follows is the hardware, the spacing math, and the arrangement logic for a wall or shelf that holds the collection properly: what to hang them on, how far apart, how many will actually fit in the run you have, and how to keep a 1950s glaze from ending up in pieces on the counter.

1. Take every mug down and be ruthless about it
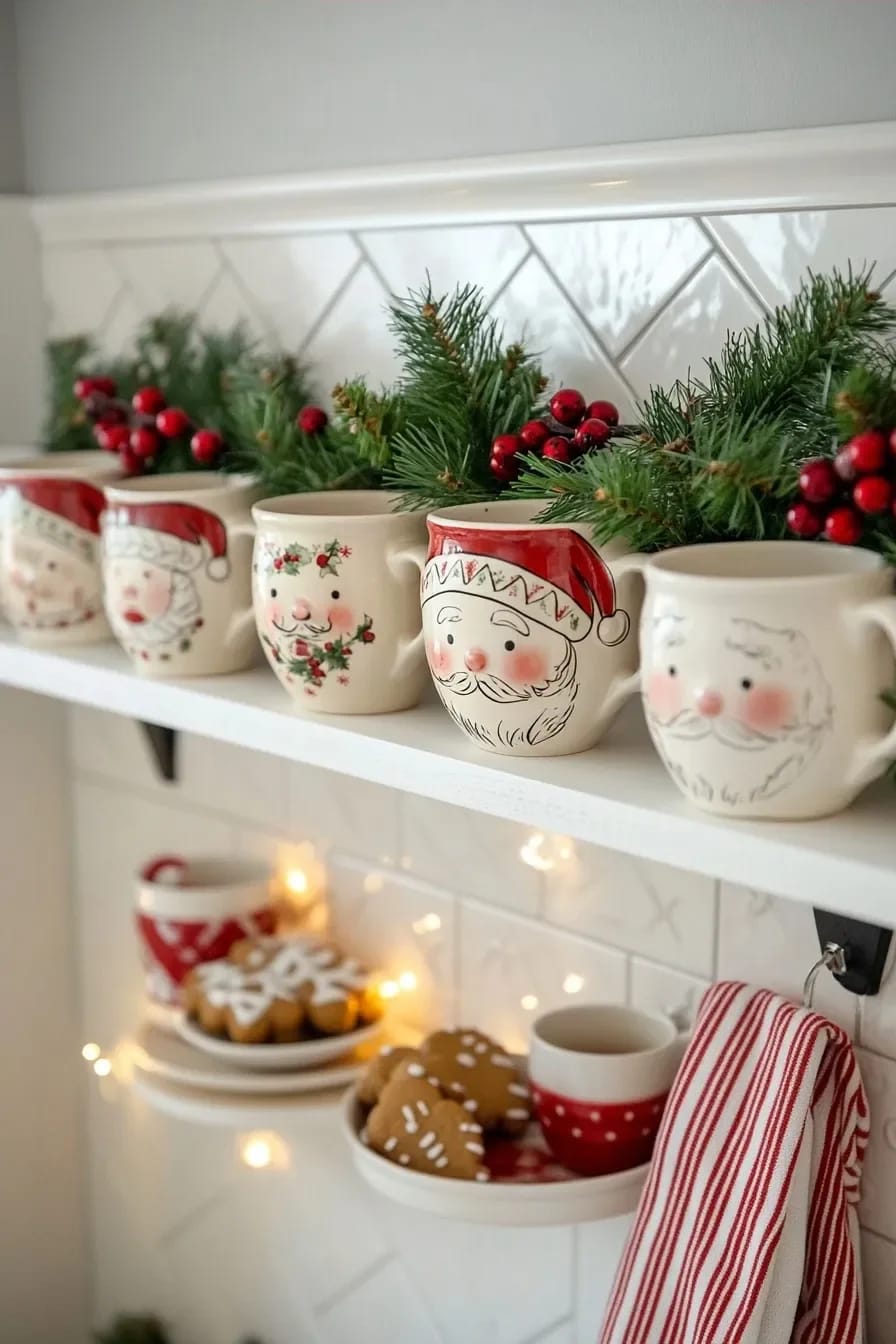
Display fewer mugs than you own. Granted, that is the least welcome sentence in any collecting article, but a shelf packed edge to edge reads as inventory: the eye gets no rest, no single face lands, and the good pieces get no more attention than the chipped gas station one. Aim to leave a quarter to a third of your shelf run empty and hold the rest back.
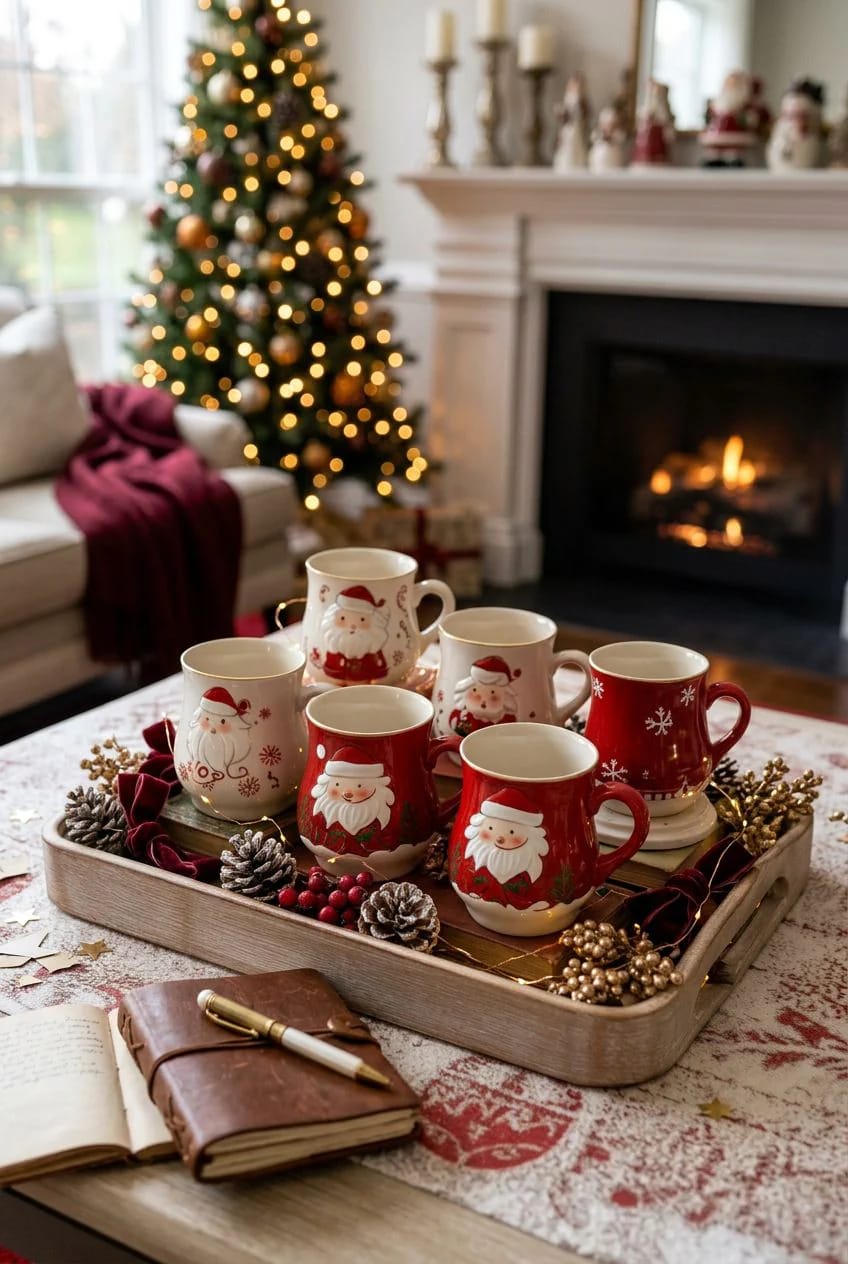
Spread everything on a towel-covered table and sort into piles. Not by size, which is the instinct, but by surface, because surface is what the eye actually reads from across a room:
- Matte or lightly crazed glaze, hand-painted cheeks, weight in the base. Mid-century, mostly Japanese production. These are your anchors.
- High-gloss, bright white, uniform pink cheeks: 1980s and later reproductions. Fine, but they cluster badly with the matte ones and flatten them out.
- Gold-trimmed and lustered pieces. Handle separately; the trim rubs.
- Damaged. Chips, hairlines, a handle repaired with something amber-colored in 1974.
The identification part is quick. Holt-Howard stamped most of its Santa mugs on the base with a copyright date and the company name, and some carry a red and gold foil label reading "HH" and "Japan"; :antCitation[]{citations="75d75cf1-2dba-43e3-a797-9f11d6984481" injected="space"} Napco and Lefton pieces often carry foil markings too, and plenty of mid-century mugs say nothing but "Japan". :antCitation[]{citations="5492d1cc-36ab-4f49-9281-e0a2c7233664" injected="space"} Anything unmarked and glossy is probably younger than it looks. And drink from the reproductions, not the old ones: a crazed interior glaze is a network of open cracks, and decorative ceramic imports from the 1950s were never tested against any standard you would recognize today. Display pieces are display pieces.
2. Choose the surface before you buy any hardware
Cup hooks under a shelf hold the most mugs per foot of wall, full stop, and they show the faces at eye level instead of the tops of the hats. Everything else is a tradeoff against that. Choose here first, because the surface determines whether you are buying hooks, brackets, risers, or nothing at all.
| Surface | Holds (per 36 in run) | Cost | Where it fails |
|---|---|---|---|
| Cup hooks under a shelf | 8 hanging, plus 9 standing on the shelf above | $6 to $10 for the hooks | Handles take all the load; a hairline crack you missed becomes a break |
| Open shelf, mugs standing | 9 in front, 6 to 7 on risers behind | $50 to $80 for a pair of shelves | Kitchen grease films the glaze; back row disappears without risers |
| Shaker peg rail | 4 to 5 | $20 to $30 | Pegs sit on 8 in centers and taper to about 1 in at the tip, :antCitation[]{citations=”b0a5b27c-a950-46ec-846f-365550577229″ injected=”space”} which is fat for a narrow vintage handle and wasteful of wall |
| Glass-front hutch | 12 to 16 across two shelves | Whatever the hutch cost | Glass and depth mute the faces; it reads as storage with a door |
| Cubby unit or printer’s tray | 10 to 20, one per cubby | $40 to $200 secondhand | Handles hide inside the box; you lose the hat-tail silhouette |
| Tiered tray | 5 or 6 | $25 to $50 | It is a dust trap on a counter you need |
The peg rail deserves a harder word, because Pinterest is full of them and they are the wrong tool. A rail sized for coats gives you one mug every eight inches and a peg too thick for the handles that make these mugs worth hanging in the first place. Brass cup hooks screwed into the underside of a solid shelf give you one mug every four and a half inches, cost about a fifth as much, and disappear behind the mugs.
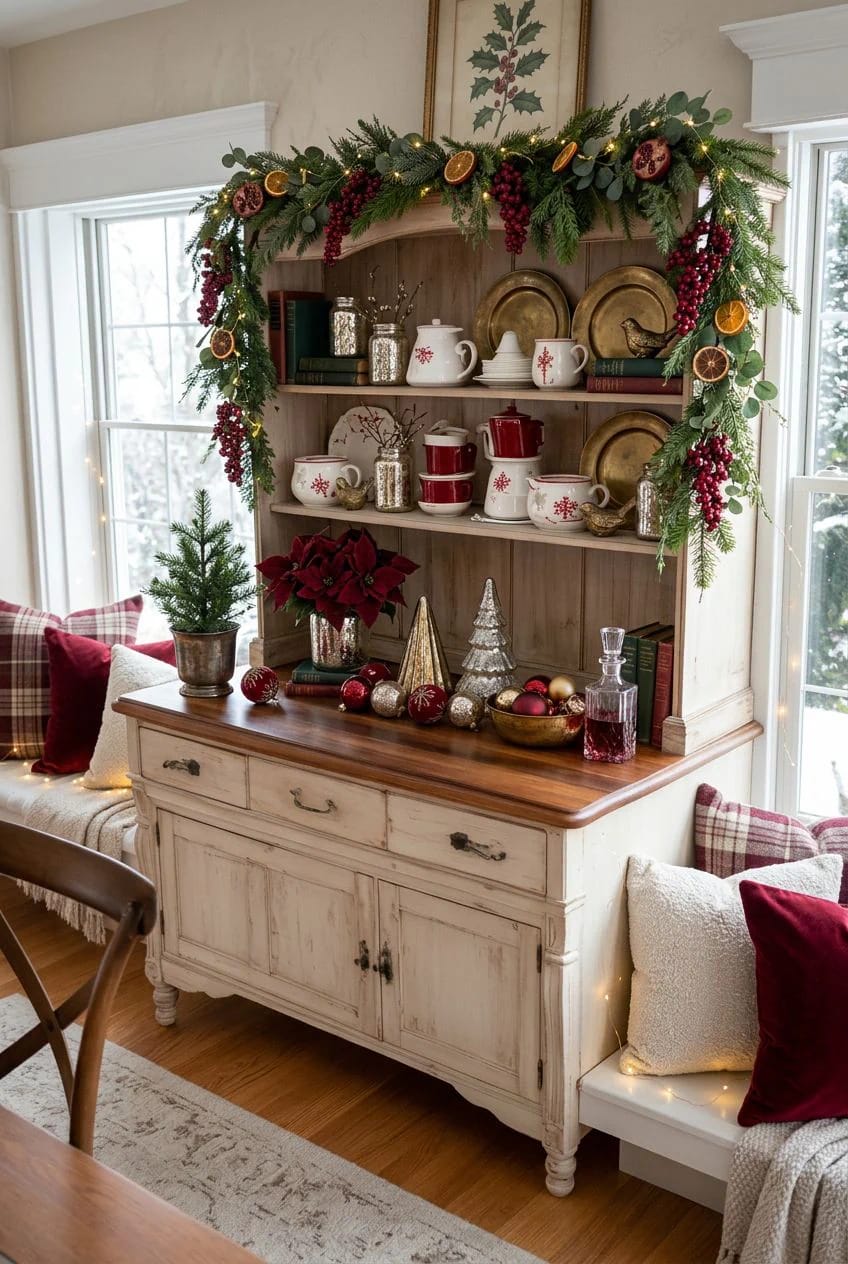
The one surface worth the compromise is a cubby unit, an old postal sorter or a printer's tray, because each mug gets its own frame and the grid does the composing for you. American Farmhouse Style makes the same case, suggesting collectors nestle Santa mugs into cubbies and tuck bottlebrush trees or fairy lights inside them. :antCitation[]{citations="6937307a-5c79-4728-bb3b-b6fa2f27be6a" injected="space"} You lose the handle silhouette, which is half the charm of a Holt-Howard mug, so it works best when the mugs are painted faces first and shapes second.
3. Measure the run and count the mugs
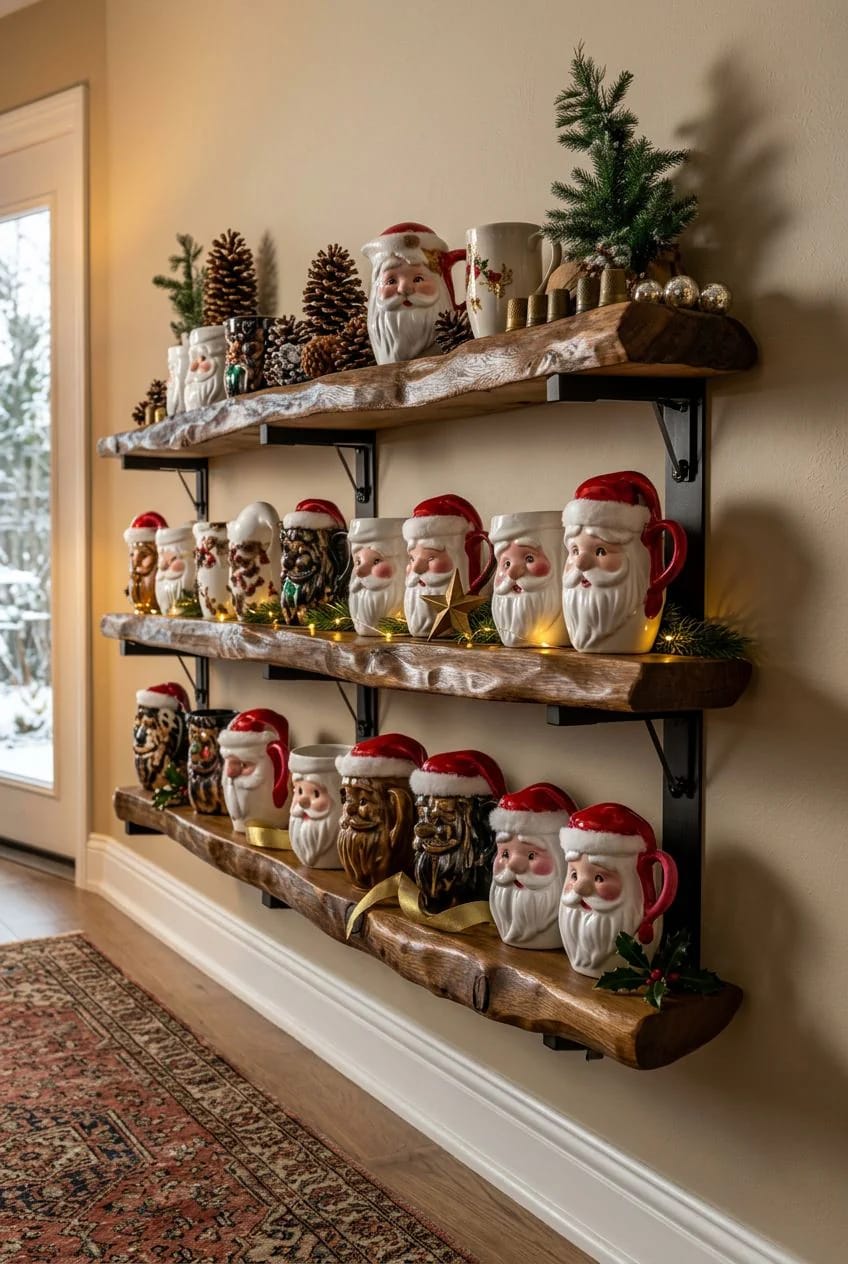
A standard mid-century Santa mug is roughly 3 to 3.5 inches tall and about 3 inches across the body, but the handle pushes the real footprint to 4 or 4.5 inches, and that handle width is the number that governs everything. Hooks on 4.5 inch centers put eight mugs under a 36 inch shelf without the handles touching. Standing on the shelf with a finger-width gap between them, the same run takes about nine.
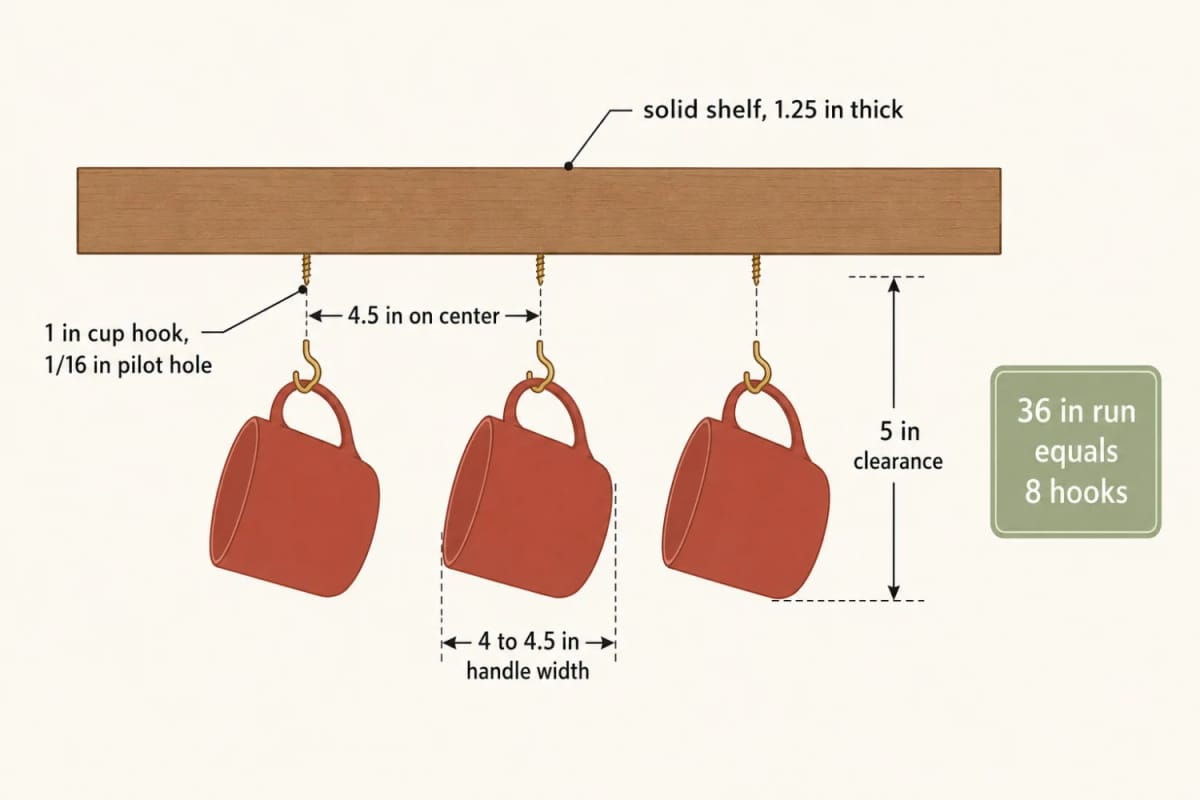
Rather than take those numbers on faith, measure your widest mug across the handle and run your own run through this. It also tells you how many rows you need for the whole collection, which is usually the moment people discover they are one shelf short.
Mug capacity for your run
Enter one shelf or rail run. Estimates round down, because handles do not overlap.
What this costs to do properly
Assuming you already own a drill, a wall of 16 hanging mugs plus a standing row above them lands around $110 to $180 in materials. The shelves are most of it. If you have a run of solid shelf already up, you are looking at under $70.
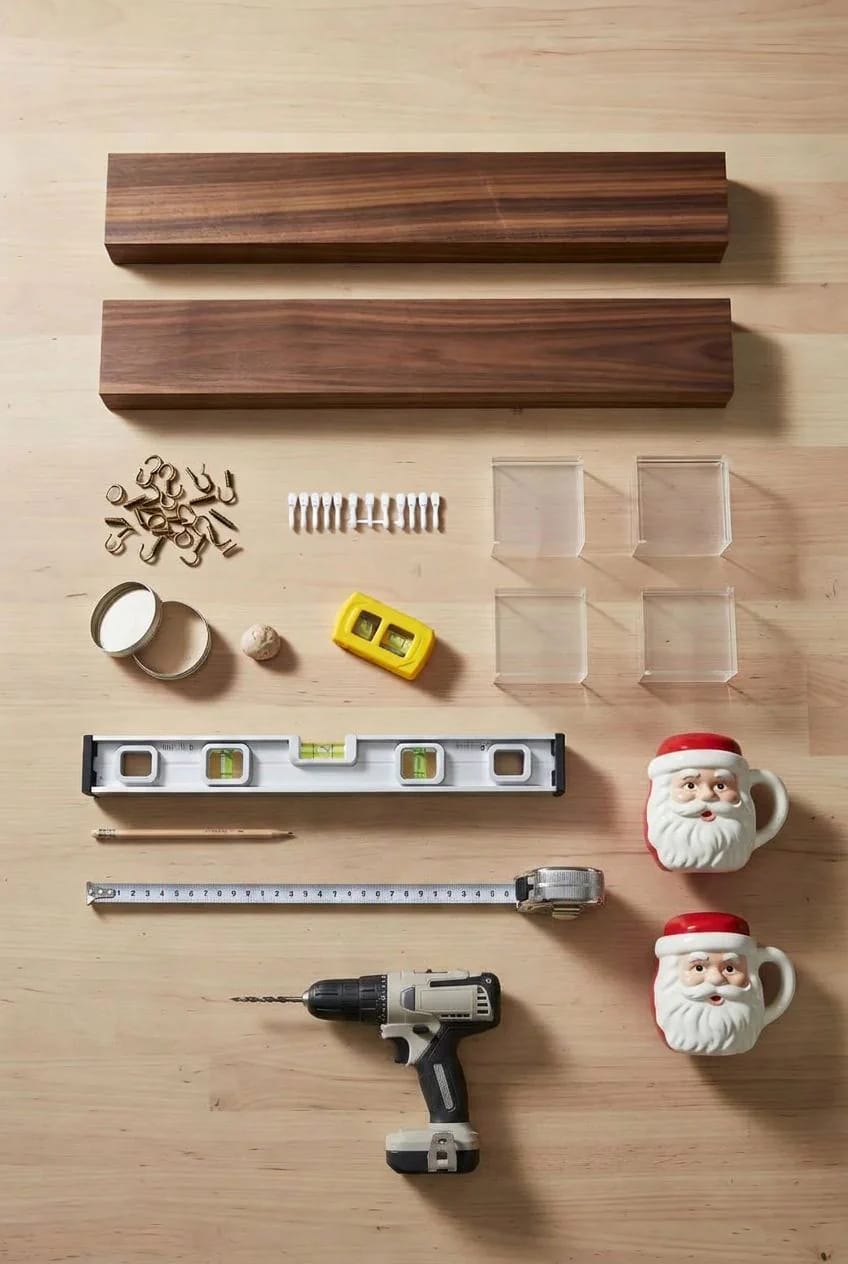
Materials
| Qty | Item | Spec | Price |
|---|---|---|---|
| 2 | Homeforia 36 in solid walnut floating shelves, set of 2 | 36 x 6.5 x 1.75 in, hidden bracket, drills to 16 in stud centers | $50 to $80 |
| 1 pack | Hillman 1 in solid brass cup hooks, 30-pack | 1 in projection, screws into solid wood | $6 to $10 |
| 1 | Quakehold 88111 museum putty, 2.64 oz | Reusable, removable, secures bases to shelves | $7 to $12 |
| 1 set | Clear acrylic risers, 3 in, 4 in and 5 in | Lifts the back row clear of the front | $12 to $18 |
| 1 set | EZVALO rechargeable puck lights, 6-pack with remote | Use the 3000K warm setting, not the 5000K | $25 to $40 |
| 1 | 24 in unfinished pine Shaker peg rack(only if you want the peg look) | 4 pegs, 3 in long, wide centers | $20 to $30 |
| 1 pack | Drywall toggle anchors | Rated 50 lb or more, for brackets that miss a stud | $6 to $10 |
| 1 pack | Felt pads, 1/2 in circles | Under the base of every standing mug | $5 to $9 |
| Materials subtotal | $131 to $209 | ||
Tools
| Qty | Item | Spec | Price |
|---|---|---|---|
| 1 | Franklin Sensors ProSensor 710 stud finder | 13 sensors, shows the full stud width, no calibration | $45 to $55 |
| 1 | Cordless drill with a 1/16 in bit | The bit is for pilot holes in the shelf, not the wall | $0 if owned, $50 to $90 new |
| 1 | Spirit level, 24 in | Longer than the shelf bracket span | $10 to $20 |
| 1 | Tape measure and a pencil | Any | $0 to $15 |
| Tools subtotal | $55 to $180 | ||
| Combined, buying everything from scratch | $186 to $389 | ||
Prices are approximate ranges as of July 2026; verify before purchase.
4. Mount the shelf, then the hooks
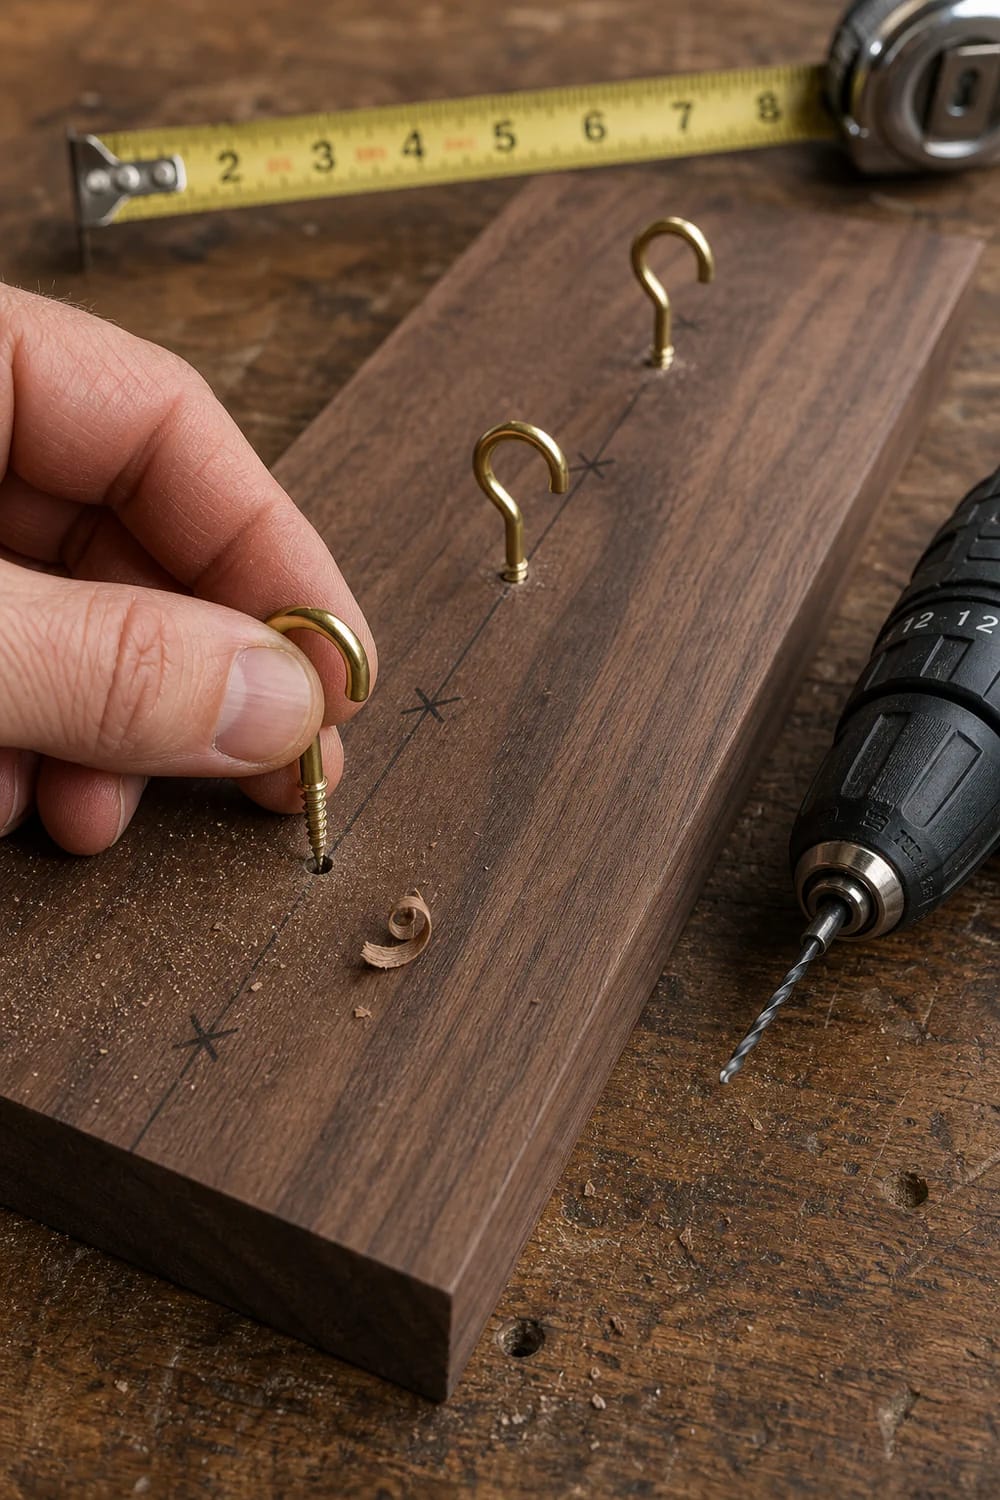
Hooks go into the shelf board on the bench, before the shelf goes on the wall. Screwing cup hooks overhead into a mounted shelf means drilling blind, at an angle, with sawdust in your eyes, and the hooks come out crooked; do it flat on a table and every hook lines up.
- Mark the hook line. Flip the shelf upside down. Draw a pencil line down the underside, 1.5 to 2 in back from the front edge, so the hanging mug does not knock the wall.
- Step out the spacing. Use the pitch the calculator gave you (4.5 in is typical). Mark from the centre outward rather than from one end, so the leftover gap splits evenly on both sides.
- Drill pilot holes. A 1/16 in bit, about half the depth of the hook’s threaded shank. Brass is soft. Driving a brass hook into unpiloted walnut will shear the head off.
- Screw the hooks in by hand until the collar meets the wood, then turn each one so all the openings face the same direction. Facing forward is the standard move; facing right, so the handle sits at a slight angle, shows more of the face.
- Find the studs and mount the shelf. Most walls run studs at 16 in centers, which is what these bracket shelves are drilled for. Toggle anchors are a fallback for one end, never for both.
- Load it in stages. Hang four mugs, wait a day, then the rest. A shelf that is going to sag tells you early.
The handle is the weakest part of a seventy-year-old mug and it is the only part carrying the weight. Before you hang anything, hold each mug up to a window and look through the handle joint for a hairline; then tap the rim gently with a fingernail. A clean ring means sound ceramic, a dull thud means a crack you cannot see, and that mug stands on the shelf instead. Never screw a cup hook directly into drywall, with or without a plastic anchor. And do not hang mugs from the underside of a shelf that is held up by adhesive strips or a single toggle, which is how people end up sweeping Napco off the floor.
5. Arrange them so the faces read
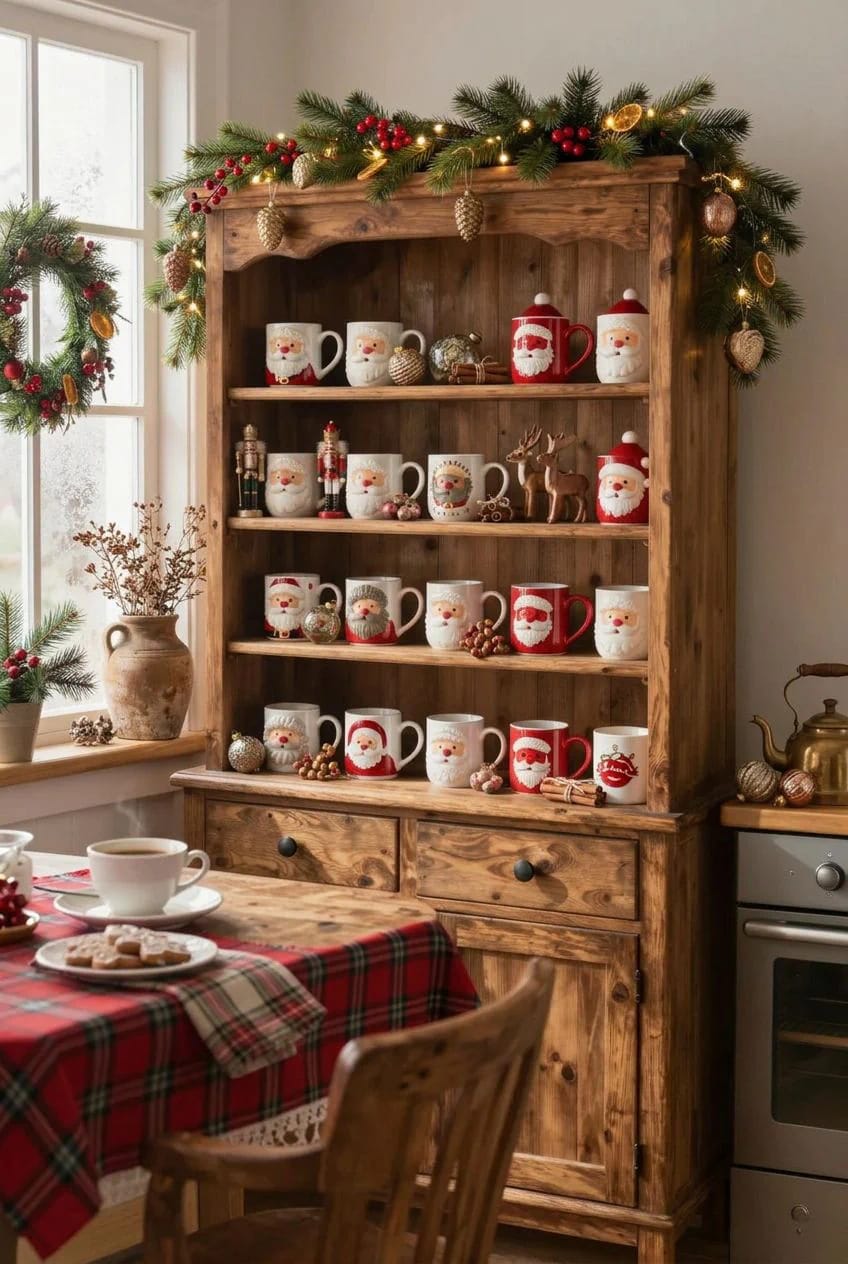
Group by finish, not by height. A row that steps neatly from small to large is a shop display; a run where all the matte hand-painted pieces sit together, and the glossy reproductions hold their own cluster at the far end, is a collection. The eye reads glaze and colour temperature before it reads size.
Rules that survive contact with an actual shelf:
- Odd numbers per cluster. Three, five, seven. Even groups pair up and look transactional.
- Turn each face about 10 degrees off square. A row of mugs staring straight out is a police lineup.
- Leave one deliberate gap at eye level. It is the difference between a display and a shelf that ran out of room.
- Back row on risers, staggered to sit between the front row’s gaps, never directly behind a mug.
- Bottlebrush trees, in faded mint and cream, tucked inside two or three of the mugs. Not all of them. The joke stops being a joke.
- Anything with worn gold trim goes at the end of a run, where it is not competing with the strong red hats.
Backing matters more than people expect. Against white subway tile the red hats vibrate; against a wood back, a dark painted wall, or a length of matte green garland threaded behind the shelf brackets, they settle. If you have nothing to back them with, put a plain white ironstone plate or two behind the mugs as a foil, which is an old antique-dealer trick and costs nothing at a thrift store.
6. Light it, lock it down, and give it a day
A shelf of Santa mugs in a north-facing kitchen at 4pm in December is a shelf of grey Santa mugs. Two rechargeable puck lights on the underside of the cabinet above, set to 3000K, pull the reds back out. Skip the 5000K setting, which turns the white beards blue. Direct afternoon sun is worse than no light at all, because overglaze red fades and the cheeks go first.
Then take the pea of museum putty, roll it soft, and press one under the base of every mug that stands rather than hangs. It sets in about half an hour and twists off clean. In a house with a cat, this is the whole ballgame.
The way a weekend of this actually goes:
- Friday evening. Everything down, sorted into the four piles, damaged ones set aside. Measure your widest handle.
- Saturday morning. Hooks into the shelf on the bench, pilot holes first. Studs found, shelf mounted, level checked twice.
- Saturday afternoon. Hang four mugs and stop. Have a coffee, look at the shelf from the doorway, then load the rest.
- Saturday night. Putty under the standing mugs, lights on, garland threaded.
- Sunday. Change three things. There will be three things.
Packing them away in January
Do not stack them handle inside handle, which is how the majority of vintage Santa mug damage happens, and it happens in the box, not on the shelf. Wrap each one in plain tissue rather than newspaper (the ink transfers onto crazed glaze and stays there), and store them upright in a divided box, the kind wine shops give away for free.
Leave the hooks in the shelf. Take the mugs down, put your everyday mugs up on the same hooks in January, and the holes are already there next November, spaced exactly right, no measuring, no pilot holes, no arguments about whether the line is level.
One thing I could not pin down for you: what any of this is worth. The sold-price archives put most single mid-century Santa mugs in the $10 to $25 band, but a boxed pitcher-and-mugs set in original packaging is a different market entirely and the numbers scatter. If you want to know where your pieces sit, WorthPoint’s guide to Holt-Howard’s marks is the place to start identifying what you actually have, which matters more than the number anyway.