A standard apartment galley gives you eight to ten linear feet of counter, and about a third of it is gone before you cook anything: the microwave, the knife block, the drying rack, the coffee setup that has quietly annexed the corner by the outlet. Every idea below is aimed at that surface, either by moving things off it or by making the little that remains work harder. Some are twenty-dollar fixes. Two of them will change what the room looks like entirely.
Roughly half of what follows is reversible in a weekend, which matters if you rent: rails, carts, lighting, a drying cabinet. The other half assumes you can drill into a wall or swap a countertop. Nothing here requires moving plumbing or taking down a wall, because in a rented apartment kitchen you cannot, and in a small owned one it rarely pays back.
One thing to get out of the way: painting a small kitchen entirely white does not make it bigger. It makes it a small white kitchen with nowhere for your eye to land, which is why the apartment kitchens people actually save right now are running muted greens and clays on the lowers with warm wood on top.

The single-wall studio kitchen
Everything on one 8 to 10 foot run, open to the living space. No wall to hide behind, so the kitchen is furniture as much as it is a kitchen.
Best for: zoning moves (ideas 9 and 10) and lighting that reads as living-room lighting.
The galley
Two facing runs, usually 36 to 42 inches apart. Storage is fine, counter is not, and both people cannot stand in it at once.
Best for: vertical storage, wall rails, and a drying cabinet over the sink.
The L in the corner
Two perpendicular runs with a dead corner cabinet you have to lie down to reach. The counter is usually decent; the storage is a lie.
Best for: pull-outs, and giving up on the corner as anything but bulk storage.
The closet U
Three walls, one doorway, under 60 square feet. Claustrophobic in white, warm and cave-like in color.
Best for: ceiling-height cabinets, a backsplash run to the ceiling, layered light.
Storage that goes up, not out
1. Hang a rail across the backsplash and lose the utensil crock
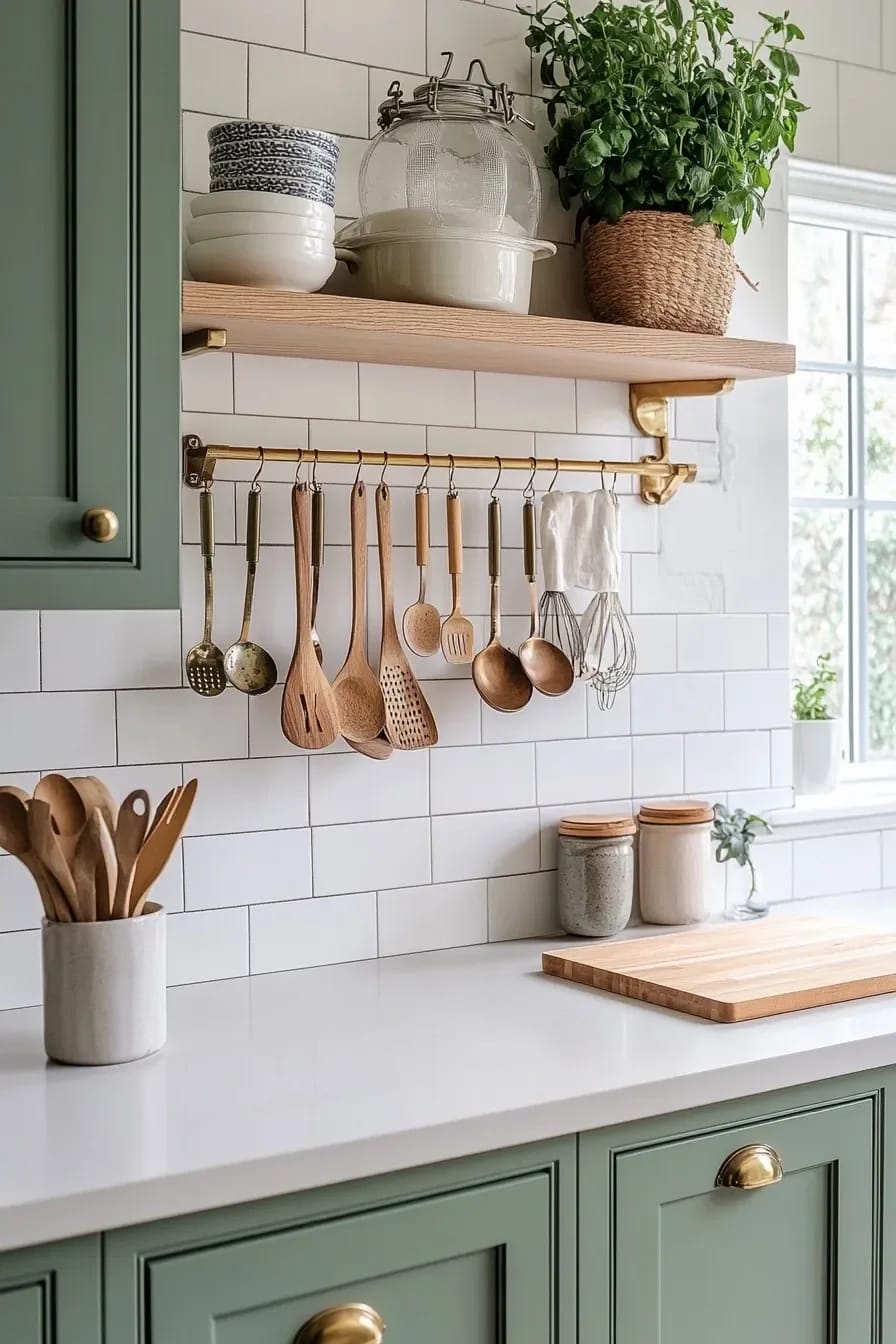
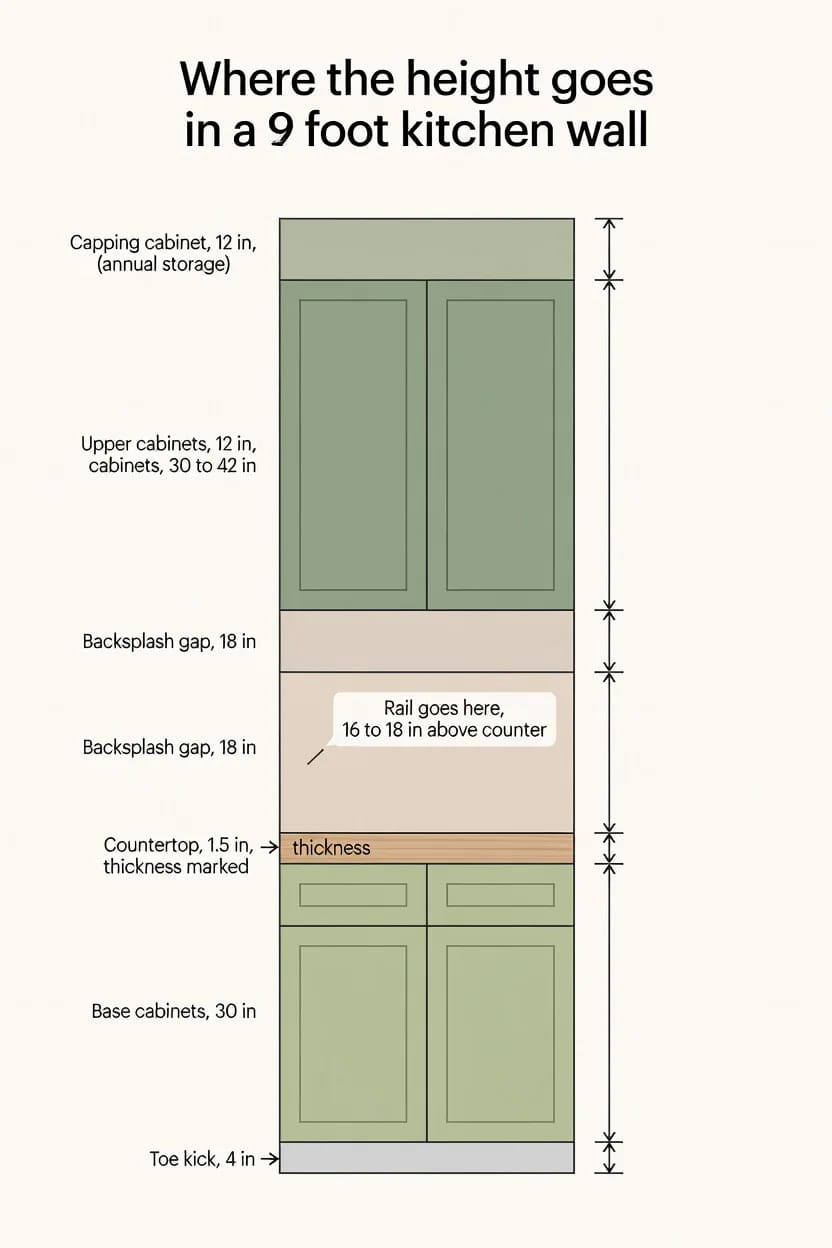
The single highest-value square foot in a small apartment kitchen is the 18 inches of wall between the counter and the upper cabinets, and most people fill it with tile and leave it at that. A rail across that gap takes the crock of spatulas, the paper towel roll, the salt cellar, and two mugs off the counter, and it costs less than a takeout order: IKEA's HULTARP rails run about $13 for the 23 inch and $17 for the 31 inch, with hooks and small containers a few dollars each. Hang the rail 16 to 18 inches above the counter so a stand mixer or a tall kettle still clears it.
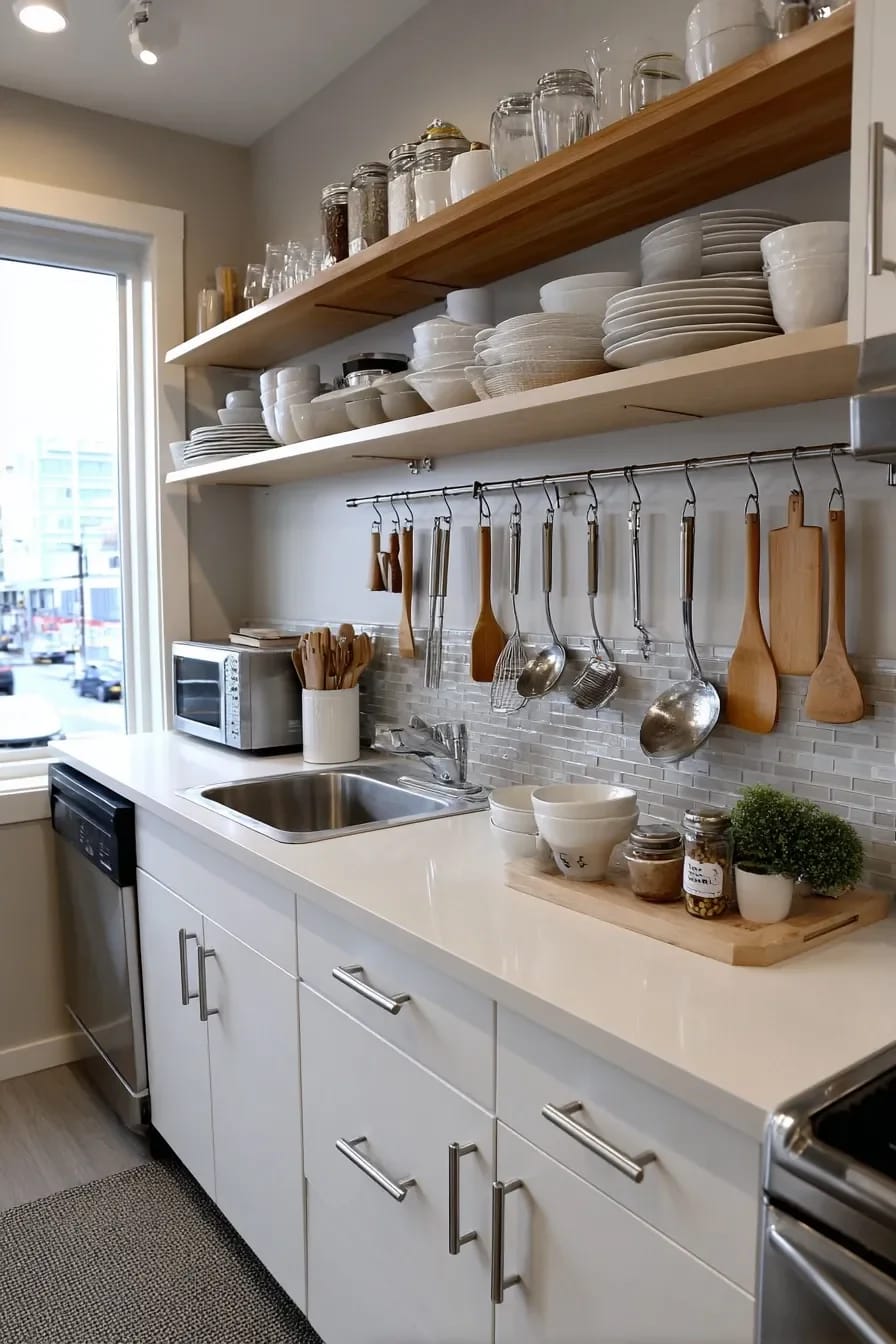
What you hang matters more than the rail. Hang the four things you touch daily and nothing else, because a rail loaded with twelve items reads as clutter at eye level, which is worse than clutter on the counter. Wooden spoons, a strainer, one pan, a small pot of thyme.
Rails rarely land on studs at the spacing you want them, so they go into drywall anchors, and reviewers on IKEA’s own product page flag exactly this. Keep the load light: HULTARP’s hooks are rated around 9 lbs each, which is a colander and a small saucepan, not a cast iron skillet. If your backsplash is tile, you are drilling through glaze with a masonry bit and you are patching it when you move out, so renters with a deposit at stake should mount the rail on painted drywall beside the run instead.
2. Run cabinets to the ceiling and give up the last shelf
Cabinets that stop 12 or 14 inches short of the ceiling create a dust ledge and a visual break that makes the wall look shorter, not taller. Take the boxes to the ceiling, or bridge the gap with a shallow capping cabinet, and accept that the top shelf is annual storage: the roasting pan, the stockpot, the bundt tin you use in December.
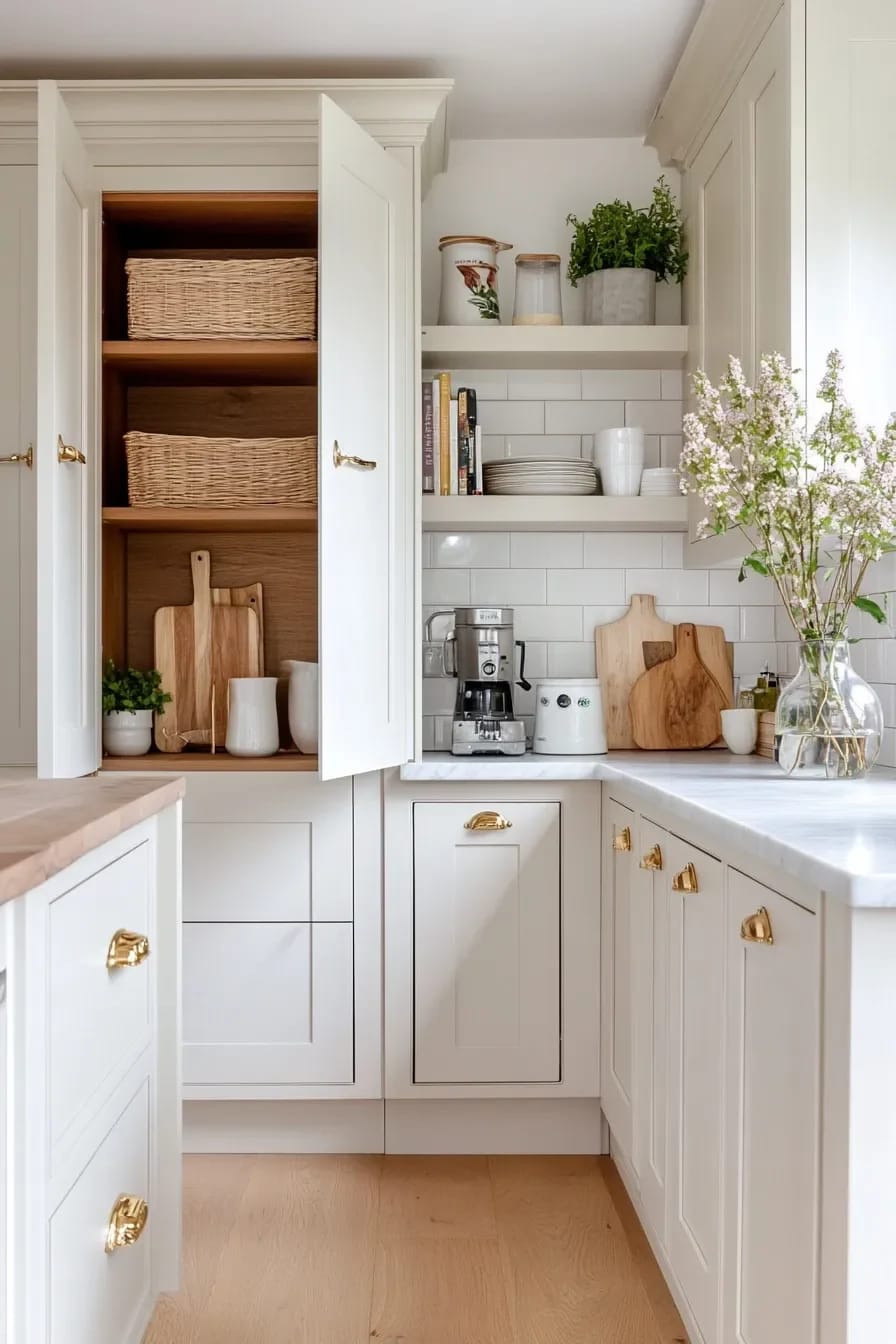
That top shelf is the trade. You get roughly 20 percent more cabinet volume and a wall that reads as a full plane, and in exchange you need a step stool twice a year. Worth it in a closet U, arguable in a galley where the ceiling is already low.
3. Put a six-inch pull-out in the gap beside the fridge
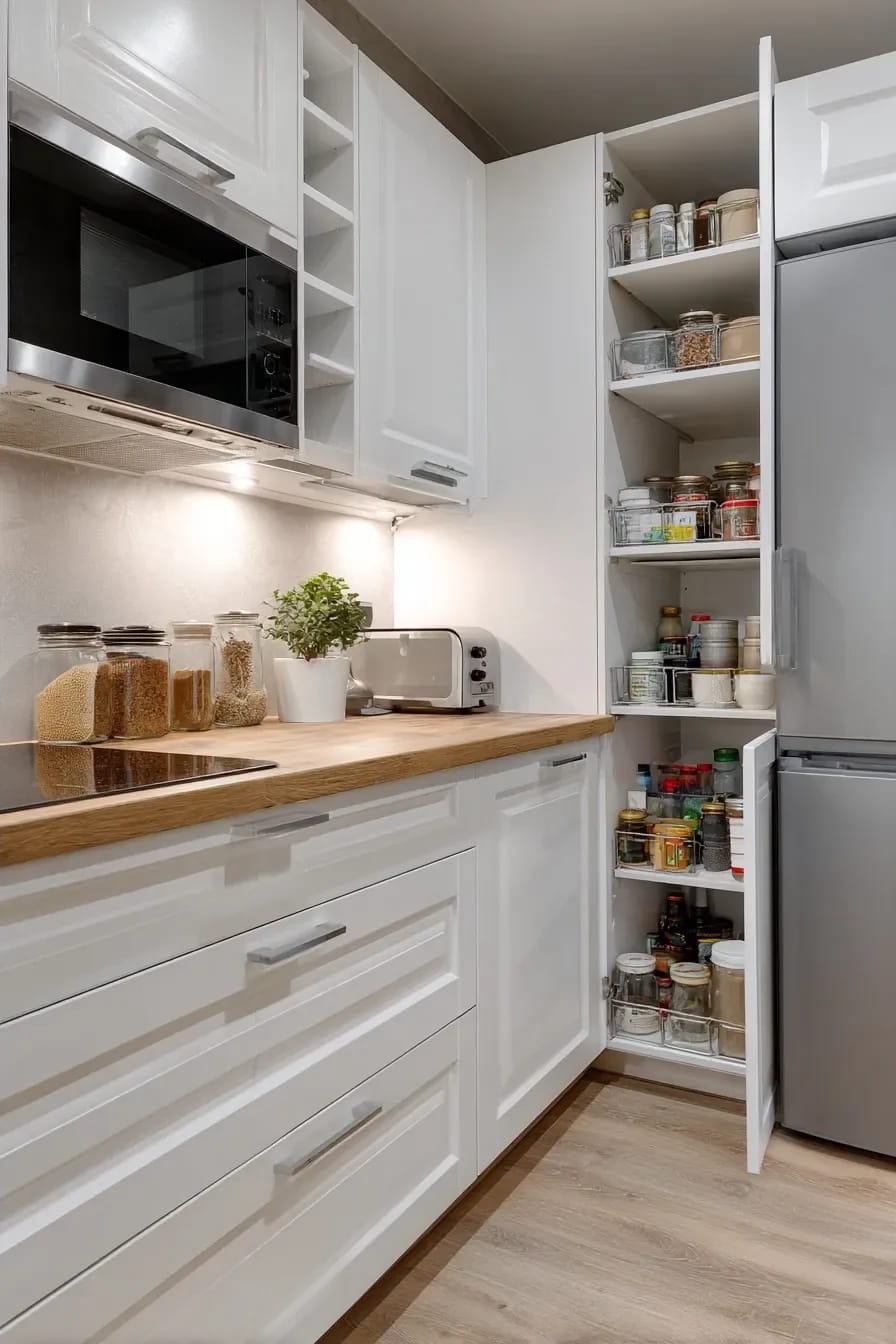
Nearly every apartment kitchen has a three to six inch dead gap beside the fridge or the range, filled with a cutting board and a decade of crumbs. A slim rolling pull-out turns it into the spice and oil pantry, and it is the one storage upgrade nobody photographs because it disappears when closed. Measure the gap before buying: the common units are 5, 6 and 10 inches wide, and 6 is where the tinned goods actually fit.
Do this
- Store by frequency, not by category. Daily oil and salt at eye level, the spice you bought for one recipe in 2023 up top.
- Take the dead corner cabinet out of the daily rotation entirely and give it the appliances you use monthly.
- Magnetic knife strip on the wall. It frees the block-sized footprint and it is one screw pair.
Avoid
- The over-the-fridge cabinet as real storage. It is 70 inches up and behind a hot appliance; nothing you need lives there.
- Stacking clear bins three deep in a base cabinet, which means unstacking two to reach the third.
4. Dry dishes in a cabinet over the sink, not on the counter
The drying rack is the single largest permanent counter occupier in most small apartment kitchens, and the Finnish solution has been sitting there since the 1940s: a wall cabinet over the sink with a slatted or wire bottom and no floor, so washed dishes drip straight into the basin and stay behind a door.
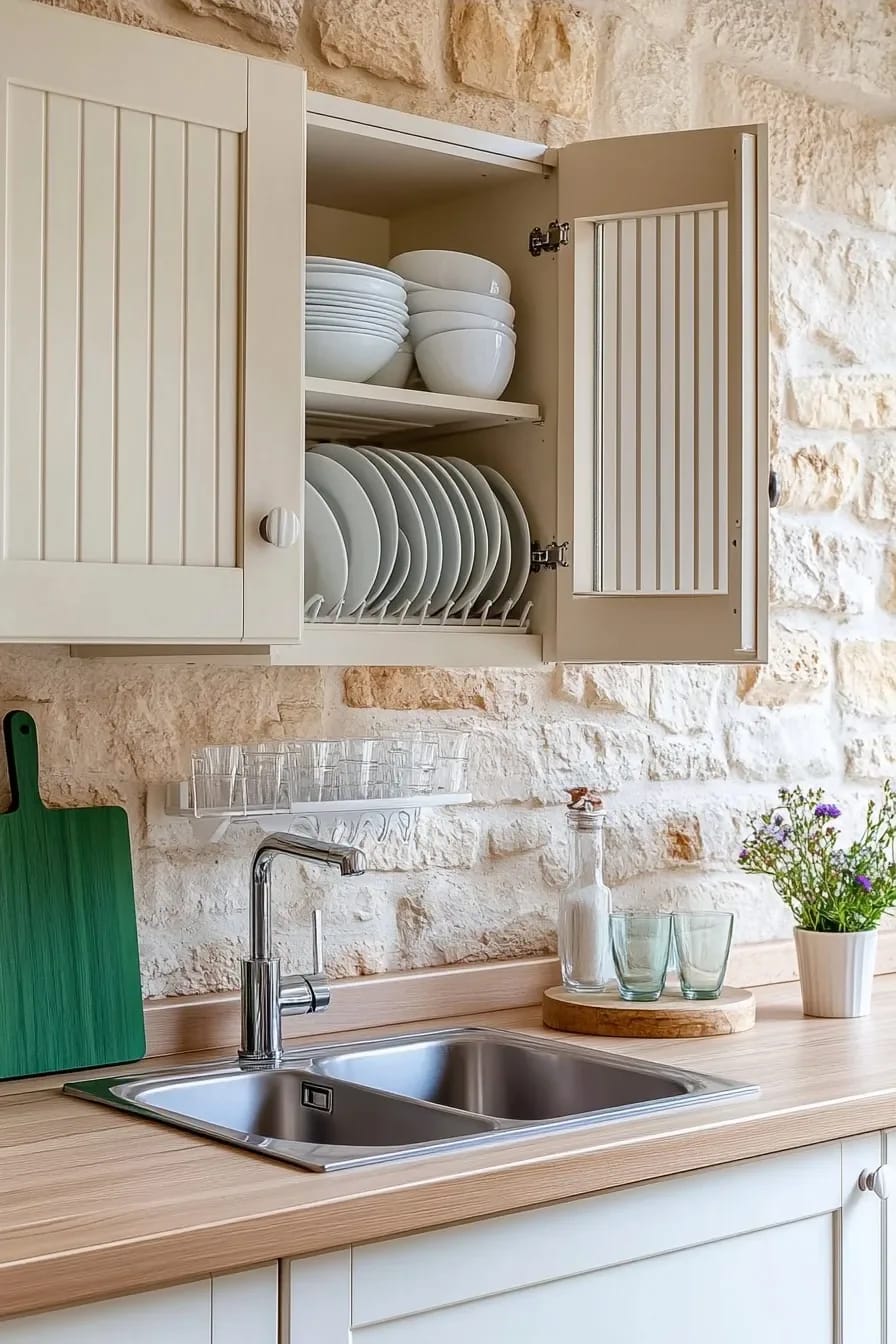
Retrofitting one is a Saturday if you already have an upper over the sink: pull the shelves, fit a slatted insert, drill the base for drainage. If you are not cutting into a cabinet, the wall-mounted rack over the sink gets you most of the way there for a fraction of the effort. Either way the counter stays clear, which is the entire point of the exercise.
Warmth is cheaper than square footage
5. Muted green lowers beat all-white in a small apartment kitchen
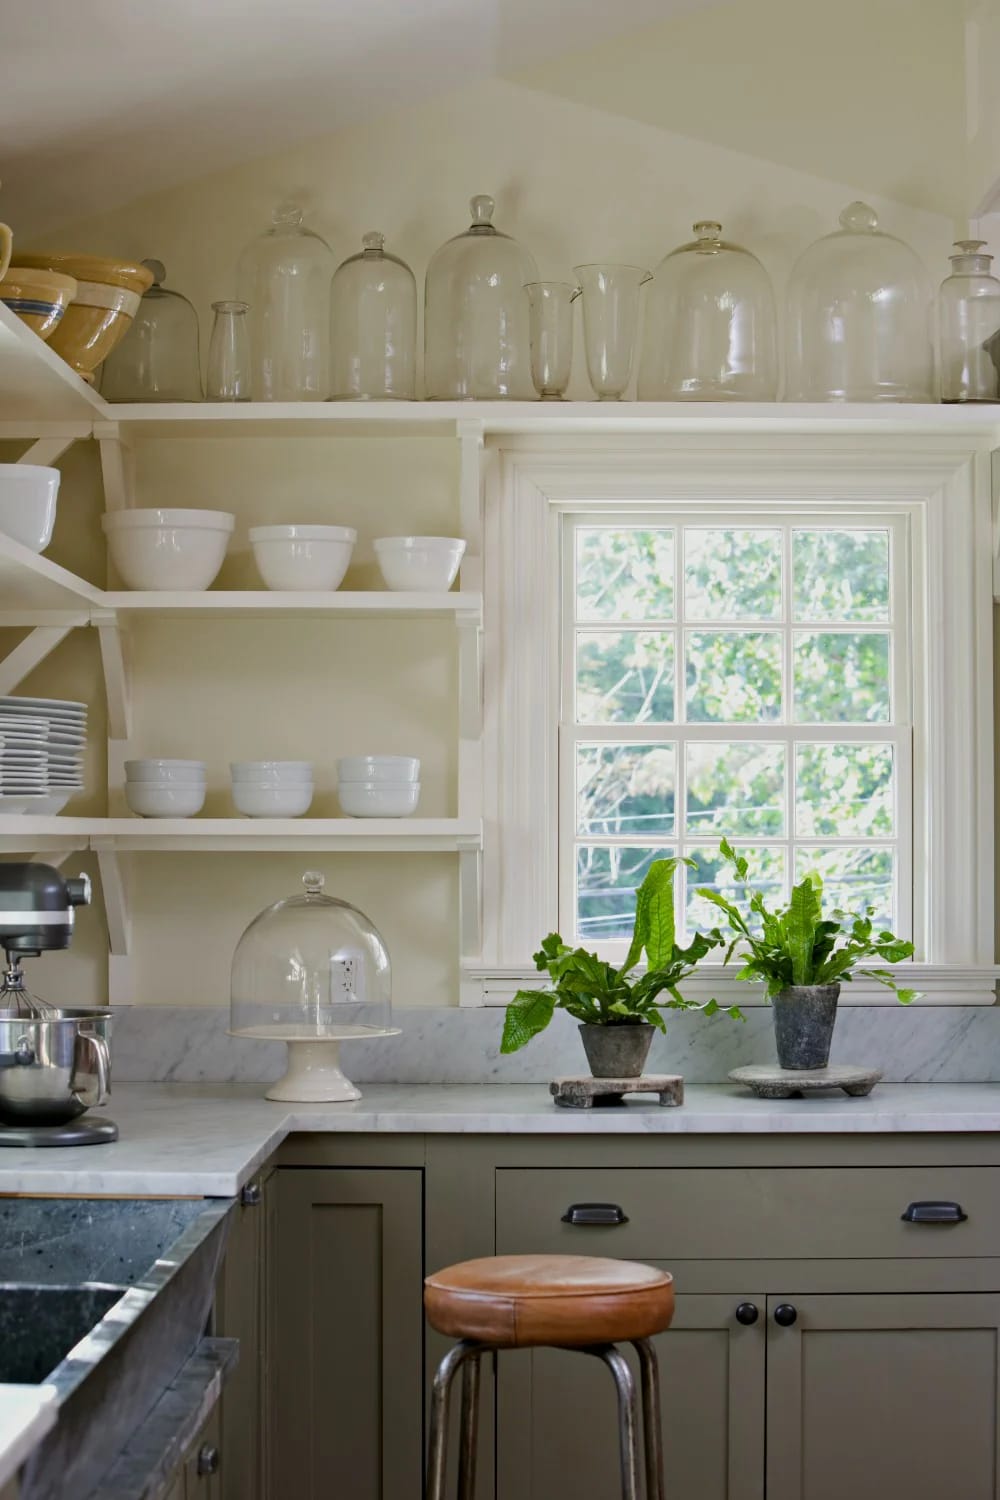
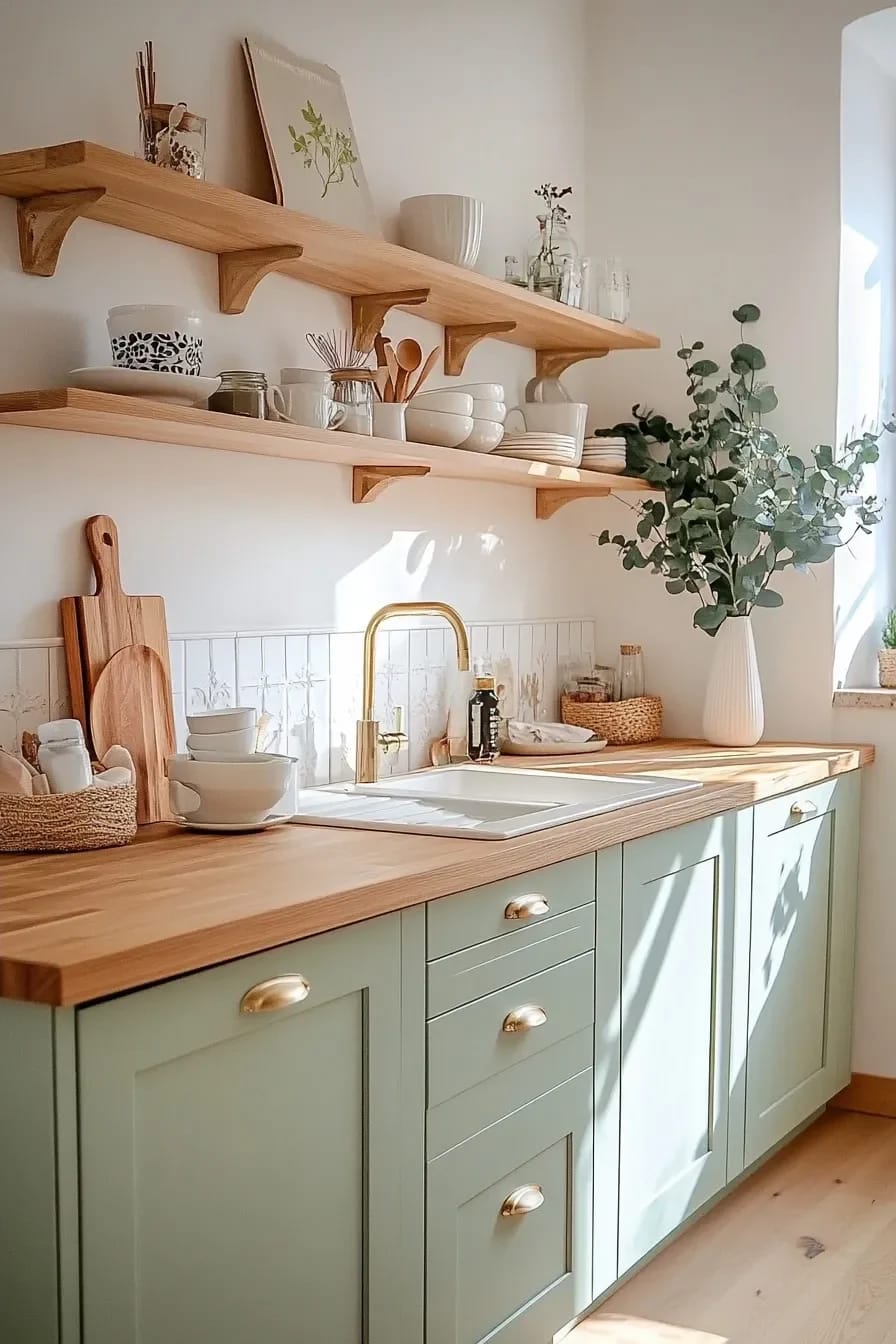
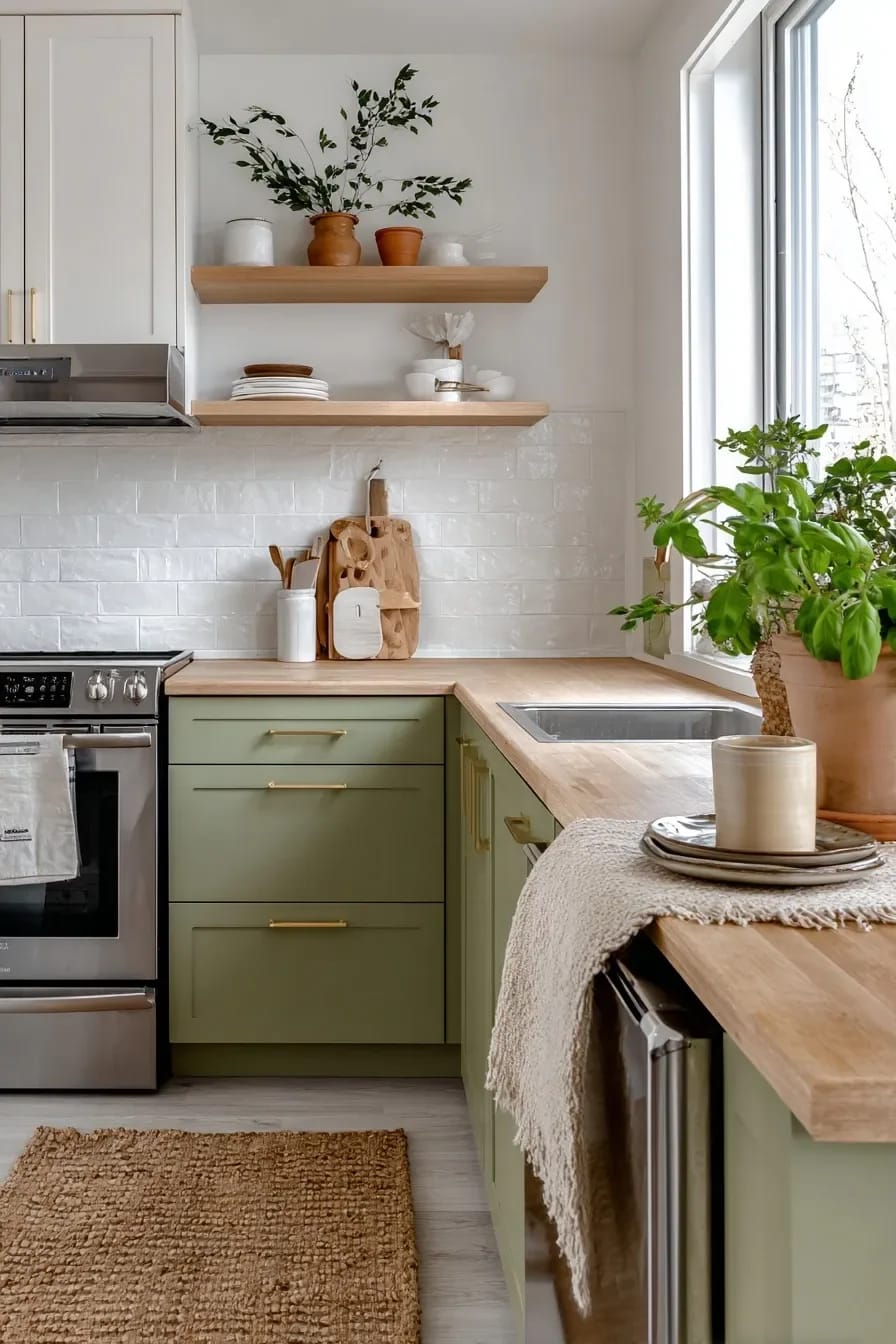
Color on the lowers and something lighter above is the layout that makes a small kitchen feel deliberate instead of apologetic. The lowers are what you see least (they are half-hidden by your own body and by whatever is on the counter), so that is where saturation costs you nothing: a muted sage, a clay, a soft olive. Keep the uppers, the open shelves and the ceiling in the same off-white so the top half of the room stays quiet.
Granted, this only works if your lighting is warm. A muted green under a cold 5000K ceiling panel turns grey and slightly medical, which is how most people who try this end up hating it and repainting. Fix the light first (idea 8), then paint. Two coats on the fronts, a $60 quart, a weekend; if you rent, unscrew the doors, paint them on a drop cloth in the living room, and keep the originals in a closet for move-out.
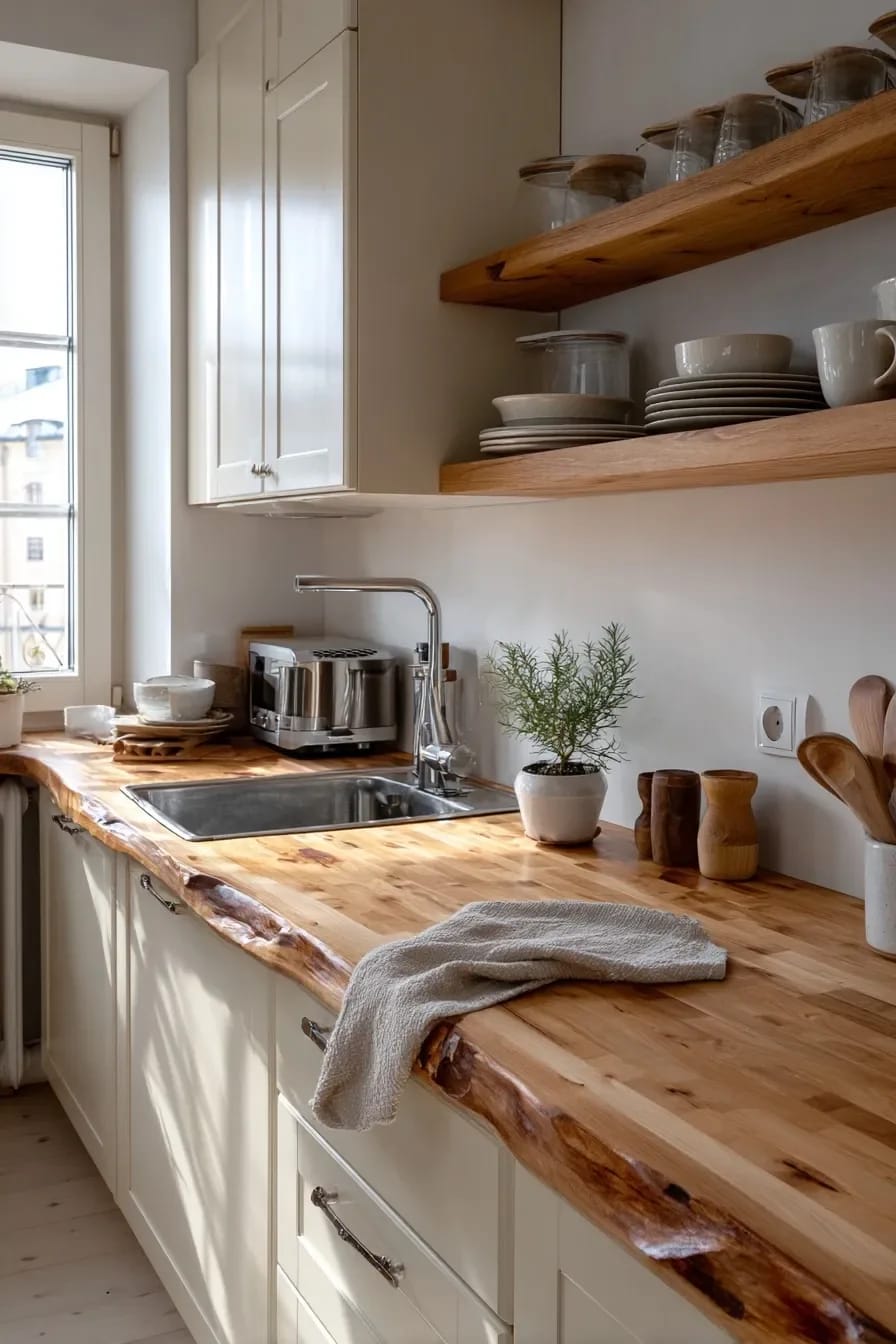
6. A wood counter is the cheapest warmth you can buy
Nothing else you can install in a weekend changes an apartment kitchen as much as a wood top, and the ranking pins for this keyword are full of them for a reason: warm wood against off-white cabinets does in one afternoon what a full remodel promises.
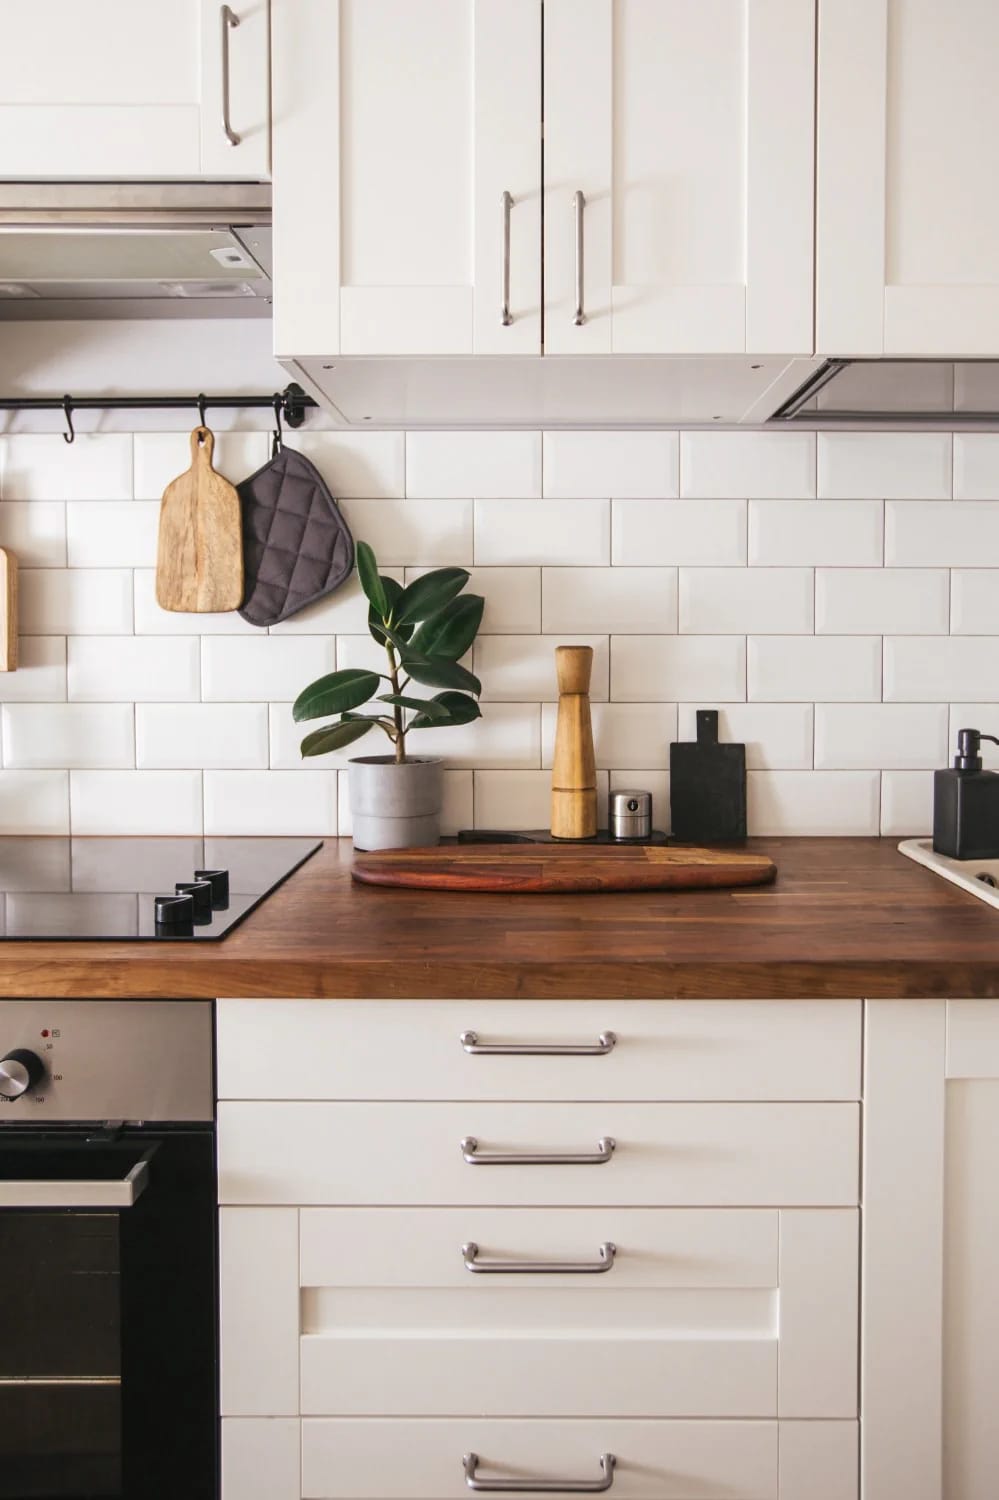
Know what you are buying, though. IKEA's wood tops are a solid wood layer roughly an eighth of an inch thick over a particleboard core, which sands lightly and looks convincing, and which swells if water sits at a seam. A blogger at Our Storied Home wrote up exactly that failure after a leak left a pool on hers for ten minutes. Seal the cut edges and the sink cutout properly (Waterlox runs north of $40 a quart and is the finish people who have done this twice reach for), oil the surface twice a year, and keep a towel under the drying zone.
| Counter option | Rough cost, 8 ft run | Upkeep | Where it fails |
|---|---|---|---|
| Laminate (precut, 74 or 98 in) | $120 to $200 | Wipe it | Chipped edges, visible seams |
| Wood veneer over particleboard | $120 to $350 | Oil twice a year | Standing water at the sink cutout |
| Solid butcher block | $600 and up | Oil, occasional sanding | Weight, and a two-person install |
| Peel-and-stick film | $20 to $60 | Replace when it lifts | Seams, and heat near the range |
Prices checked July 2026; verify before you buy. If you want the actual product, IKEA’s oak MÖLLEKULLA oak veneer countertop, 98 inch is the one most apartment kitchens end up with, and it cuts with a circular saw and a straightedge.
7. Take the backsplash to the ceiling on the range wall
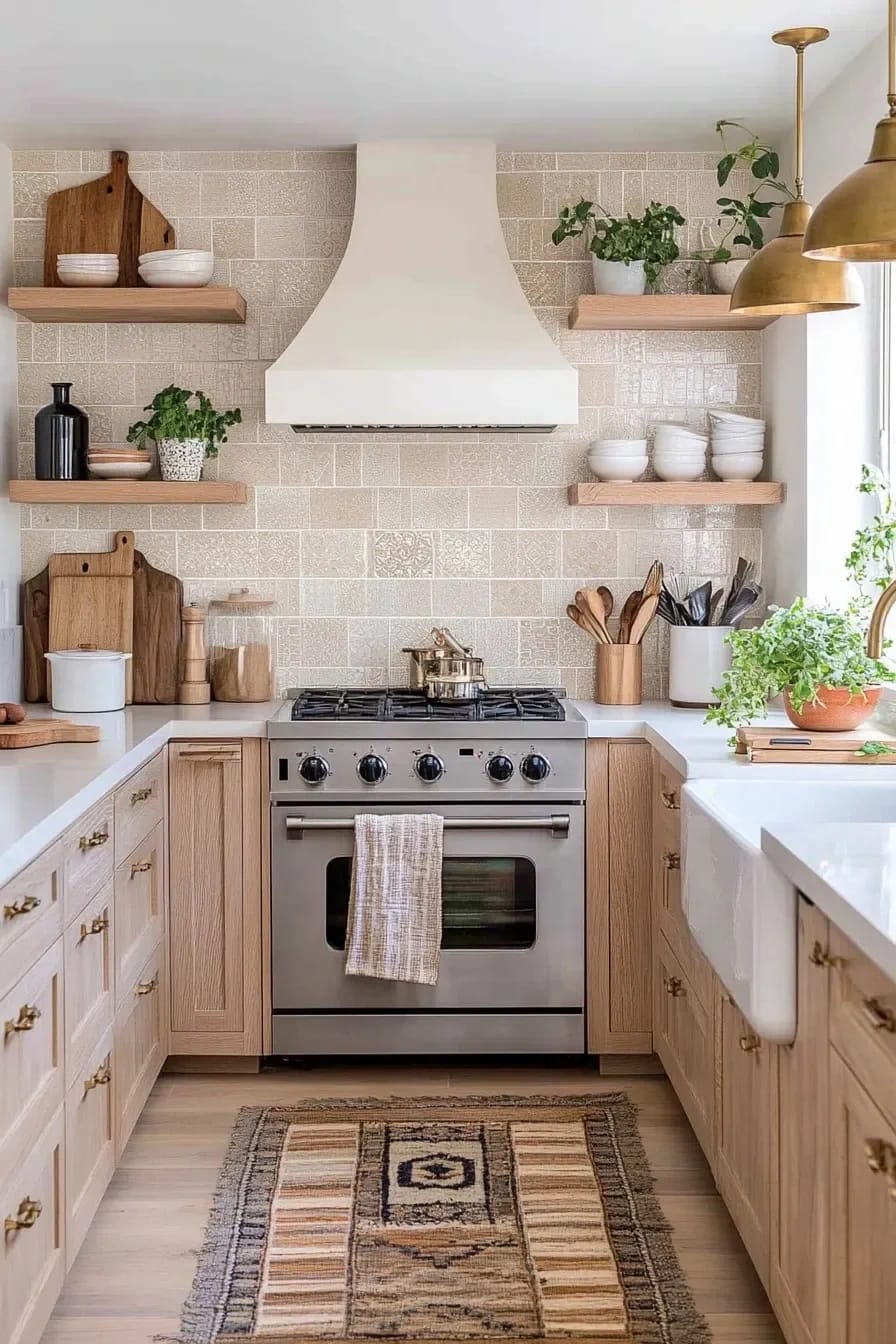
A backsplash that stops at the underside of the uppers cuts the wall into strips and makes an already short wall look shorter. Running one material from counter to ceiling on the range wall does the opposite, and if you drop the uppers on that wall for a single shelf, the room reads a foot taller than it is. Slab is the honest version; large-format tile is the affordable one. Most peel-and-stick backsplash, on the other hand, looks like exactly what it is by about month four, particularly near heat.
8. Three light sources, and none of them the ceiling fixture
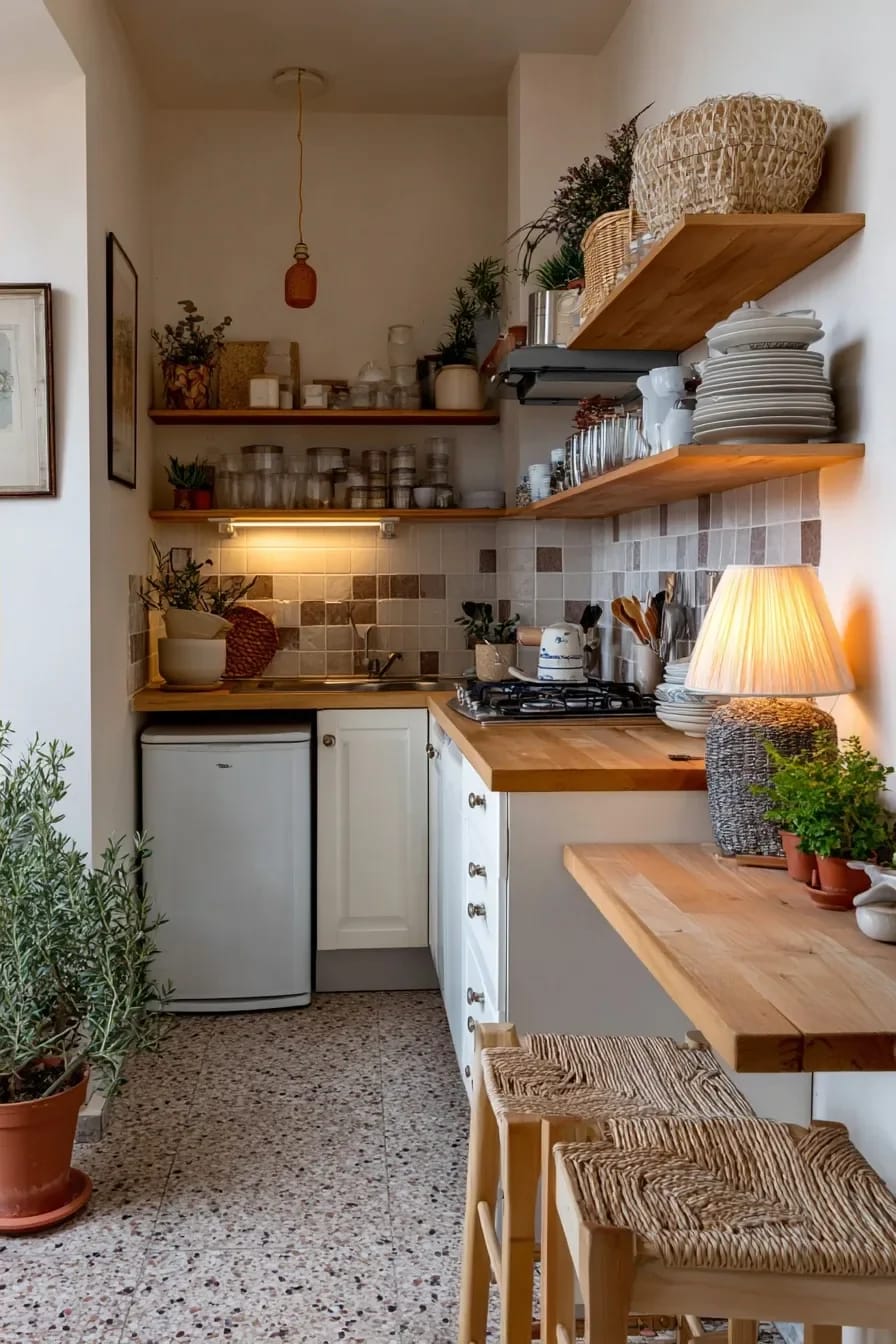
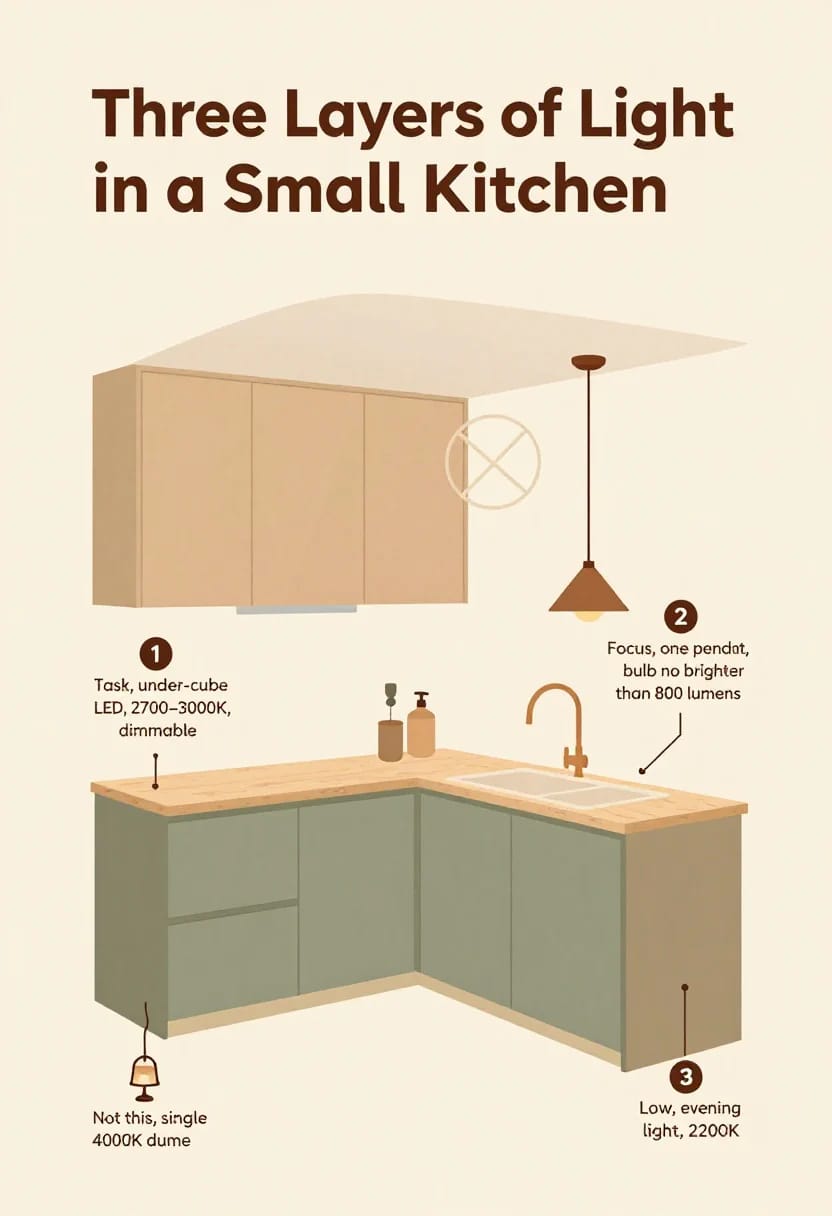
The flush-mount dome in the middle of the ceiling is why your kitchen photographs badly and why the green paint went grey. Kill it, or at least stop relying on it, and build three layers instead: under-cabinet strips at 2700K to 3000K for the counter, a small pendant or a wall sconce over the sink or the peninsula, and something soft and low (a plug-in picture light, an outlet-height night lamp) that stays on in the evening.
When the kitchen is a wall, not a room
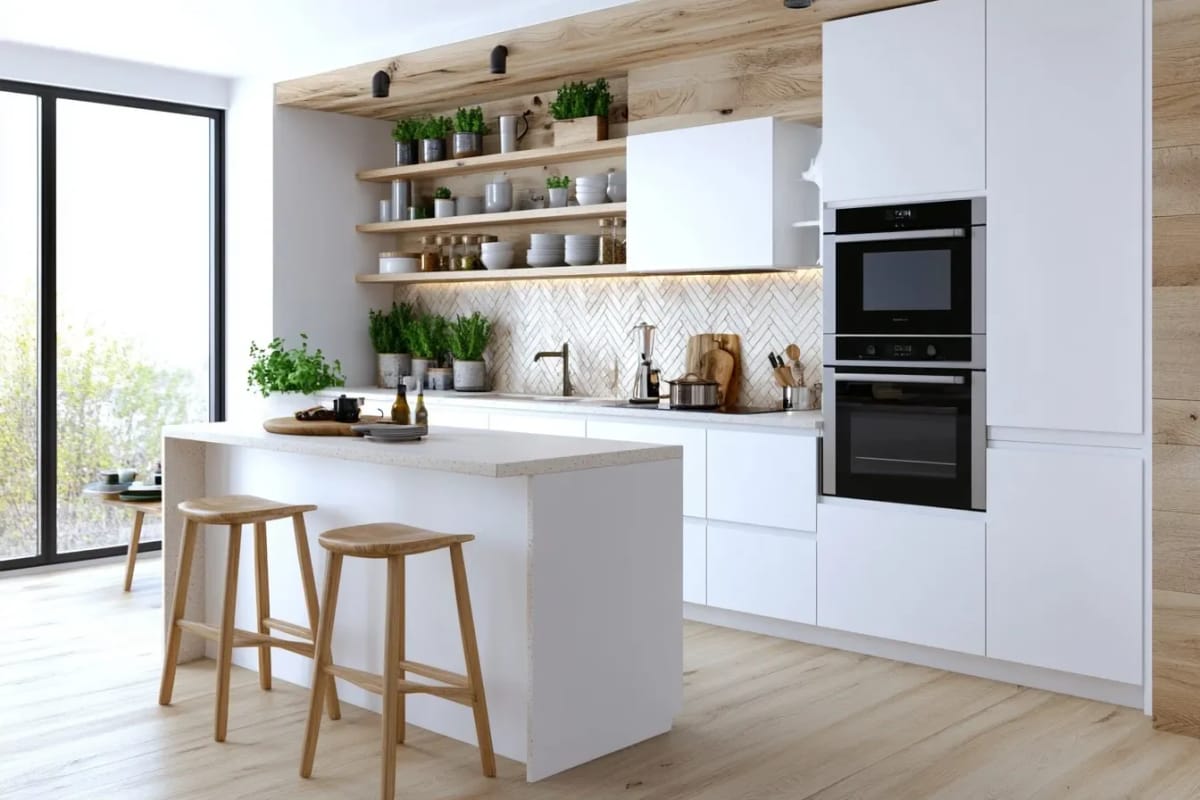
9. A peninsula zones a studio kitchen better than an island
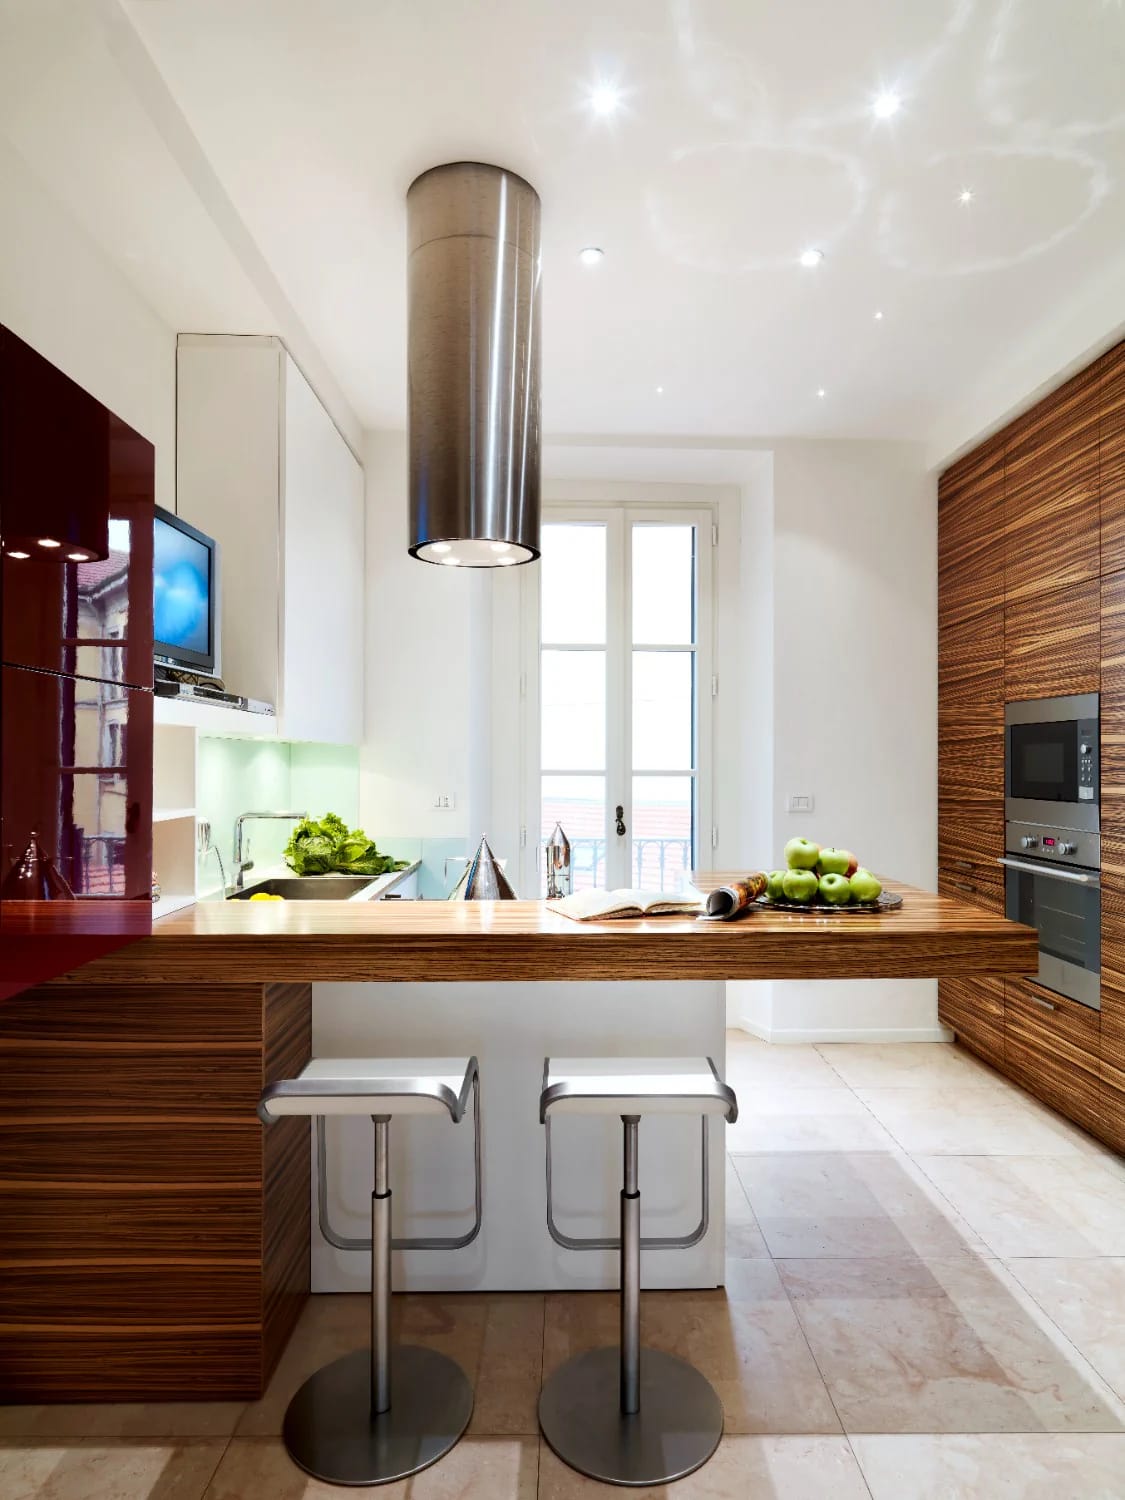
An island needs 36 to 42 inches of clearance on every side, which no studio has; a peninsula only needs it on one. Running a 24 inch deep counter out perpendicular from the end of the kitchen wall gives you a prep surface, two seats, a cabinet run underneath, and an edge that tells the eye where the kitchen stops and the living room starts. Standard counter height is 36 inches, so buy 24 to 26 inch stools and tuck them fully under when they are not in use.
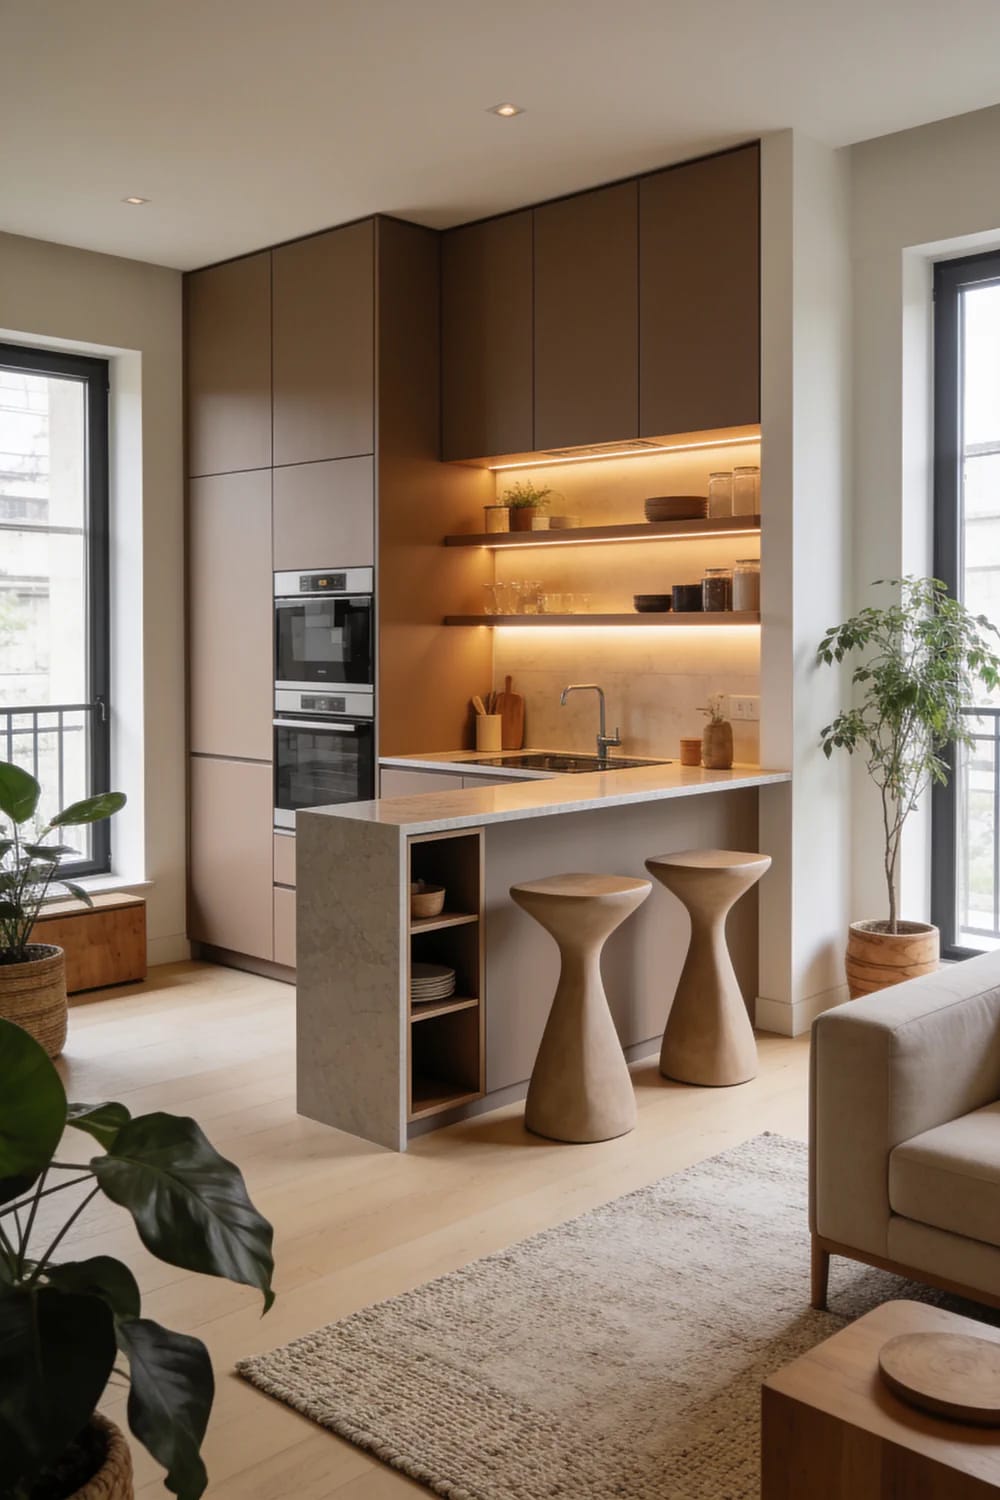
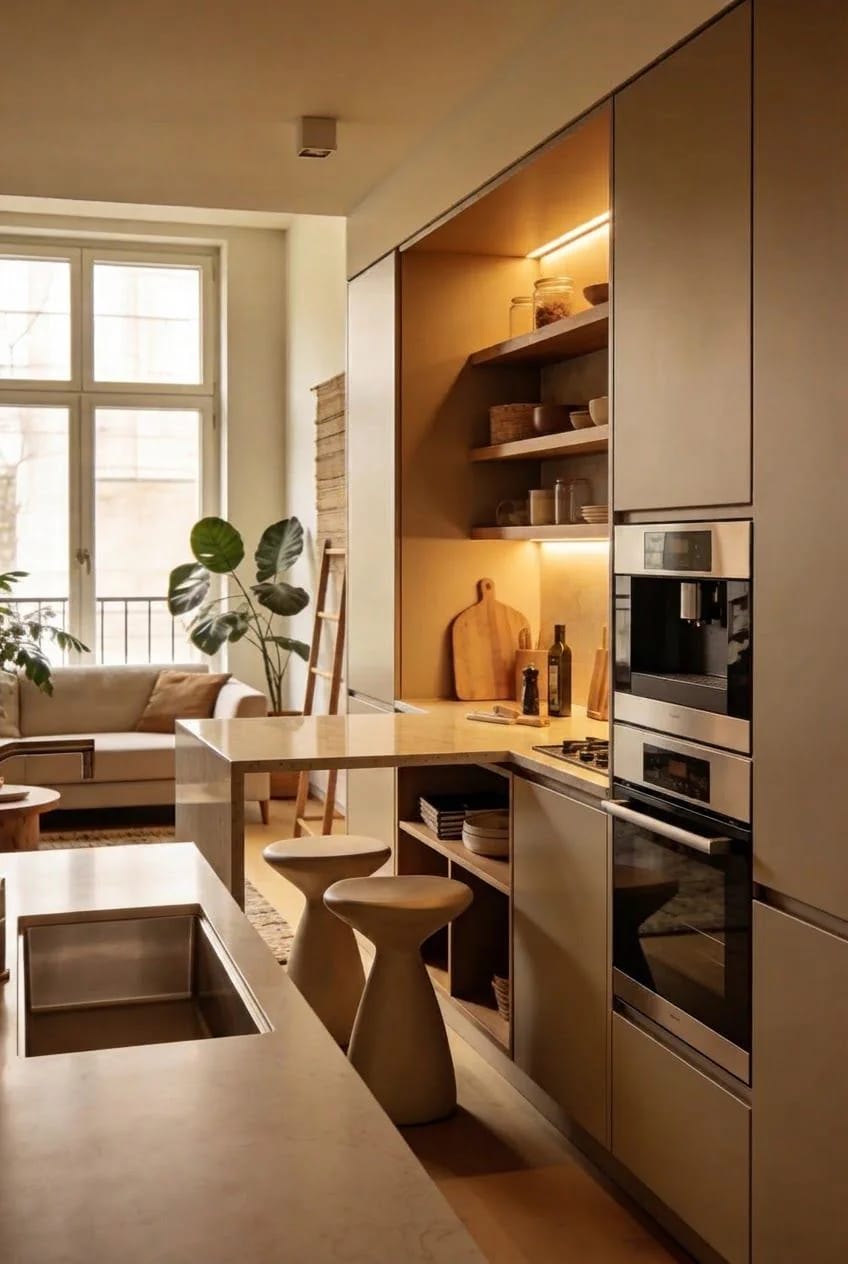
The mistake is making it too deep. A peninsula wider than about 26 inches stops being a divider and starts being a wall you walk around, and in a 400 square foot studio that is the difference between one room and two bad ones. Keep the overhang to 10 or 12 inches, enough for knees and no more.
10. Let the cart be the island, and roll it away
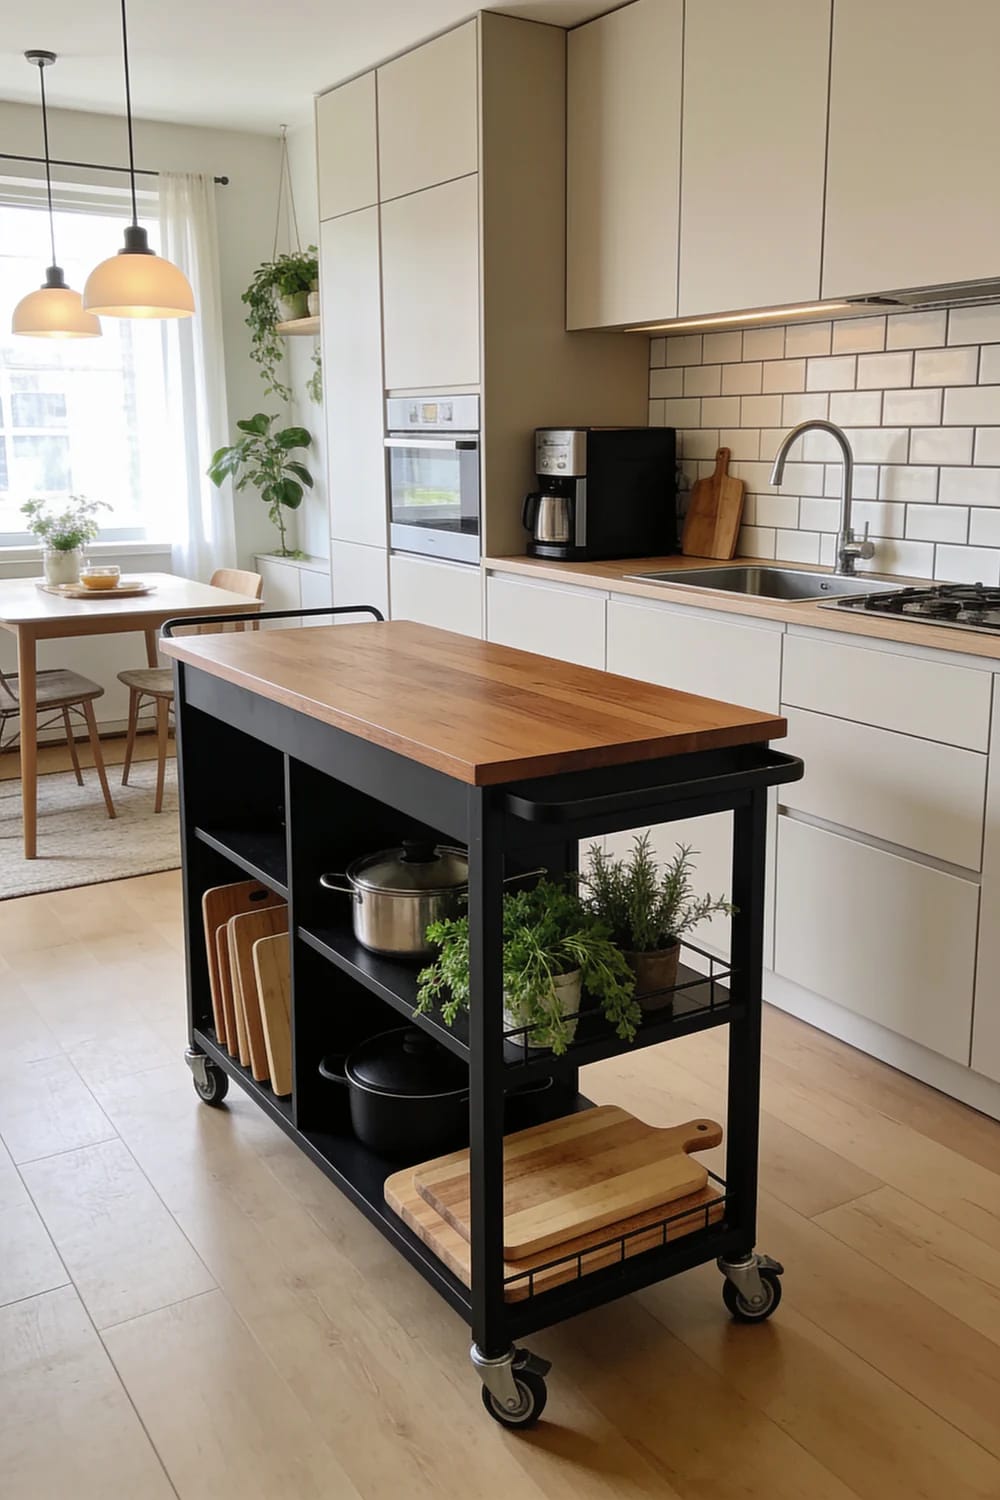
The rolling cart is the small kitchen cliché precisely because it works: it is prep surface when you need it and it lives in a gap beside the fridge when you do not. IKEA’s RÅSKOG utility cart, 13 3/4 x 17 3/4 inches is the default at around $40, though be careful which one you add to the cart, because IKEA now sells a smaller 11 x 15 inch version and reviewers on its own product page have complained loudly about the shrink. Rated load is 13 lbs per shelf, so it holds produce, oil and dry goods, not a stand mixer.
Lock the castors when you are cutting on it. An unlocked cart under a knife is how you learn that lesson.
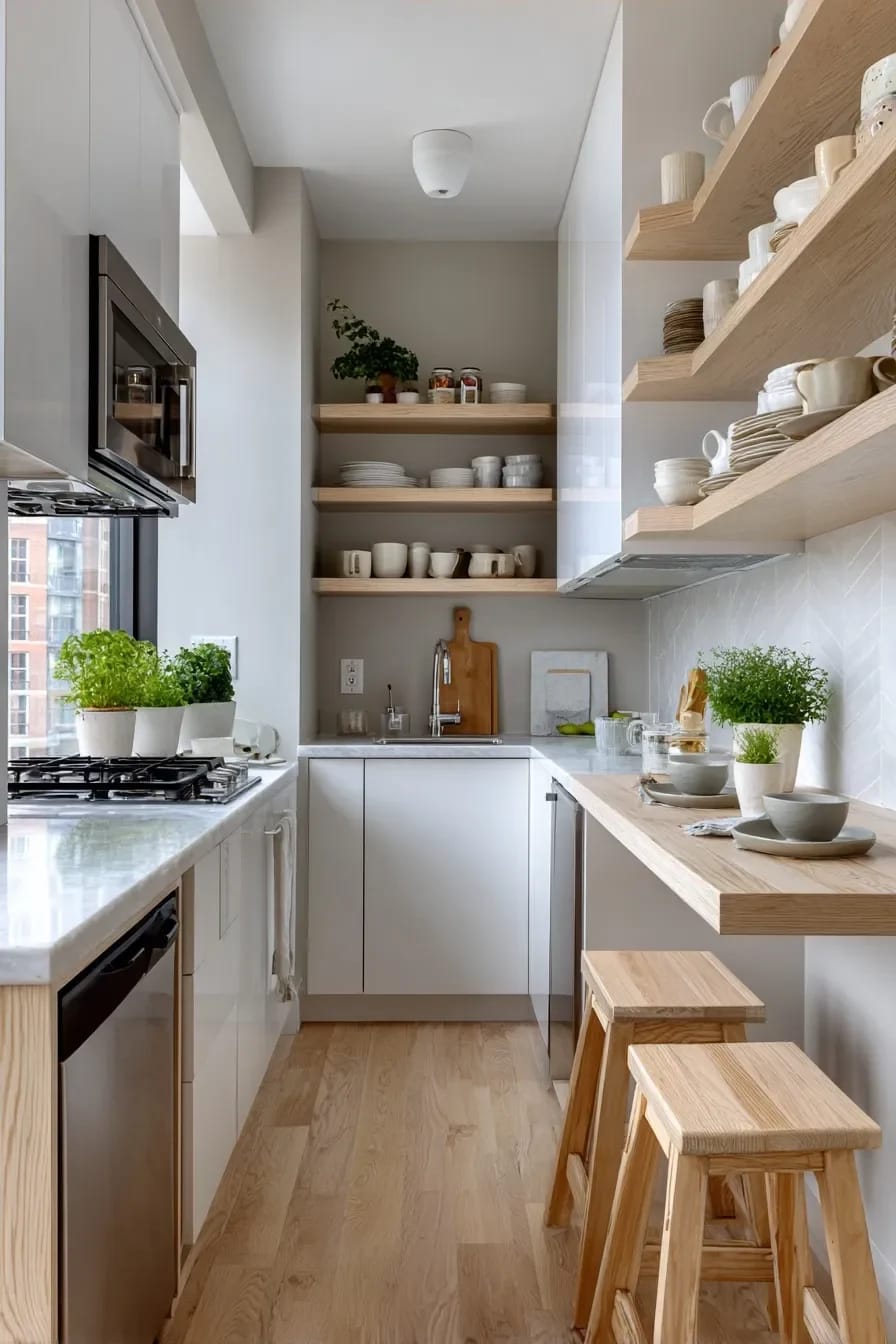
11. A drop-leaf table on the wall seats two without eating the floor
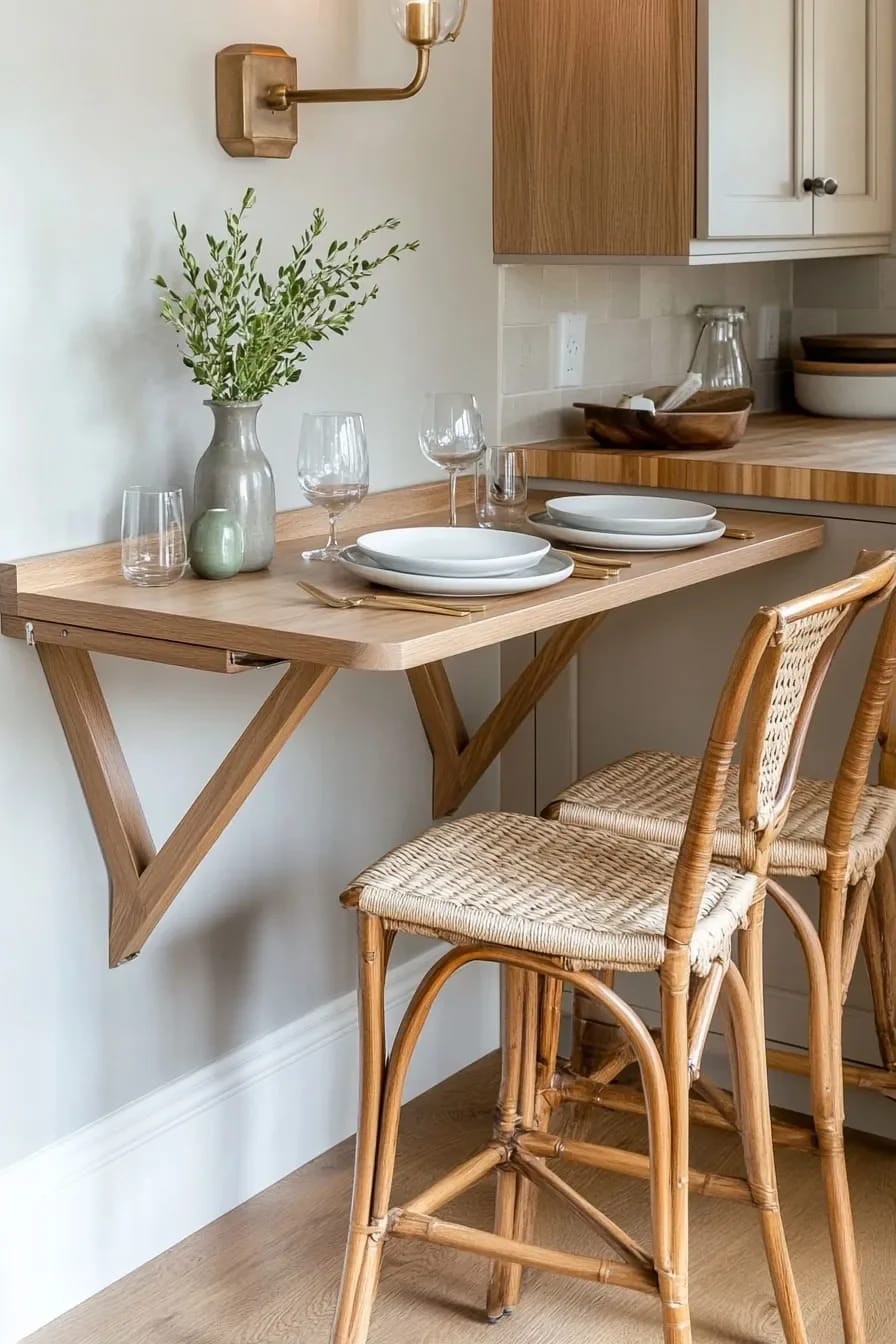
A fold-down table hinged to the wall gives a studio kitchen a place to eat that does not permanently claim four square feet of floor, and it is the one piece in this list that changes how the apartment functions rather than how it looks. Mount it at 30 inches for chairs (not 36, that is counter height and stools), and put the hinge into studs, since a leaf loaded with two people leaning on it is carrying real weight. Down, it seats two; up, it is a 4 inch ledge with a hook rail underneath for aprons and the tote bag.