
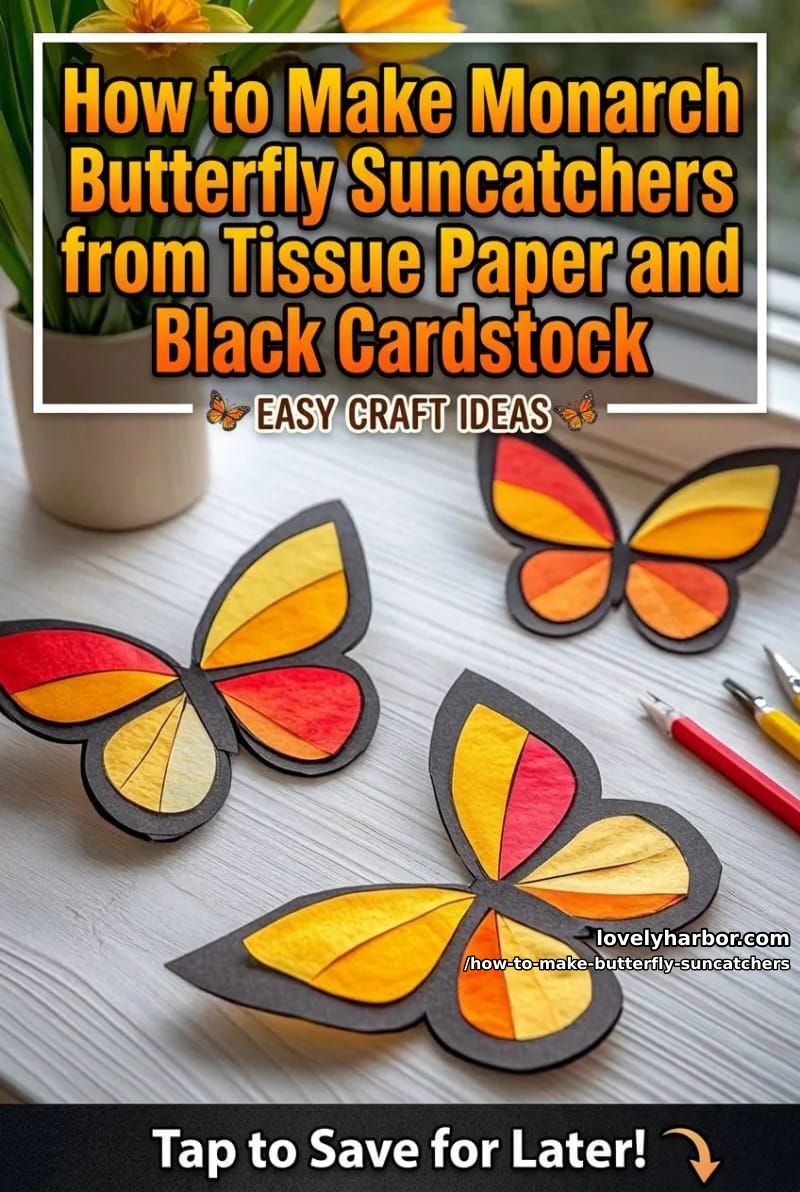
Construction paper butterflies usually look like construction paper butterflies. The trick is to treat the black frame as the lead lines of a stained glass window and the tissue paper as the actual glass, sized so the sunlight passes through and the colors light up. The build below works with a 6 inch monarch pattern, three tissue colors (sunflower yellow, marigold orange, scarlet red), and a craft knife sharp enough to cut the wing openings without dragging. Figure 45 minutes from first cut to taped on the window.
A quick look at what you’re building
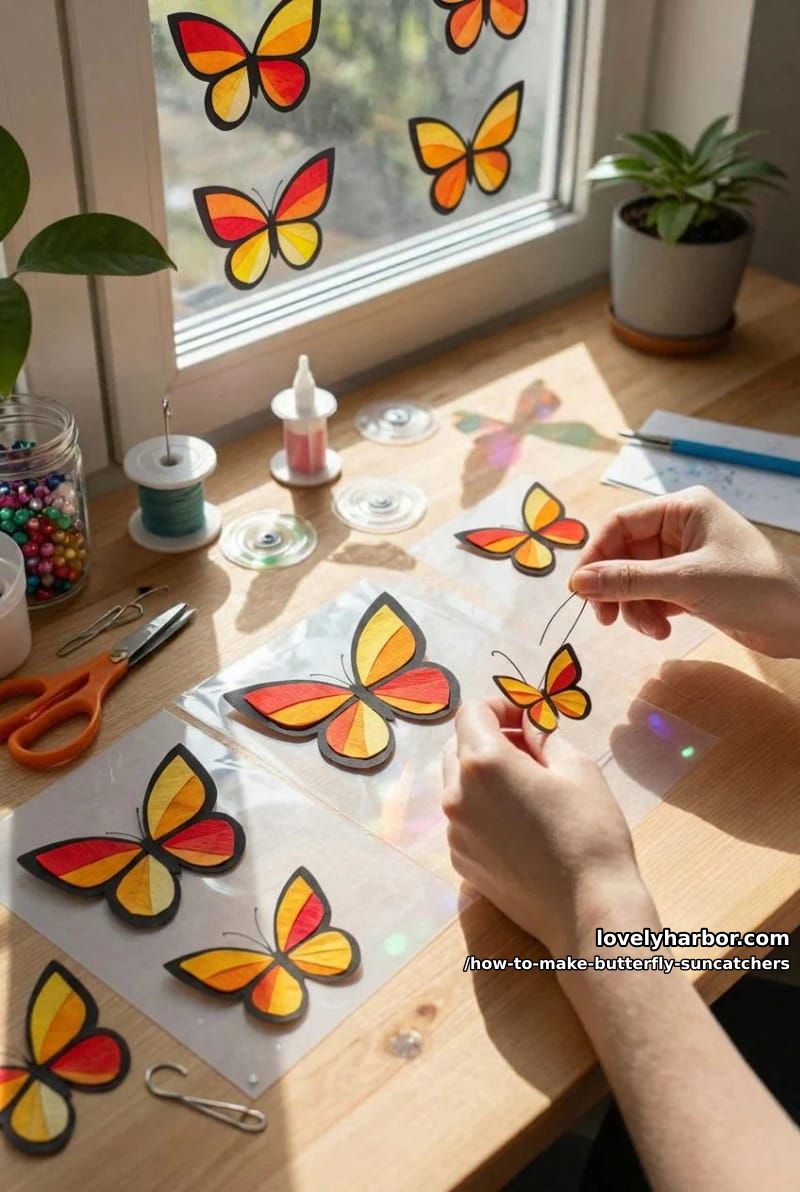
Two layers. On top, a black cardstock silhouette of a monarch with the wing interiors cut away, leaving narrow black “veins” between five color cells per wing. Behind it, tissue paper glued to the back so the colors show through the openings. Once it’s dry, you tape the whole thing to a south-facing window pane with the black side facing the room.
Size matters more than you’d think. At six inches wide, the wing cells are big enough that the tissue actually transmits light. Shrink the same pattern down to three inches and the cells become too small to read as anything but a dark blob , the black frame eats the color.
Materials and tools, with prices
Tissue paper and black cardstock are the consumables that count. Everything else on the list is reusable, and you probably already own most of it. With a craft knife already in a drawer somewhere, this project comes in under $15.
Materials (consumables)
| Qty | Item | Spec | Price |
|---|---|---|---|
| 1 | Black cardstock, 8.5 x 11 in, 65 lb cover, 50 sheets | One sheet yields 1 to 2 butterflies; 65 lb holds detail without curling | $10 to $14 |
| 1 | Craft Craze assorted tissue paper, 20 x 26 in, 100 sheets, 25 colors | You need yellow, orange, red; the pack covers many future projects | $14 to $18 |
| 1 | Elmer’s Disappearing Purple jumbo glue sticks, 40 g, 3-pack | Purple-then-clear formula lets kids see where they’ve applied | $6 to $9 |
| 1 | Painter’s tape or removable poster tape | Mounts on glass without leaving residue | $4 to $6 |
| Materials subtotal | $34 to $47 | ||
Tools (reusable)
| Qty | Item | Spec | Price |
|---|---|---|---|
| 1 | X-ACTO #1 Z-Series precision knife with #11 blade and safety cap | Cuts the wing openings; kids should not use this part | $6 to $10 |
| 1 | Anezus self-healing cutting mat, 12 x 18 in, double-sided grid | A3 size fits one butterfly with margin | $11 to $16 |
| 1 | Fiskars 5 in blunt-tip kids scissors | Handles the tissue and the outer silhouette | $4 to $7 |
| 1 | Pencil with a sharp point | For tracing; a mechanical pencil works best | $1 to $3 |
| Tools subtotal | $22 to $36 | ||
| Combined total (buying everything new) | $56 to $83 | ||
Prices are approximate ranges as of 2026; verify before purchase.
The Craft Craze pack at 18 gsm is the sweet spot. Heavier tissue blocks too much light, and the 14 gsm gift wrap stuff tears the moment glue touches it.

The pattern: dimensions to draw or trace
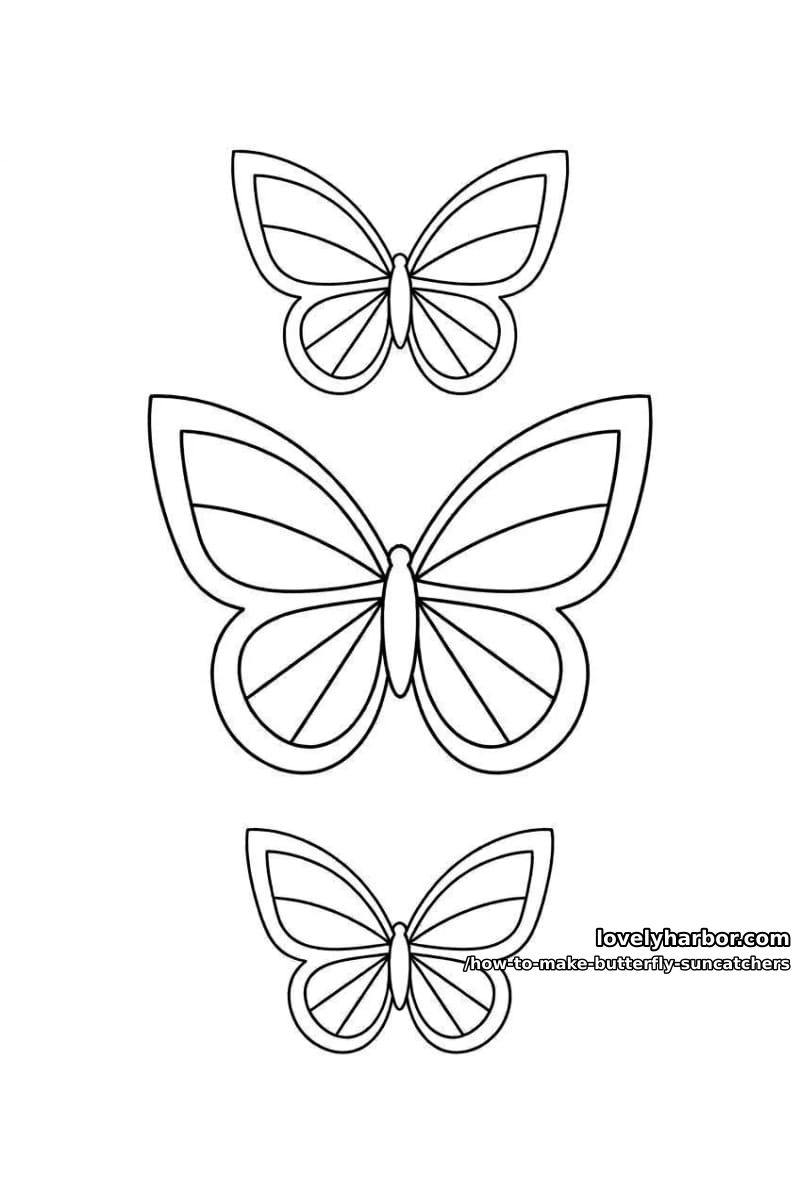
Use the pattern below to draw the silhouette with a pencil. The numbers below are what I landed on after three batches that came out either too dark (frame too thick) or too floppy (frame too thin).
Overall span: 6 inches wing tip to wing tip, 5 inches top of forewing to bottom of hindwing.
Body: a vertical 1/2 inch wide spindle running down the center, with a small rounded head at top. Antennae are optional; they break easily.
Forewings (upper): rounded triangular shape, about 2.5 inches tall and 2.5 inches across at the widest point. Each forewing gets two vein lines fanning out from the body, dividing it into three color cells (a wedge at the top, a wider middle cell, and a smaller cell along the inner edge).
Hindwings (lower): rounded fan shape about 2 inches tall and 2 inches across. Each hindwing gets one curved vein line, splitting it into two cells.
Outer frame thickness: 1/4 inch all the way around the silhouette. Any less and the cardstock buckles when the tissue dries.
Vein thickness: 1/8 to 3/16 inch. Thinner reads as drawn-on; thicker swallows the color.
If freehand makes you nervous, fold a sheet of plain paper down the middle, draw one half of the butterfly along the fold, cut while folded, unfold. Instant symmetry. That becomes your master template for tracing onto the black cardstock.
Here’s the pattern to draw the butterfly:
Step 1. Transfer the pattern onto black cardstock
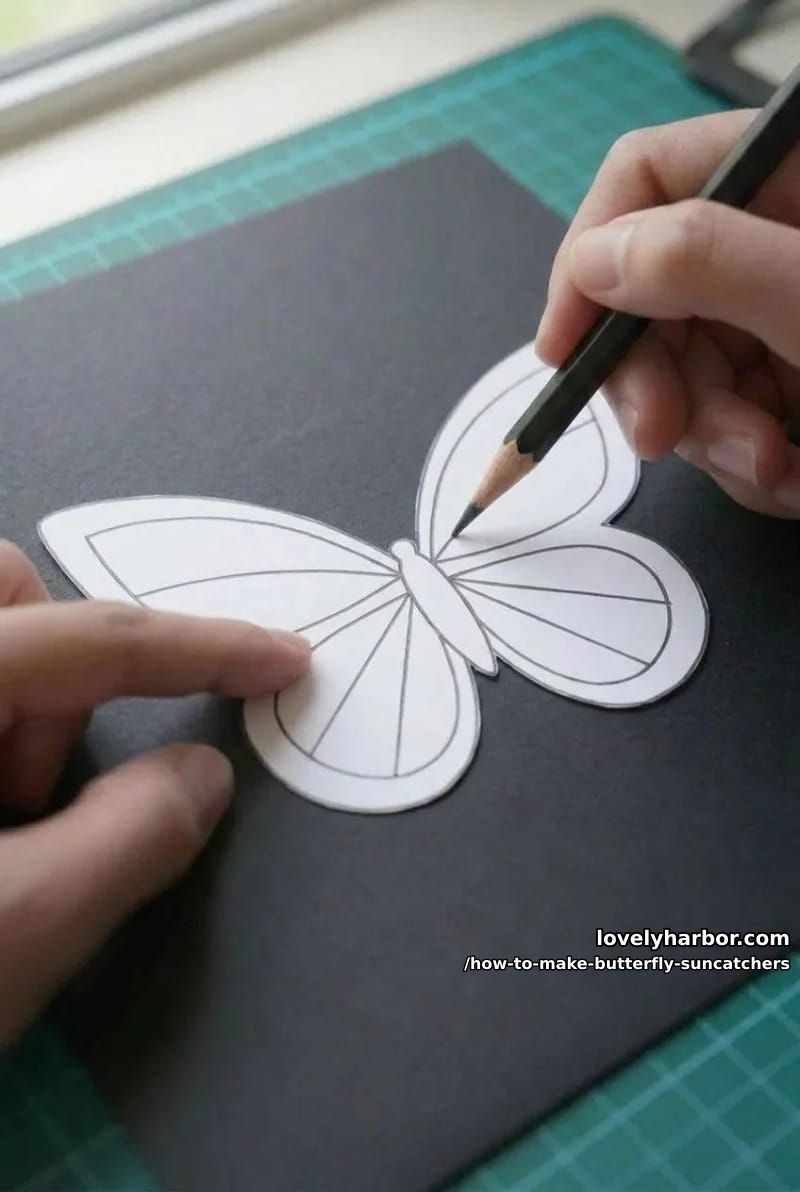
- Lay the cardstock on the cutting mat with the long edge horizontal.
- Center the paper template on the cardstock with at least 1 inch of margin on all four sides.
- Trace the outer silhouette first. Press firmly enough to leave a visible silver-gray line on the black. A mechanical pencil with 0.7 mm HB lead shows up better than a sharpened wooden pencil , there’s no contest, really.
- Lift the template and lightly draw in the vein lines and the outer frame border, freehand. Don’t aim for perfect symmetry. Real monarchs aren’t symmetric either.
Step 2. Cut the outline, then the wing openings
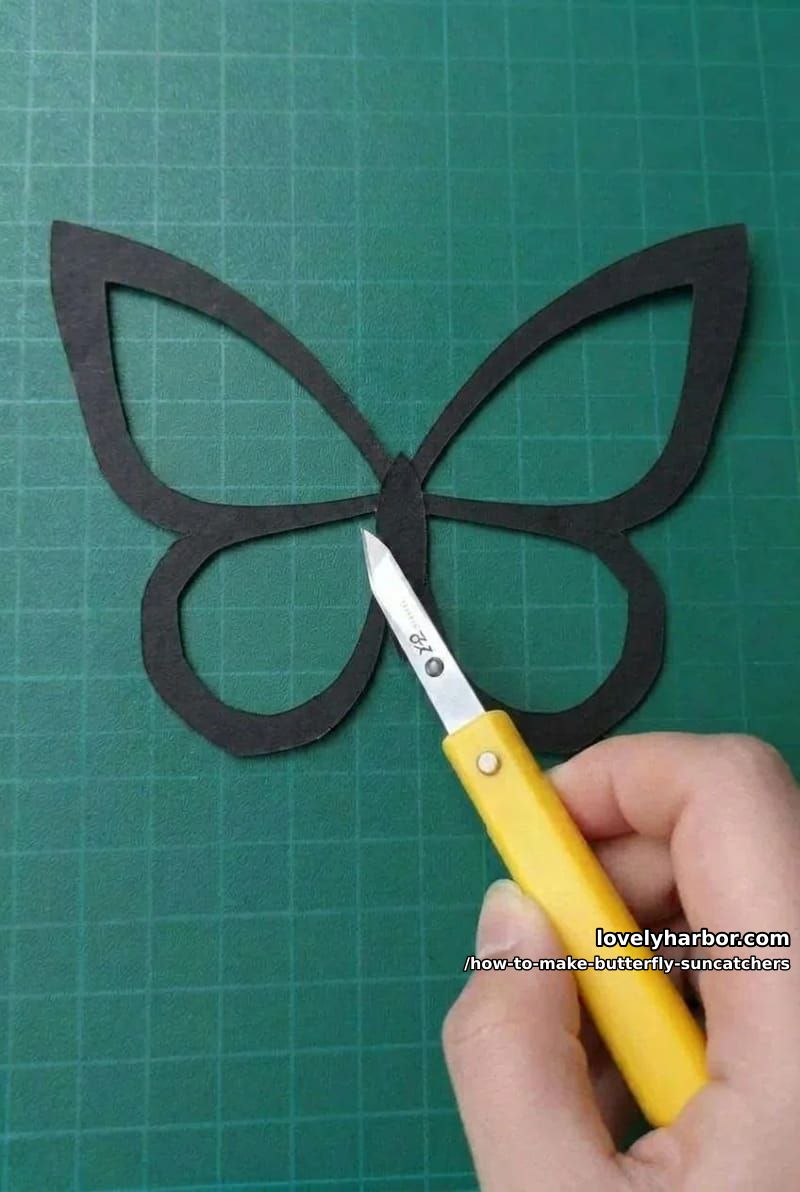
This is the step that separates a good suncatcher from a sad one. Scissors do the outer butterfly silhouette. The craft knife does the interior cells on the mat. Don’t try scissors inside the cells , they’ll tear the narrow veins every time, and once a vein is gone you’re starting over.
- Cut the outline with the kids’ scissors, following the outside edge. The wing interiors stay solid for now.
- Switch to the X-Acto with a fresh #11 blade. A dull blade drags and rips the corners of the cells. This is not the place to be thrifty about blades.
- Cut each vein line slowly, especially on the curves. The blade pulls toward you. Never push it.
- Pop each cell out as you finish it. If you try to lift them all at the end, the veins will snap.
A #11 X-Acto blade will go through a fingertip without resistance. For anyone under about ten, an adult does the interior cuts and the kid handles tracing, tissue, glue, and mounting. Pretending otherwise leads to a Sunday afternoon at urgent care, which I know because the first time I made these with a niece I did exactly that.
Step 3. Choose and cut your tissue paper colors
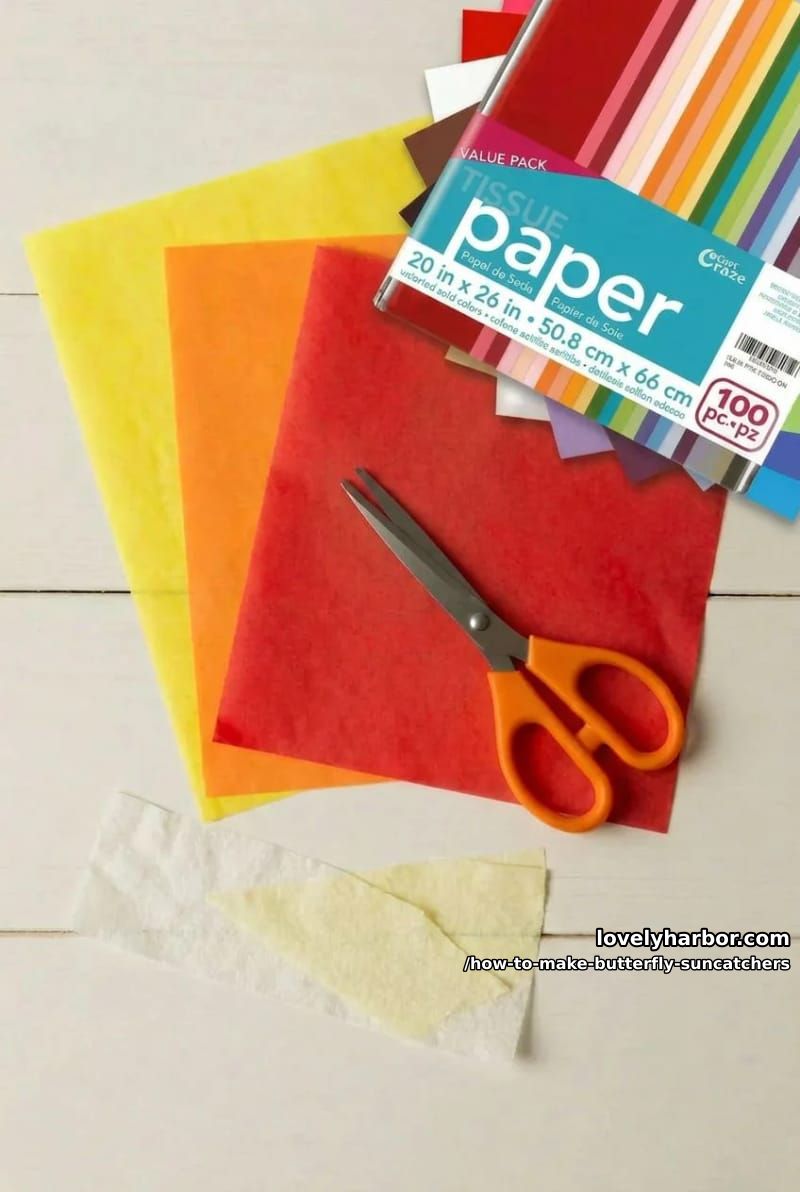
Wild monarchs run orange-dominant with cream and black accents, and most suncatcher versions chase that exactly. I’d push you to deviate. A monarch palette with one wing cell in yellow and one in scarlet reads as alive in a way that five identical oranges does not, and the contrast between warm yellow and warm red is what carries the suncatcher across a room. The eye wants the disagreement.
Do this
- Three colors. A yellow, an orange, a red, distributed across the wing cells rather than blocked off in zones.
- Tear the tissue rather than cutting it. The fuzzy edges hide the alignment mistakes you’re going to make.
- Pieces should run about 1/2 inch larger than the cell, on every side.
- Yellow toward the tips, red near the body , that’s the monarch gradient.
Avoid
- Pastel pink or lavender. They go washed out the second light passes through.
- Two layers of tissue in one cell , the doubled material blocks too much light.
- Cutting tissue to the exact size of the cell. You will not line it up.
- Metallic gold or silver. Opaque, both of them; the suncatcher goes dark.
Step 4. Glue the tissue behind the silhouette
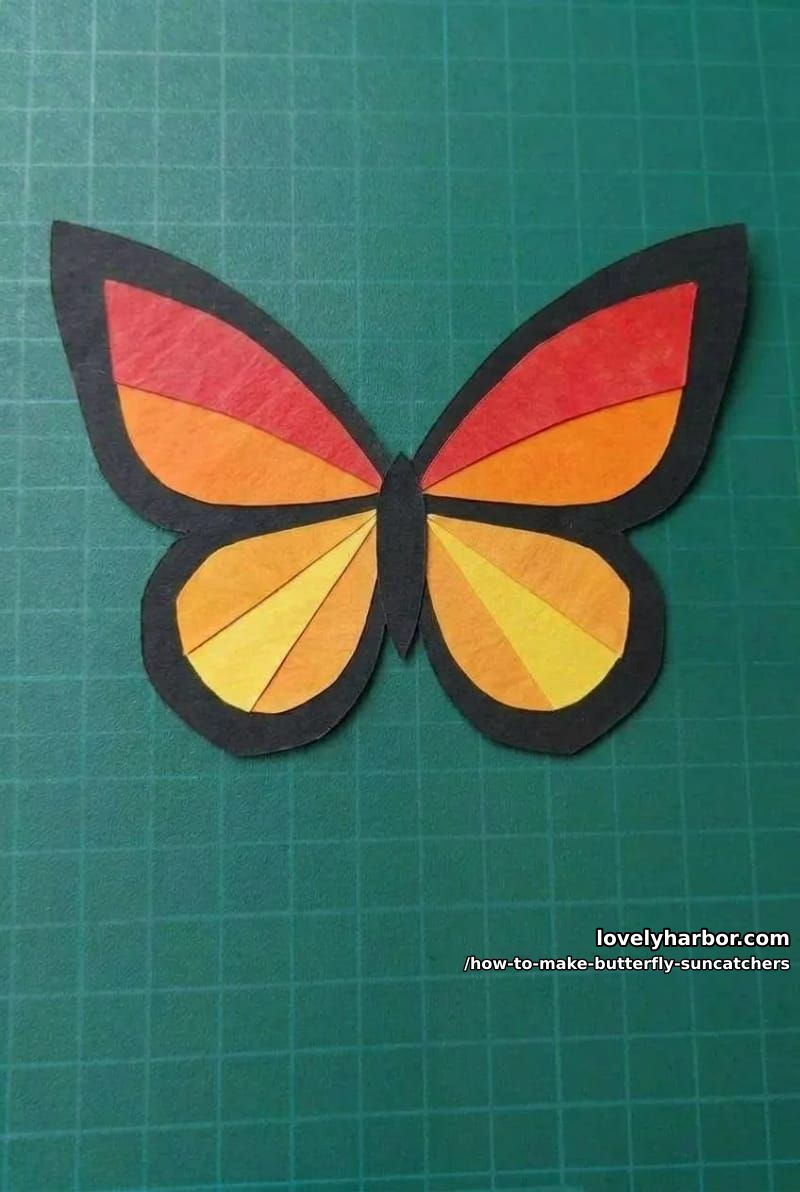
Work upside down. Flip the silhouette so the back is facing up. The glue goes on the cardstock, not on the tissue , tissue tears the second it meets a wet glue stick.
- Run the glue stick around the inside perimeter of one open cell, on the cardstock. A thin border. Not a flood.
- Place the tissue piece over the cell with the color side facing down (since the silhouette will be flipped back over later). Press the glued edges gently with a fingertip.
- One cell at a time. If you try to do all ten in parallel, the glue dries before the tissue lands.
- Trim excess tissue from the back once everything is dry , about 5 minutes. Leave 1/4 inch overhanging into the next cell, so colors slightly overlap behind the veins. That overlap is what makes the veins read as solid black from the front.
It seems like decoupage glue would be stronger, and it is, but it’s also wet. Wet glue on 18 gsm tissue makes the paper wrinkle and bleed color into the cardstock. The dry tackiness of a glue stick is the right tool here. Save the Mod Podge for projects with thicker paper.
Step 5. Mount on a window that gets direct light
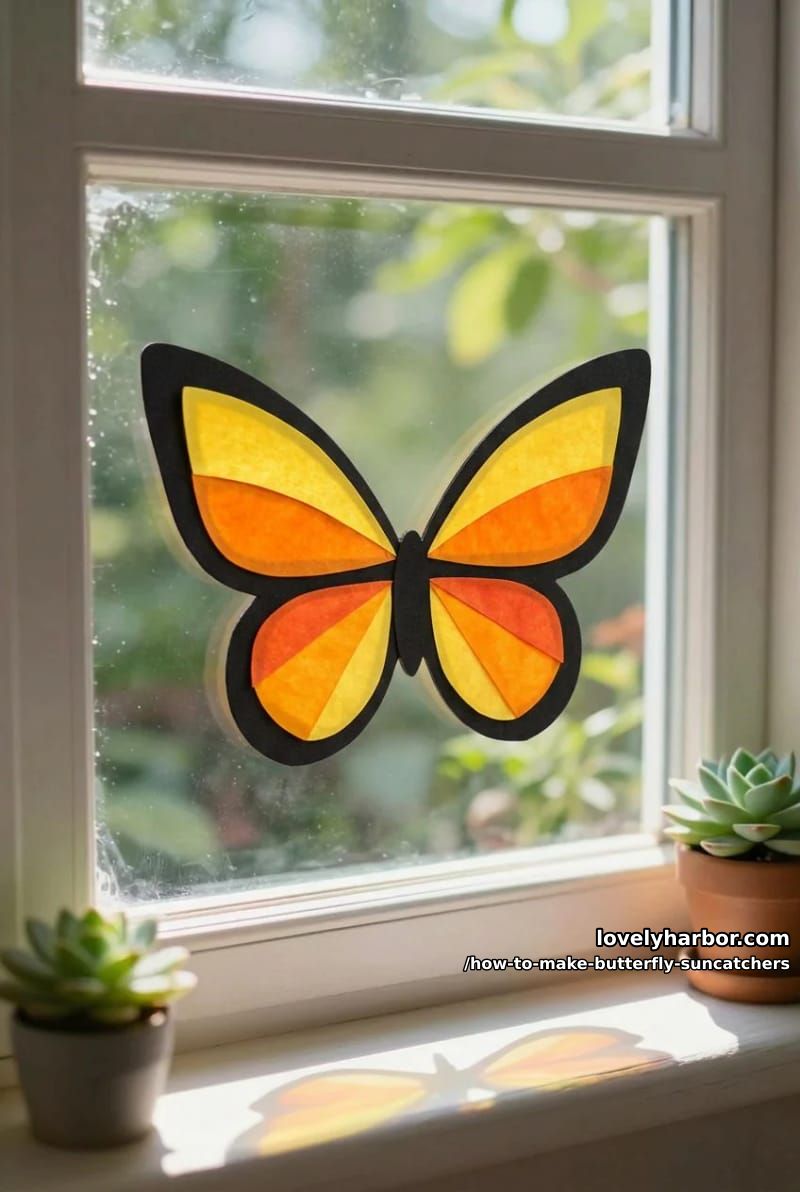
South-facing or west-facing windows give you the longest stretch of direct sun. North works, technically , you’ll see the suncatcher, you just won’t see it glow.
- Painter’s tape or removable poster tape. Never regular Scotch tape; it leaves residue on the glass for weeks.
- Small piece of tape on each of the four wing tips, from the front (room-side). Press the butterfly flat to the glass with the black side facing into the room.
- Avoid condensation. A wet pane will dissolve the tissue glue in a few hours. If your window sweats, build an 1/8 inch air gap by rolling thicker tape into a square spacer.
Mistakes that ruin tissue paper butterfly suncatchers
- Veins too thin. Anything under 1/8 inch will tear as you cut, and what doesn’t tear will sag once the tissue dries. Stay at 3/16 inch and go slow.
- Glue stick on the tissue rather than the cardstock. The tissue catches on the stick and shreds. Glue goes on the cardstock; tissue presses onto it.
- Tissue cells cut to size. A piece exactly the size of the cell needs to be perfectly aligned, and that isn’t going to happen. Cut 1/2 inch larger, overlap into the neighbors, trim later.
- Mod Podge or white glue instead of a glue stick. Wet adhesives wrinkle the tissue and bleed orange and red dye into the cardstock, leaving a dingy halo in the light.
- Black side facing the window. The silhouette goes on the room side. From outside, the suncatcher reads as colored tissue with vague lines. From inside , which is where you actually look at it , the black frame defines the shape sharply.
- Wrong window. If sun doesn’t physically hit the glass, the suncatcher just looks like a butterfly-shaped piece of paper. The whole project is light-dependent.
Build timeline at a glance
One butterfly is about 45 minutes of active time. A batch of three , and most people end up making extras, you’ll see why , runs about 90 minutes, because cutting and gluing batch well together.
- Minute 0 to 10: draw or trace the pattern onto the cardstock
- Minute 10 to 25: scissors first for the outer silhouette, then the craft knife for the interior cells
- Minute 25 to 35: tear or cut tissue, sort by color and cell
- Minute 35 to 50: glue tissue to the back, one cell at a time
- Minute 50 to 55: let glue dry, trim the back
- Minute 55 to 60: tape it to a sunny window
Conclusion
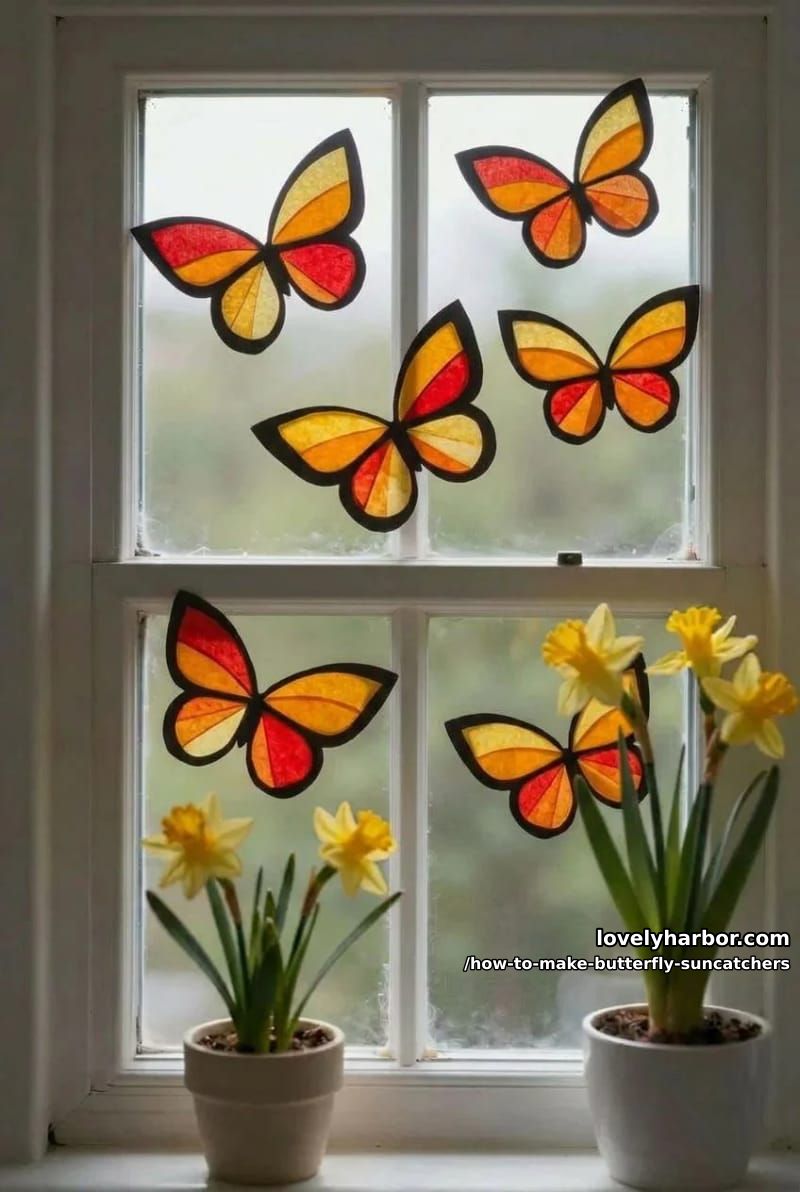
Five looks better than one. If there are kids in the house, scale a flock between 4 and 7 inches, tape them across the pane in a loose diagonal so they appear to be drifting upward, and the room reads differently than it did the day before. One butterfly looks like a craft. Five look like spring showed up early. The version of this that fails always fails the same way , frame too thick, tissue too pale, window facing nothing in particular , and once you’ve watched a south-facing pane do its job for an afternoon, the fix is obvious.