
Glass ornaments and toddlers do not mix. That is the actual design problem here, and it is why most "kid-friendly" Christmas roundups collapse the second a real three-year-old walks into the room. What follows is colorful, whimsical Christmas decor built for kids who touch things: shatterproof where it counts, reachable on purpose, and heavy on the candy-bright palette a five-year-old reads as pure spectacle. Some of these are store-bought in ten minutes; a couple are craft-table afternoons that end up back on the tree for the next decade.
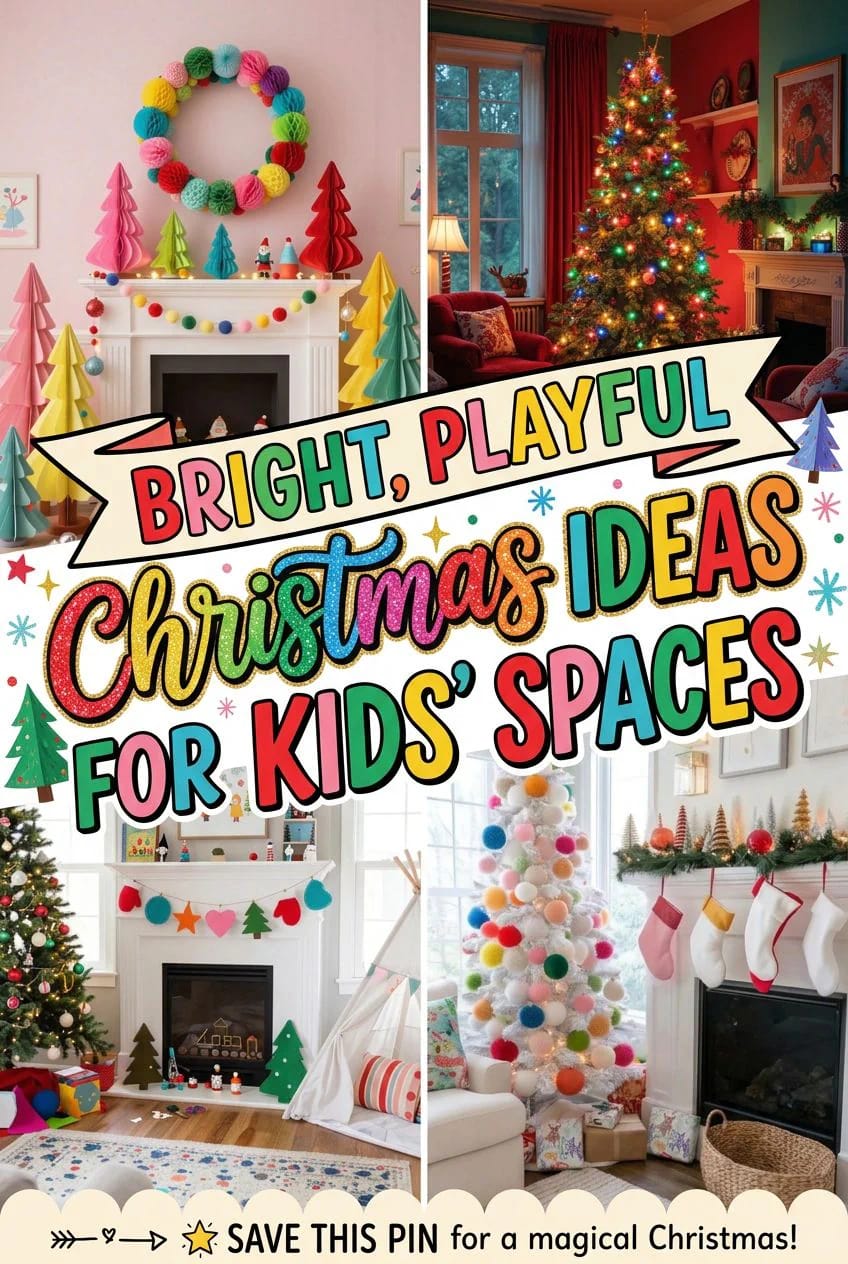
1. Start with a shatterproof color base, not glass

Buy one big multipack of shatterproof plastic balls in three or four candy colors and let that be roughly 70 percent of the tree. A 60-to-100 count assorted box runs about $20 to $50 at Target, Michaels, or Amazon, and it does the heavy lifting so your one or two nice ornaments read as accents instead of casualties. The plastic ones now mimic glossy glass well enough at arm's length that nobody under the age of nine will care, and the ones who could break them are the ones you bought them for.
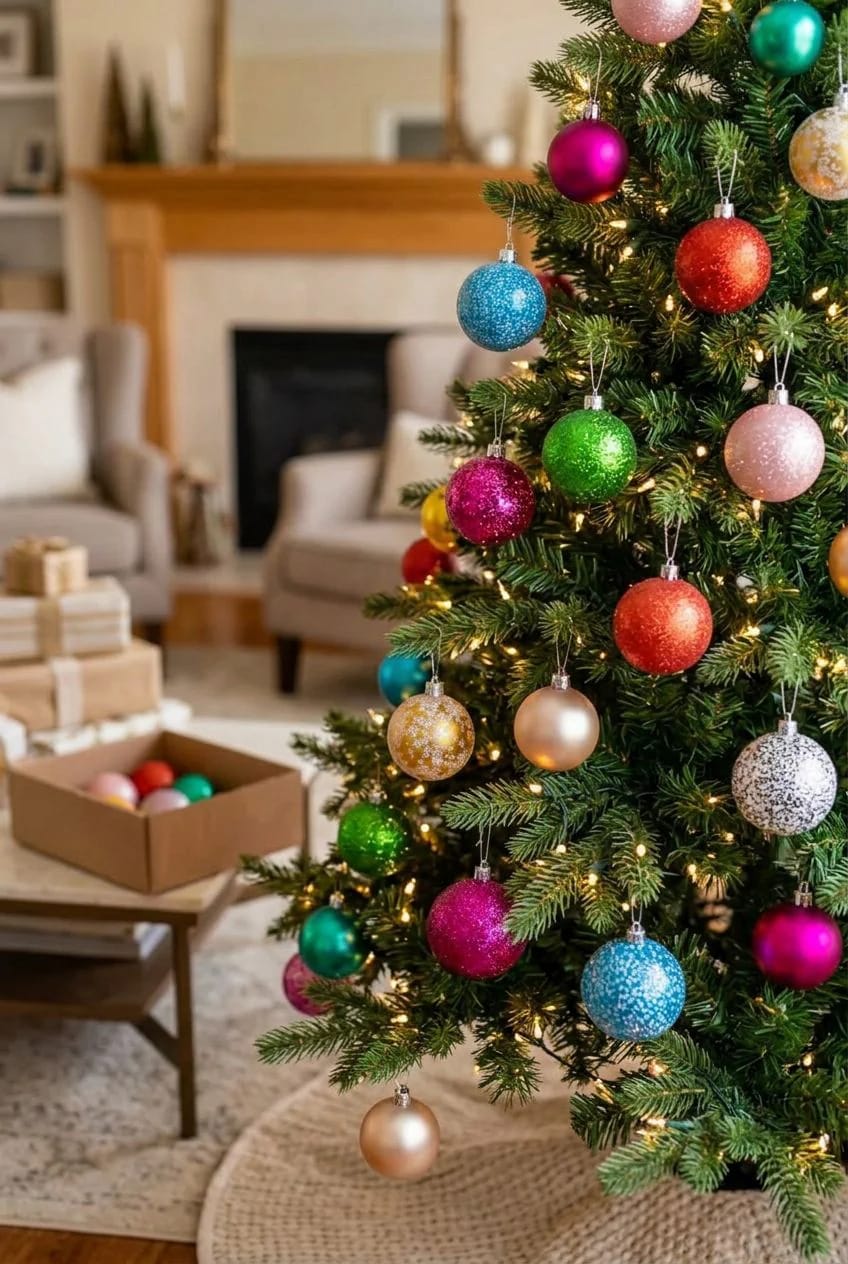
Here is the part people get wrong: more colors is not more whimsical. Full rainbow plus tinsel plus three competing themes is not playful, it is a yard sale. Pick a tight palette, say hot pink, orange, and turquoise, or an all-pastel set, and repeat it hard. That said, "tight" does not mean matchy. Mix matte, glossy, and one glittered finish inside those few colors so the tree still has texture up close, which is where a kid actually looks at it.
2. Give kids a reachable "decorating zone" on the lower branches
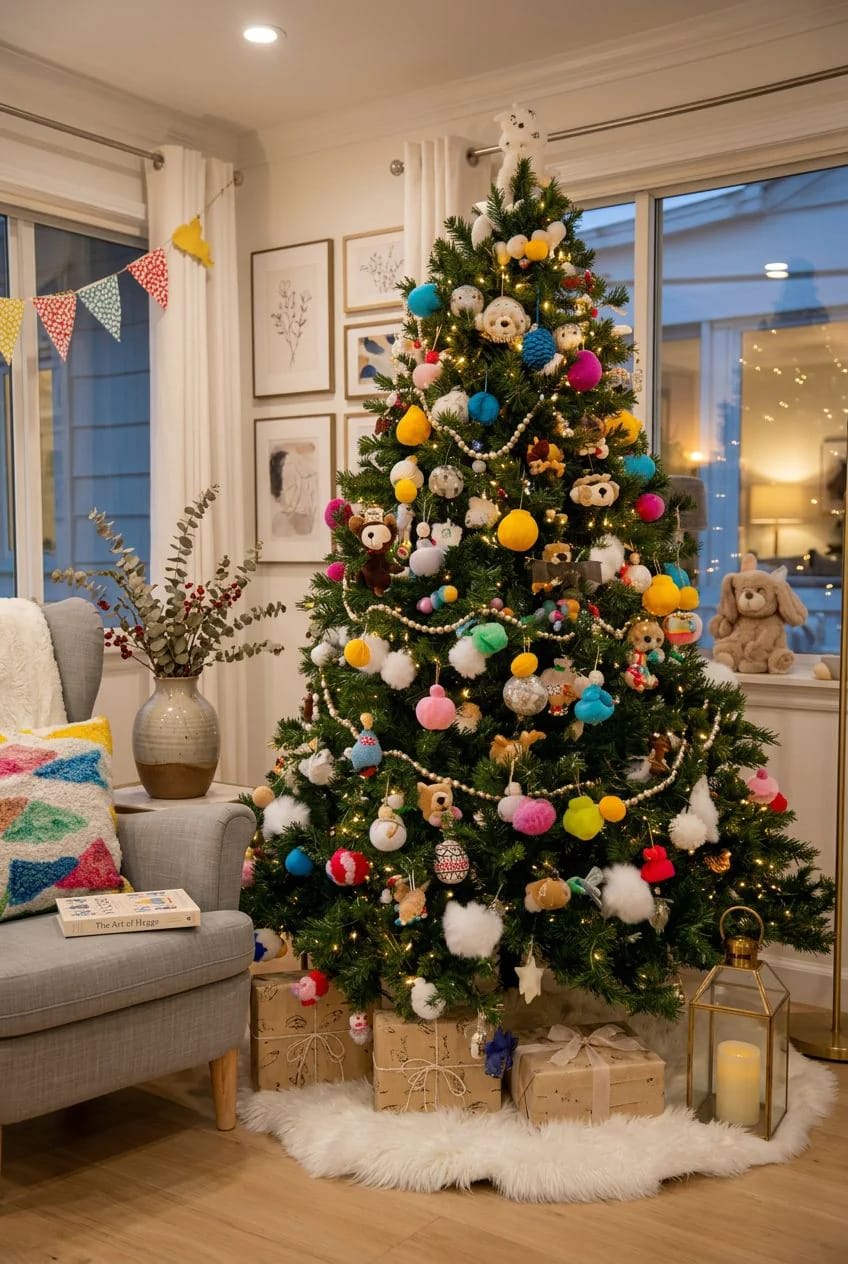
Decorate the top two-thirds yourself and formally hand the bottom third to the kids. Load that lower zone only with the unbreakable, unloseable stuff: felt shapes, wood, chunky plastic, anything that can be rehung forty times a day. It solves the toddler-yanking problem by design instead of by nagging, and it gives a two-year-old a job that is genuinely theirs.
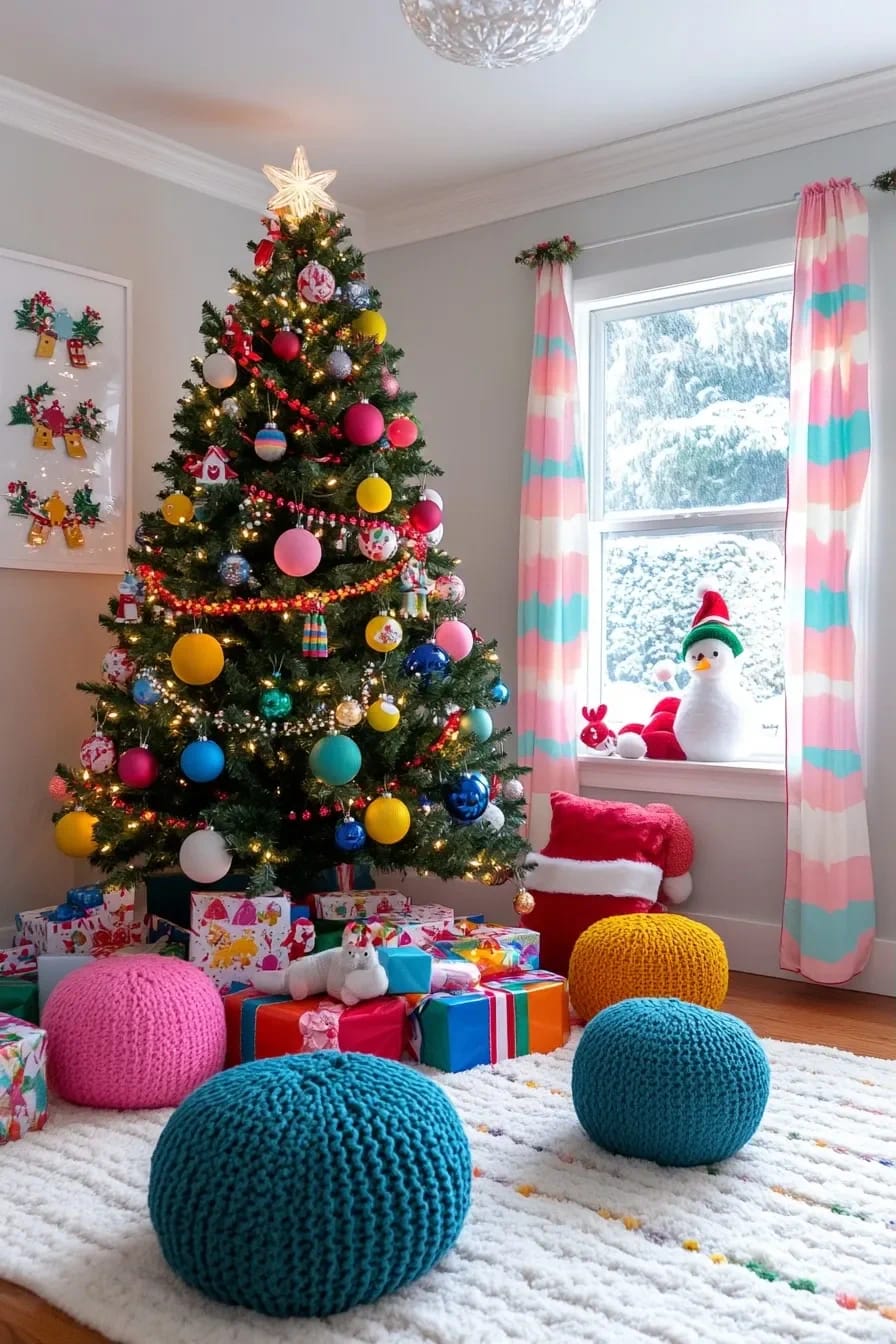
Yes, the bottom will look like a dense colorful clump with a bald patch above it for the first week. Leave it. The lopsidedness is the tell that a small person lives here, and by January you will not be able to picture the tree without it.
3. Go full candy shop with lollipop and gumball ornaments
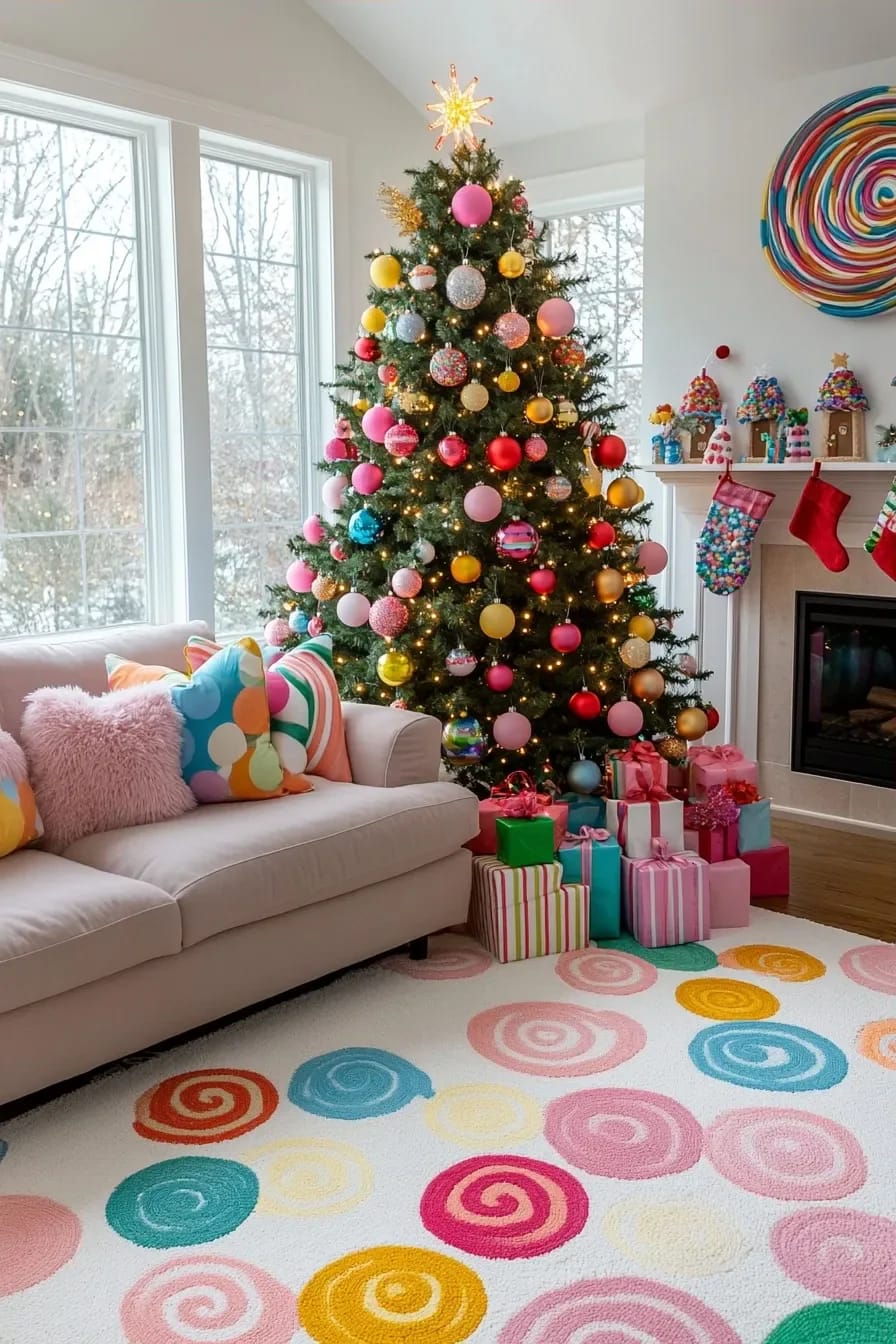
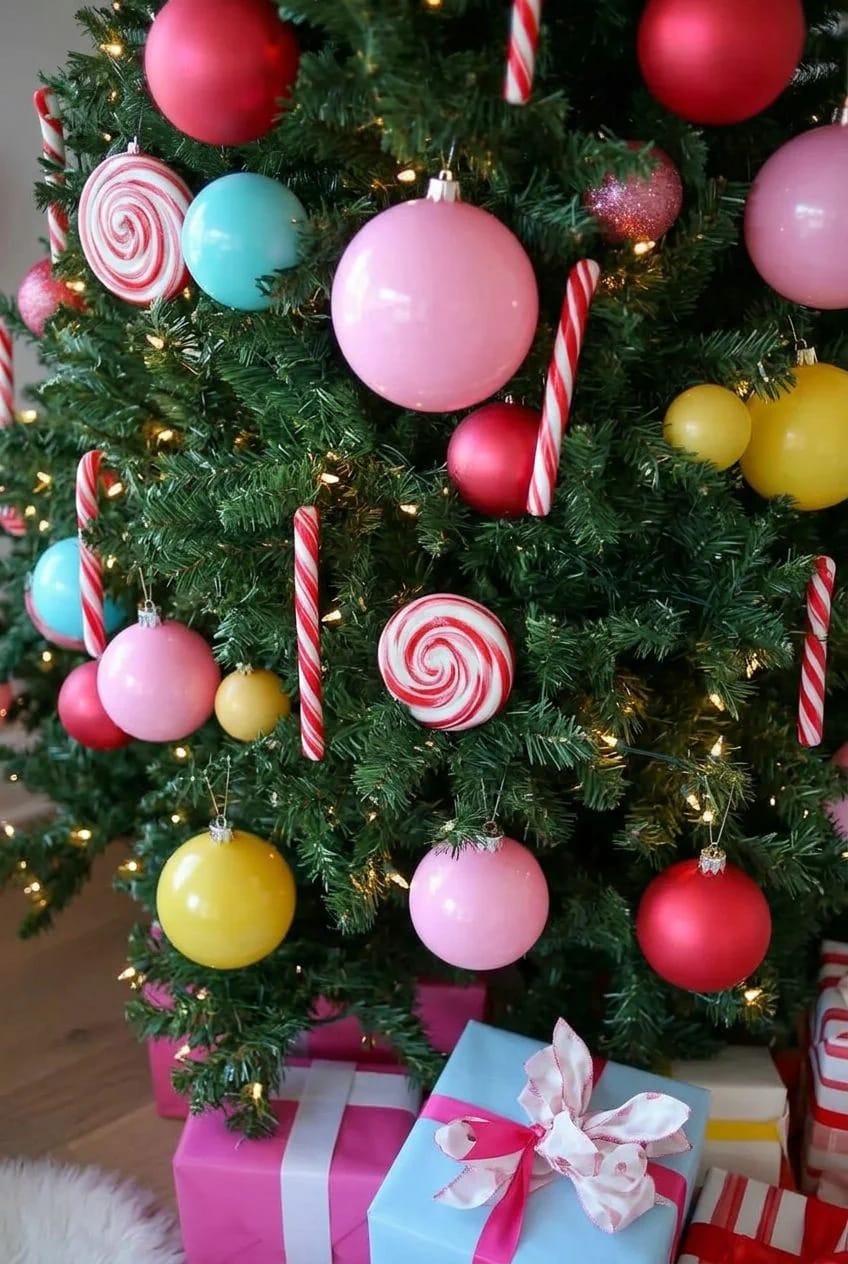
Candy-shop ornaments are the single fastest way to make a tree read as a kid's tree from across the room. Oversized plastic lollipops, faux gumballs, peppermint swirls, and glittered "gingerbread" shapes are cheap (most run $1 to $6 apiece, less by the pack at Michaels or in the Target dollar spot), lightweight, and shatterproof by default, since almost nothing in the category is glass. Glitterville and Kurt Adler both make the good chunky versions if you want a few statement pieces; the dollar-store multipacks handle volume.
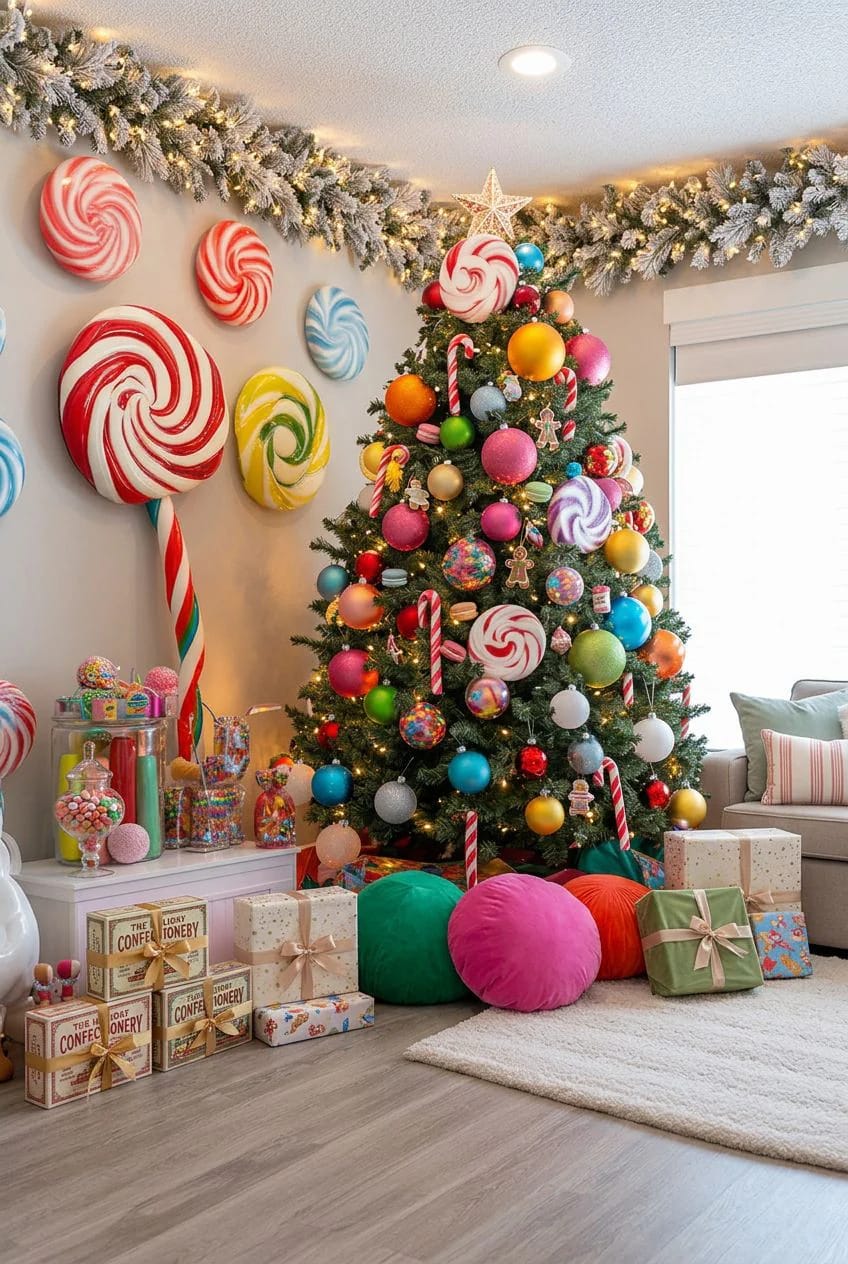
One warning, because it matters more than the styling: do not hang actual candy. Real candy canes and wrapped sweets on a low branch are a small-child choke and a 6 a.m. sugar heist waiting to happen, and they attract ants. Use the plastic fakes and keep the edible stuff in the kitchen. If you want the tree to smell like the theme, a clip-on peppermint scent or a bowl of oranges nearby does it without arming a toddler.
4. Layer in pom-poms for texture kids can squish
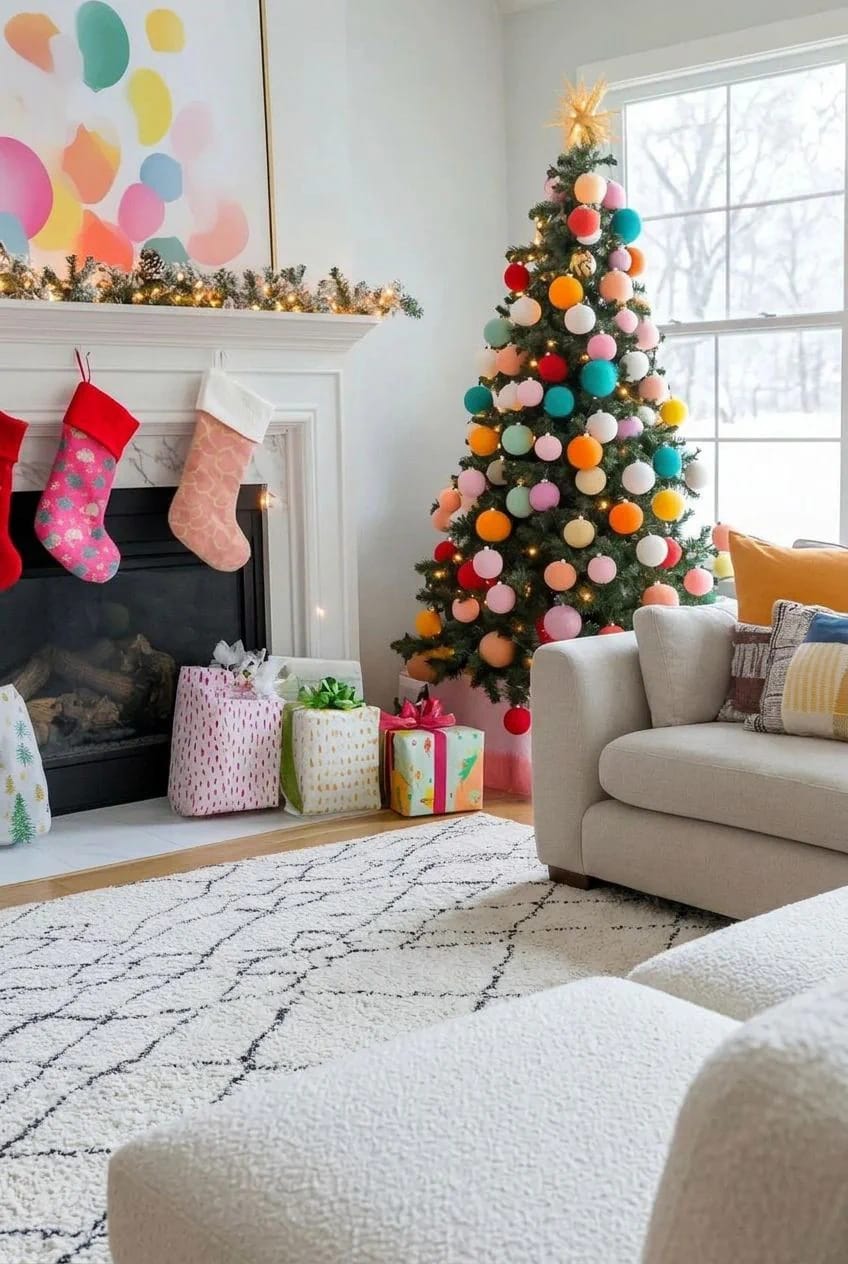
Pom-poms are the texture your candy-and-plastic tree is missing, and they are the one decoration a kid can grab, squeeze, and rehang with zero consequence. Buy a bag of assorted craft pom-poms for a few dollars, or wind your own on a fork, and either wire them into a garland or clip them straight onto branches. A garland of 2-inch wool poms reads soft and handmade in a way glossy baubles never do.
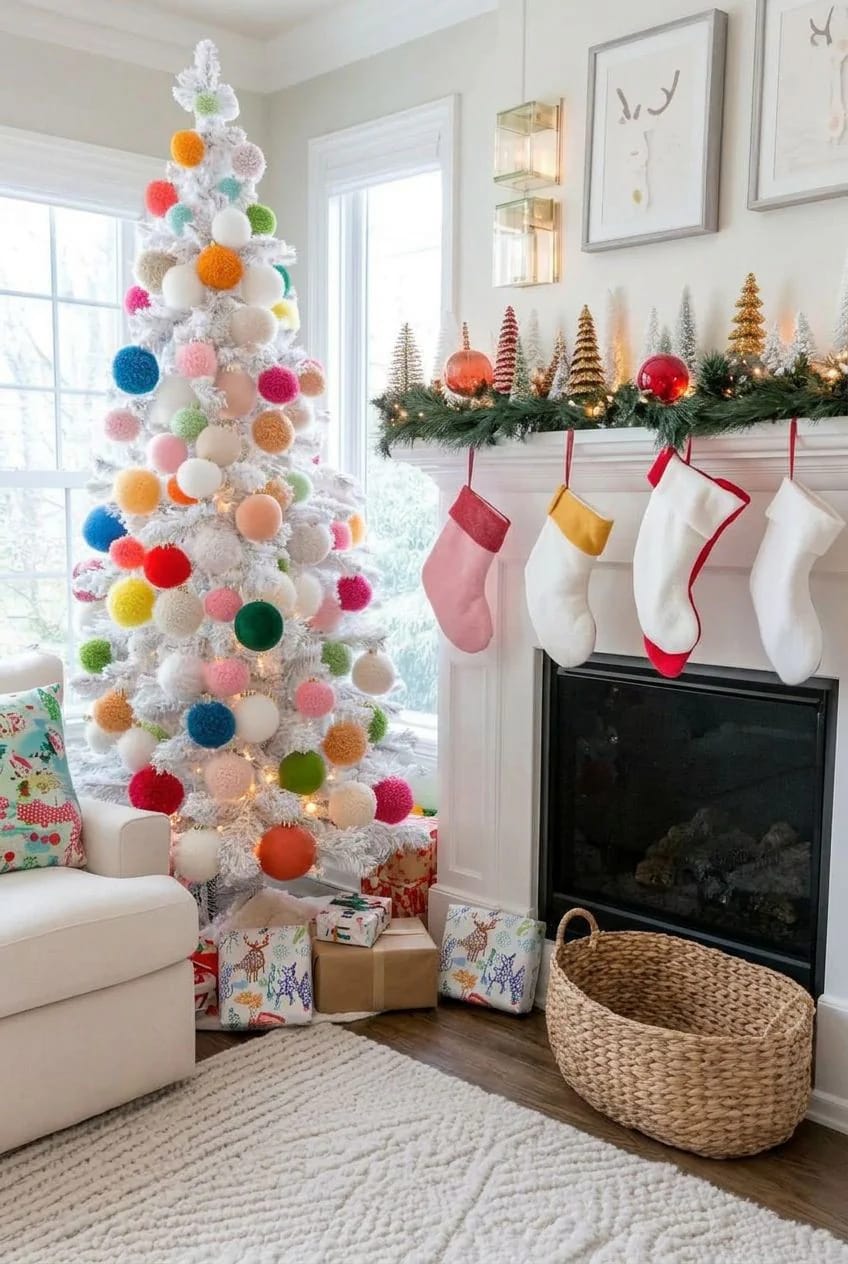
They also cover the gap between a full tree and a sparse one cheaply. A $4 bag fills a surprising amount of branch, and if the cat claims three of them, you are out about eleven cents.
5. String a felt ornament garland they make themselves
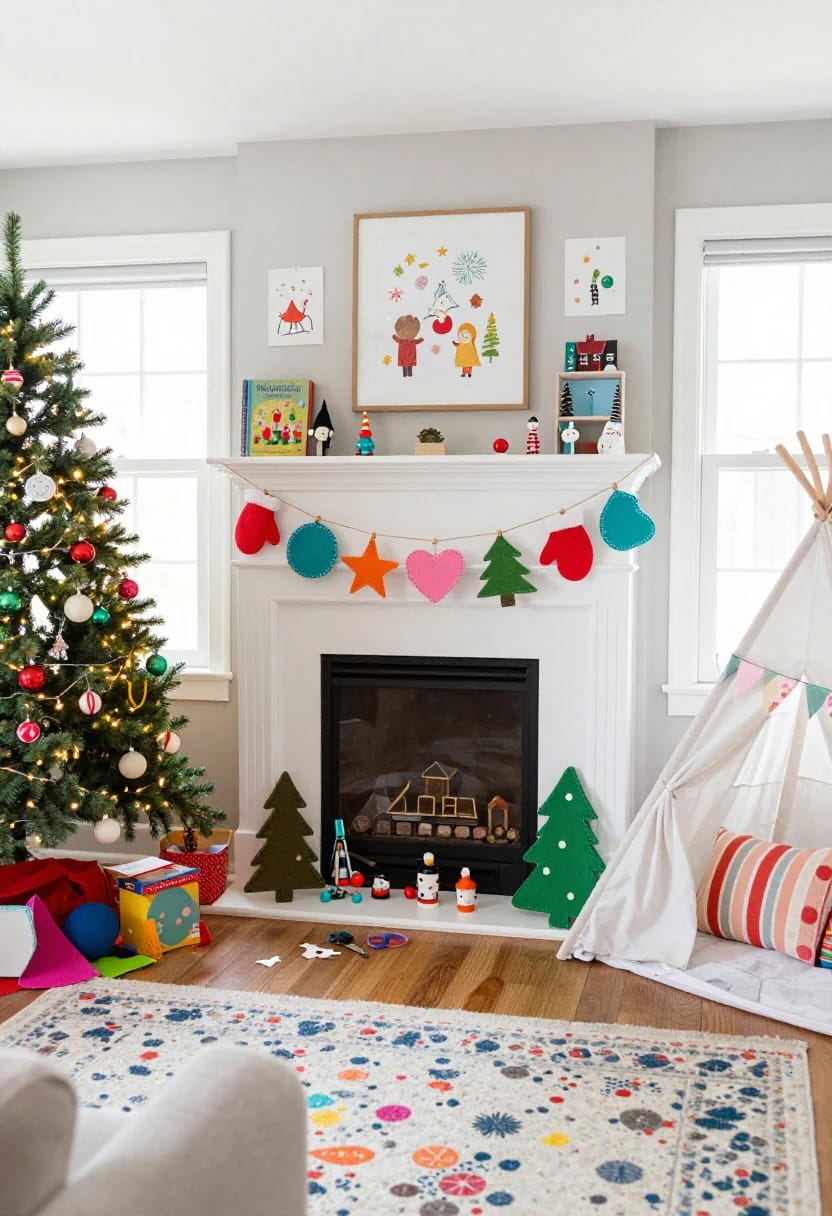
Felt is the ideal kid-craft material because it does not fray, so a four-year-old can cut a wobbly star and it still looks intentional. Cut simple shapes from craft felt (about $0.30 a sheet), thread them onto jute twine with a wooden bead between each, and you have a garland that cost under $5 and will get hung on the fridge in July. No sewing required; a running stitch or even a punched hole works.
A few things that keep it from looking like a landfill of felt:
- Cap it to three or four shapes repeated, not twelve different ones. Repetition is what turns craft-table output into something that looks designed.
- Stick to the tree’s palette. If the tree is pastel, the garland is pastel; a kid will happily cut pink stars instead of red ones.
- Let the wonky cutting stand. Uniform shapes look store-bought, which defeats the point of making them.
6. Skip warm-white lights and wire it multicolor
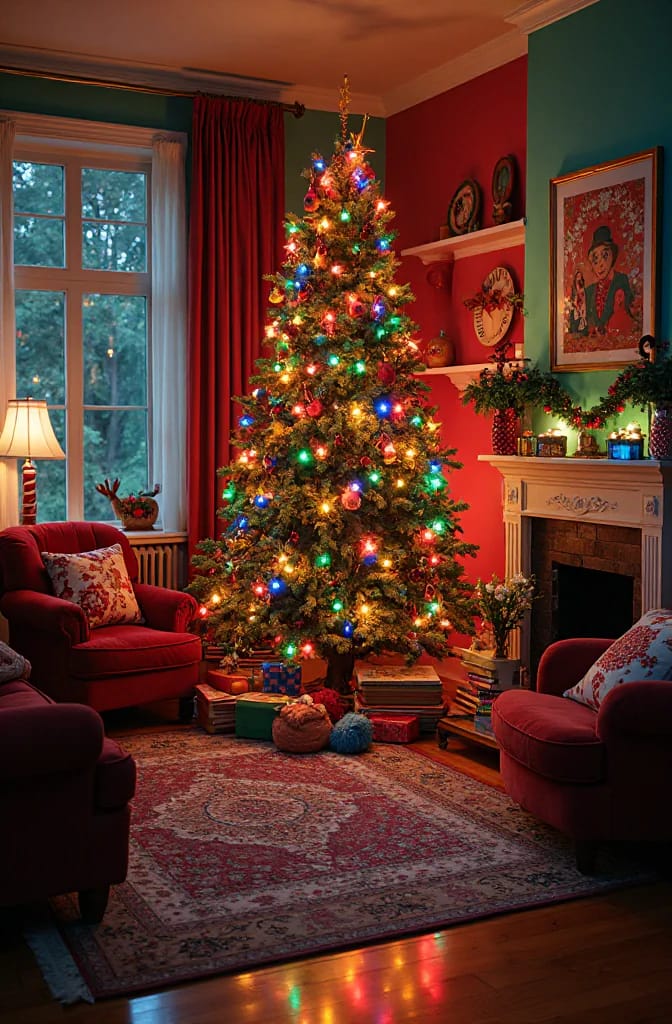
Warm-white lights are the tasteful adult default, and for this tree they are wrong. Kids overwhelmingly prefer the fat multicolor bulbs, and a colorful whimsical tree wants the lights working with the palette, not quietly apologizing for it. Go with color, and lean toward the larger C7 or C9 bulbs over the pinhead minis if you want that retro, saturated glow that photographs well.
One practical fix if the multicolor looks chaotic: buy a set with a warm-white mode built in, or bulbs that let you toggle, so the tree can be candy-colored for the kids in the evening and calmer once they are in bed. And skip the cheap fiber-optic drugstore trees that cycle through colors on their own; they look exactly as cheap as they cost, and the effect is closer to a slot machine than a holiday.
7. Bake salt-dough handprint keepsakes
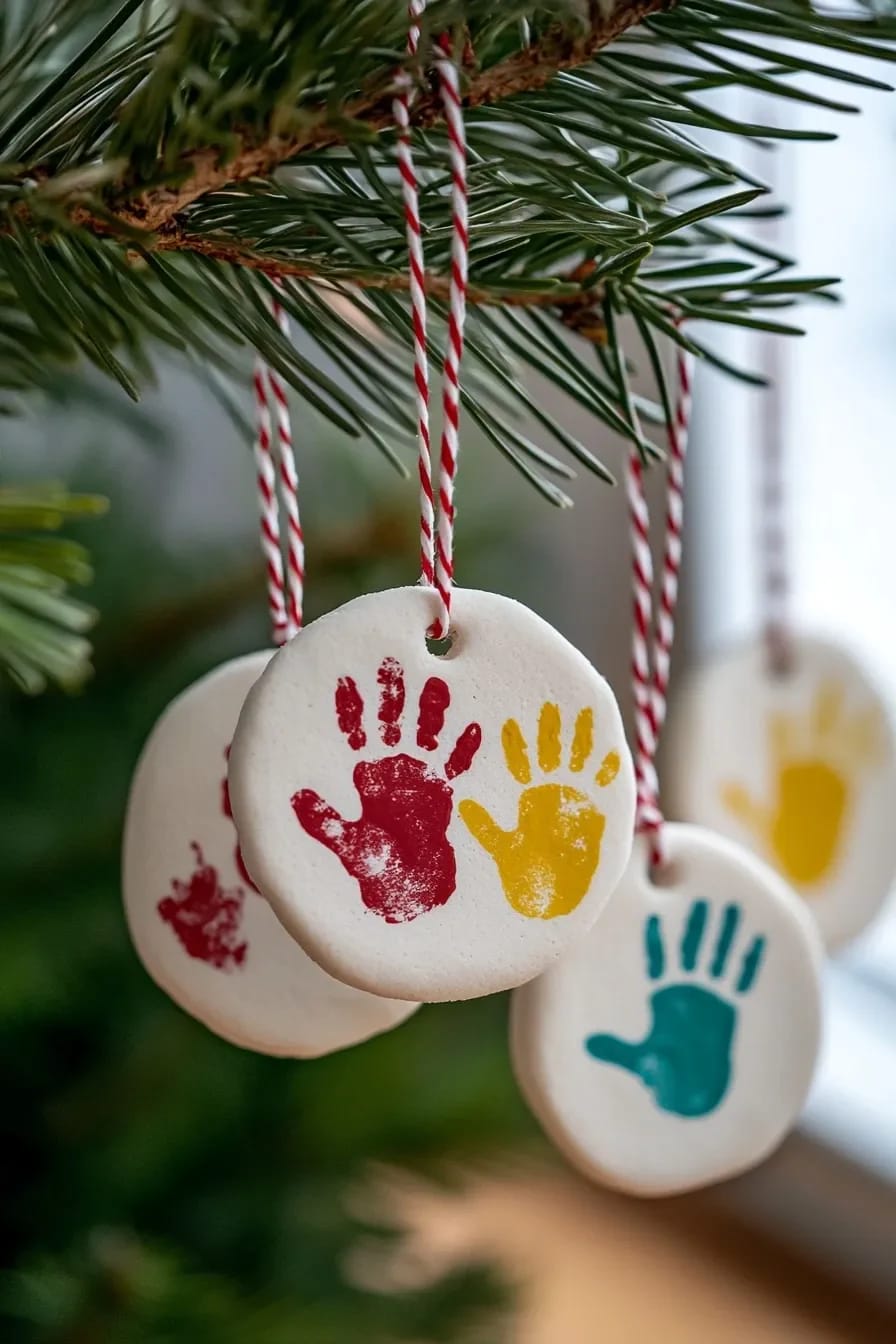
These are the ornaments you will still have when the kid is thirty, so make them the year you have a baby and every year after. The recipe is three pantry ingredients: 2 cups all-purpose flour, ¾ cup table salt, and ¾ to 1 cup warm water, kneaded smooth. Roll handprints a little thick, around ¼ to ½ inch, press the hand in firmly, and poke a hole at the top with a straw before baking (you cannot add it later, which is the mistake everyone makes once).
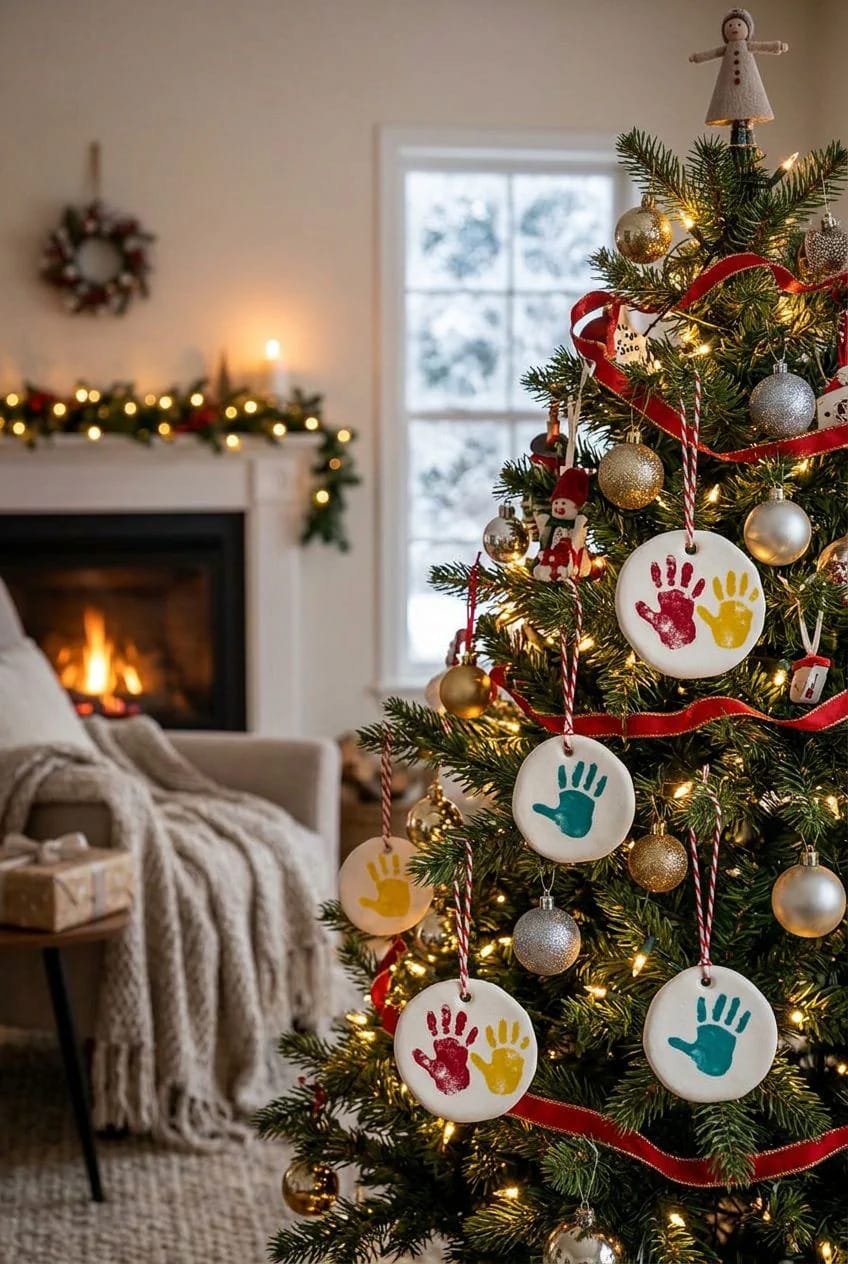
Bake low and slow, 200 to 250°F for two to three hours, or air-dry them a full day first to cut the puffing that ruins a print at higher heat. Once cool, let the kids paint them in the tree's colors with acrylics, then seal with a coat of Mod Podge so they survive being boxed in a damp basement for eleven months. Skip self-rising flour; it puffs and swallows the fingers. Beyond that the process is forgiving, which is the whole reason it is worth doing with a toddler who will lose interest around minute six.
8. Fold paper honeycomb and accordion trees for near-free color
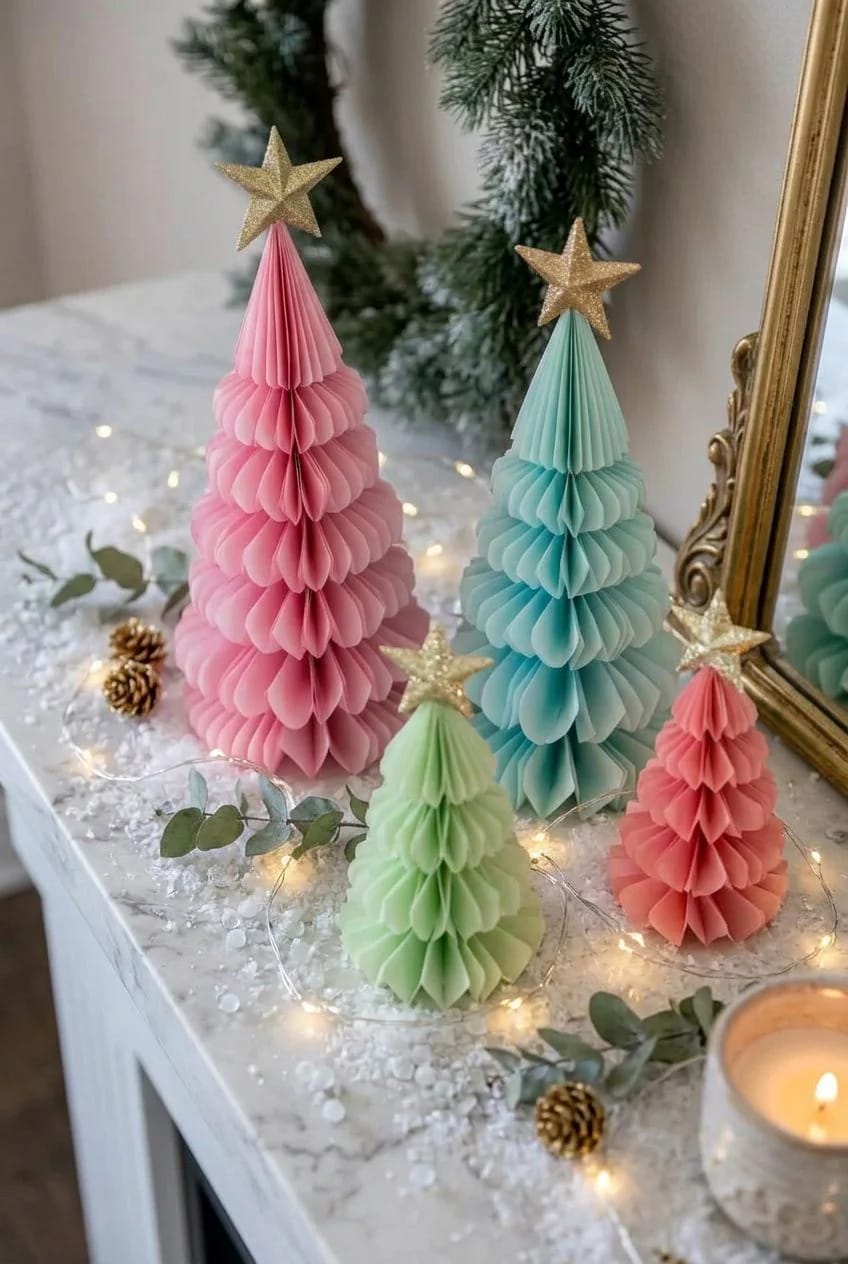
Paper decorations are where you get the most color for the least money, and they suit a kid's room or a mantel where a full tree will not fit. Honeycomb tissue trees, accordion-folded cones, and paper-chain garlands run about $5 to $15 a set at party stores, or effectively free if you fold them from construction paper. They pack flat, which matters when you are storing decor for a child who will want something different next year.
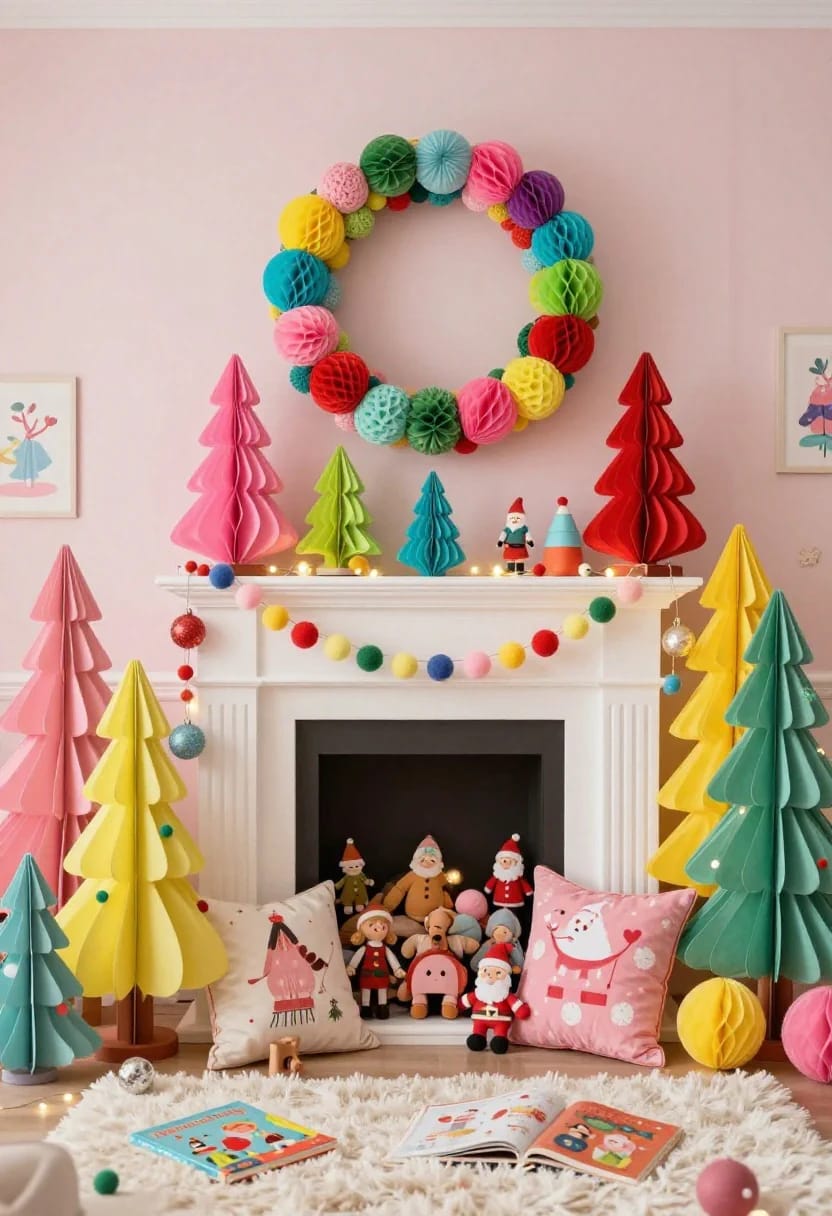
The catch is they are fragile and do not love humidity, so keep them off the floor and away from the toddler zone from item two. This is display-only color, not a squeeze toy.
9. Put a small tree in the kid's own room
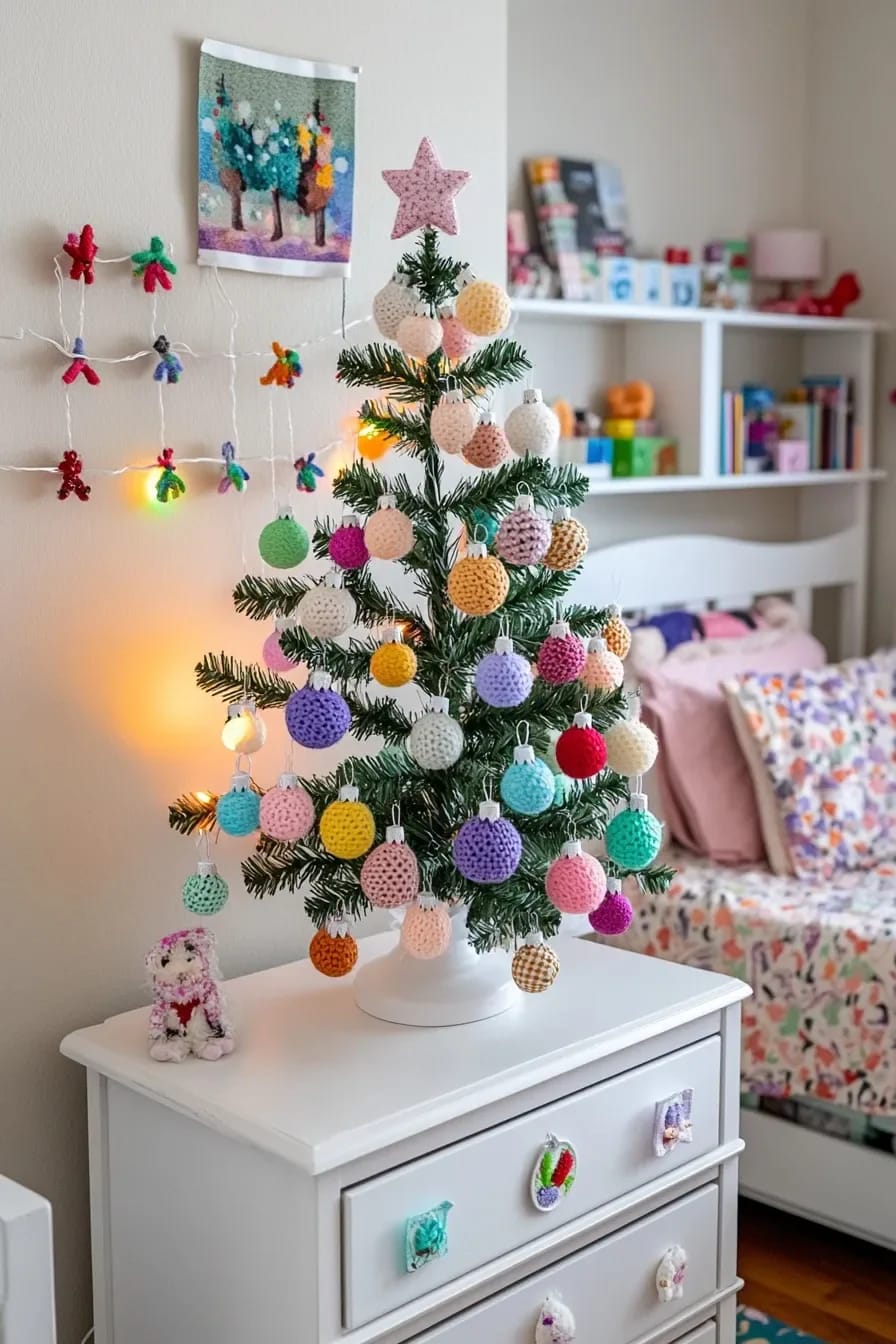
A cheap 2-to-3-foot tabletop tree in the child's own bedroom is the highest-return idea on this list for the money. It gives them a tree that is entirely theirs to over-decorate, dismantle, and redo without touching the family tree, and it turns the whole project into their space instead of yours. A basic tabletop tree runs about $15 to $40 at IKEA, Target, or Walmart, and a battery string of colored lights on a timer means no cord snaking across a kid's floor.
Let them own every decision here, including the ugly ones. A tree with all twelve ornaments crammed on one branch is a better memory than a styled one they were not allowed to touch.
The kid-height zone changes the safety math. Keep anything with small detachable parts, button batteries, or wire hooks above the reach of anyone still mouthing things, and swap metal hooks for yarn ties or ribbon on the bottom third. Skip angel hair and old-style tinsel entirely with toddlers and pets; both are a swallowing hazard and the tinsel sheds everywhere. Anchor a tabletop tree to the dresser, or a full tree to the wall with a small hook, because a climbing two-year-old will test it. And no real candy or lit candles within reach.
10. Rethink the tree base: basket collar and colorful wrap
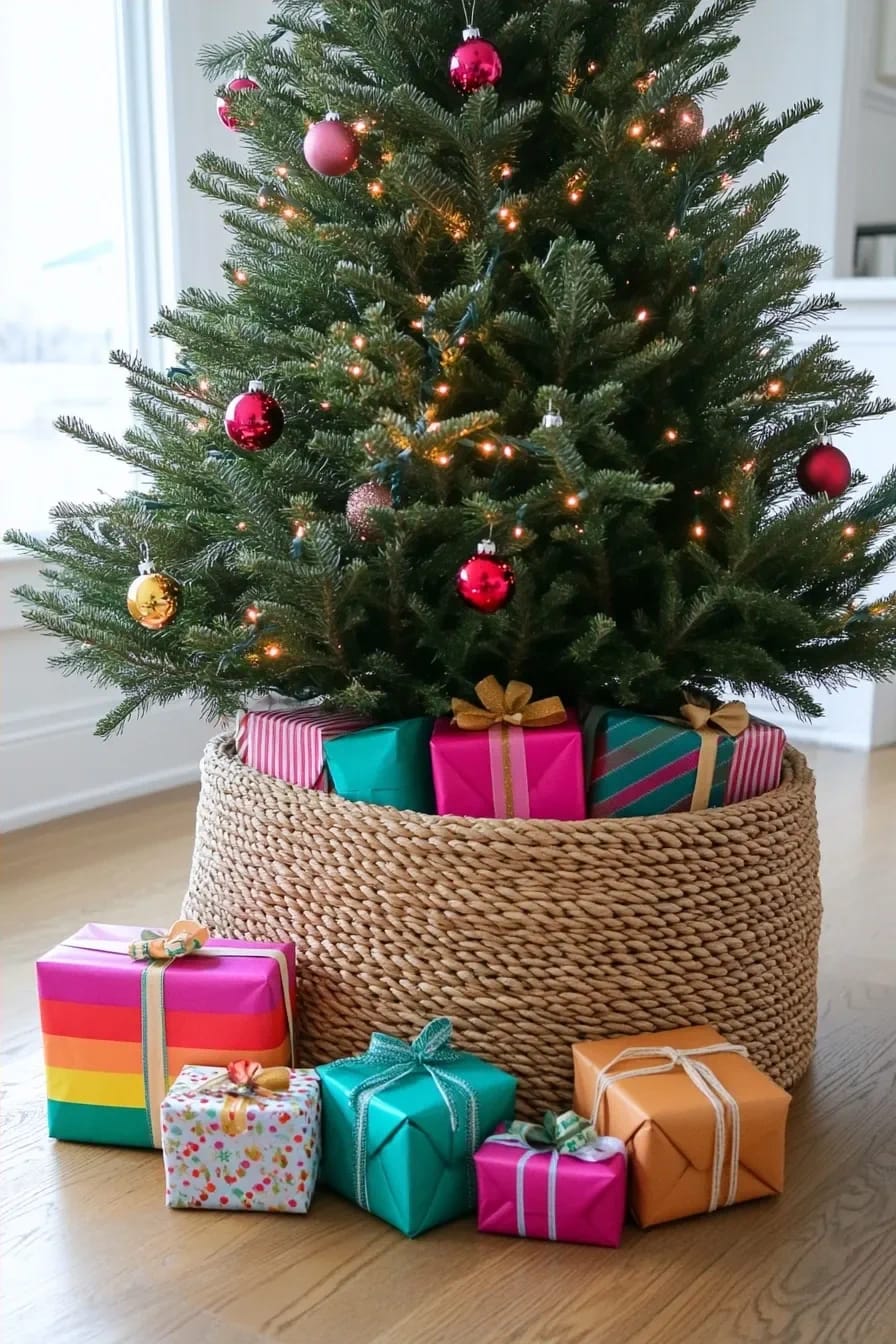
The base is where colorful trees quietly go wrong, because most people spend all their attention up top and leave a beige quilted skirt from 2009 puddled at the bottom. Swap it. A woven seagrass basket collar dropped over the stand looks intentional, hides the tripod, and shrugs off a toddler kicking it, all for about $20 to $40. If you would rather keep a skirt, a folded rainbow-striped cotton throw or a length of bright felt does the job for a few dollars.
Then wrap presents in solid candy colors instead of themed foil, and tie them with contrasting ribbon. The gifts sit at exactly kid eye level for a month, so they are decor whether you planned it that way or not.
Do this
- Repeat three or four colors across ornaments, lights, and wrapping so the whole thing reads as one idea.
- Mix finishes inside the palette: matte, glossy, one glitter. Texture is what keeps a tight palette from looking flat.
- Give the kids a real zone and let their section look like a kid did it.
Avoid
- Rainbow plus tinsel plus three themes at once. Pick a lane.
- Filling the tree with fragile boutique ornaments you will spend December policing.
- Cool-white LEDs on a candy-colored tree; the temperature fights the palette.
11. Top it with something other than a star
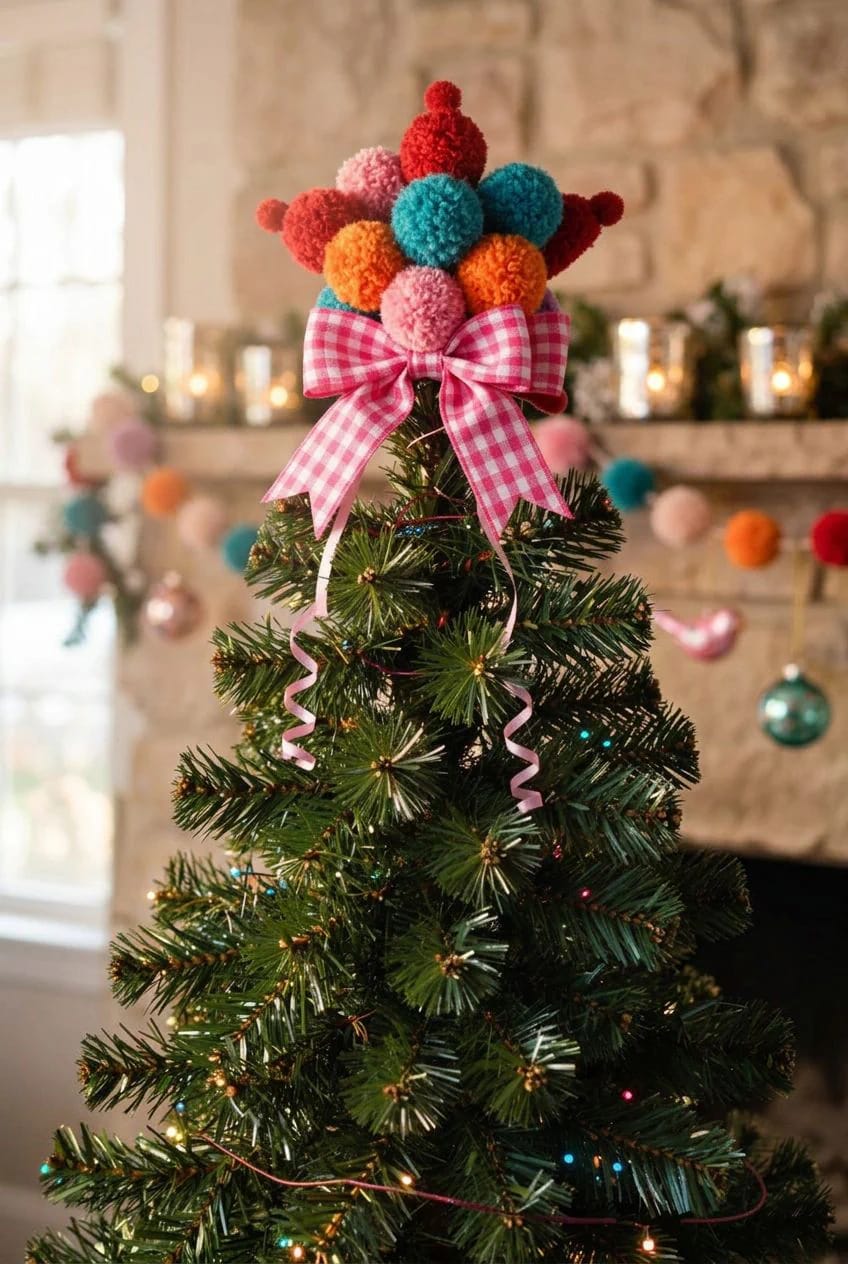
The topper is the one spot where you can be genuinely odd, so skip the star. A cluster of oversized pom-poms, a fan of fabric bows, a cloud of curling ribbon, or a small stuffed character all read as more playful than the default gold five-pointer, and they cost about the same to assemble. A bow explosion in the tree's three colors ties the whole thing together from the top down.
If the kids are old enough, hand them the topper decision too. It is the most visible piece of the tree and the one adults tend to guard hardest, which is exactly why giving it away lands.
Conclusion
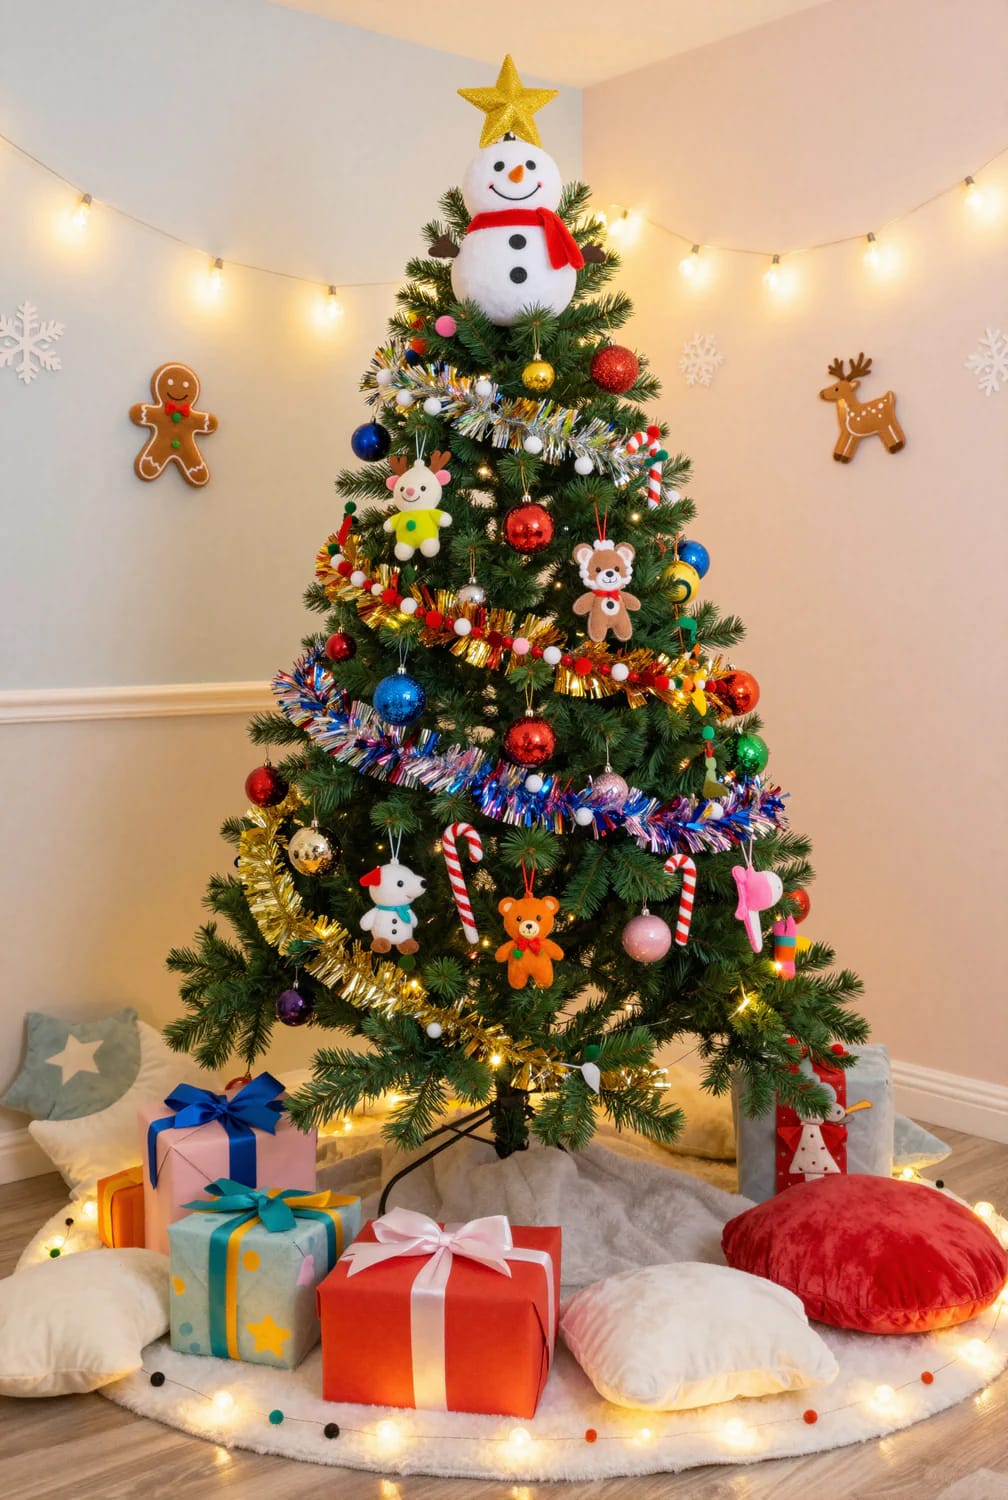
If you do these in order, the tree more or less builds itself: shatterproof color base first, then wire the multicolor lights, then hand over the bottom third and the toppers to the kids and let the candy ornaments, pom-poms, and felt fill in from there. The made pieces (the felt garland, the salt-dough prints) are the ones to start early, since they need a craft afternoon and, for the dough, a full day to dry.
The stuff to skip is easy to name: real candy on the branches, cool-white LEDs, angel hair, and any breakable ornament you would hate to lose. None of it earns its place on a tree meant for small hands.
And keep making the handprint ornaments every year, even the year the kid just smears paint. The candy-shop phase passes faster than you think, but a cream-colored disc with a three-year-old's palm pressed into it is the one decoration that only gets better once the phase is over.