
Rustic Christmas decor goes wrong in one predictable direction: too much bright green, too much shiny wood, and a red bow stapled to every surface. The version worth doing pulls the opposite way, toward unfinished timber with the grain still open and evergreens dark enough to read almost black once the light drops. Below are seven ways to build it, starting with the wooden crates that should carry most of the staging and ending out on the porch, with the palette rules and the one mistake everyone makes folded in between.
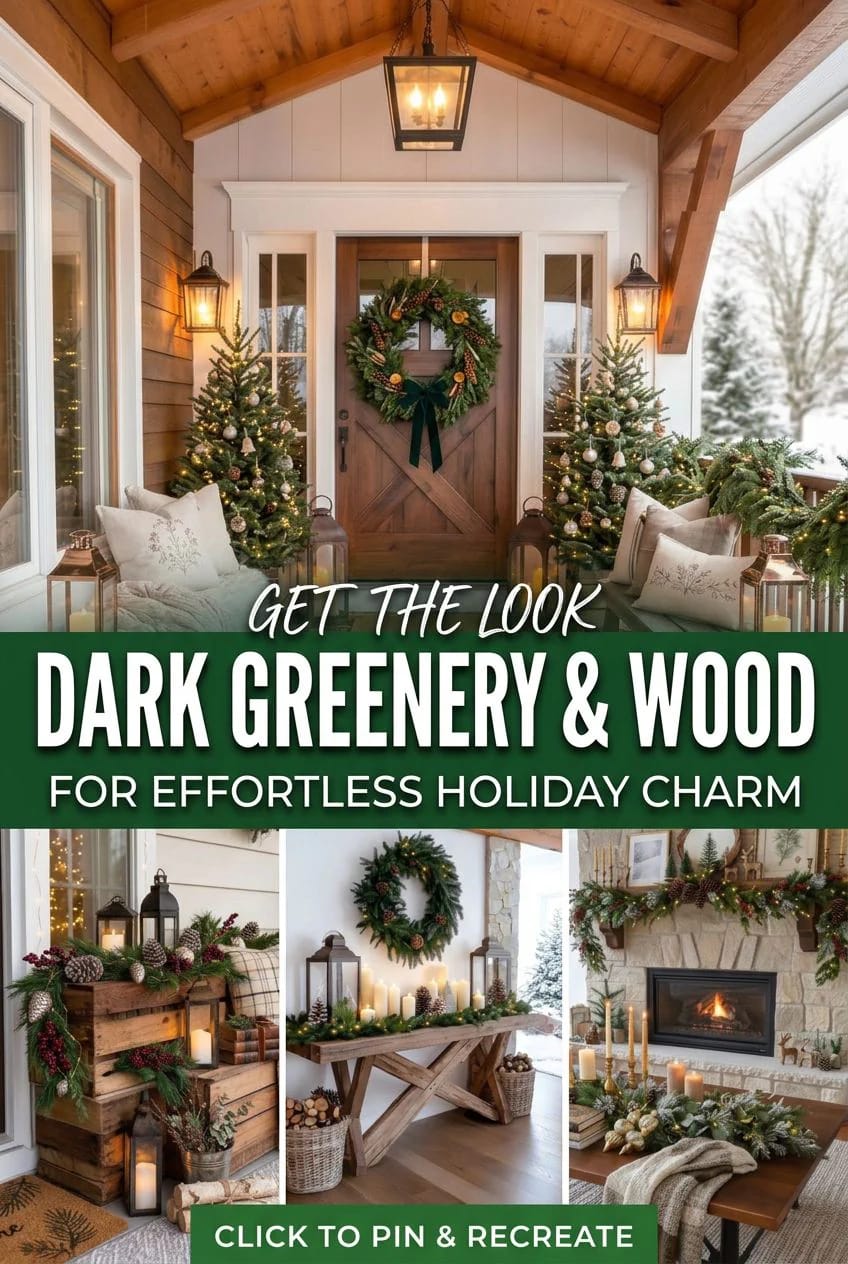
1. Let raw wood crates do the staging, not the ornaments
Start with crates before you buy a single ornament, because they solve the problem every rustic scheme runs into: everything ends up flat on one surface. Stacked at staggered heights, three unfinished pine crates give you levels, and levels are what separate a styled corner from a pile. This is also the idea Pinterest has been quietly rewarding for two seasons running, and it is close to free if you already have them in the garage.
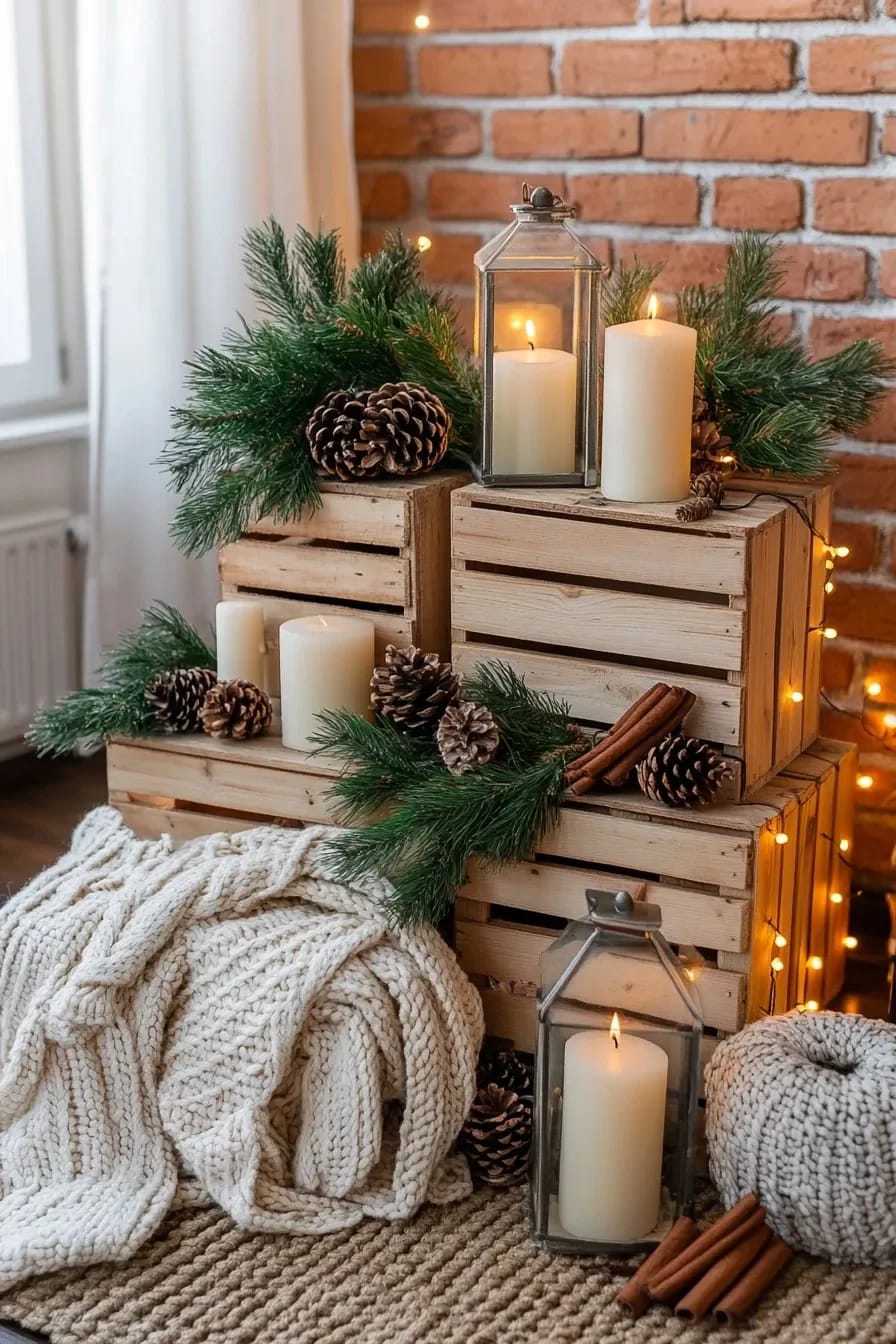
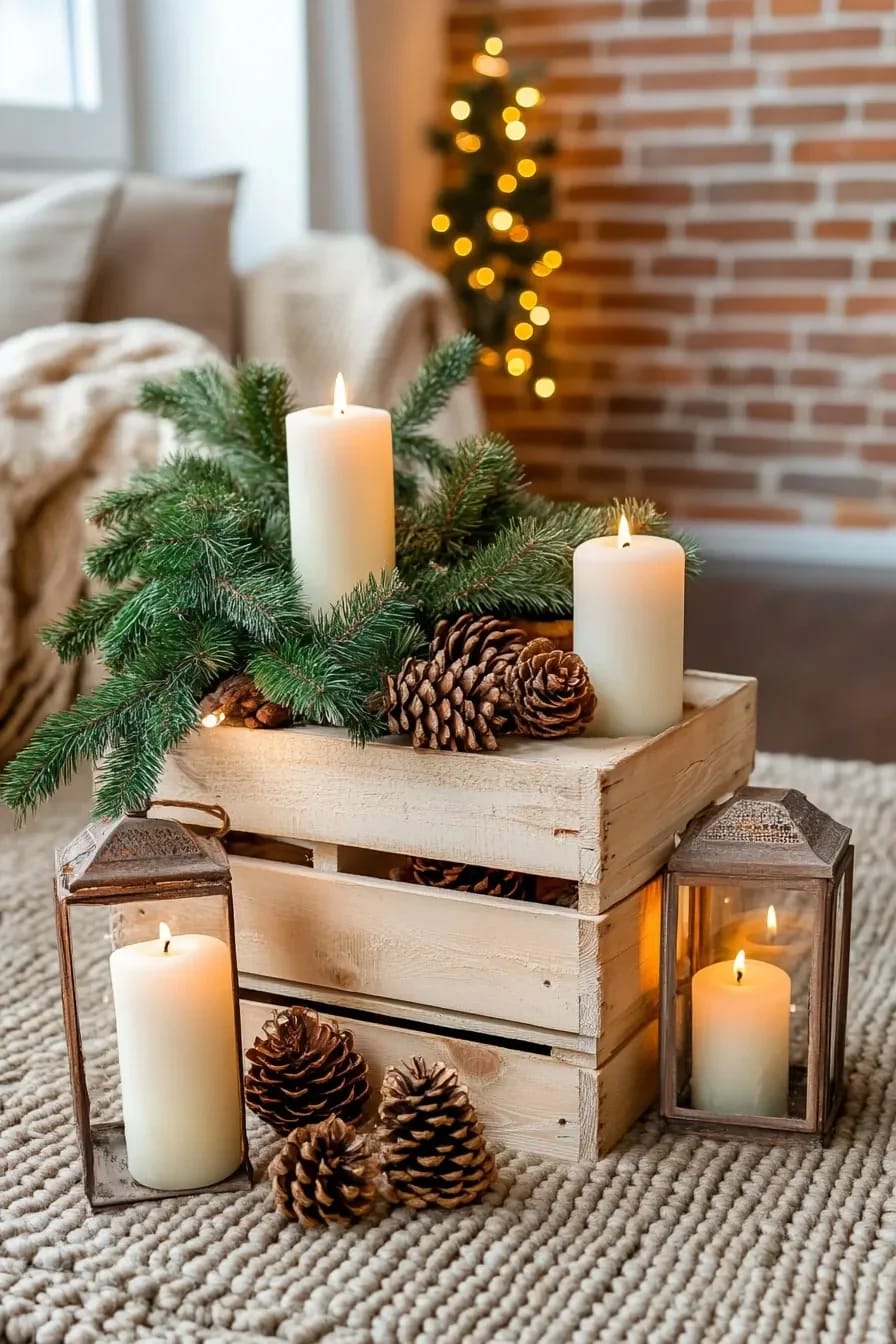
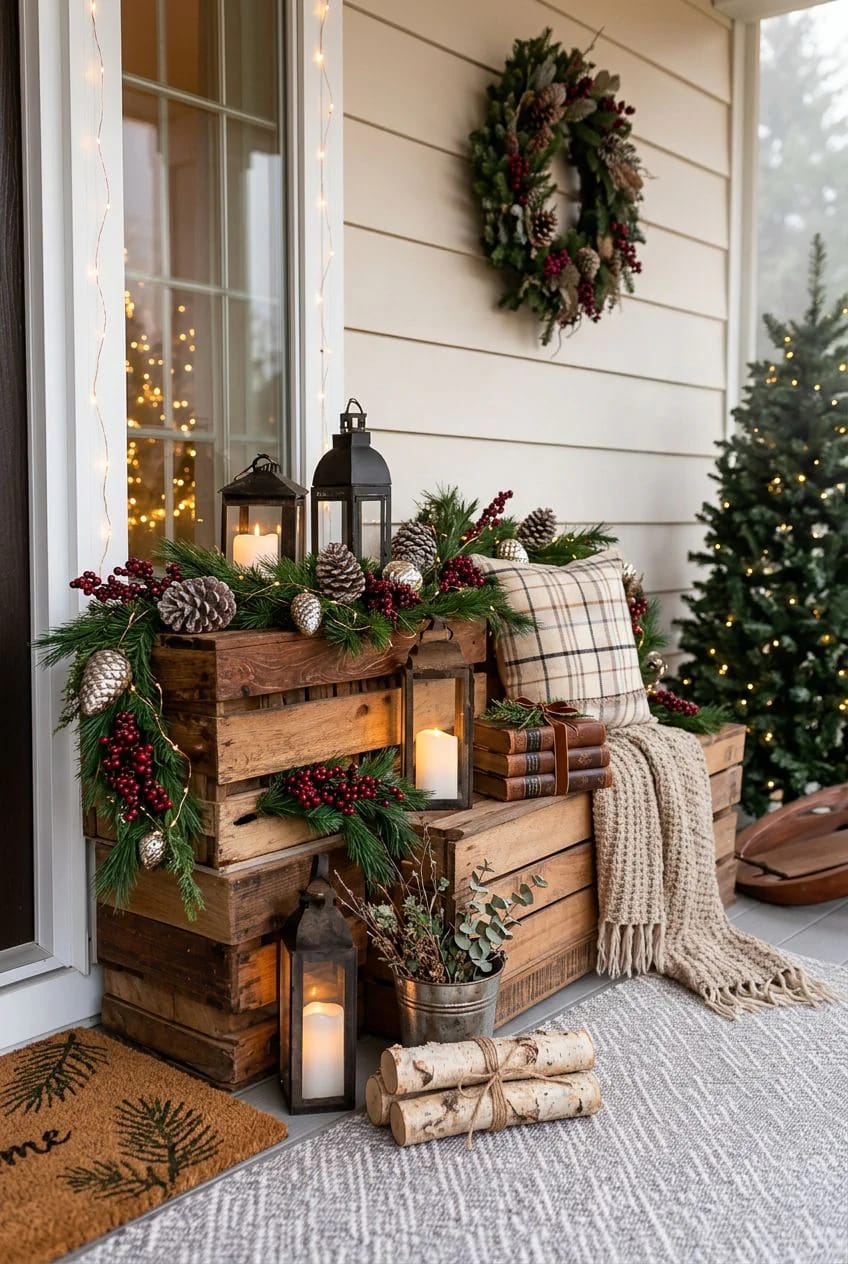
Which crates actually read raw
Granted, not all "wooden" crates qualify. The ones sold pre-stained in that orange-honey pine tone read new, and new is the enemy of rustic. You want either genuinely weathered wood or raw, sanded slats you leave bare. If you are buying rather than scavenging, unfinished pine crates run roughly $12 to $20 each and take a coat of dark wax beautifully if the raw look is too pale for your walls.
What to put inside them
Fill maybe two-thirds of them and leave the rest as negative space, or the whole thing turns into a box of stuff. A short evergreen bundle in one, two pillar candles in another, a single burlap-wrapped mini tree in the third. One crate can just hold folded wool throws and nothing seasonal at all.
Do not seal raw crates with glossy polyurethane. That high-shine plastic coat is exactly what makes cheap wood look cheap, and it fights the matte, open-grain quality the whole style depends on. If you need protection, use a clear matte wax or a rub of raw linseed oil, both of which darken the wood slightly and leave the grain visible instead of drowning it.
2. Dark greenery means fir and juniper, not bright pine
The single choice that makes or breaks this look is which green you bring in, and most people default to the brightest one on the lot. Bright kelly-green pine reads cheerful and generic; the muted, blue-tinged and near-black greens read like a forest in December. Fraser fir, blue spruce, juniper, and Southern magnolia all sit in that darker register, and mixing two or three of them beats any single variety because the eye catches the shift in needle and leaf.
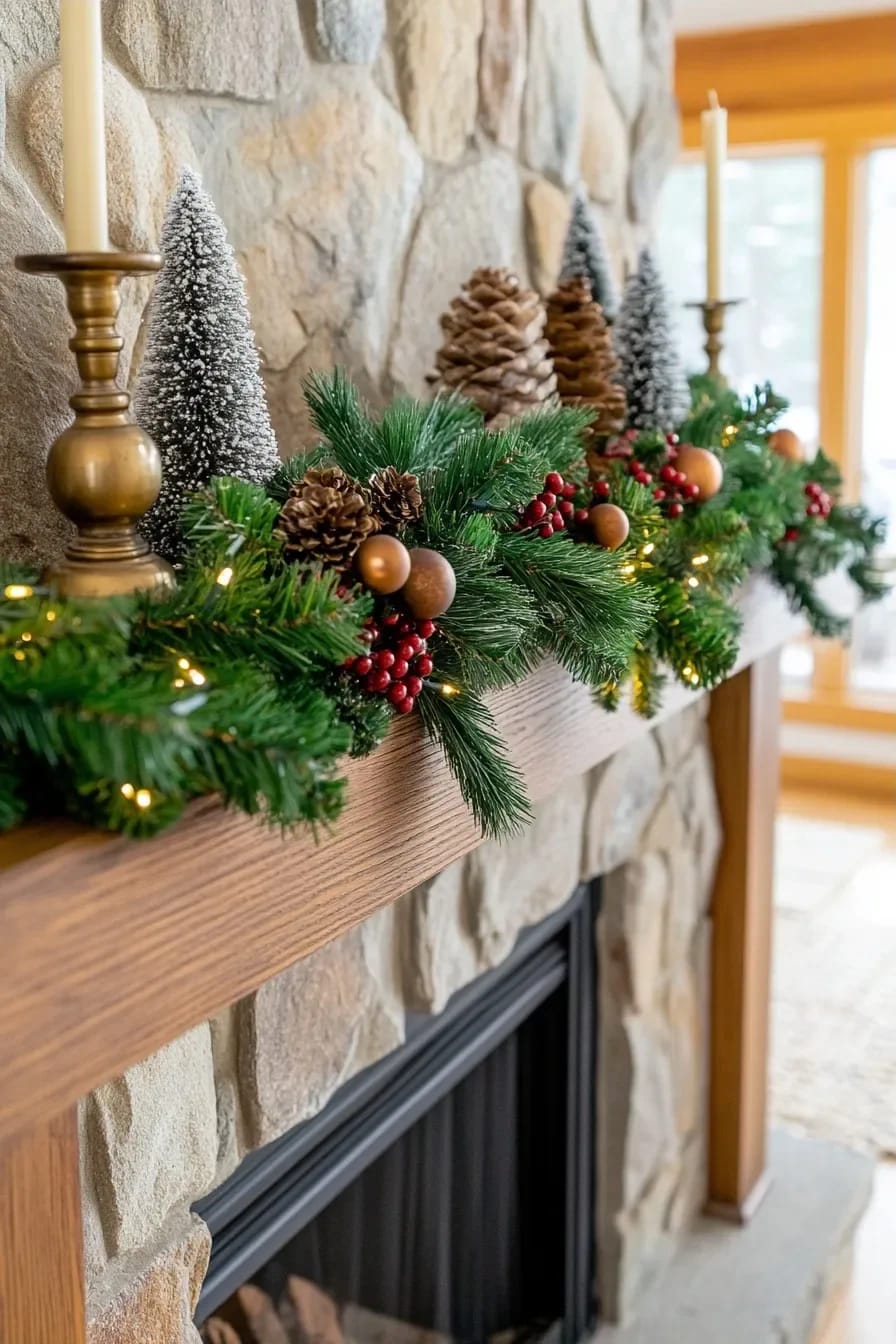
Where bright green sneaks back in is the faux garland aisle. Most inexpensive artificial greenery is molded in one flat, saturated tone that photographs plastic, and no amount of raw wood around it will fix that. If your budget is real greenery for one focal spot and faux everywhere else, put the real stuff where people stand closest and choose the most muted faux you can find for the rest. Pushing the palette even further toward texture over color, with galvanized metal and burlap doing the heavy lifting, is the whole argument of our take on a farmhouse Christmas that skips the red-and-green cliché, and it applies cleanly here.
| Greenery | The green it reads | Texture | How it holds cut |
|---|---|---|---|
| Fraser / balsam fir | Deep blue-green | Soft flat needles, springy | Best of the group; keeps needles for weeks |
| Blue spruce | Silvery blue-green | Stiff, sharp needles | Drops fastest indoors; use where it won’t be brushed |
| Juniper | Blue-grey, nearly charcoal | Spiky with pale berries | Sturdy and slow to fade |
| Southern magnolia | Dark glossy green, brown reverse | Leathery, broad leaves | Lasts longest; dries in place and stays usable |
| Seeded eucalyptus | Muted grey-green | Matte, soft, drapes | Not truly dark, but reads quiet; dries well |
 23 Woodsy Christmas Decor Ideas for a Rustic, Cabin-Cozy Holiday If you’d rather lean warm and cabin-cozy with birch, pinecones, and moss than go moody, this is the softer take on the same materials.
3. Layer the mantel garland against bare wood and weight the ends
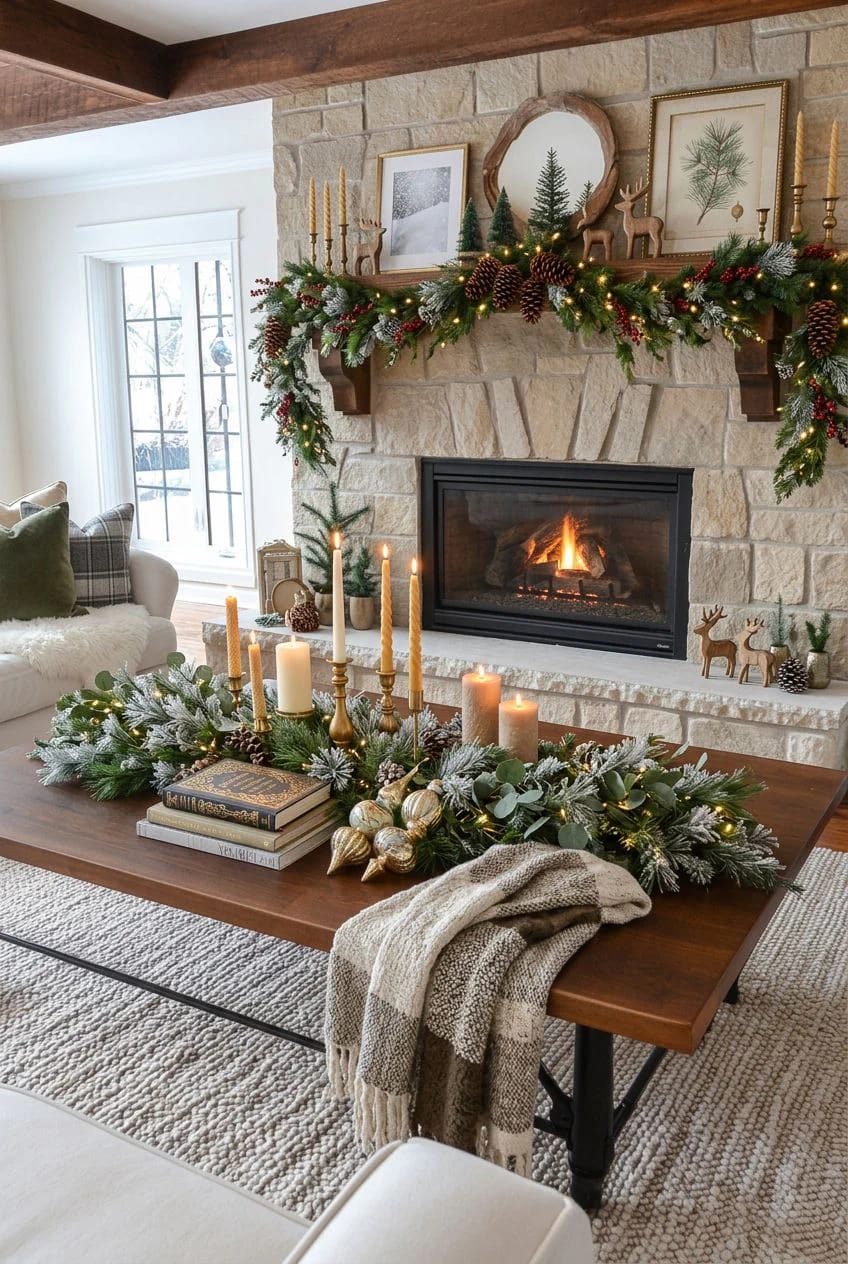
A mantel is where the dark-greenery-on-raw-wood idea pays off hardest, and also where it fails most often, usually because the garland is a single thin strand laid flat across the shelf. The fix is volume and weight, not more decoration. Build it up, drape it with intent, and give the ends something to hang against so the whole thing stops sliding by December 15th.
The two-pass garland
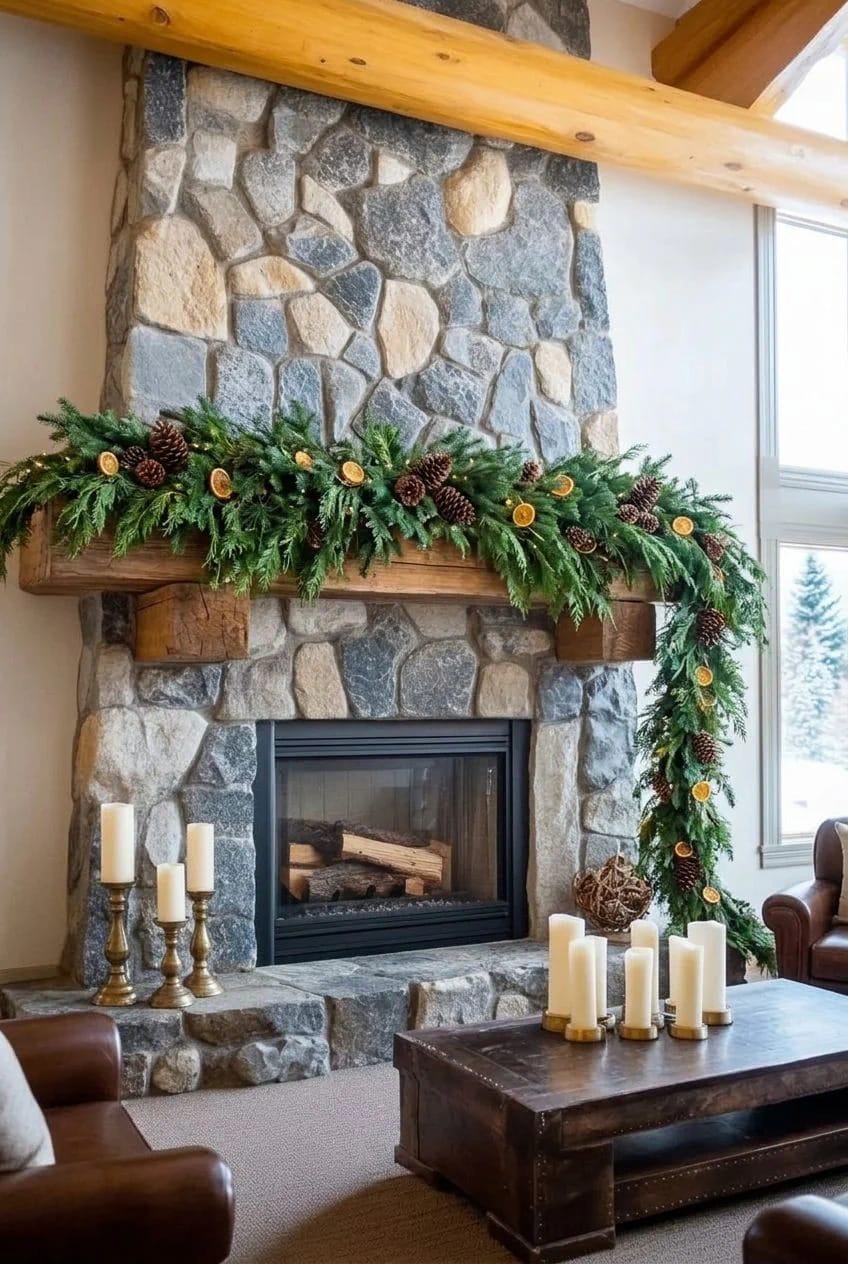
Run one base layer of fir along the whole beam, then a second, shorter pass of a contrasting green, juniper or magnolia, on top of the first two-thirds only. The doubling reads full where the eye lands and thins out where it doesn't need to be full, which is more convincing than an even rope the whole length. Let the raw beam show at the back so the wood stays part of the picture instead of being buried.
Anchoring the ends
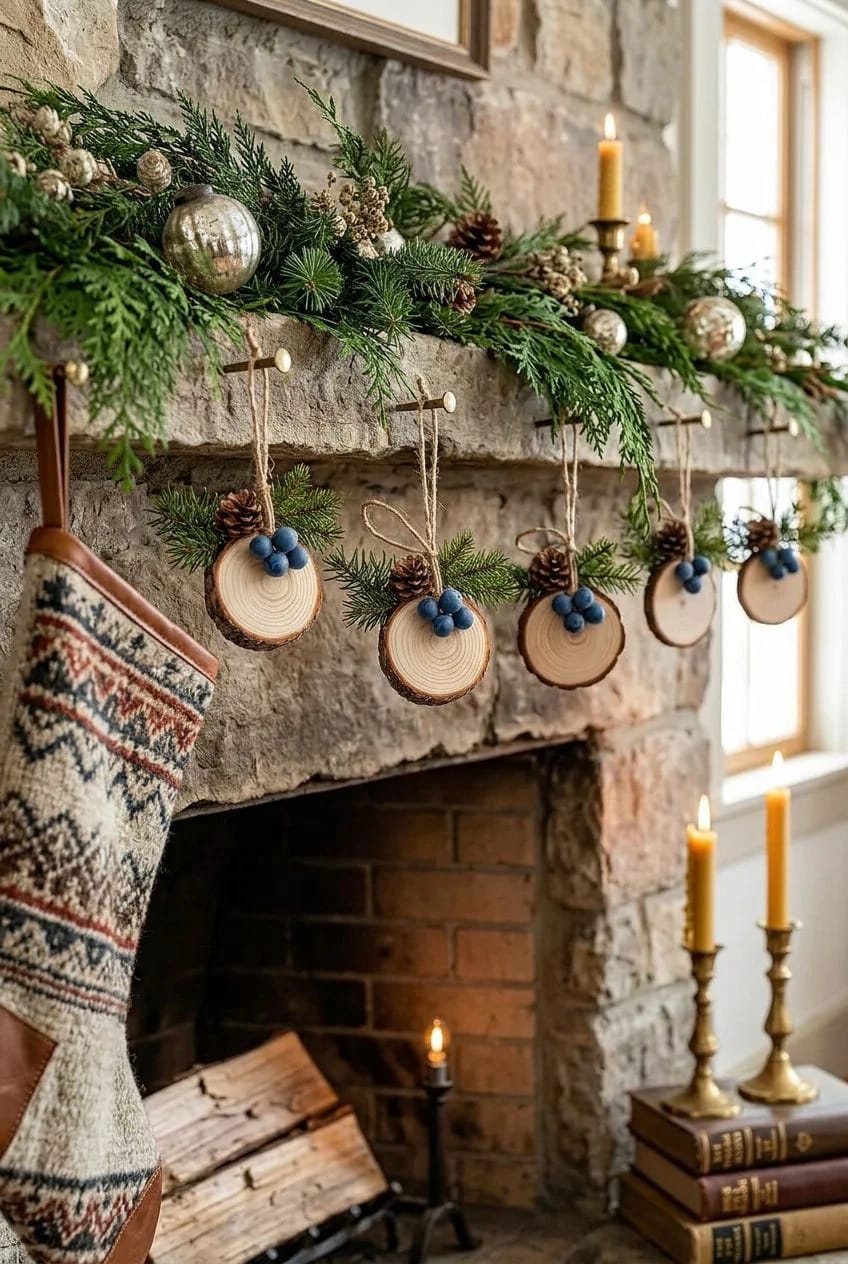
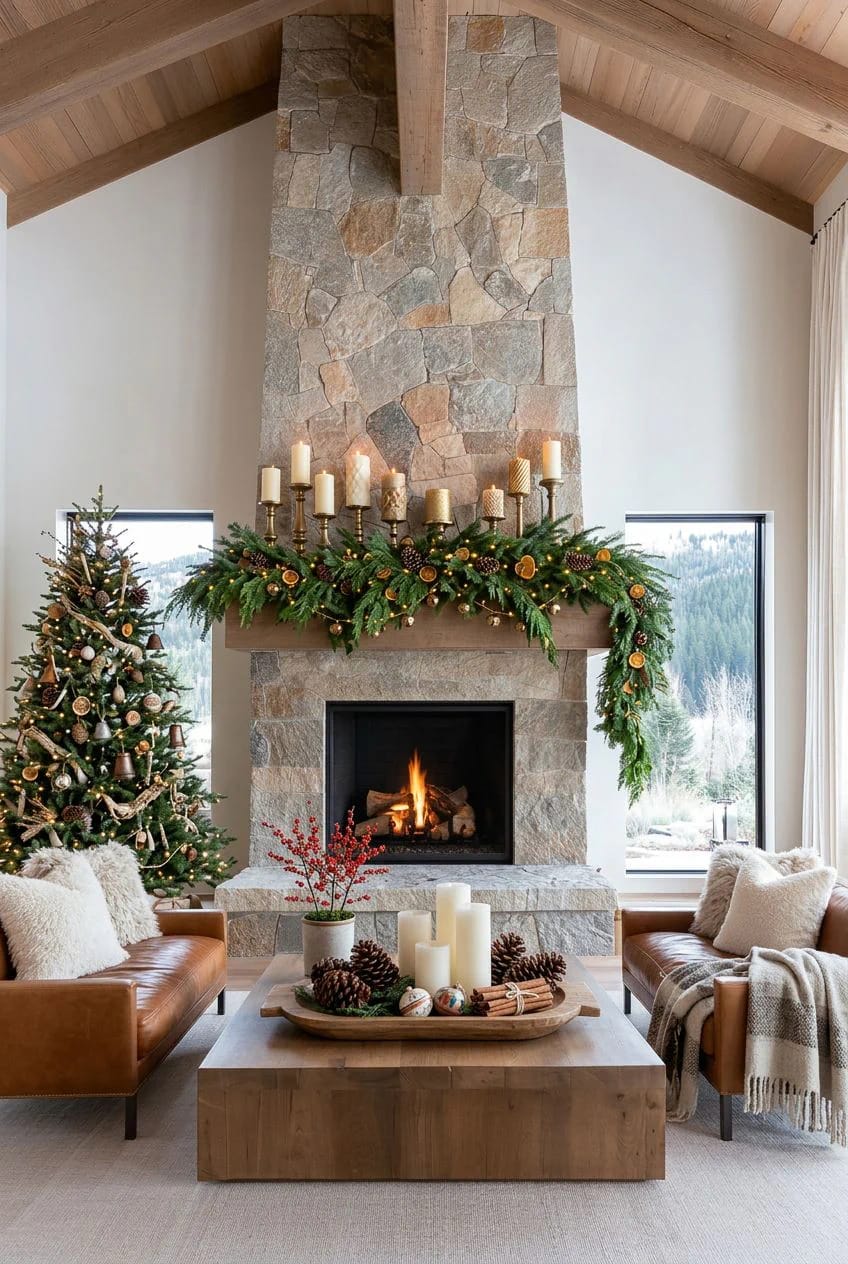
The candle cluster on the left does a job beyond looking good: it visually pins the garland down so the swag reads deliberate rather than draped-on. A heavy wood slice or a squat log round at the opposite end does the same. There are more of these small designer moves, the underneath layer, the drape, the restraint to leave things off, in our guide to Christmas mantel garland that looks designed instead of draped-on.
Do this
- Layer in two passes so the garland reads full where it matters and thin where it doesn’t.
- Weight both ends. A candle cluster on one side, a log round or wood slice on the other.
- Leave a third of the beam bare so the raw wood stays in the composition.
Avoid
- One flat strand laid across the shelf.
- Matching every element to a single green.
- Thin metal stocking hooks that show; hang from the back edge or use wood pegs.
4. Trim the tree with wood-slice ornaments and leave the branches open
Skip the fully-loaded tree. The rustic-and-dark version wants gaps, because the dark interior of the branches is part of the color story, and because sparse hanging is what lets a wood ornament actually register instead of disappearing into a wall of baubles. Birch slices, small carved stars, spun-cotton mushrooms, a few brass bells, hung with real space between them.
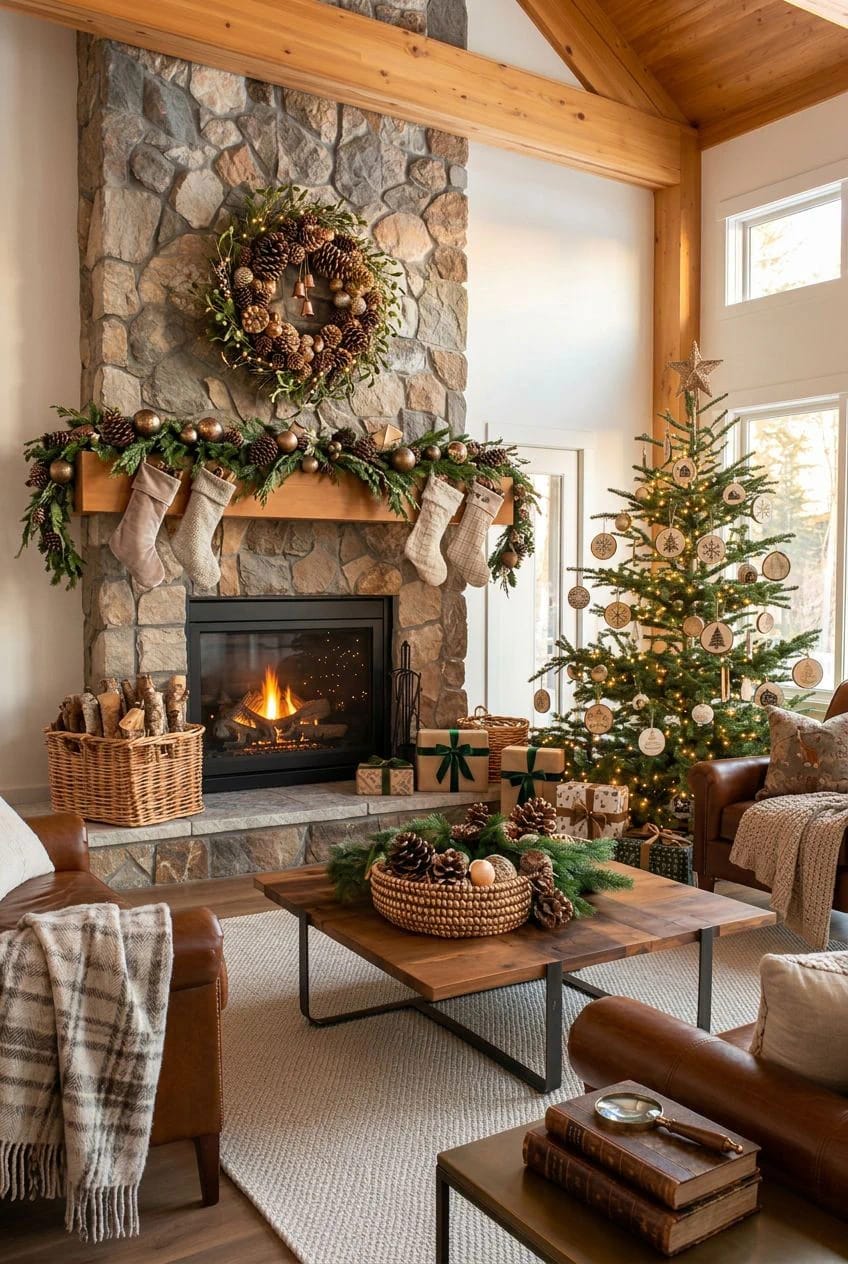
The catch with wood ornaments is that a lot of them look like a school craft project, all uneven burn-marks and lopsided twine. The ones that hold up are cut clean, sanded, and drilled straight, and they lean on the wood grain itself rather than paint. We rounded up the ones worth hanging, and a few worth making, in our list of wooden Christmas ornament ideas. Keep the lights warm white on copper wire; cool blue-white lights flip the whole tree from forest to hospital.
5. Turn firewood and bark into the decoration
Firewood is the material sitting in plain sight that nobody thinks to style. Split logs with the bark still on carry exactly the grey, papery, matte texture this look is built from, and they cost nothing if you burn wood anyway. Two ways to use them, both better than they sound.
Bark-on log candleholders
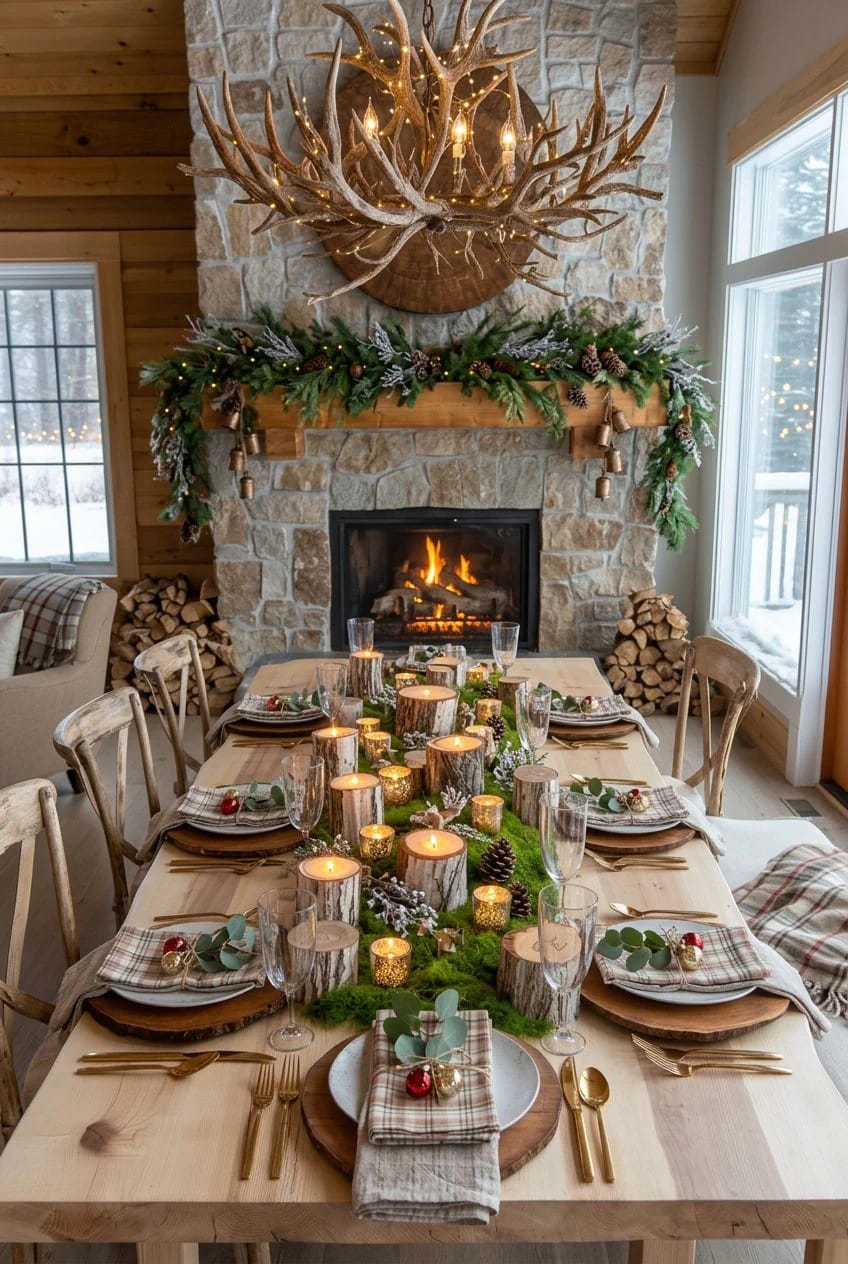
Drill a taper-sized hole into the flat cut end of a log round and you have a candleholder that looks like it cost forty dollars at a boutique and actually cost a drill bit. Birch rounds photograph best because of the white bark against the dark candle, but any bark-on hardwood works. Group three at different heights rather than lining them up.
The firewood stack as a vignette
Stack a small pyramid of split logs on the hearth or in an iron basket, then tuck in a few fir sprigs, a couple of pinecones, and two or three matte brass baubles pushed down between the logs so only their curve shows. That restraint, a few baubles rather than a garland’s worth, is the difference between a decorated stack and a woodpile someone glued ornaments onto. If you want the same log-and-candle logic scaled to the dinner table, our easy DIY Christmas centerpiece ideas cover a few that start from exactly these materials.
6. Build one raw-wood entry vignette instead of scattering pieces
Concentrate, don't scatter. The instinct with a new palette is to put a little of it everywhere, which leaves every room looking half-finished. One tight, considered vignette on the entry console does more than the same amount of greenery spread thin across four surfaces, and the entry is where guests form their first read of the whole house anyway.
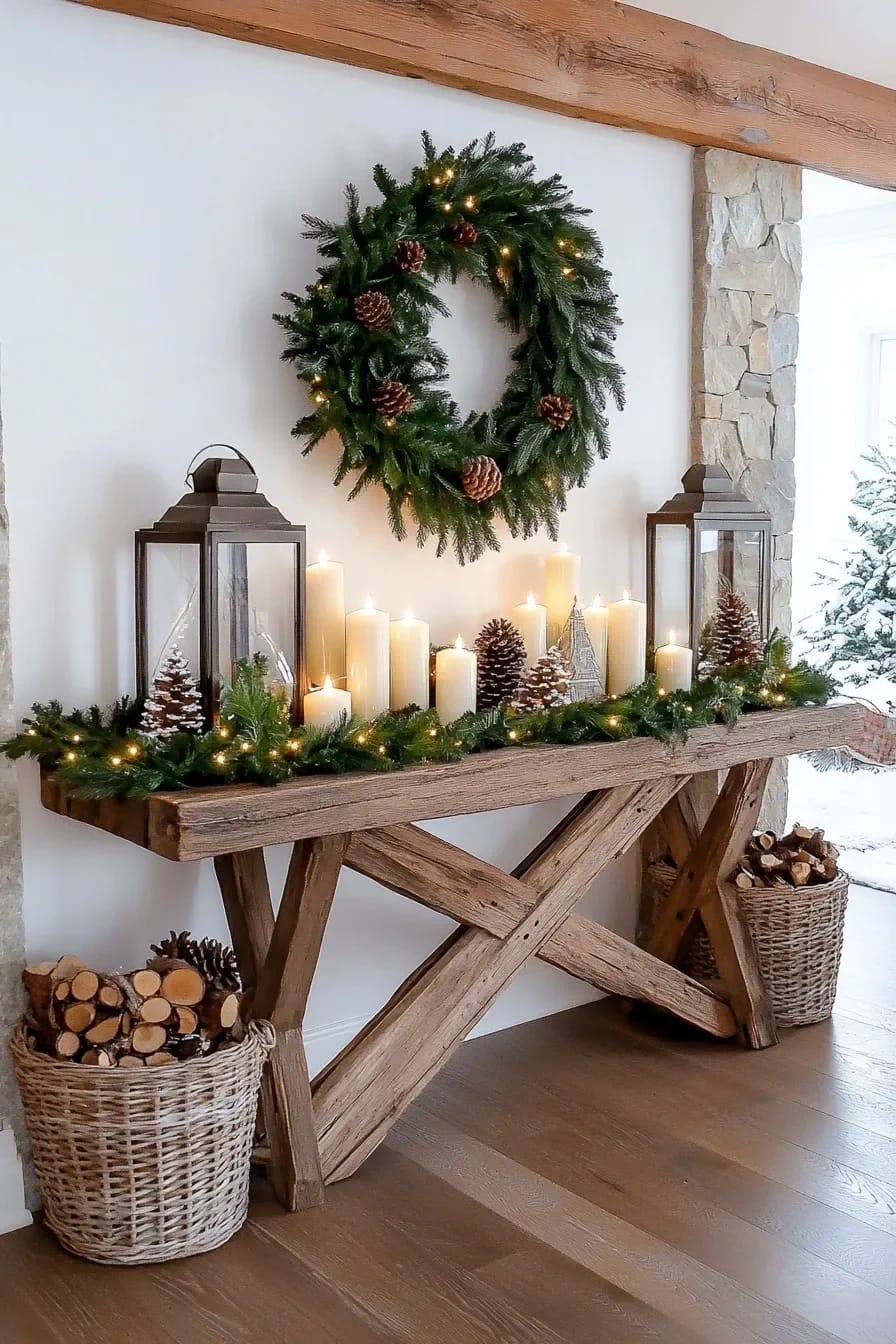
Work in a triangle: something tall at the back, the candle cluster at mid-height, the low dough bowl in front, with a stack of crates on the floor beside the console to extend the arrangement downward. Keep the candles ganged together at staggered heights rather than spaced evenly, which is the grouping trick that makes even three cheap pillars read intentional. That clustering principle, and why evenly-spaced candles always look weaker, gets the full treatment in our notes on Christmas displays that actually hold up all season.
A 40-inch entry console
Narrow hall, one console, roughly $30 to $50 in greenery and candles if you forage nothing
On a console this size, resist filling the width. Anchor the left with a foraged fir-and-juniper bundle standing in a dough bowl or a stoneware crock, about 18 inches tall so it clears eye level when you walk in. Set three cream pillar candles just right of it on a wood-slice tray, tallest at the back. Slide two raw crates onto the floor at the console’s left leg, one holding a rolled wool throw. Leave the right foot of the console bare except for a single pinecone or a stray sprig, because the empty stretch is what signals restraint rather than a surface you ran out of things to fill.
7. Take the dark evergreens and raw planters out to the porch
Run the same two materials outside and the front of the house finally matches the inside. Raw cedar planter boxes packed with dark fir, juniper, and a few upright magnolia branches read far more considered than the usual inflatable-and-net-light clutter, and cedar weathers to a soft grey that only improves the look over a couple of winters.
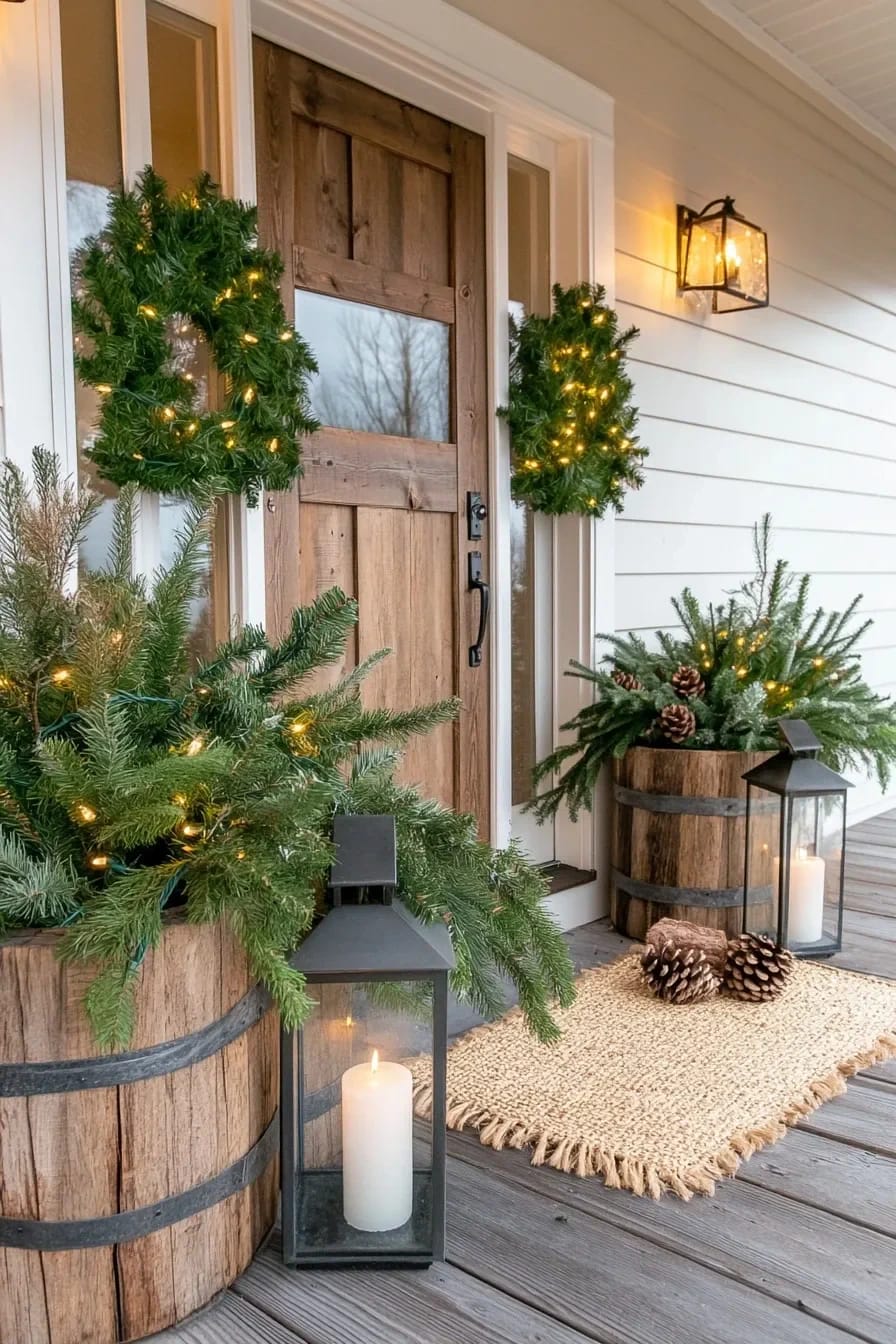
The honest catch outdoors is that fresh greenery browns, and it browns faster in a heated doorway or full afternoon sun than most people expect. Juniper and magnolia hold up longest; blue spruce is the first to go crisp. Buy the greenery late, keep the boxes out of direct sun where you can, and accept that a real evergreen display is a three-to-five-week thing, not a set-it-in-November move.
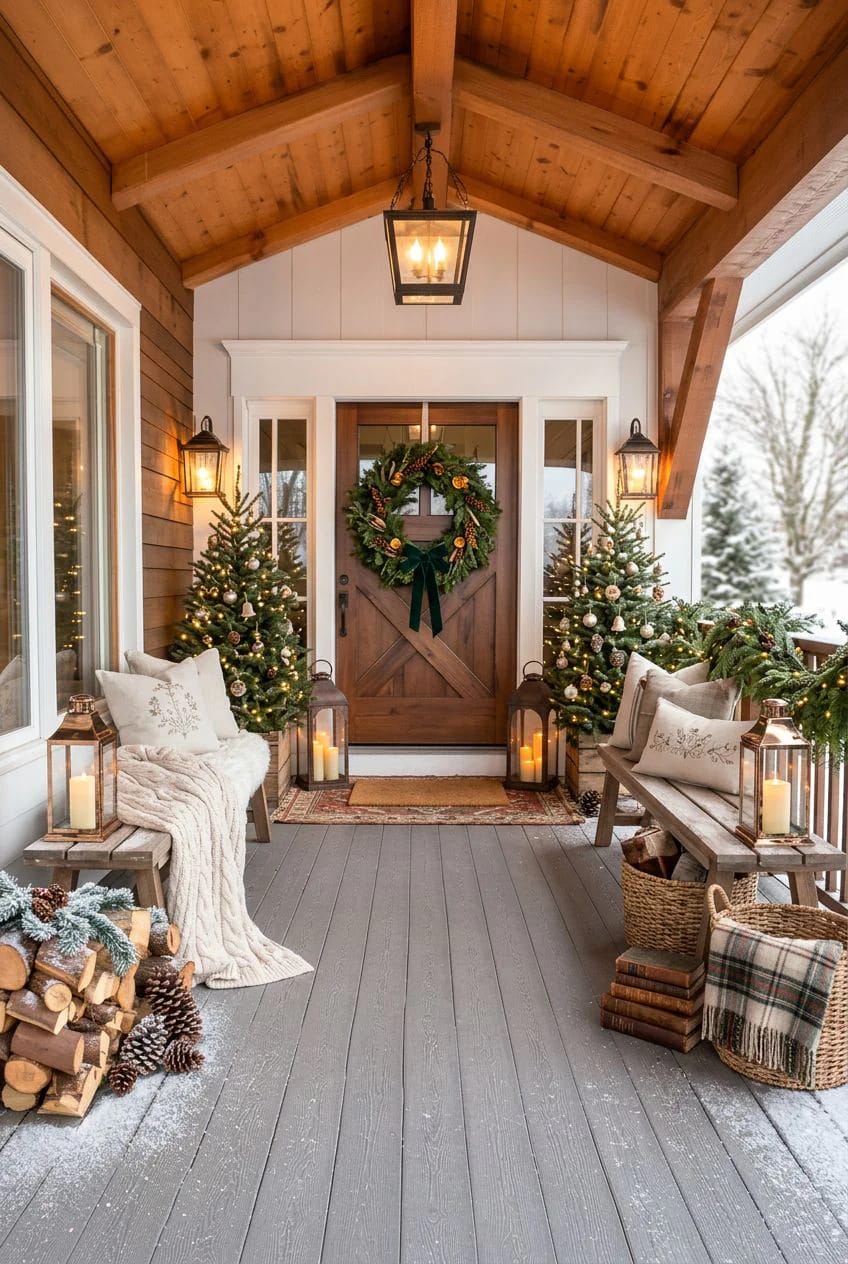
 Front Door Christmas Decorations With Fresh Greenery: 11 Ideas That Look Intentional and Last the Season Eleven front-door setups built around fresh greenery, with the browning problem planned around rather than ignored.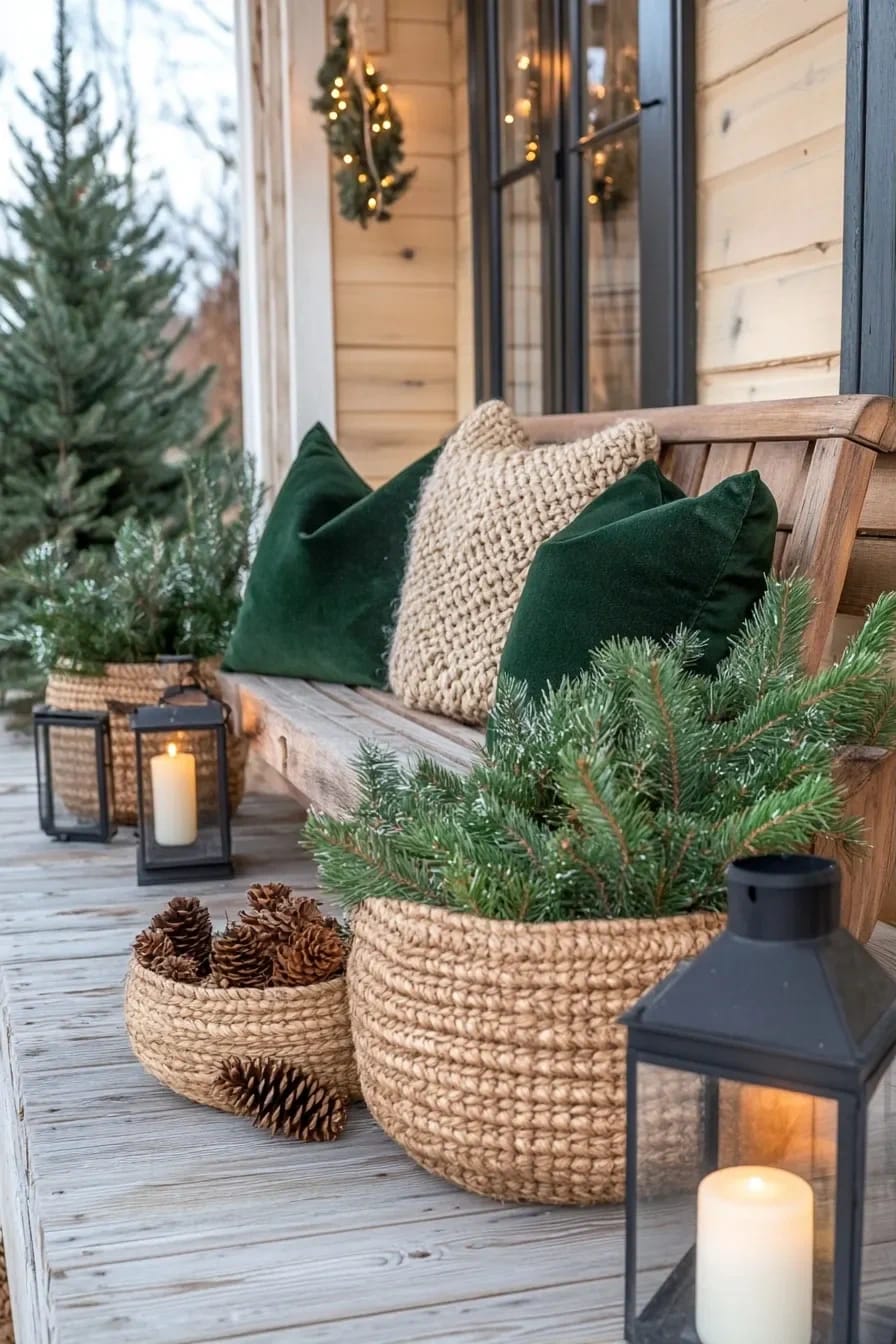
If you're only doing two things
Do the crates and the greenery first, in that order. The stacked raw crates give you the levels that make everything else look staged rather than dumped, and getting the dark fir-and-juniper palette right is what keeps the whole thing from sliding into bright, generic country-Christmas. Nail those two and the mantel, the tree, and the porch mostly follow, because they are the same two materials repeated in different spots.
The one place to spend a little money rather than forage is candles, since cheap dye-streaked pillars undo a lot of careful texture work. Everything else here rewards the free option: the logs from the woodpile, the crates from the garage, the juniper clipped from the yard. Save the frosted magnolia and the fresh porch greenery for last, because those are the pieces on a three-week clock, and there's no reason to start that clock in November.
Related Posts
- 23 Woodsy Christmas Decor Ideas for a Rustic, Cabin-Cozy Holiday
- 23 Woodsy Christmas Décor Ideas for Your Rustic Farmhouse
- 31 Rustic Farmhouse Christmas Decor Ideas For A Cozy Holiday
- Farmhouse Christmas Decor: 12 Ideas That Skip the Red-and-Green Cliché
- Farmhouse Christmas Mantel Decorating Ideas That Skip the Store-Bought Look
- 31 Unique Rustic Christmas Decorations for a Warm Winter Home