
Most budget Christmas kitchen guides open by telling you to buy something, usually a themed bundle of faux greenery plus a mini tree for every counter. Skip that. The kitchen is the one room where decor competes with actual work, and the cheapest, best-looking version leans on things you already own, one roll of ribbon, and maybe fifteen dollars of lights. The nine ideas below are ordered roughly by return per dollar, and the first one costs nothing if your linen drawer cooperates.
A note on scope before you scroll: this is a renter-and-small-kitchen budget, not a magazine remodel. That shapes the calls throughout, command hooks over nails, battery lights over hardwired strips, faux where fresh would wilt against the heat. Do them in order if you like; textiles and lights are a single evening, the fussier projects can wait for a slow weekend.

1. Swap the kitchen textiles first: towels, a runner, one pot holder

Fabric is the highest return you can buy, because it recolors the whole room for the price of a coffee. Pull the everyday towels, drape a striped or red-and-white checked runner down the island, and hang one matching pot holder where it shows. My one rule here: cotton or linen, never the slick polyester "holiday" towels, which read plasticky under kitchen light and never take a crease. Thrift stores and dollar-store seasonal aisles are full of them for a dollar or two; HomeGoods clearance racks after the first week of December are better still.
In a small kitchen, restraint is the whole trick. Two towels and a runner in the same two colors will do more than a dozen mismatched pieces, and a tight red-and-cream palette photographs as intentional rather than cluttered.

2. Tuck warm battery string lights under the upper cabinets
Warm light does the emotional heavy lifting, and battery fairy lights are the cheapest way in. Run a thin copper-wire strand along the underside of your upper cabinets so it grazes the backsplash instead of pointing at anyone's eyes, and pick warm white (about 2700K) over the blue-white strands, which turn a kitchen morgue-cold. Look for a set with a built-in timer so it clicks on at dusk without you thinking about it; those run roughly $8 to $15.


3. Build a countertop Christmas tree from cookie cutters and wooden spoons
A small tree belongs on a kitchen counter, but you don't have to buy an ornamented one; you can build a two-foot version out of the utensils already in your crock. Start with a cone (a cheap foam craft cone, or stack two wire cooling racks into a rough triangle) and work outward: stainless cookie cutters hung on short loops of baker's twine, wooden spoons and a whisk poking out like branches, a few red-and-white ornaments to fill the gaps. It photographs like a clever idea and costs whatever the cone did.

The one non-obvious step is anchoring. Loose utensils slump and read as a pile of dishes, so pin each piece to the cone with a floral U-pin or a twist of green wire before you add the next, working bottom to top. Group the shiny metal on one side and the wooden pieces on the other so the eye has somewhere to rest.
4. Wired ribbon bows beat the pre-made bow packs on cost
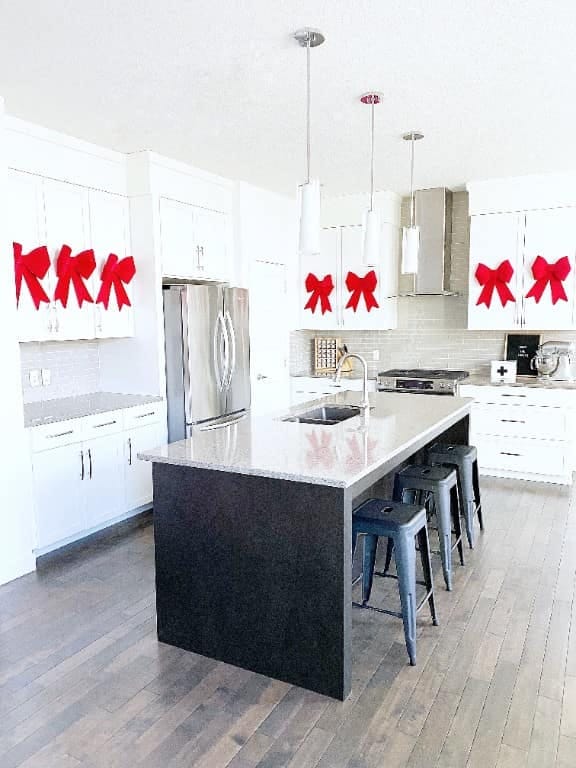
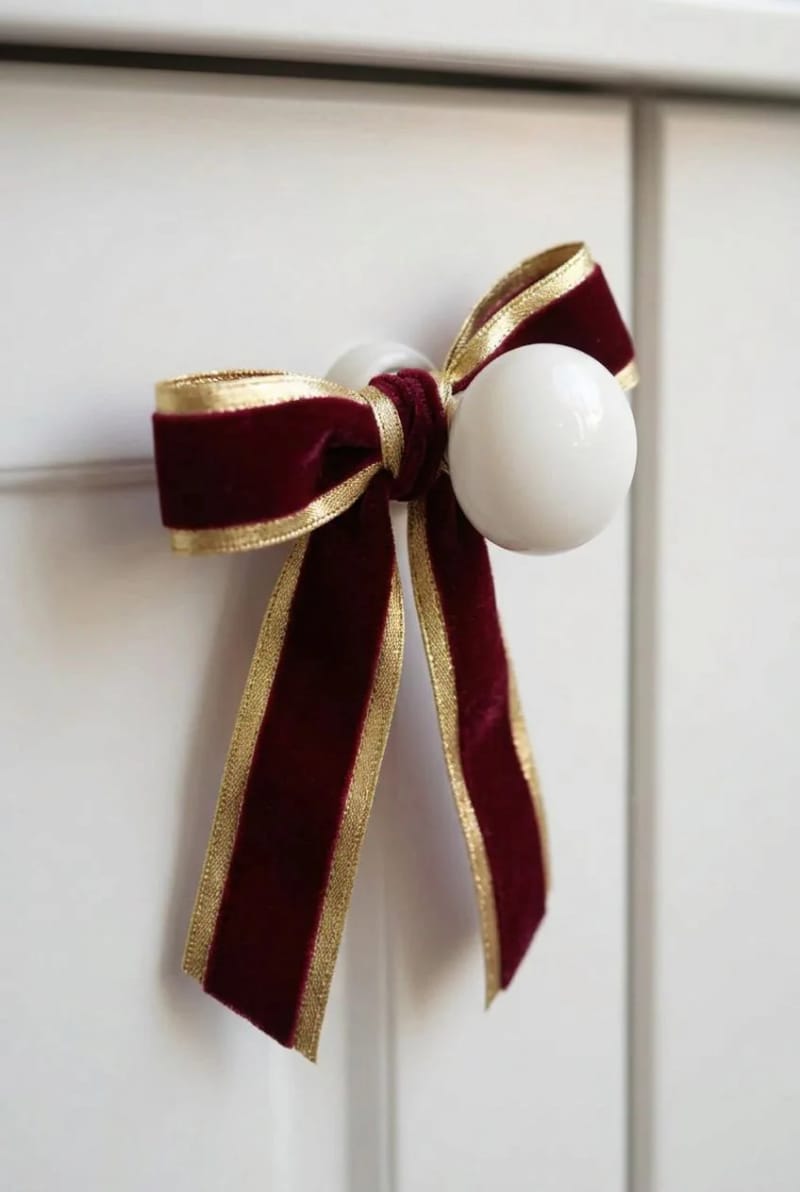
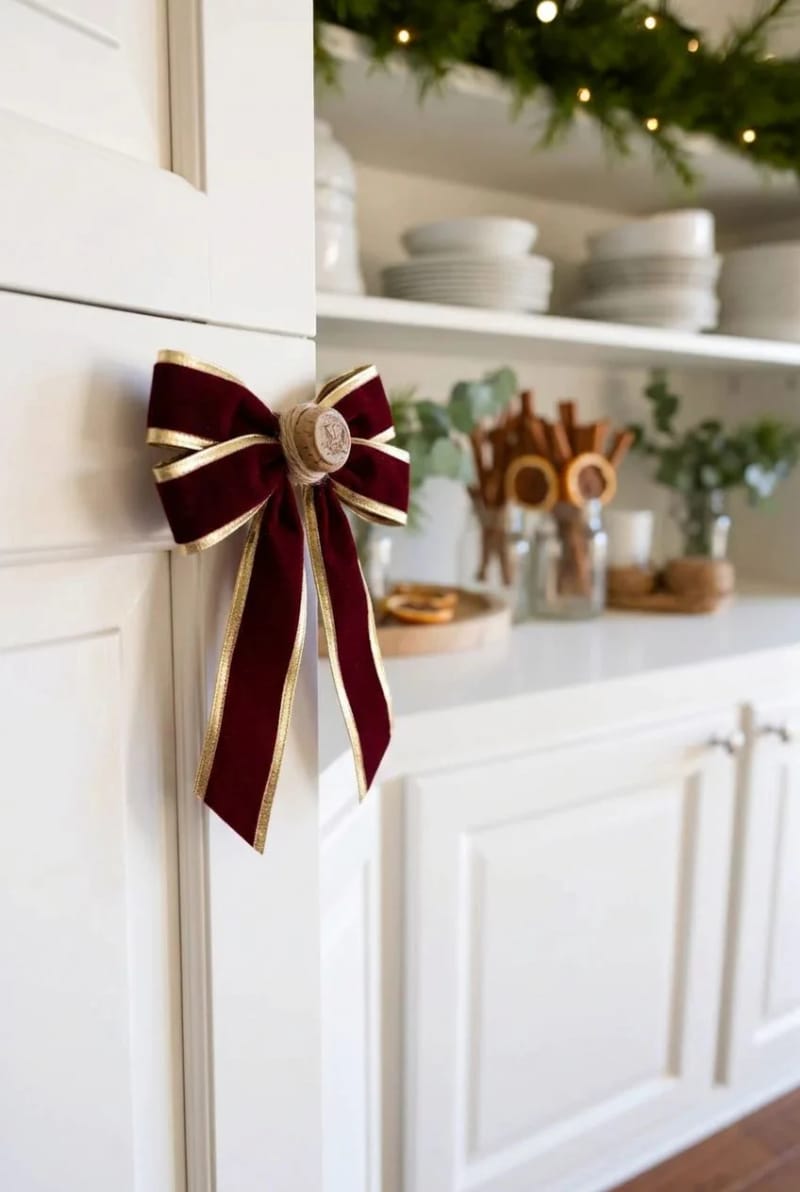
Bows on the cabinet fronts are the look that runs Pinterest right now, and the cheapest way to get there is one roll of wired ribbon, not a bag of pre-made bows. A 20-to-25-yard roll of 4-inch wired ribbon runs about $12 to $25 and yields eight to ten full cabinet bows; the packaged bows cost roughly the same for four or five, and they arrive flat and sad. Wired edge is the part that matters. It lets you fluff the loops so they hold a shape, where limp polyester satin just flops against the door and reads cheap in every photo.
Attach them without wrecking a rental: loop each bow onto the knob with a twist tie or a scrap of the same ribbon, or press a clear command hook where a knob is missing. Skip adhesive tape on painted cabinet fronts entirely.
A wired velvet roll fluffs into bows that hold their loops, and one roll covers a whole galley of cabinets for the price of a four-pack of pre-mades.

5. Style a Christmas centerpiece on a tray you can lift off the island
The island wants one arrangement, and it should sit on a tray so dinner doesn't have to fight it. Use a wooden board or a thrifted metal tray you already own, then pile in what you have: a cluster of ornaments in two colors, a pillar candle or two, a handful of greenery clippings, maybe a bowl of clementines for the red. When it's time to cook or eat, you lift the whole thing off in one motion and set it on the counter.

6. Turn the coffee corner into a Christmas cocoa station

If you already keep a coffee corner, you're most of the way to a cocoa station and it costs nothing but rearranging. Clear a small tray and set out the pieces you own: a jar of cocoa, a bowl of mini marshmallows, a mug or two, candy canes standing in a glass for stirrers, a tin of cinnamon. It gives the counter a job for the season, and it's the rare decor that guests actually use.

7. Frame the sink window with garland, not a lonely wreath
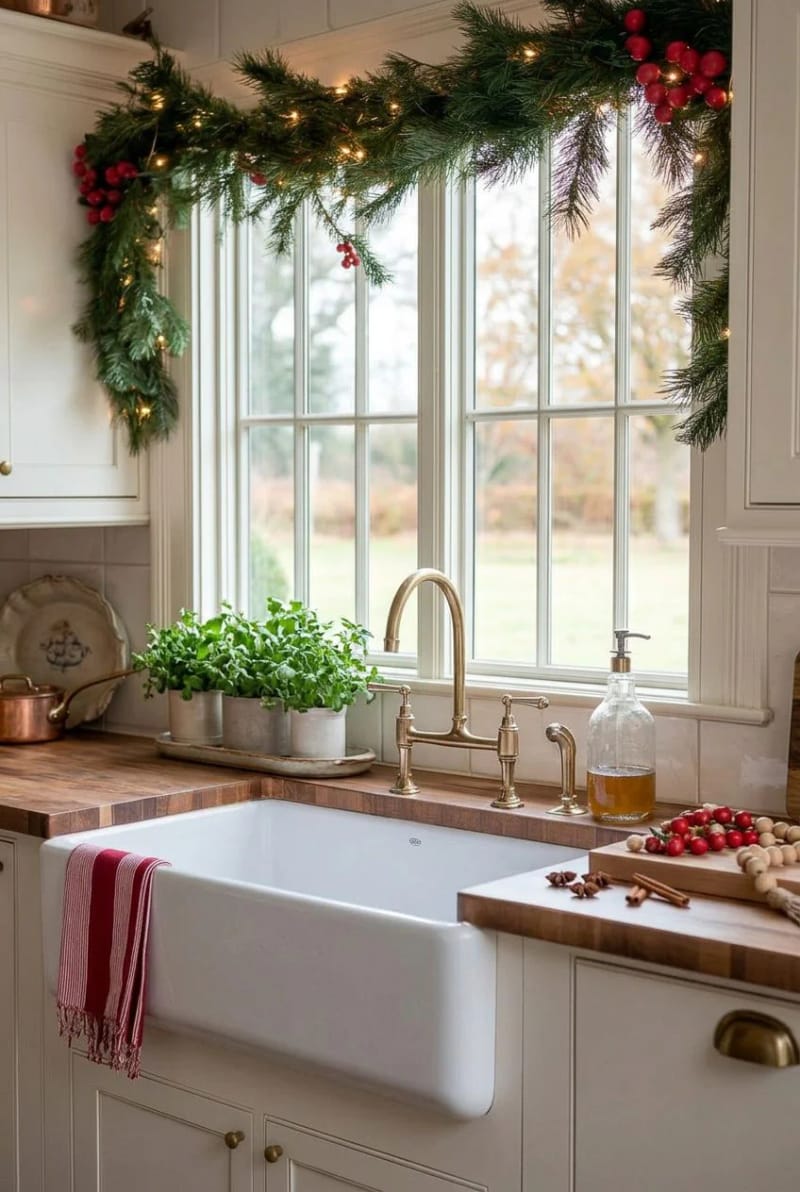
A single wreath stuck on a window looks like an afterthought; a garland swagged across the top frames the view and reads finished. Fresh cedar runs about $25 to $40 for a 20-foot length and smells like the season for a couple of weeks, while a faux equivalent from a craft store is $8 to $15 and comes back every year, especially if you grab it in the after-Christmas markdowns. Hang it on clear command hooks so you leave no marks in a rental.
Keep fresh greens away from the cooktop and off any surface near a heat vent or open flame. Suppliers who ship fresh cedar all warn the same thing: heat dries the needles fast, drops the fragrance, and turns a swag into a brittle fire risk within days. Just as important, don’t let garland or a tray creep into the path between sink, stove, and fridge; if you’re reaching around your decor to cook, it comes down.
8. A glass jar of candy canes is the cheapest red-and-white you can buy
For a few dollars, candy canes give you a hit of graphic red-and-white that most decor charges twenty for. Stand a couple of boxes upright in a clear glass jar, a canister, or a mason jar you already have, and set it by the coffee maker or on the tray from idea five. Peppermint discs and striped starlight mints work the same way and photograph as speckled candy through the glass.

Do this
- Use real wrapped candy and clear glass, so the stripes read through the jar.
- Fill to an odd number of visible canes; three loose bunches beat a tidy dozen.
- Swap in fresh boxes when they start to look tacky. Candy near a warm kitchen goes sticky.
Avoid
- Plastic “candy cane” props from the craft aisle, which catch the light wrong and fool no one.
- Matching every red in the room to the canes; one or two touches is the point.
- Parking the jar right next to the stove.
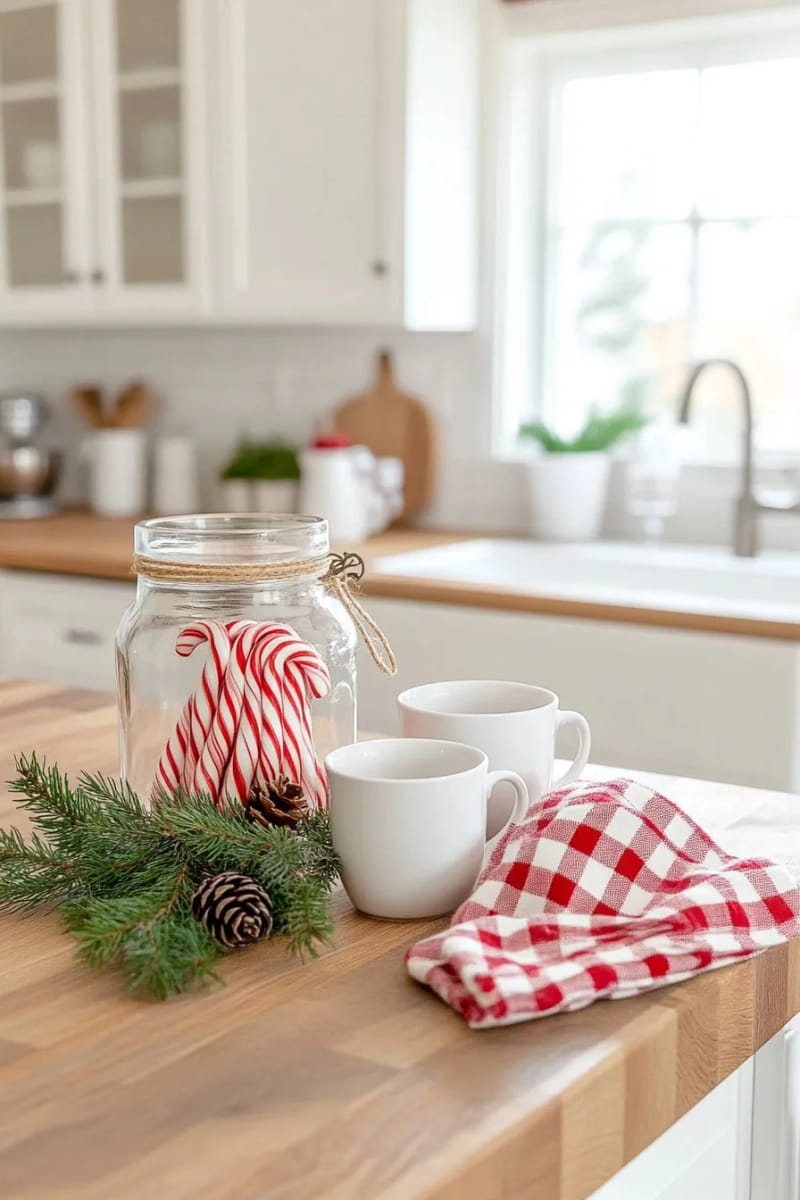
9. Lean gingerbread-brown instead of red-and-green in the kitchen
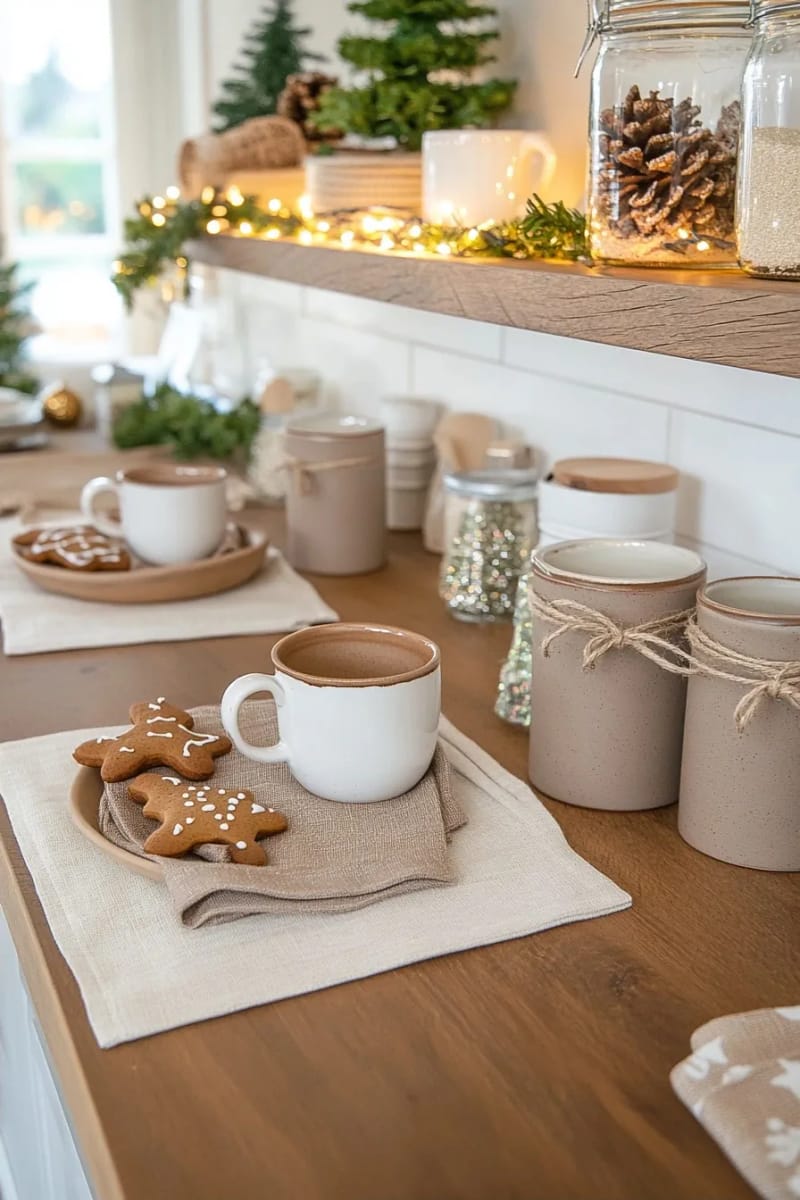
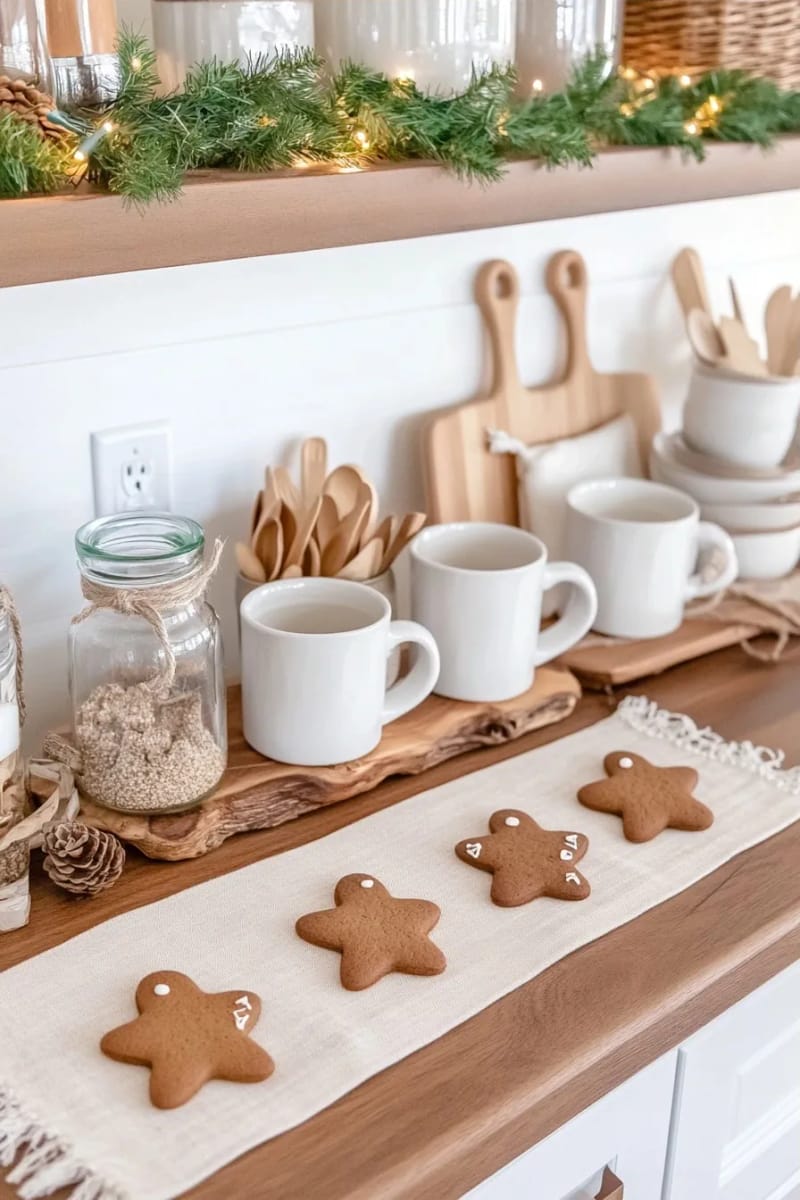
The fastest way to look like every other holiday kitchen is straight red-and-green, and in a room full of stainless and wood it fights everything it touches. Shift the base to warm neutrals instead: cinnamon brown, kraft, cream, the gingerbread family, with a single muted red as the accent rather than the theme. It photographs richer, it hides better against oak cabinets and steel appliances, and it costs the same because you're buying the same towels and ribbon in different colors.
This is the one call I'll argue with you about. The other failure mode is the all-white flocked look, the Pottery Barn catalog version, which lands like a hotel lobby the second it meets a real kitchen with dish soap and a toaster on the counter. Warm brown grounds the room; it also forgives the clutter of a space that actually gets used, which white never will. If you own nothing brown, start with kraft-paper gift tags, a burlap runner, and cinnamon-stick bundles tied with twine, and let the red you already have carry the rest.
One kitchen, a starter kit around $35
A small galley or apartment kitchen, decorated from scratch with nothing on hand but a tray, a jar, and the utensil crock.
Every idea above that needs a container leans on things you already own, so the cash goes to the five pieces you don’t. Buy the cheapest honest version of each, skip the fresh cedar for faux, and the whole kitchen lands near the low end below.
Shopping list
| Qty | Item | Spec | Price |
|---|---|---|---|
| 2 | Cotton tea towels | Red-and-white check or stripe | $4 to $8 |
| 1 | Wired ribbon roll | 4-inch, cotton or grosgrain, ~20 yd | $12 to $18 |
| 1 | Battery fairy lights | Warm white, timer, copper wire | $8 to $15 |
| 2 | Candy canes | Standard boxes for the jar | $2 to $4 |
| 1 | Faux garland | ~9 ft, for the sink window | $8 to $12 |
| Total | $34 to $57 | ||
Prices are approximate ranges as of the 2025 holiday season; verify before purchase.
Conclusion
If you want a running order: do the textiles and the under-cabinet lights in one evening, because together they carry most of the effect for almost none of the money. Tie the ribbon bows and stage the movable tray the next weekend, and leave the utensil tree for a night you're bored, since it's the one project that rewards fiddling. The garland and the candy-cane jar slot in whenever, and the palette decision from idea nine quietly governs all of it.
The one place not to cheap out is the ribbon. Everything else here forgives a dollar-store version, but limp polyester satin is the single thing that will make the whole kitchen read cheap no matter how carefully you tied it. Spend the twelve dollars on a wired roll and let the candy canes be the two-dollar part.