
The difference between a workshop studio that gets used and one that quietly turns into storage is almost never the tools. It is the floor plan, the air, and whether you can reach a chisel without moving three other things first. What follows is thirteen decisions worth settling before you buy a single cabinet, drawn from how woodworkers, potters, printmakers and painters actually arrange a working room.
Some of this assumes a detached building. Plenty of it works in a 12-by-20 garage bay or one end of a basement. Where a decision only makes sense above a certain size or budget, I have said so rather than pretending the same layout scales down politely.

Put the workbench in the middle of the workshop, not against the wall
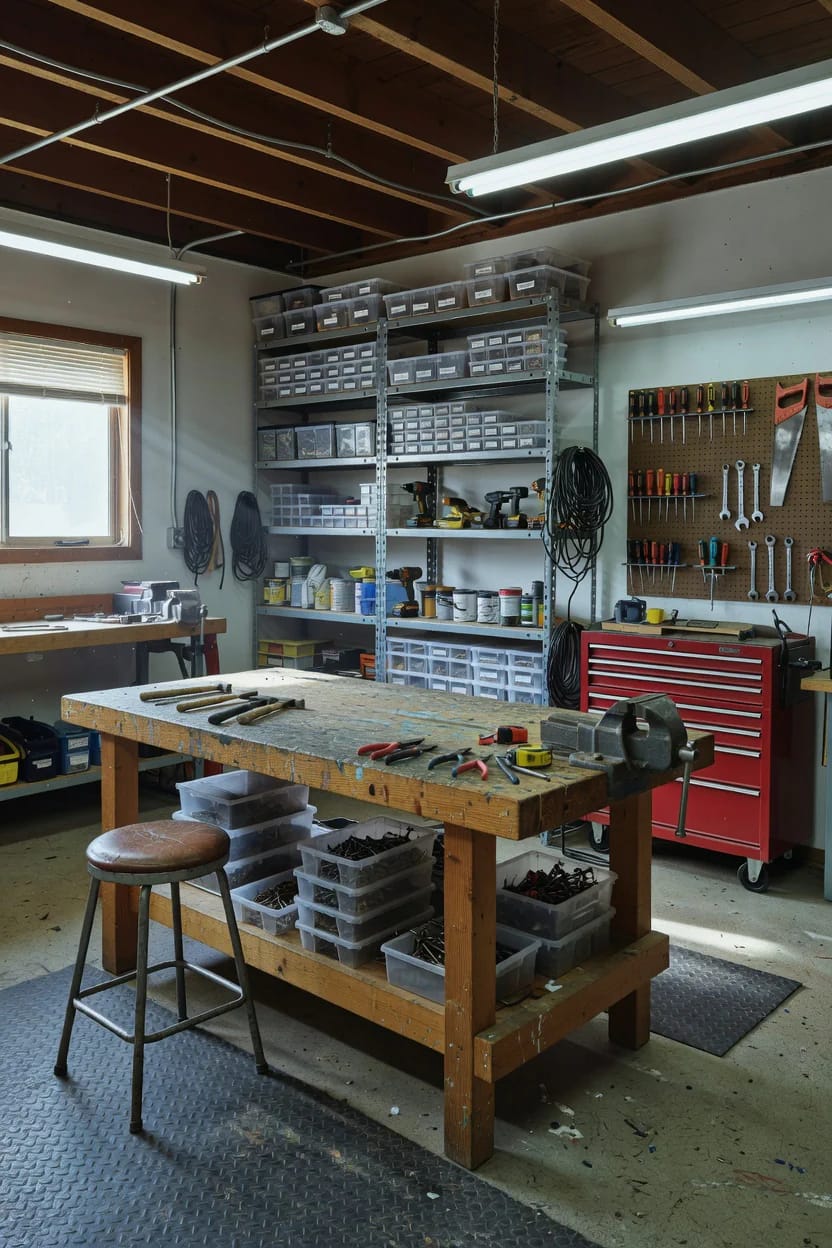
A bench pushed against a wall gives you one working edge. Pull it into the room and you get four, which is the whole argument: you can clamp from the far side, walk around an assembly instead of rotating it, and stop a long board from smashing a window every time you pivot. Leave 24 to 30 inches of clear floor on at least three sides, more on whichever side faces the door.
Granted, this only works if the short dimension of the room is about ten feet or more. Below that, an island bench turns the studio into a corridor and you spend the day sidestepping. In a narrow space, put the bench on the long wall but keep a three-inch overhang on the front edge so clamp heads have somewhere to go, which is the single most useful thing a wall bench can offer.
Bench height gets argued about more than it deserves. Measure from the floor to your wrist bone with your arm hanging: that lands most people between 34 and 38 inches, and hand-tool users often go lower while assembly work goes higher. If you are building one bench for everything, err high and make a low platform to stand on for planing.
A backyard shed makes a better workshop studio than the spare bedroom
Move the noise and the dust out of the house. That is the entire case for the outbuilding, and it is a stronger one than square footage: a detached workshop studio means you can run a router at nine in the evening, leave a half-finished glue-up clamped on the bench for four days, and walk away from a mess instead of tidying it because someone needs the room.
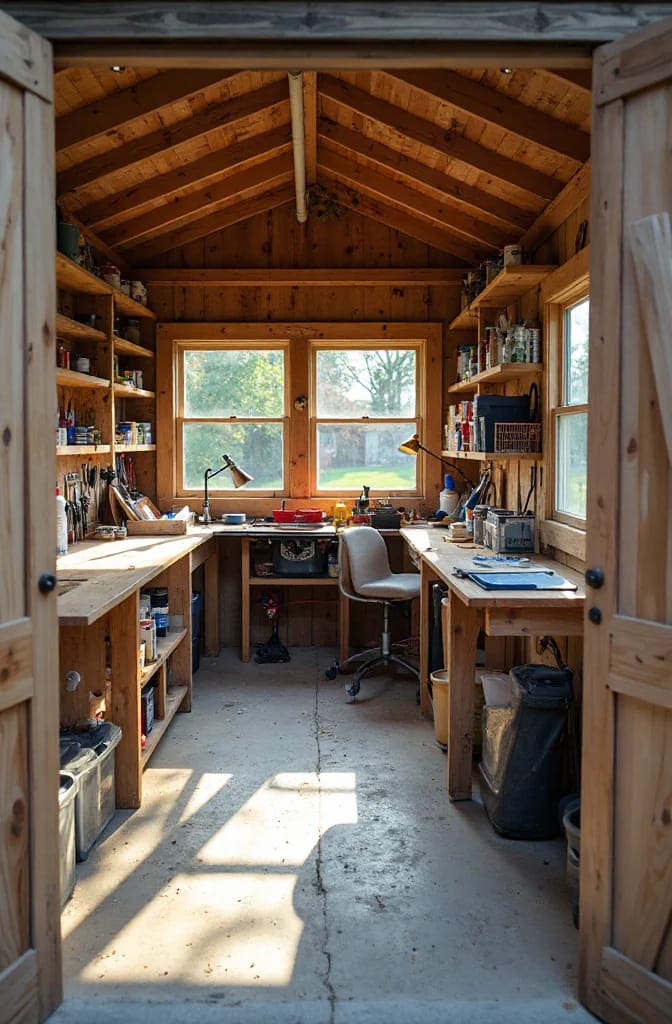
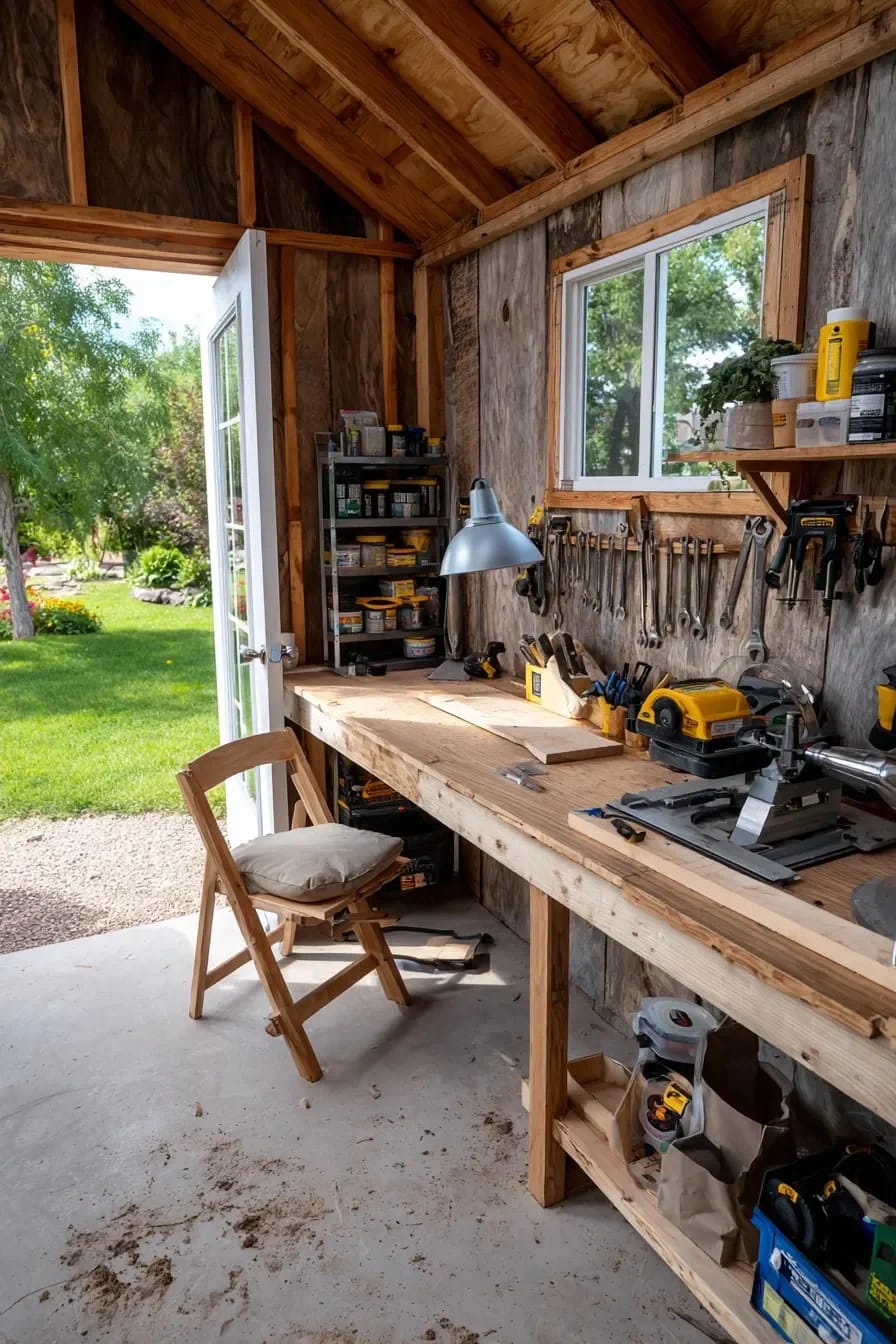
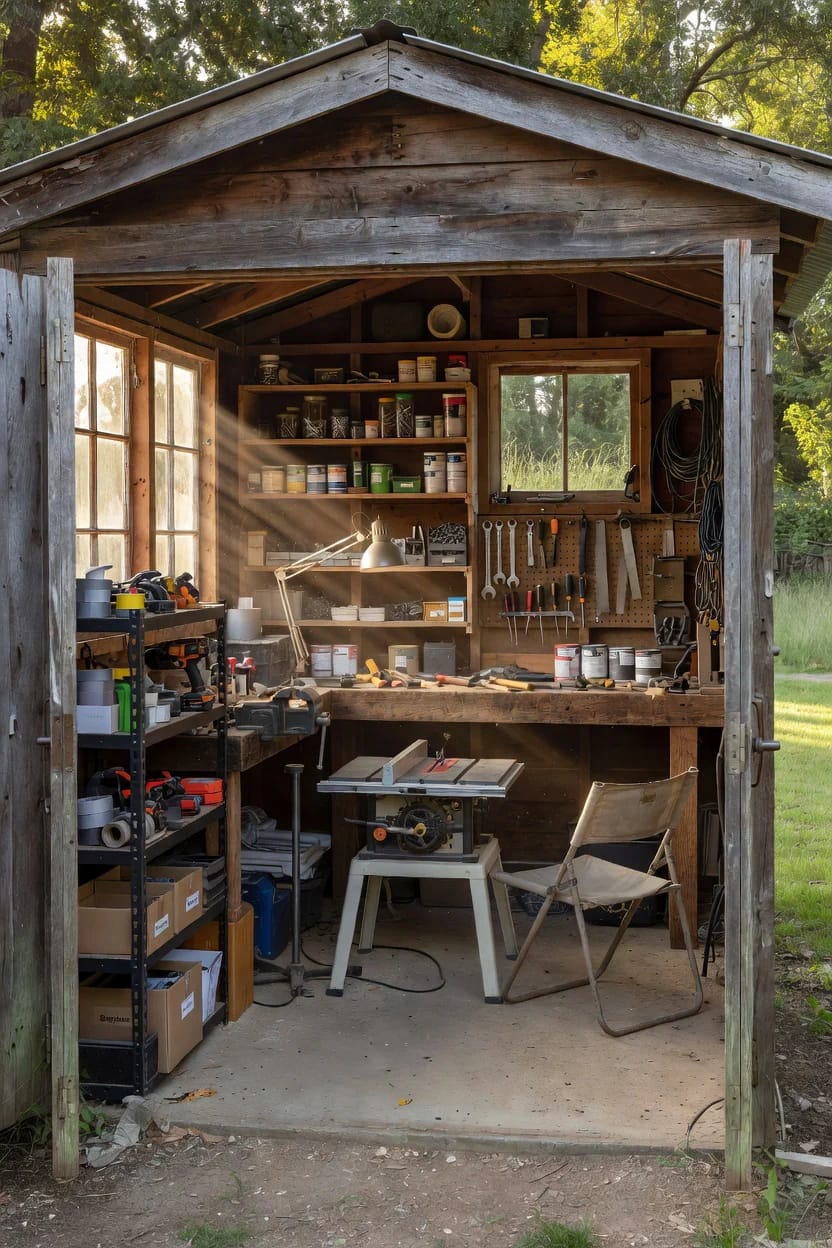
The numbers are less alarming than people expect, as long as you are honest about which tier you are buying. A shed built to workshop standard — solid floor, real windows, wired, uninsulated — lands somewhere around $35 to $60 a square foot in current contractor guides. Insulate it, finish the interior and add a mini-split and you are into the $100 to $180 range, with the heat pump itself usually quoted between about $1,200 and $2,500. A 10 by 12 is 120 square feet, which suits a painting or jewelry atelier and is cramped the moment a table saw arrives. For woodworking, 12 by 16 is the honest floor.
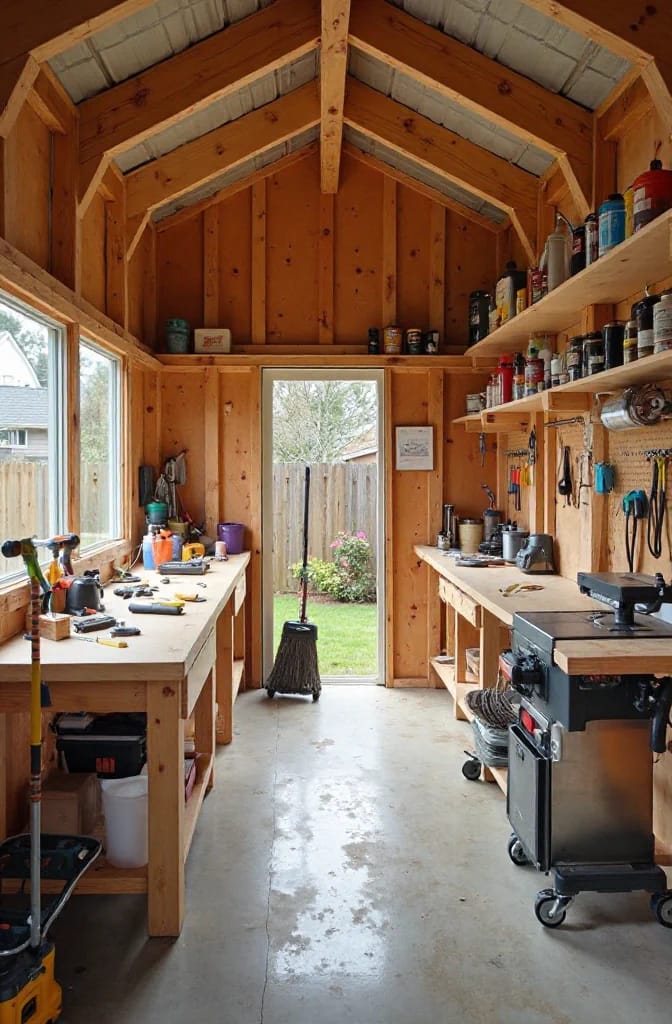
Two things people forget. Check your permit threshold before you draw anything, because many jurisdictions switch from "no permit needed" to full review somewhere between 100 and 200 square feet, and a few tie it to whether the building has power or plumbing. And measure the door: a 30-inch pedestrian door means every sheet of plywood arrives edgewise and diagonally, which is a small daily annoyance that compounds for years. Double doors or a 36-inch minimum.
 19 Gorgeous Backyard Shed Ideas for a Stylish Retreat Exterior treatments, siding and planting for the shell before you fit it out inside.
Build a photo corner into the studio before you need one
Reserve one three-foot stretch of wall and the bench in front of it for photographing finished work, and keep it clear. Anyone selling on Etsy, applying to a show, or just posting progress will otherwise end up shooting on the kitchen counter at 10pm under a ceiling light, which is why so much handmade work photographs badly.
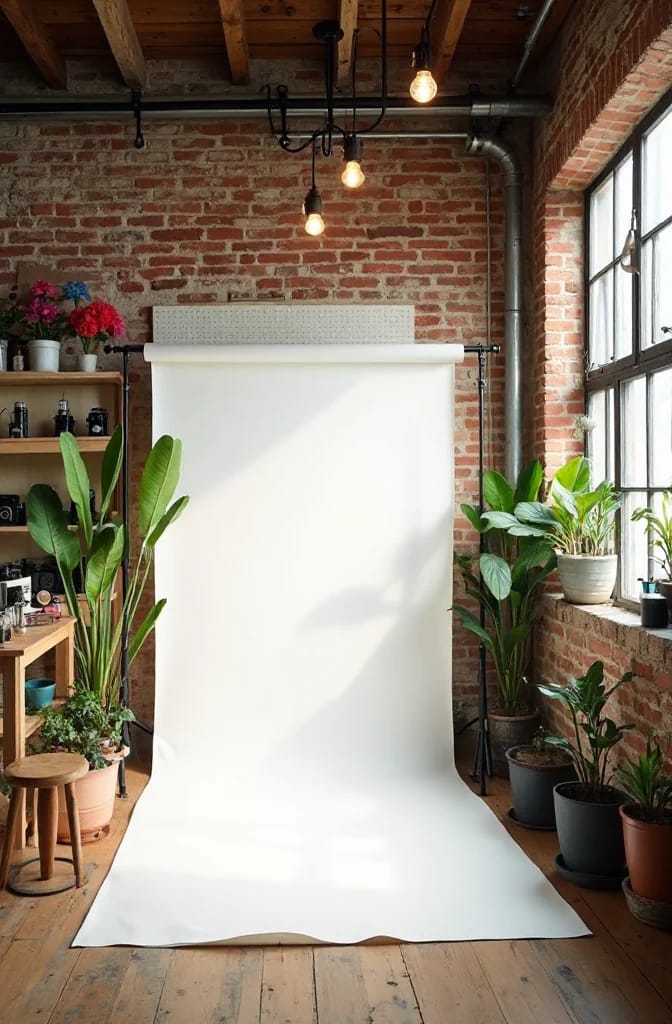
The equipment list is short: a roll of white or grey seamless paper on a cheap wall bracket, one large white bounce board, and daylight from a window you are not standing in front of. Skip the ring light. It flattens texture, which is exactly the thing a piece of turned wood or a glaze test is being photographed for.
A French cleat wall beats pegboard in a working shop
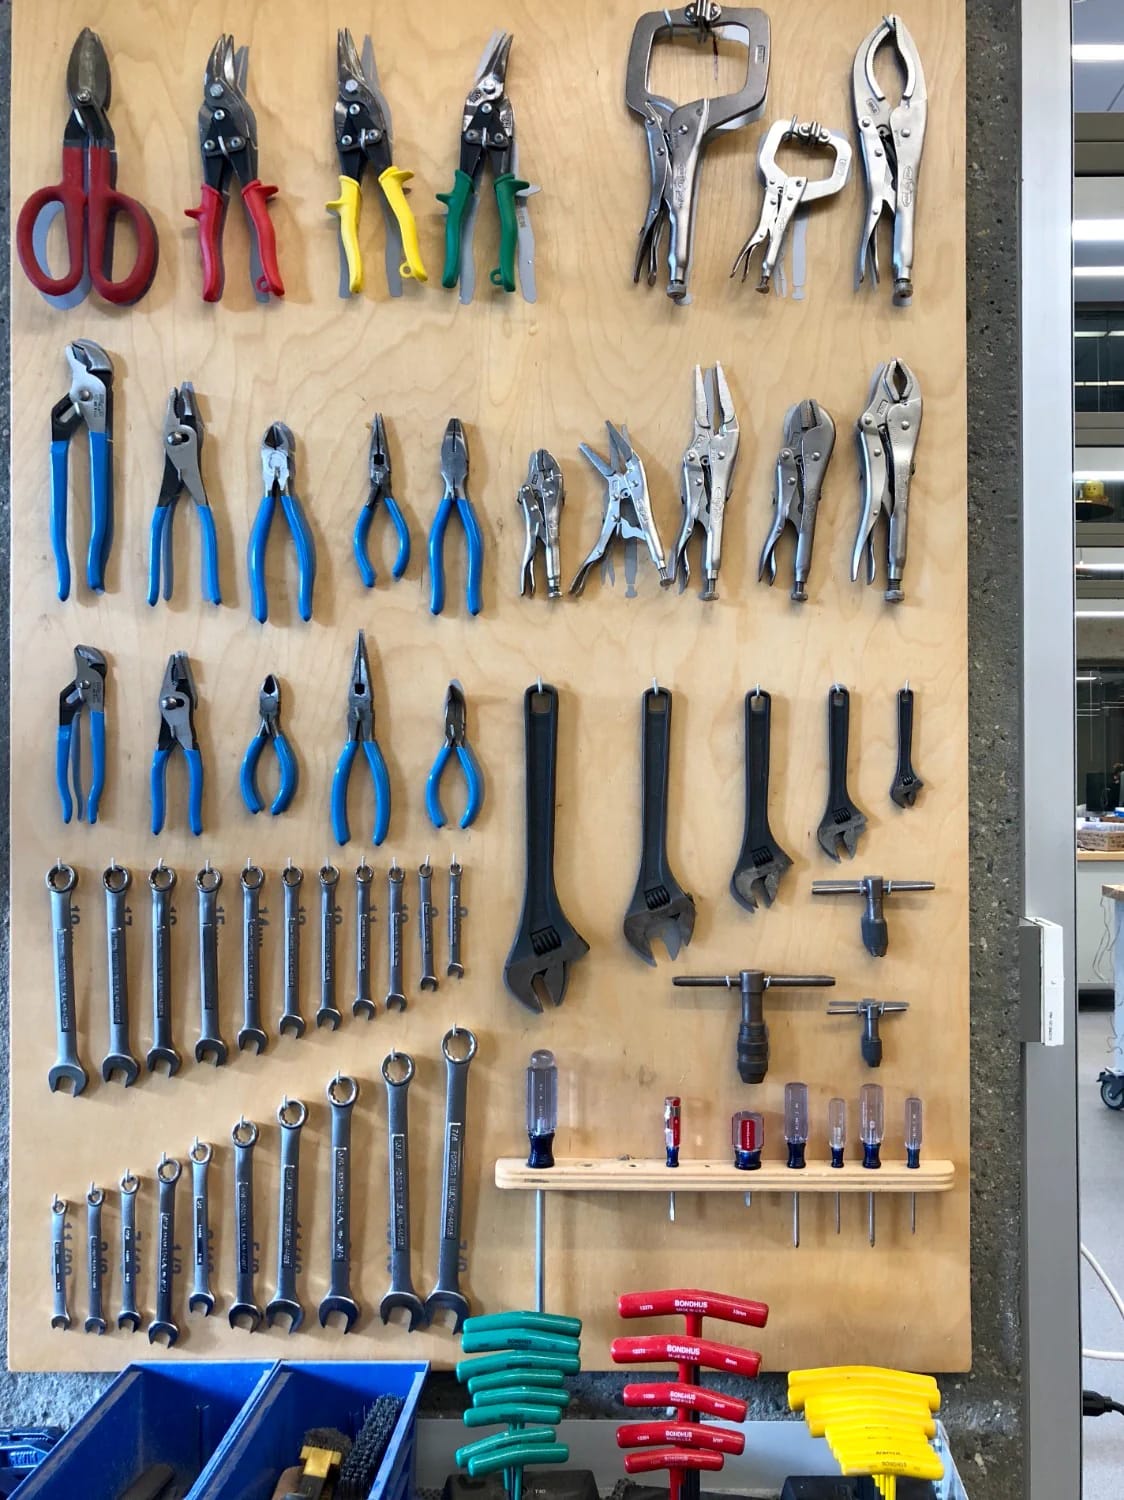
Rip three-quarter-inch plywood into strips four to six inches wide, put a 45-degree bevel on one long edge, and screw them to the studs with the bevel facing up and out. Every holder you then make from offcuts hangs off that bevel and lifts straight off when you want to rearrange. Space the cleats about ten to twelve inches apart vertically and run them the full length of the wall, because the moment you stop short you will want a holder exactly there.
Pegboard is fine for scissors and a tape measure. It is not fine for a jack plane: quarter-inch hardboard bows under weight, the hooks come out with the tool nine times in ten, and the holes enlarge until nothing sits square. If you already have a wall of it and like how it looks, keep it for the light stuff and cleat the section above the bench. The same logic drives a lot of good craft room storage that keeps supplies visible instead of boxed, where the difference between a system used and abandoned is whether putting a thing away takes one hand.
Split the studio into a wet side and a dry side
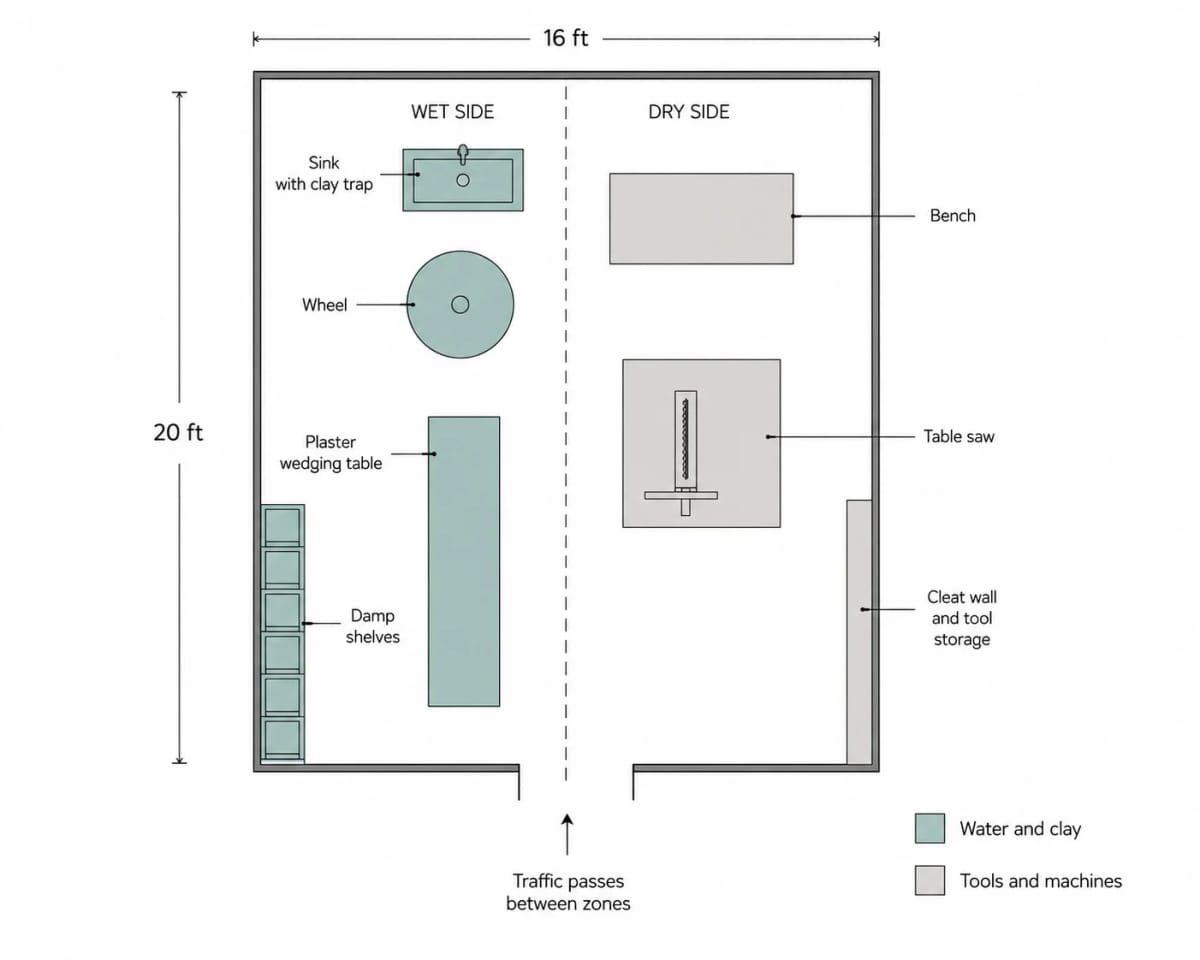
Draw a line down the room and keep water, clay, glaze and solvents on one side, and everything with a bearing or a blade on the other. Potters know this instinctively. Woodworkers who add a sink for finishing usually discover it the hard way, after rust blooms across a set of chisels stored eighteen inches from where they wash brushes.

If clay is involved, the sink gets a trap. A purpose-made clay trap or even a two-bucket settling setup under the basin catches the particles that will otherwise cement themselves into your drain line, and it needs emptying more often than anyone expects. Wet-mop the wet side; never sweep it, because dry clay dust is silica and sweeping is how it gets into your lungs. The same zoning thinking runs through most workable hobby room layouts where two incompatible activities share one room.
Workshop lighting: one flat overhead layer, one arm you can drag
Two layers, and neither is optional. The overhead layer is 4000K LED strips at high CRI, spread evenly so nothing casts a hard shadow on itself; the second is a single articulated lamp you can drag to whatever you are squinting at. Ambient light alone leaves you working in the shadow of your own hands, which is the most common complaint in a room that measures as well lit.
The Illuminating Engineering Society's industrial lighting practice sets target illuminance by how hard the visual task is, which is why a shop floor and a bench are different numbers: broadly, somewhere near 50 foot-candles as a general level and 75 to 100 over a bench doing detailed work. What most people miss is the surface penalty. Lighting designers modelling shop layouts put the cost of dark matte walls and oil-stained concrete at roughly a third more lumens to reach the same measured level, so the cheapest lighting upgrade available is a gallon of white paint on the ceiling and the upper walls.
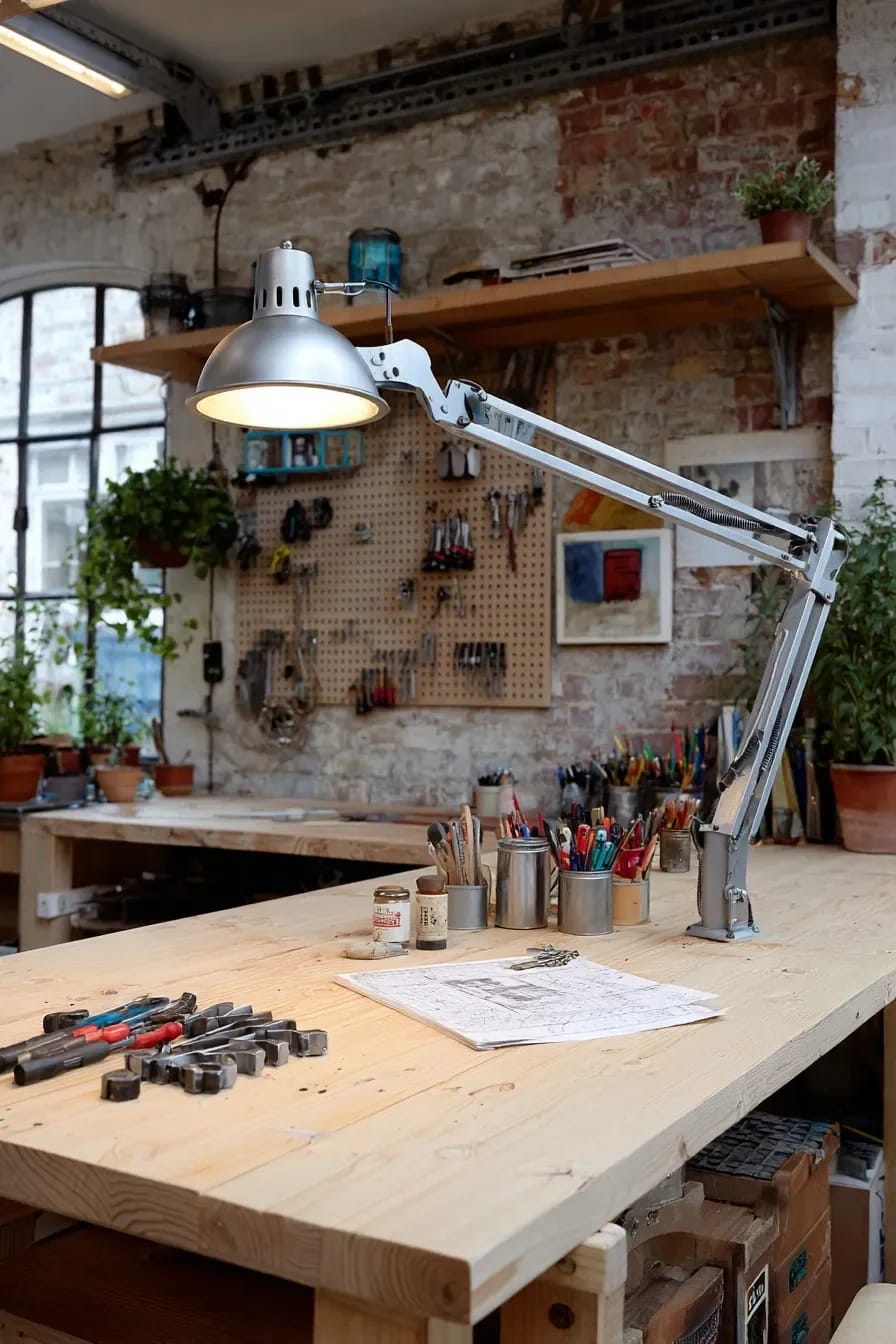
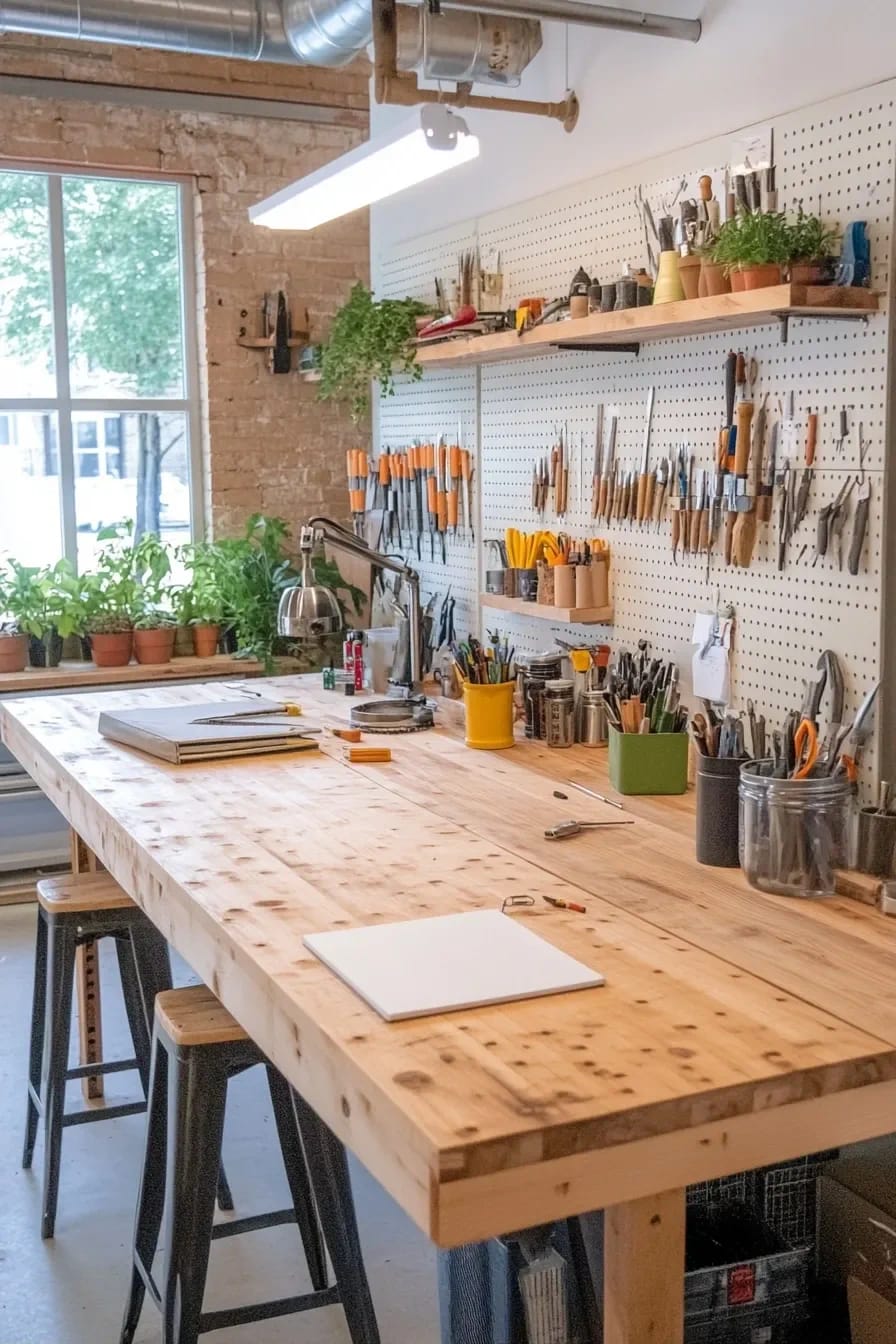
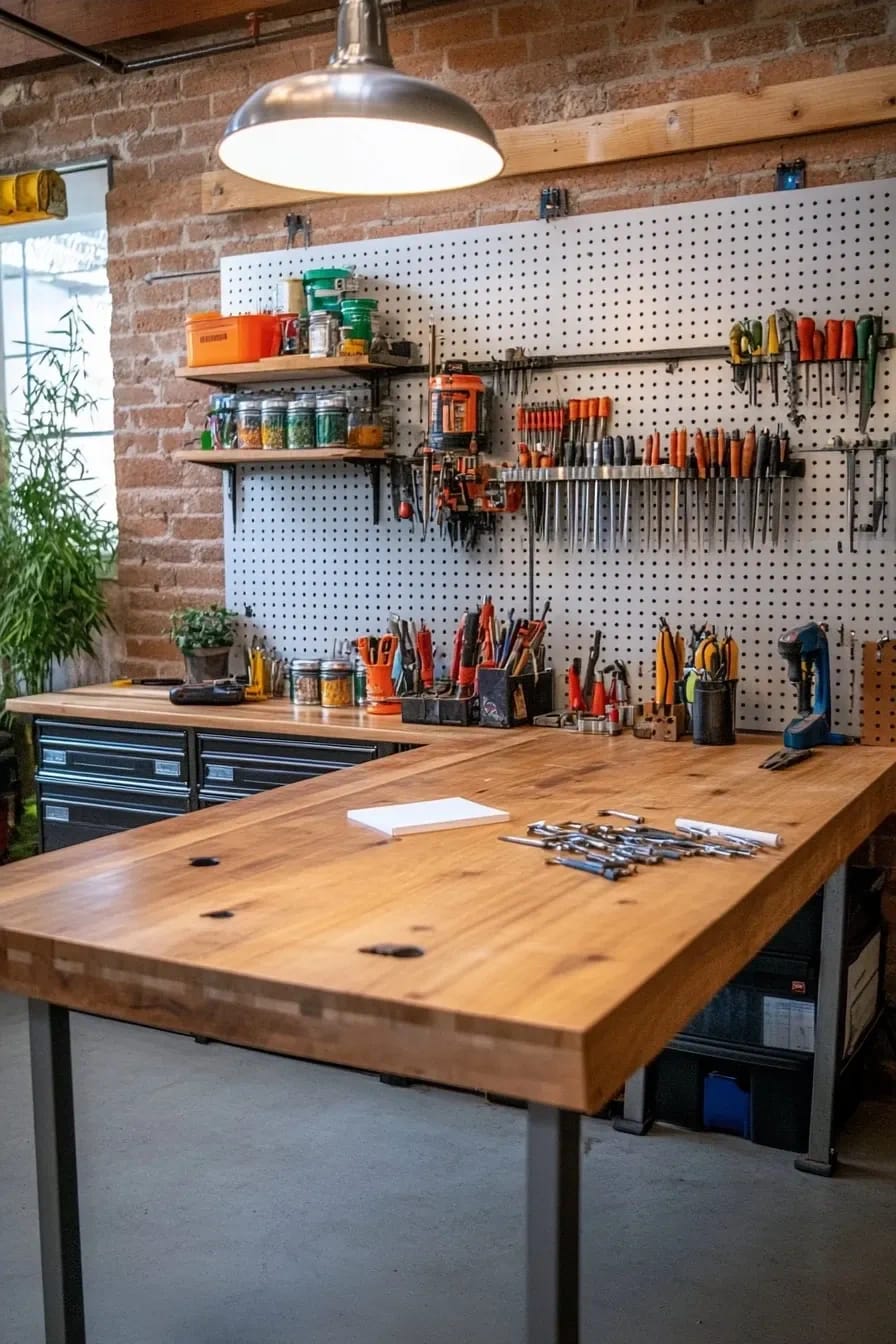
One trick that costs nothing: keep a small lamp you can set almost flat on the bench, throwing light sideways across a surface. Raking light shows sanding scratches, glue squeeze-out and dents that overhead light erases completely, and it is the reason finishing failures show up after the piece leaves the shop. Colour temperature matters more for painters and dyers than for anyone else, and if you match colour for a living, 5000K with CRI above 95 is worth the extra spend. Beyond that, most of what applies to a well-lit desk applies here too, and there is a lot of overlap with how people set up a home workspace they can stand to sit in all day.
The greenhouse studio is real, and it will cook you in July

Glass makes a wonderful painting studio and a terrible workshop, and the reason is heat, not light. A south-facing glazed room becomes unusable by early afternoon in summer unless you shade it from the outside, because once the sun is through the glass the energy is already in the room and an internal blind mostly warms the blind. External shade cloth, roof vents that actually open, and a mini-split if you want to work in August.
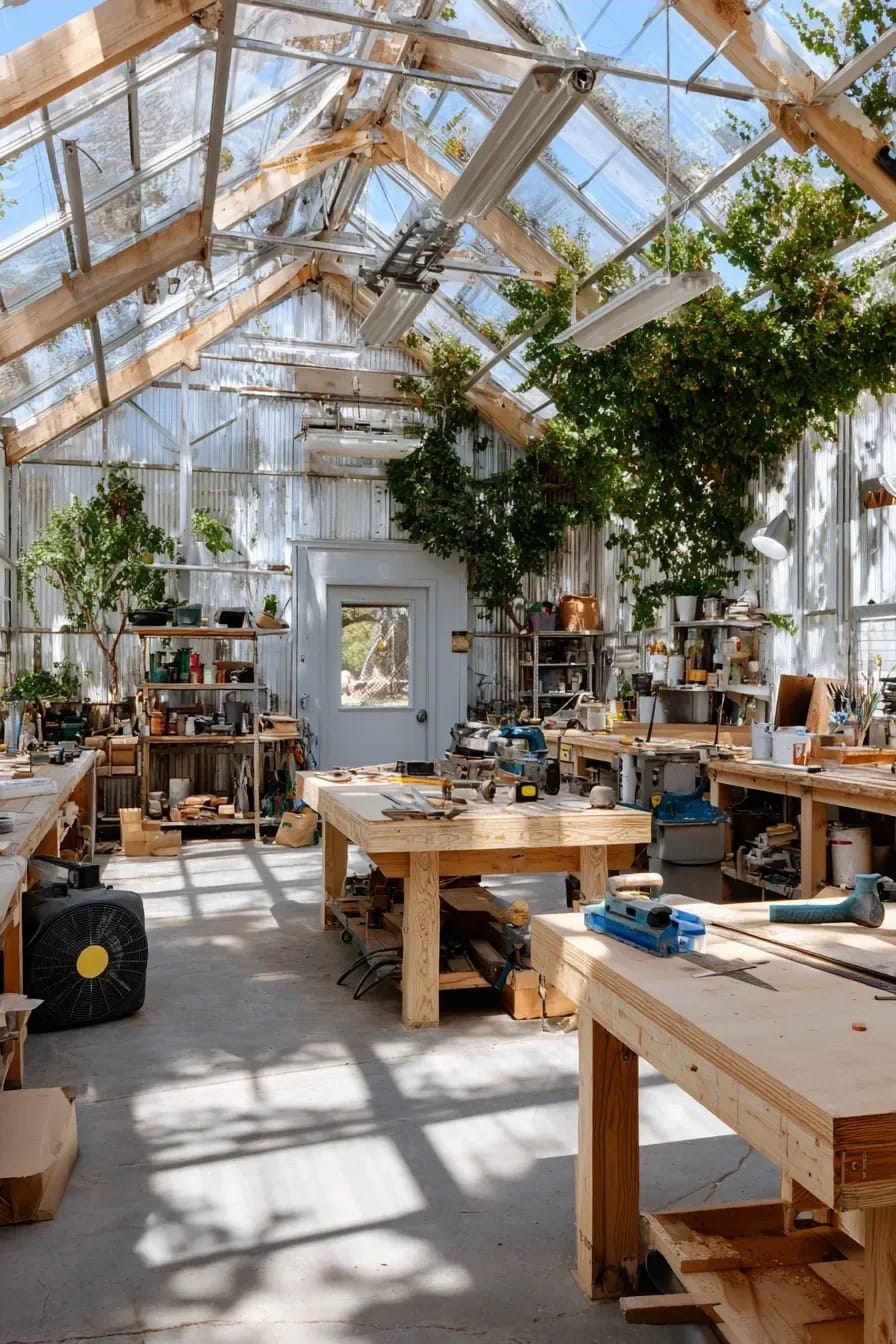
Who it suits: watercolour, drawing, plant propagation, textile work, anything where flat even daylight is the point. Who should skip it: anyone using solvents, running a kiln, or working with dust, since ventilating a glass box without losing the temperature you just paid to control gets awkward fast.

In a garage workshop, insulate the door and keep the opening
Do not brick up the garage door to gain wall space. That opening is how a twelve-foot slab of oak comes in, how a finished canoe or a large canvas goes out, and it is the cheapest ventilation any workshop studio will ever have — open it eighteen inches and you have cross-flow for spraying finish without wiring a single fan.
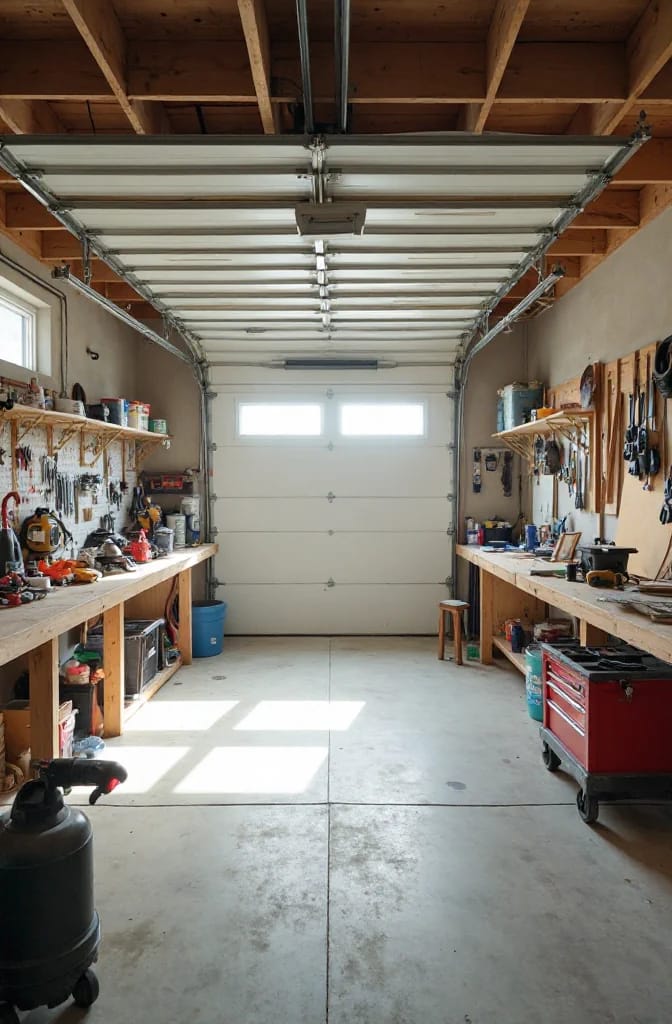
Insulating the door is the fix that changes how the room feels in a single afternoon. Retrofit kits are modest performers, roughly R-4 to R-8 depending on thickness, but a steel door in direct sun radiates heat like a stove and cutting that is what you actually notice. Do the shared house wall properly too, with rigid foam and drywall rather than batts alone, since that assembly is also your fire separation. Plenty of the finish and storage ideas from the garage-as-hangout school of conversion transfer straight across; you are just swapping the bar for a bench.
Put everything in the studio on locking casters
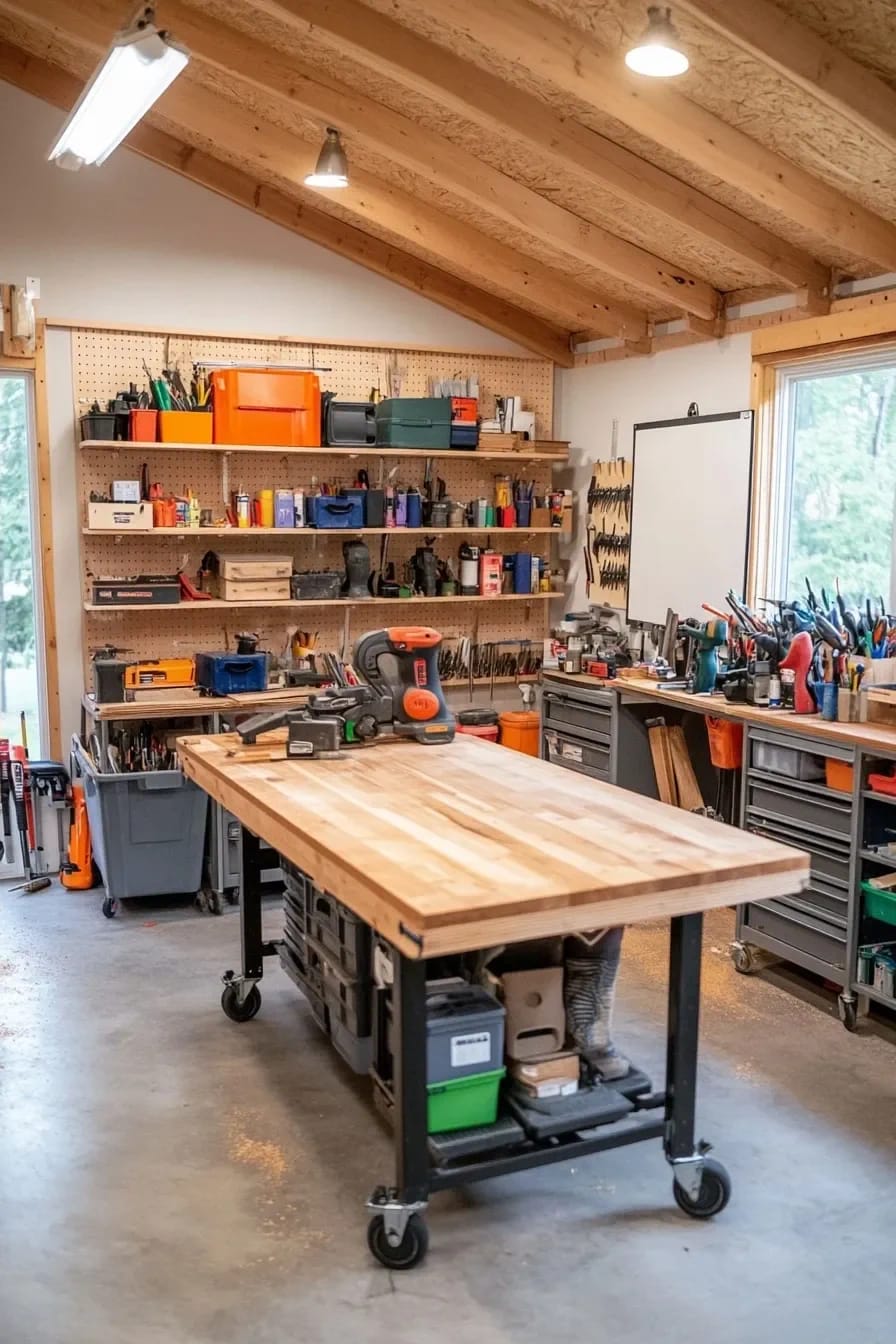
Mobility beats floor plan optimisation in any workshop studio under about 400 square feet, because the room you need for planing a long board is not the room you need for gluing up a cabinet. Buy casters rated well above the load, take the total-lock kind that brake the wheel and the swivel together, and accept that three-inch wheels roll over an extension cord while two-inch wheels stop dead against it.
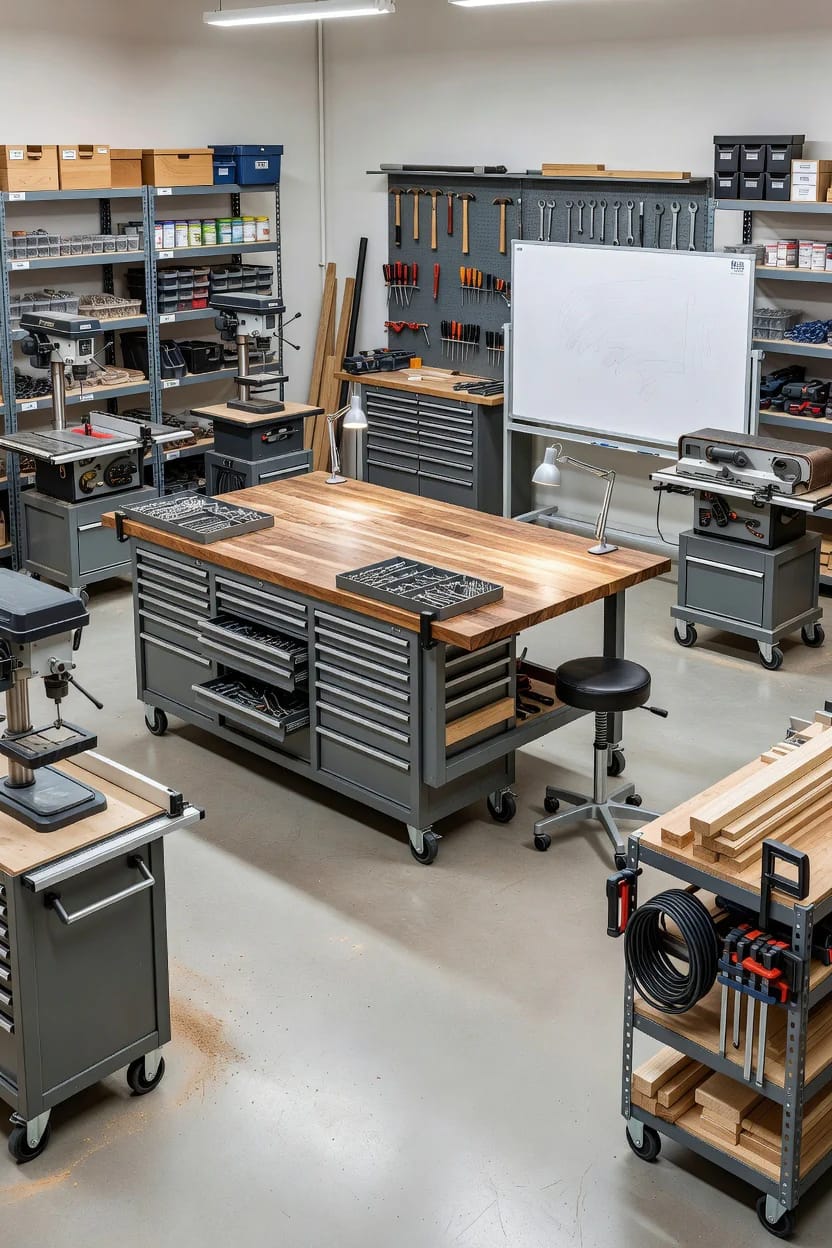
The obvious downside is that a bench on wheels moves when you push a hand plane across it. Anything you apply real horizontal force to should have retractable casters or a leveling foot, not just a brake. Flip-top stands solve the two-machines-one-footprint problem neatly, and are worth building before you buy any more floor-standing gear. Small-space thinking from compact workspace layouts applies almost verbatim, with heavier hardware.
A basement workshop is a moisture project first
Before you spend anything on cabinets, run a hygrometer down there for two weeks and look at the numbers. Aim to hold relative humidity between about 45 and 55 percent; above 60 and you get rust on cast-iron tables, mould in stored lumber, and glue joints that take three days to cure. A dehumidifier sized for the actual volume, plumbed to a drain rather than emptied by hand, is the first purchase.
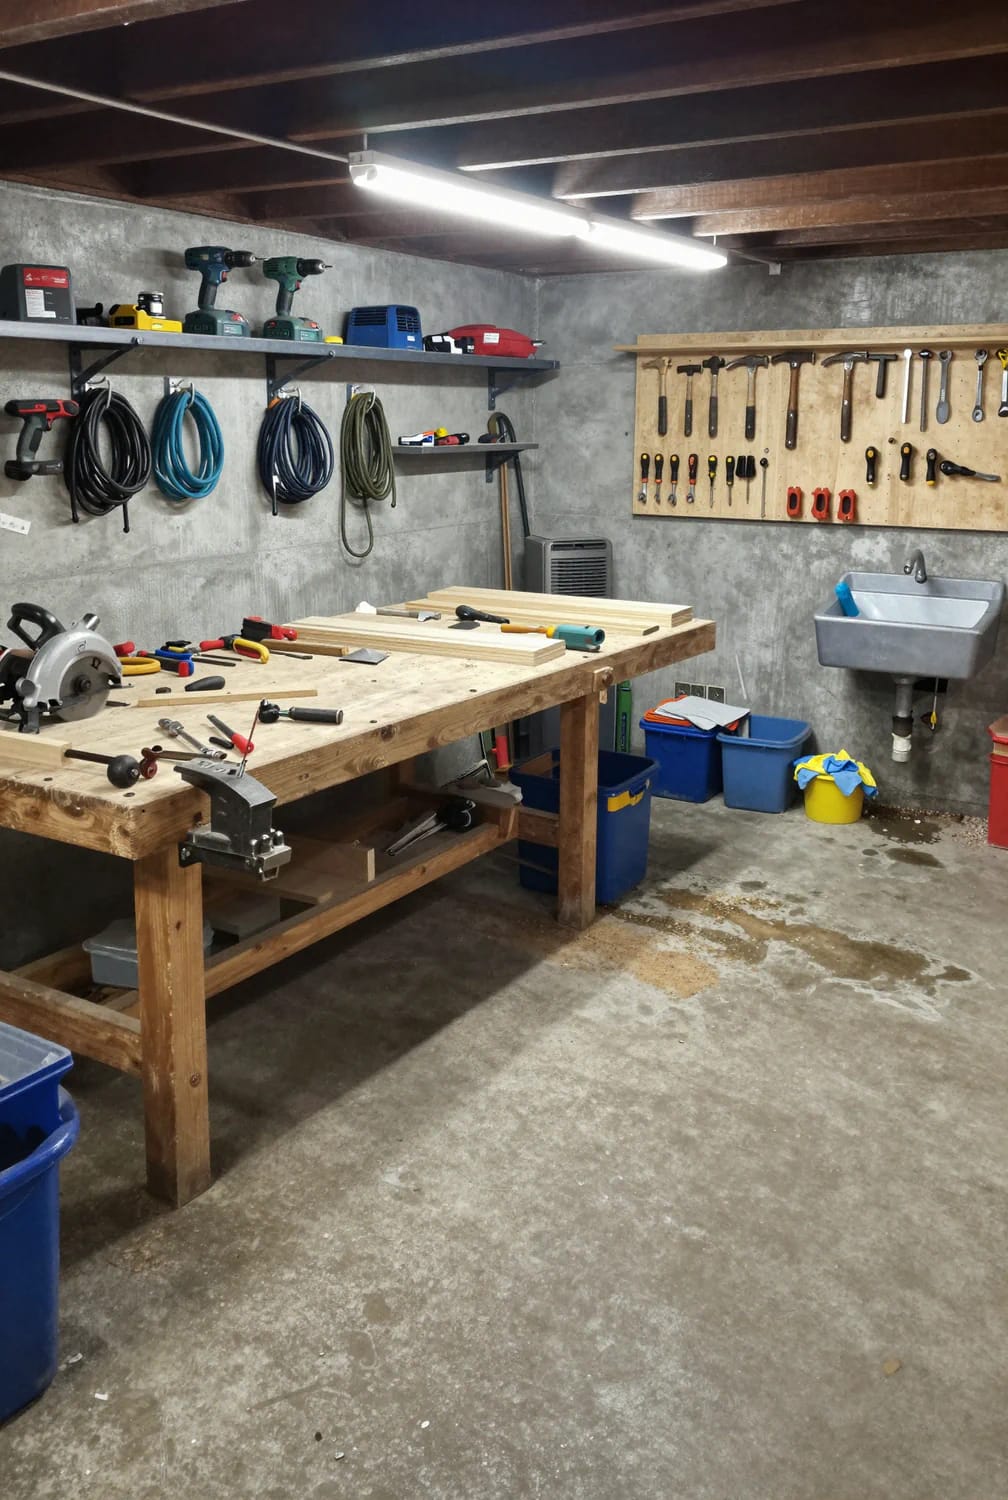
Test the slab too. Tape an eighteen-inch square of clear plastic sheet to the concrete on all four edges, leave it a couple of days, and see whether moisture beads underneath. That standard method decides whether you can put down anything sealed at all, or whether you need to solve drainage outside first. The other basement limits are structural rather than fixable: headroom under ducts, and a stair that will not take a cabinet saw. Measure the stair turn before you order a machine, not after.
 15 Creative Basement Design Ideas with Wow Factor Ways to divide the space so the shop takes one zone and the rest stays usable.
Workshop flooring: seal the slab, then stand on something softer
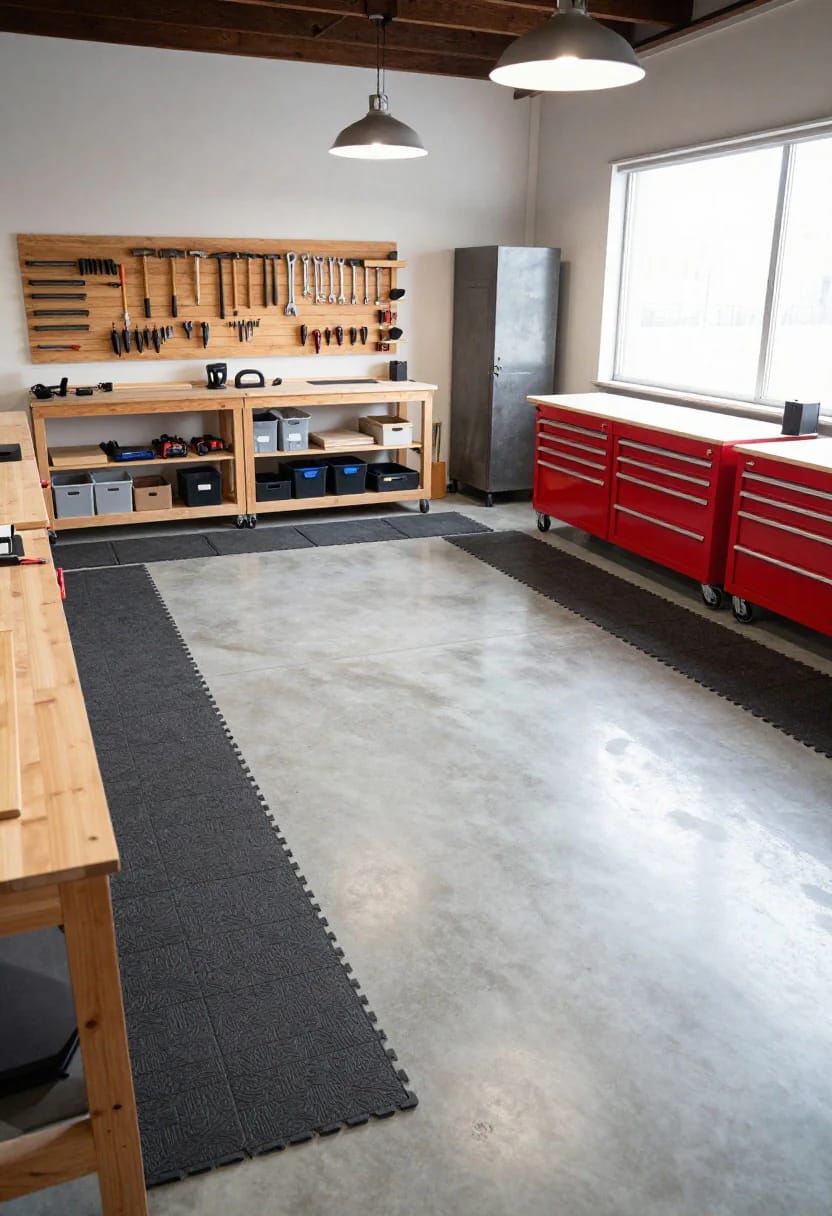
Densify and seal the concrete rather than painting it. A silicate densifier followed by a penetrating sealer keeps dust down, stops oil staining, and does not chip when you drop a chisel, which is exactly what happens to a film-forming epoxy after two years of real use. Epoxy also gets slippery under a layer of fine dust, and a workshop generates fine dust by definition.

Keep the colour pale. A dark floor looks good in photographs and swallows every dropped screw, drill bit and small brass hinge you own. If comfort matters more than durability, plywood over sleepers is warmer underfoot and forgives dropped edge tools, at the cost of two to three inches of headroom. Either way, put anti-fatigue mats where you actually stand: in front of the bench, and at whichever machine you use longest at a stretch.
Air quality is the part of a workshop studio people skip
Three different jobs get lumped together as "dust collection", and buying one machine for all three is why so many shops still have a haze in the air at the end of the day. Chip collection moves the heavy waste a planer or table saw throws off. Fine dust extraction pulls the particles a sander makes at the source. Ambient filtration cleans what escapes both, and it is the one people leave out.
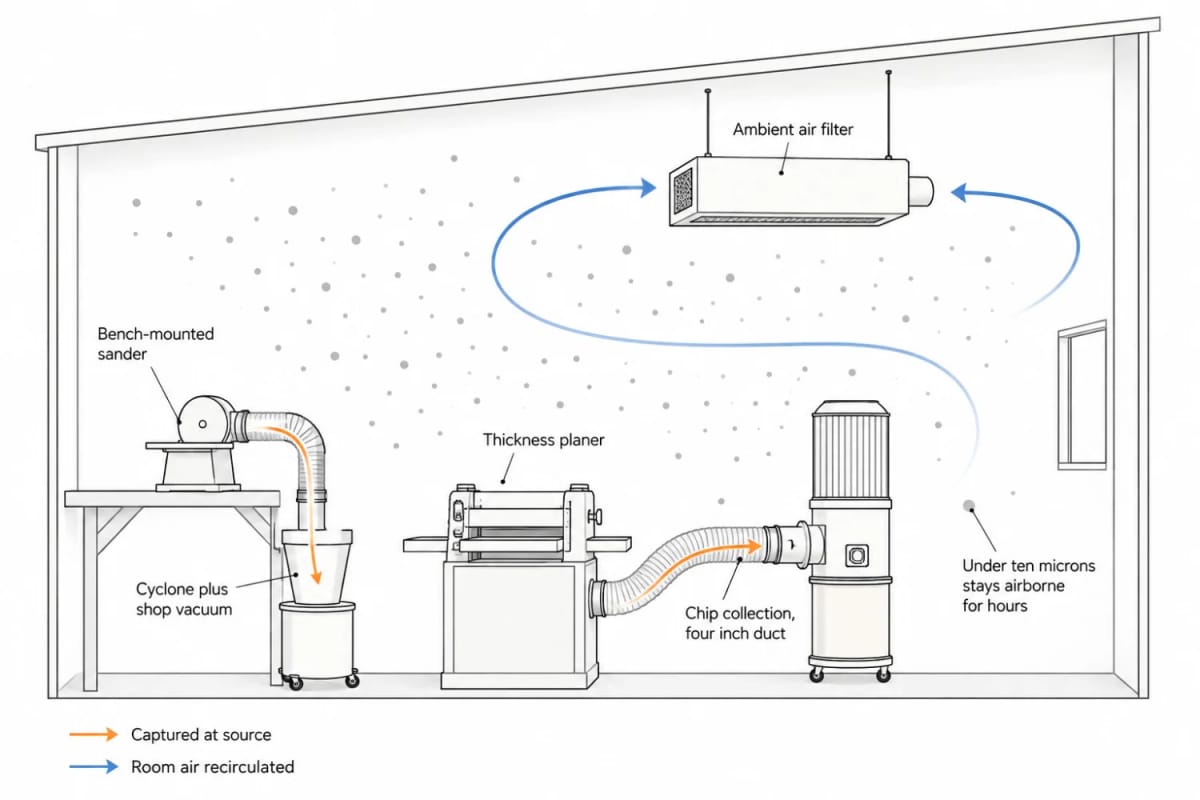
The reason it matters is size. The heavy shavings you can see fall out of the air within seconds; the particles under ten microns stay suspended for hours and are the ones that reach deep into the lungs. That is why a shop can look clean an hour after sanding and still be the worst air in the house. A cyclone separator ahead of a shop vac handles sanders and routers well; a proper collector on four-inch duct is what a planer or jointer needs; a ceiling-hung filter running for an hour after you stop catches the remainder.
A single-stage bag collector with a standard 30-micron cloth bag passes the fine particles straight through and blows them back into the room at speed, which is worse for your lungs than not running it at all. If you have one, swap the top bag for a pleated cartridge filter rated around one micron, or fit a cyclone ahead of it. And wear a fitted P100 respirator for sanding regardless of what the extraction is doing; a paper nuisance mask is not doing the job you think it is.
Wire the studio for the tools you will own in five years
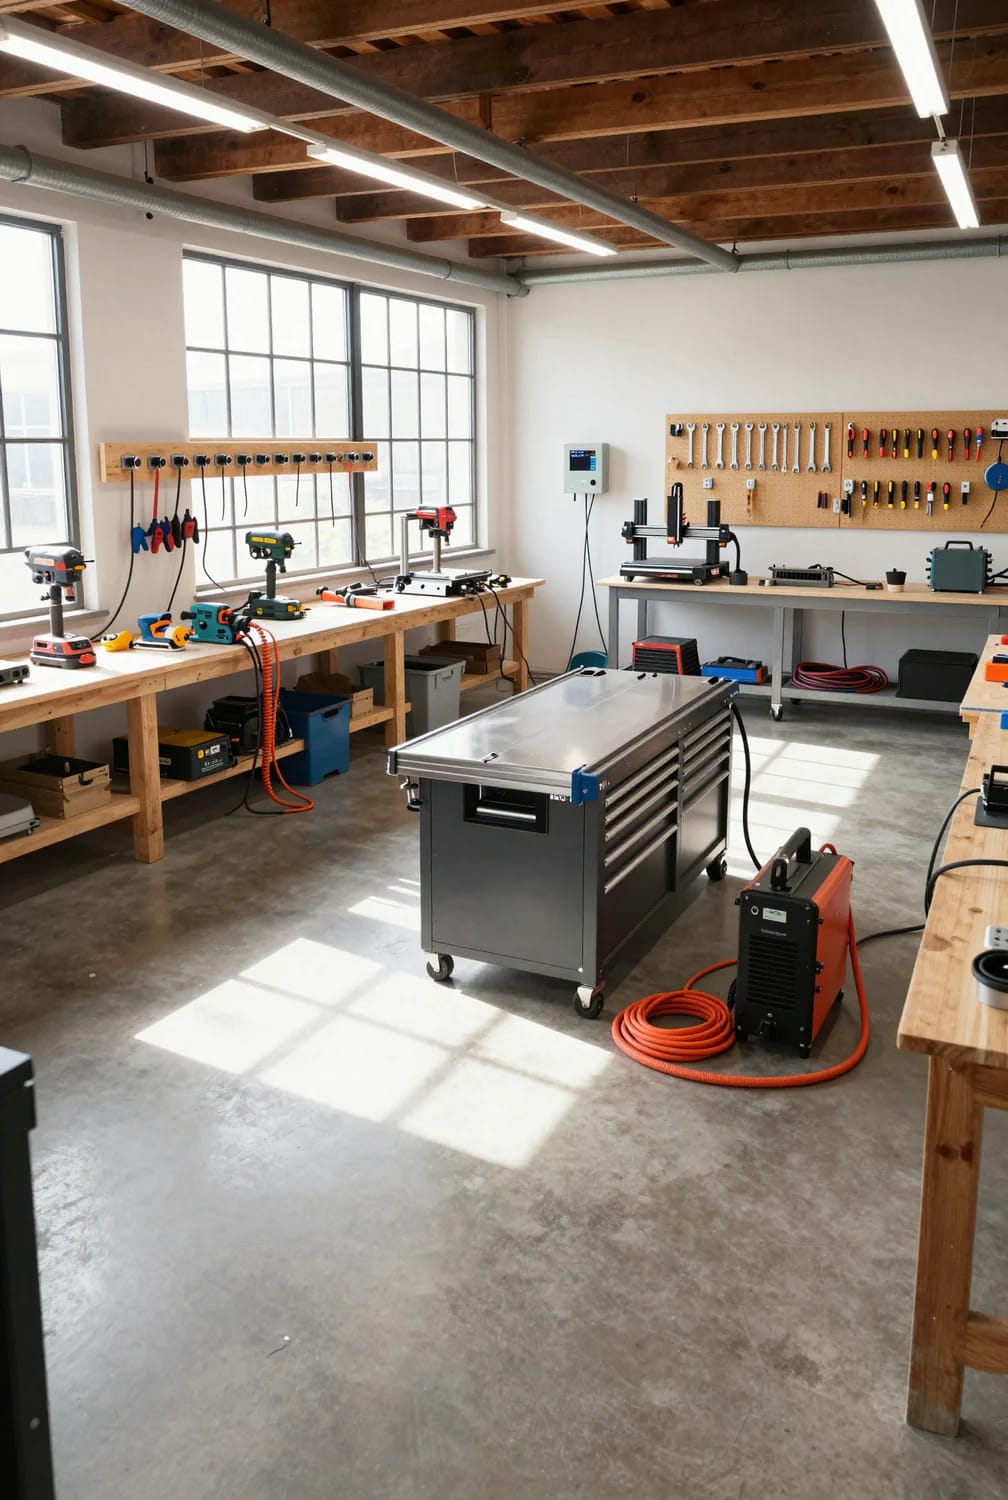
Pull more capacity than you need now, because the second run costs almost as much as the first and the wall is only open once. A detached workshop studio usually wants a 60 or 100 amp subpanel rather than a single circuit borrowed from the house, and inside it, twenty-amp circuits on twelve-gauge wire. Split lighting onto its own circuit so a stalled saw does not put you in the dark holding a spinning blade.
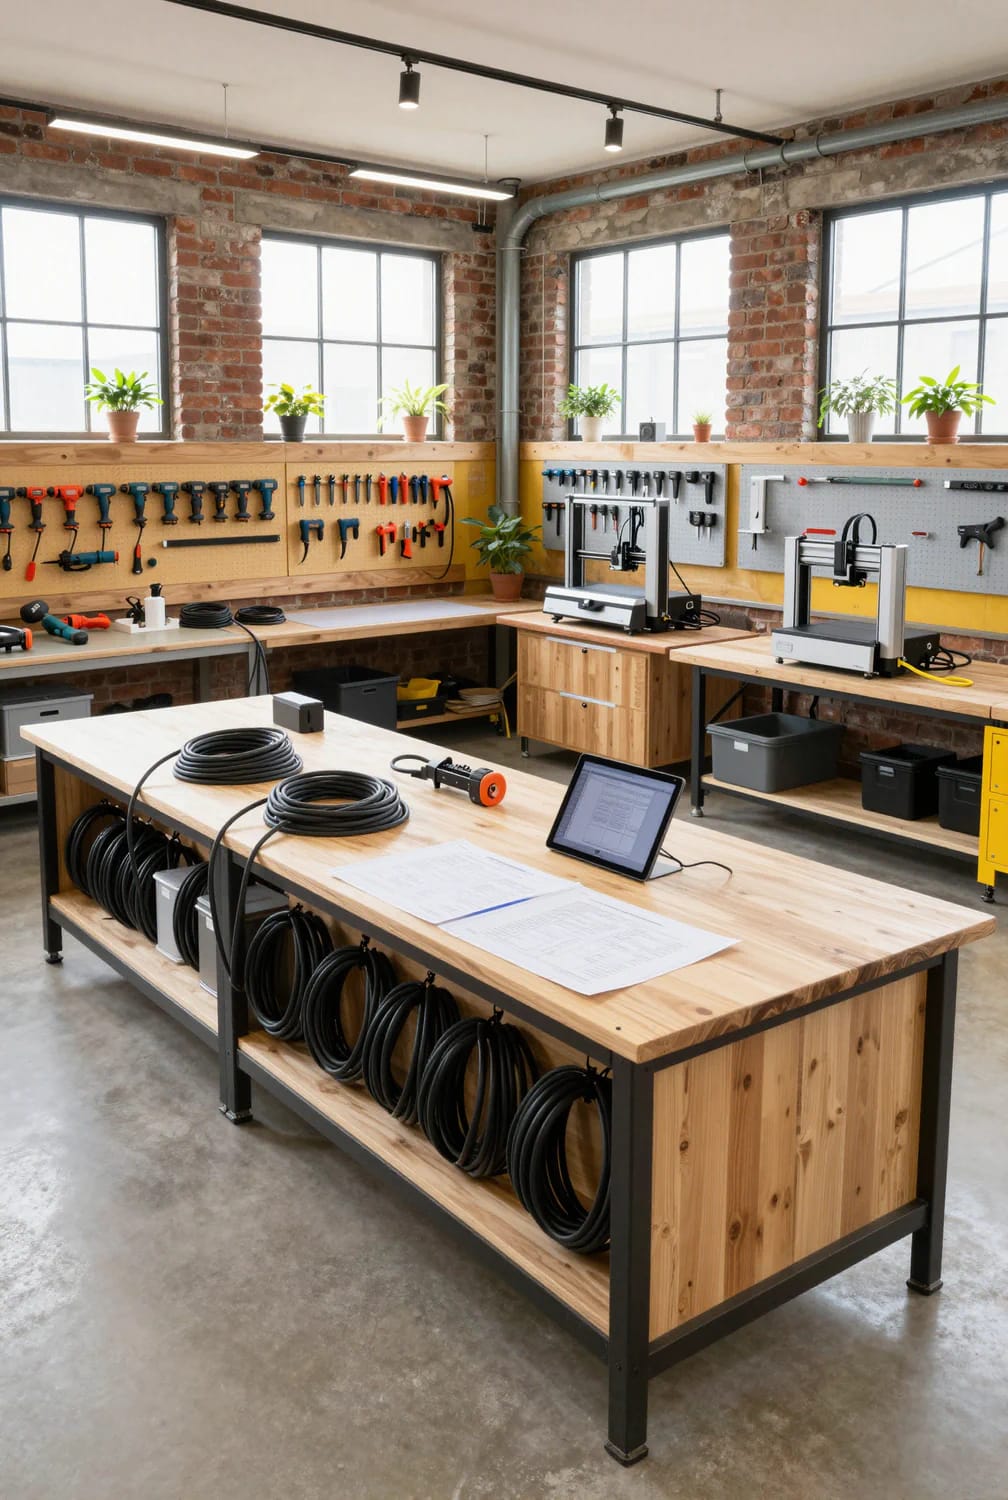
Run a 240-volt circuit even if you own nothing that needs one, because the cabinet saw, the welder or the kiln all want it eventually and a kiln in particular has clearance and dedicated-circuit requirements you do not want to discover after the studio is finished. Outlets every four feet at 48 inches from the floor keeps cords off the bench top. If the bench sits in the middle of the room, that means a ceiling drop, and a retractable reel over an island bench earns its keep the first week.

Related Posts
- 15 Eclectic Craft Room Office Ideas for Modern Creatives
- 15 Vintage Craft Room Ideas for a Charming Creative Space
- 15 Unique Sewing Room Christmas Decor Ideas for Creatives
- 15 Creative Sewing Room Design Ideas
- 21 Clever Small Office Ideas for Home and Work Spaces
- 15 Sewing Room Organization Ideas to Declutter and Inspire Creativity