
Most pottery studio advice starts with the room you fell in love with and works outward from the mood. That order is backwards. A studio is decided by three unglamorous things (where water can go, what the floor is made of, and whether the electrical panel has room for a kiln circuit), and every article that opens with wall color is quietly assuming somebody else already solved those. The ten decisions below are ordered roughly by what they cost to fix after the fact, which is a different list from the one that photographs well.
This is written for a home setup: one wheel or none, a hand-building table, a few hundred pounds of clay a year. If you fire at a community studio and haul greenware there in a crate, the kiln section still matters, because the day you buy your own kiln is the day your studio location gets re-litigated.

1. Split the studio into a wet half and a dry half before you place anything
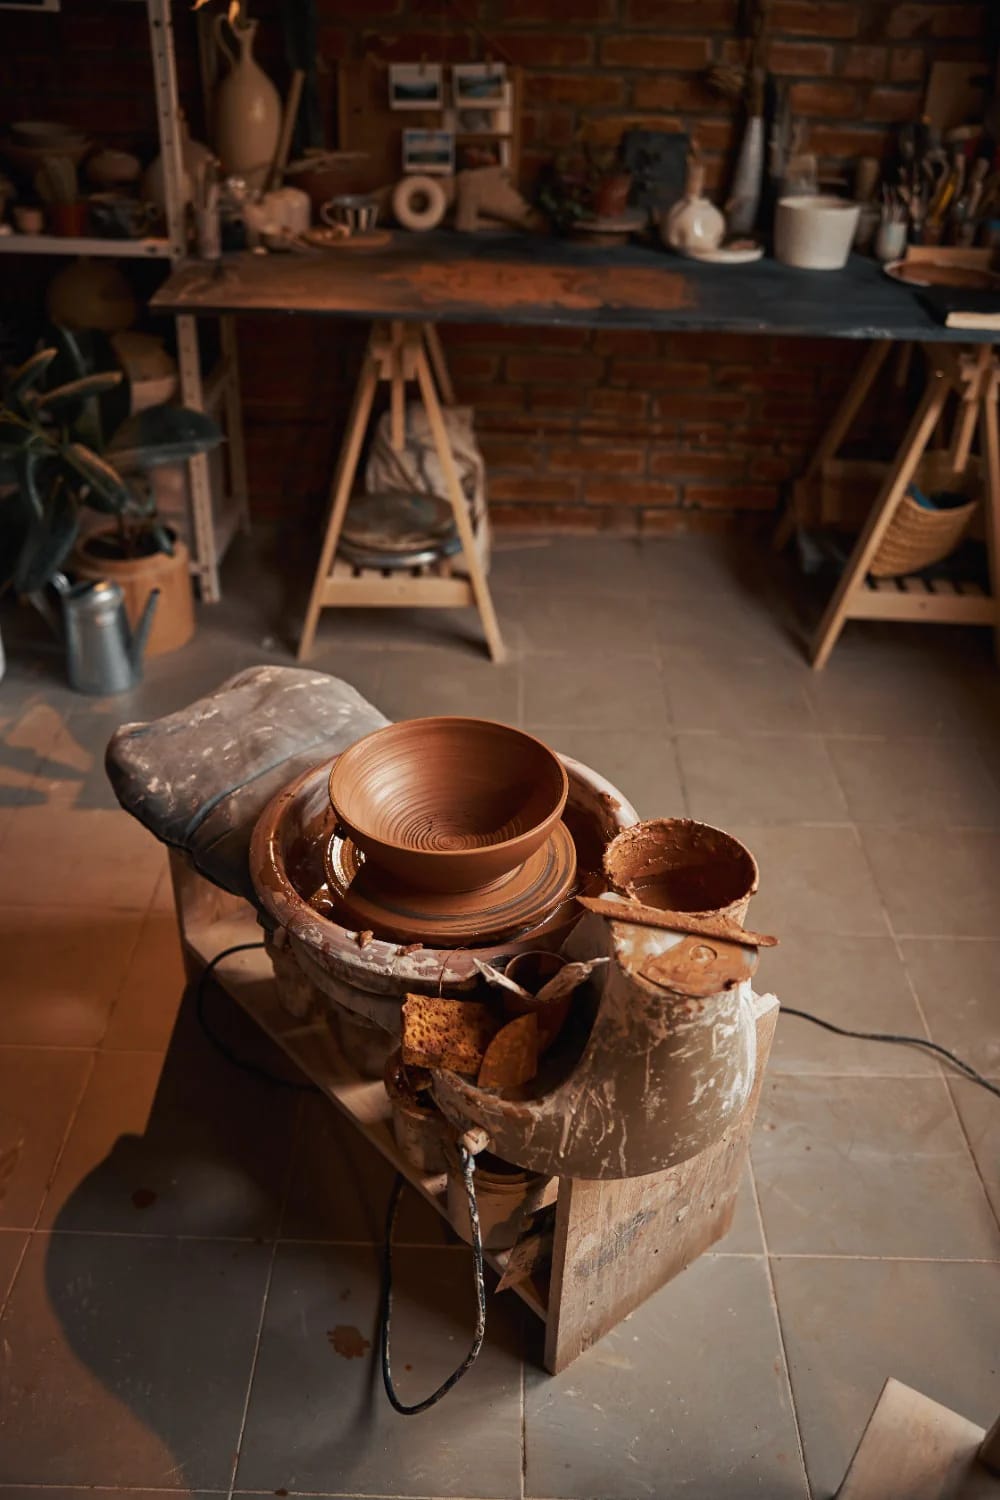
Draw a line down the middle of the room and put everything that involves water on one side: wheel, sink, slop buckets, wedging table, reclaim. Everything dry goes on the other: dry glaze materials, unopened clay, bisqueware waiting to be glazed, finished pots, and anything with a motor or a cord that isn't the wheel. The split matters because slip travels further than you think. Throwing flings a fine spray roughly an arm's length in every direction, and trimming scatters dry crumbs that turn into airborne dust the moment somebody walks past.
The practical version: wheel closest to the sink, wedging table between them, drying shelves on the far dry wall so a full ware board never crosses the wet zone. Leave three to four feet of clear floor around the wheel so you can get up from it with muddy hands without touching anything you'll regret. Granted, in a ten by twelve room the "halves" are more like a wet third and a dry two thirds, and that's fine as long as the traffic between them is one clean path rather than a loop.
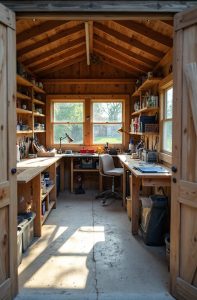 Workshop Studio Ideas for People Who Actually Make Things Thirteen layout and airflow decisions that apply to any maker’s room, clay or otherwise.
2. Seal the floor and give up on the reclaimed wood you wanted
Bare sealed concrete is the correct pottery studio floor and almost nothing else is. It shrugs off spills, takes mop water twice a week without swelling, and gives you the non-combustible base a kiln needs anyway. Wide-plank wood, the thing every studio photo seems to have, absorbs slip into the seams and holds dust in the gaps where a mop can't reach.
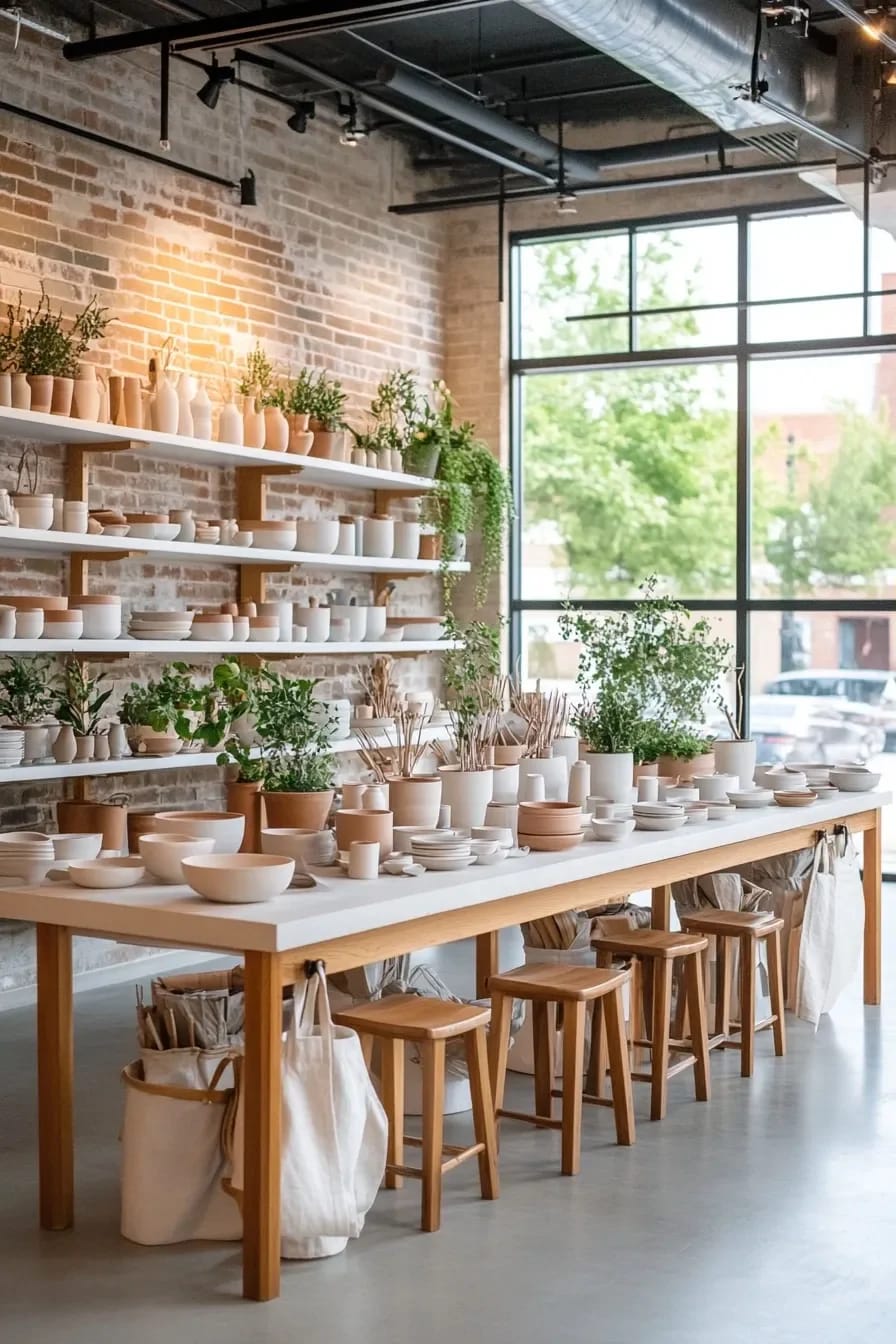
If you're over a wood subfloor, the retrofit is sheet vinyl (commercial grade, not click-lock plank) run continuously and coved a few inches up the wall so there's no seam at the baseboard for slip to collect in. Tile is a trap: the grout stays grey forever. Carpet is not a discussion.
3. Put a trap under the sink, not a strainer in it
Clay is heavier than water, so it settles wherever the flow slows down, which in a normal house is the horizontal run of drain pipe behind the wall where you can't reach it. A clay trap sits between the sink and that pipe and gives the sediment somewhere to fall out on purpose. The commercial bottle-style traps (Gleco is the name you'll see most often) run roughly $60 to $120 depending on jar size, which is trivial against a plumber's bill for cutting open a blocked stack.
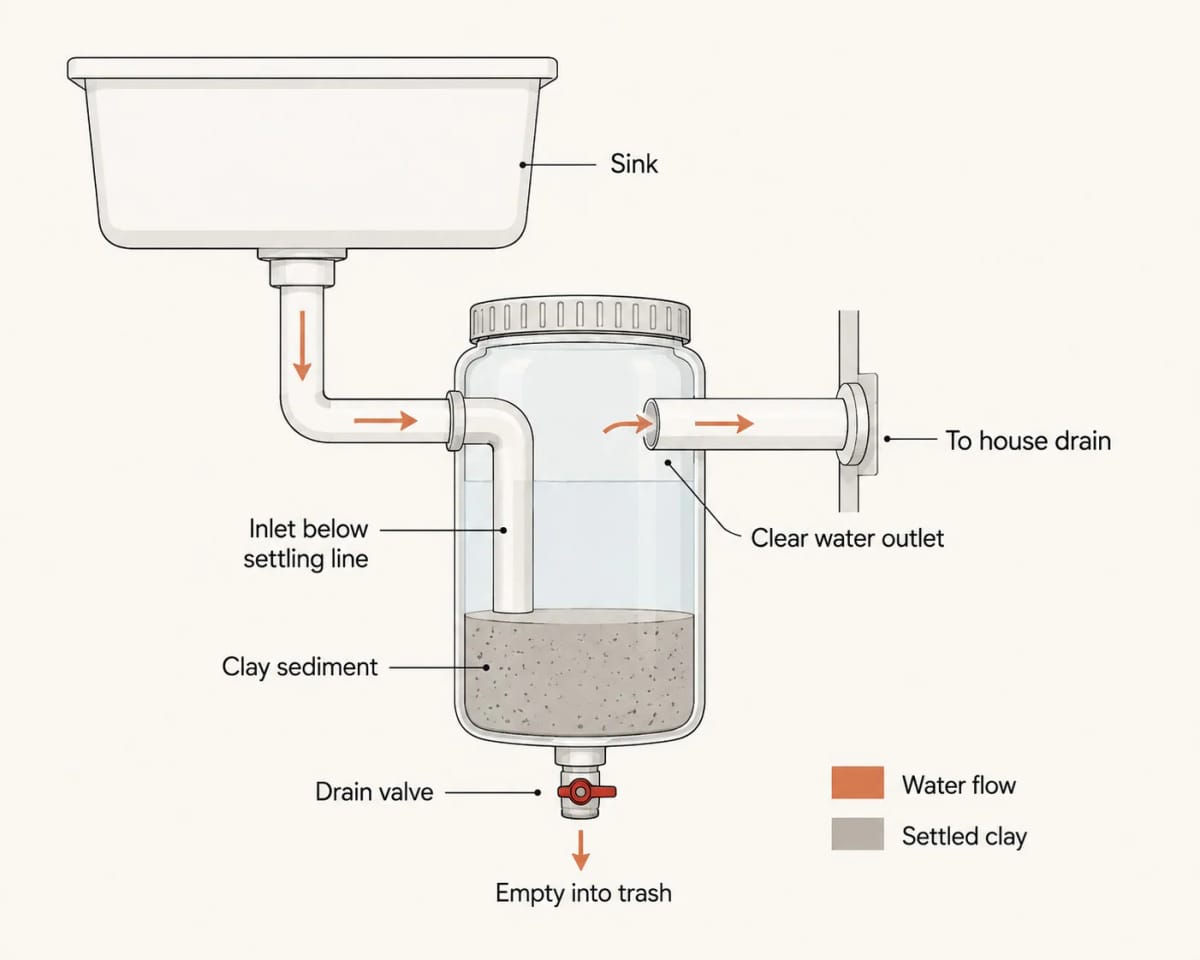
Two habits matter more than the hardware. First, rinse at the wheel, not at the tap: a five-gallon bucket of water beside you takes the first ninety percent of the clay off your hands, tools and bats, and gets settled and decanted rather than poured down the drain. Second, empty the trap into the bin on a schedule you actually keep, because a full trap just passes sediment through and you won't notice until the sink is slow.
Not everyone gets to choose. If the only plumbed room available to you is the utility corner, the constraints are much the same as any tight laundry space where the sink, the storage and the working surface have to share one wall, with the added rule that the trap has to be reachable without moving the machine. And if there’s genuinely no plumbing, a two-bucket system on a rolling stand works: one for rinse, one for settle, carried out to the garden or the utility sink at the end of a session.
4. Light the wheel from the side, not from overhead
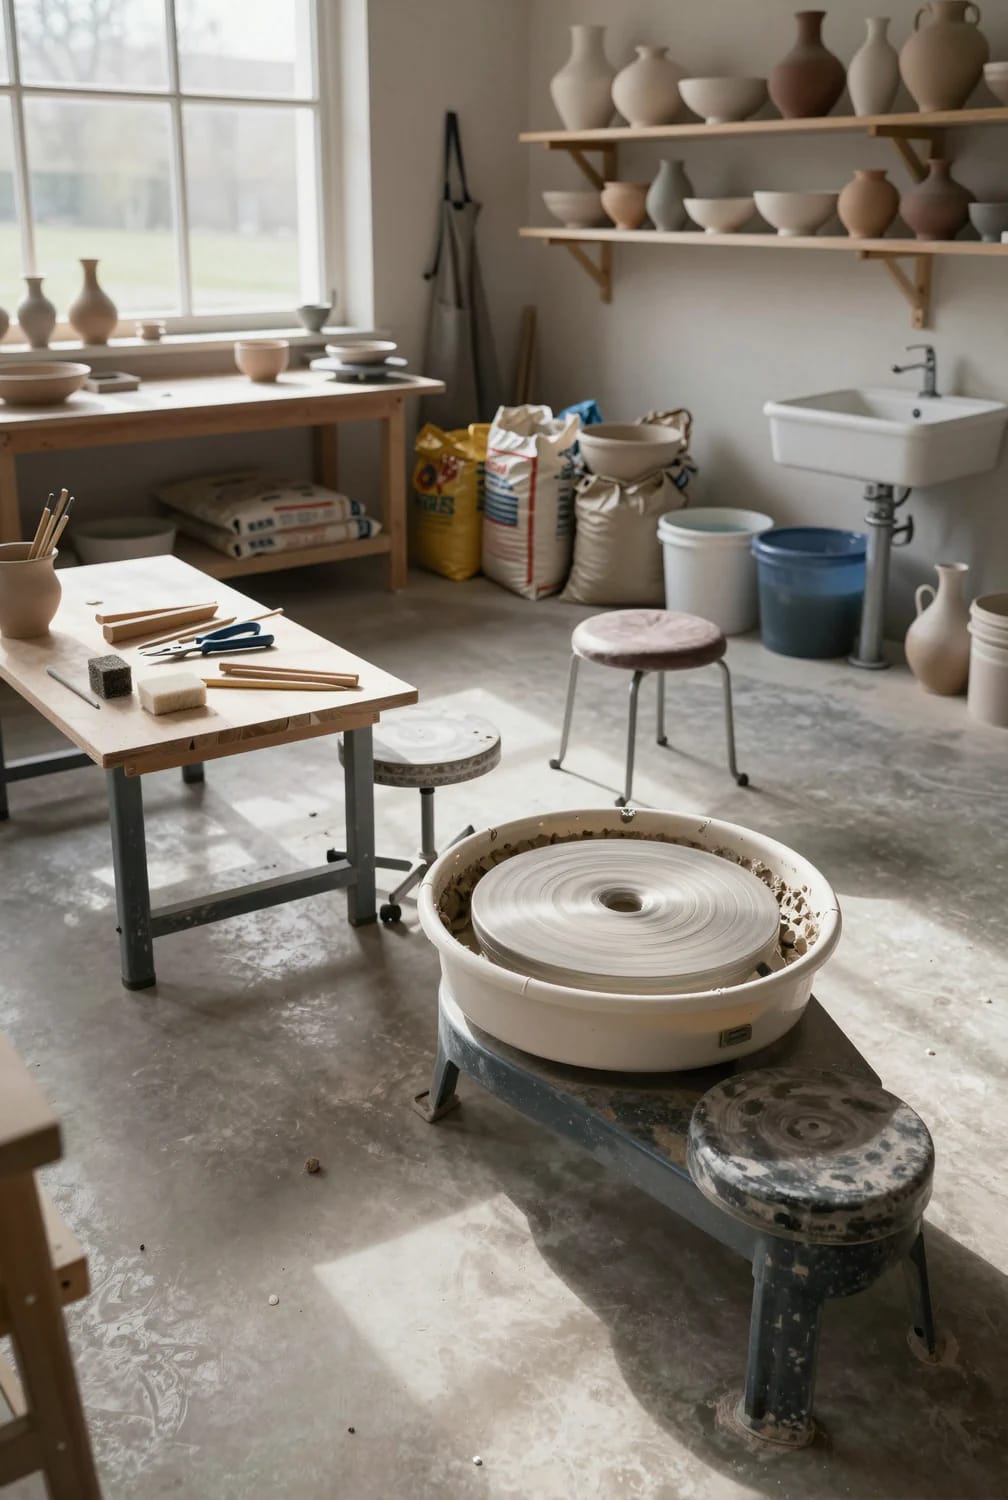
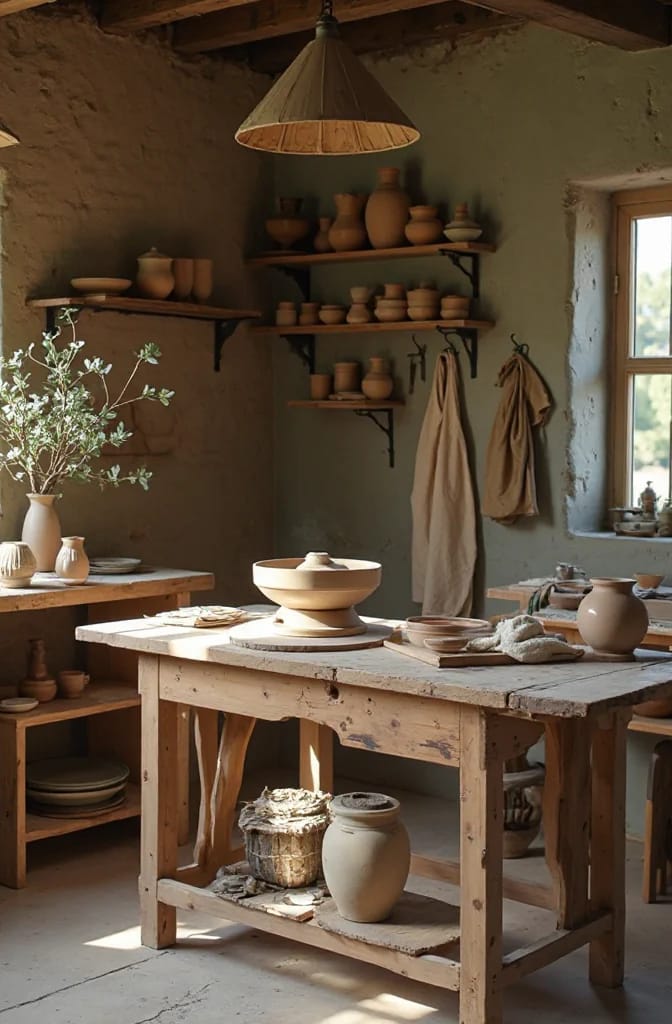
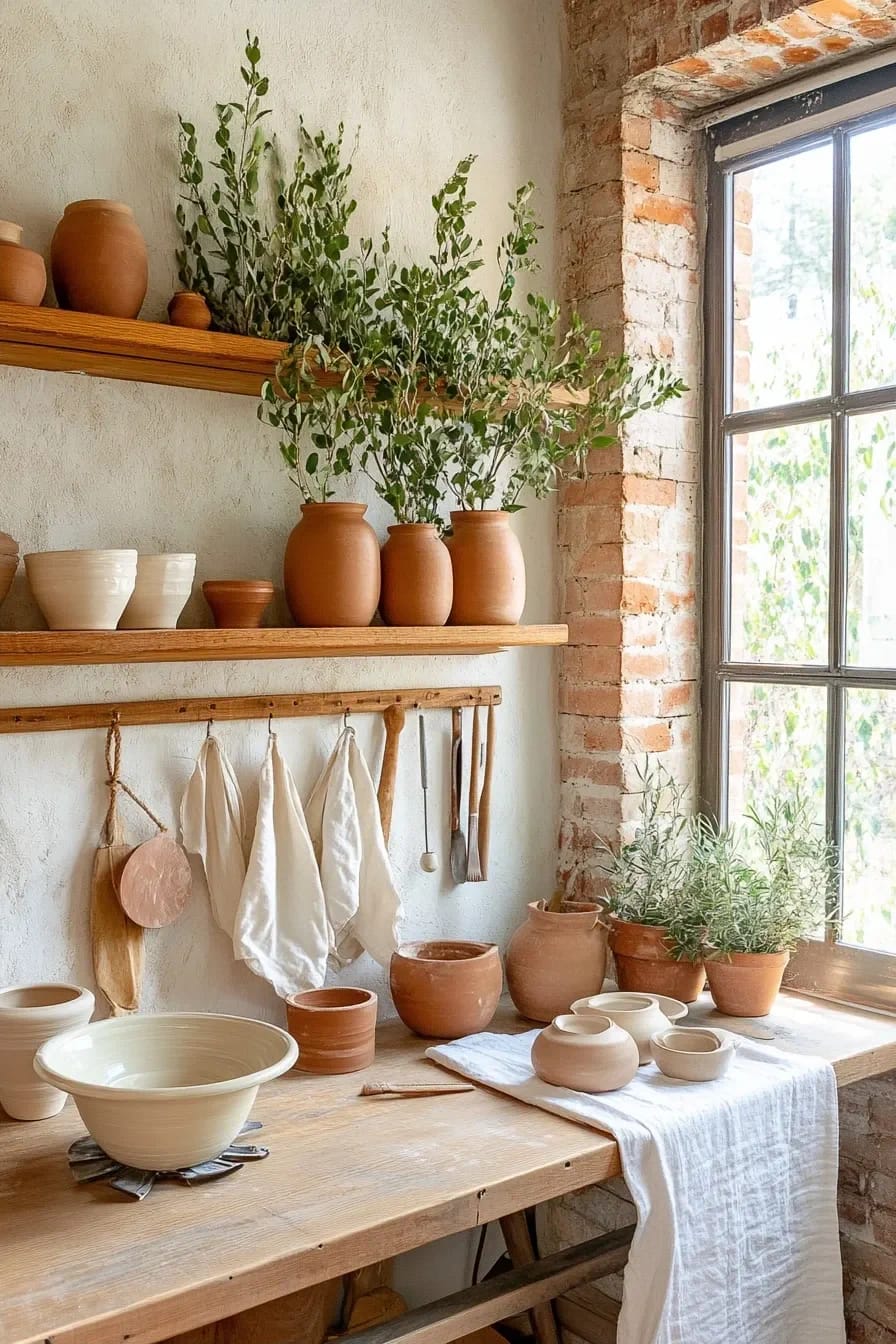
A single ceiling fixture directly above the wheel is the worst possible arrangement, because it drops your own shadow straight into the pot you're trying to see inside. What you need is raking light: a source low and off to one side, roughly at wheel-head height and two or three feet away, so the wall of the form throws a visible highlight and you can read thickness and profile as it changes.
Two directions beats one. A window on your left and a clamp-on task lamp on your right is the cheapest version that works; a north-facing window is the calmest option if you have the choice, since the light stays even instead of swinging from flat to glaring across an afternoon. Colour temperature matters at the glazing table more than at the wheel, where daylight-balanced bulbs around 5000K keep raw glaze looking like itself rather than sallow.
5. Terracotta walls work in a pottery studio, but only in washable paint
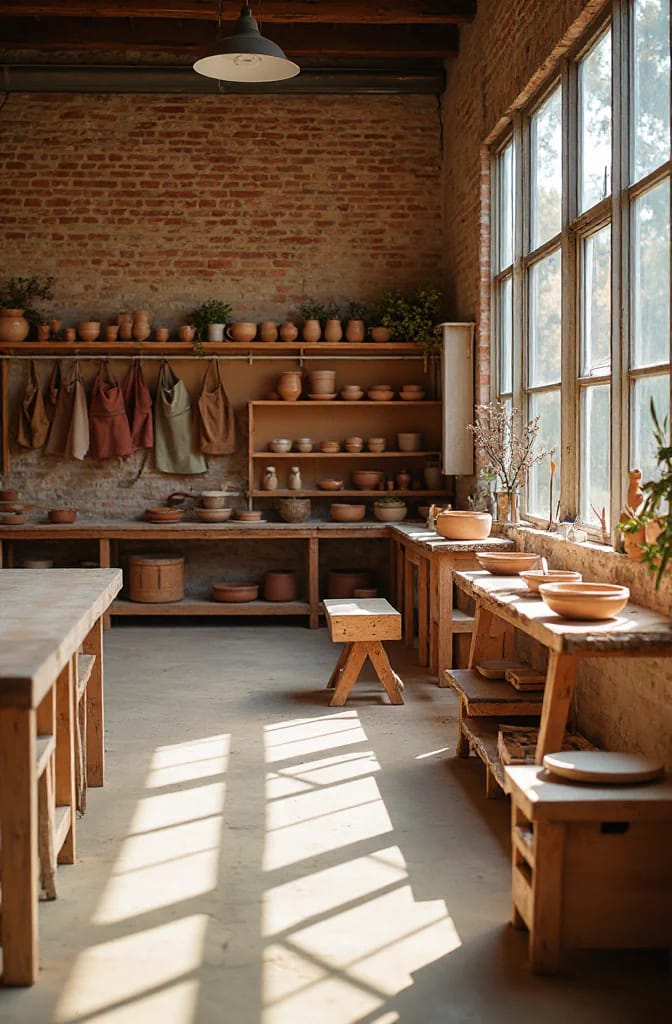
The warm clay-toned wall is not just a Pinterest affectation; it flatters greenware and finished pots the way a white gallery wall flatters neither. The mistake is the finish. Limewash and flat matte paint, which is what most of those photographed rooms are actually wearing, marks permanently the first time you set a wet ware board against it or wipe a splatter off with a sponge.
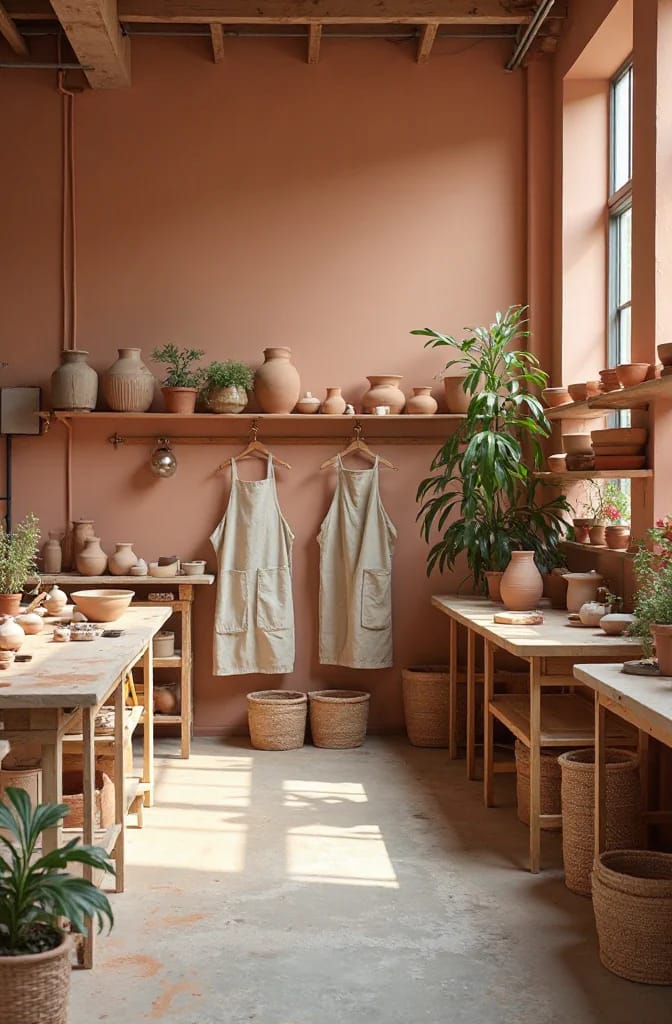
Use a scrubbable latex in eggshell or satin, in an ochre or burnt-clay tone, on the display and dry walls only. Keep the wall behind the glaze table plain white: judging a raw glaze against a warm wall skews your read of every oxide in the bucket, and you will find out at the wrong end of a firing. One wall of colour, one wall of white, is a fair compromise and looks more considered than a room painted all one thing.
Display is where the terracotta earns its place, especially if you make in seasons and want a shelf that changes: a run of glazed winter pieces reads completely differently against a clay-toned wall than against builder’s beige.
6. Size the shelves to your ware boards, not to the wall
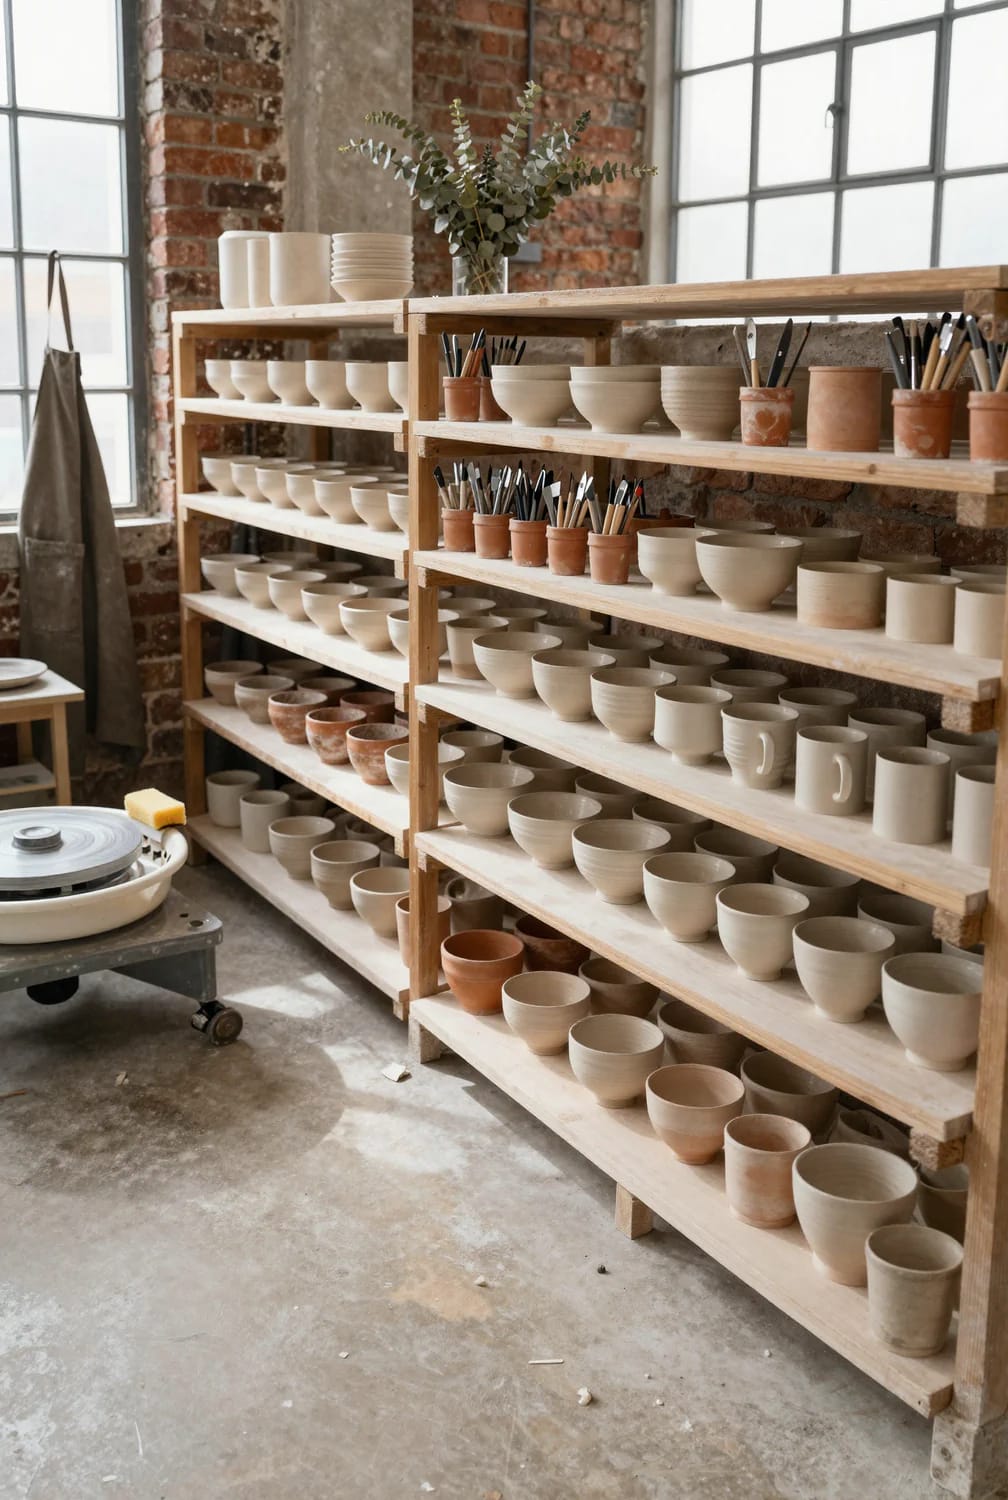
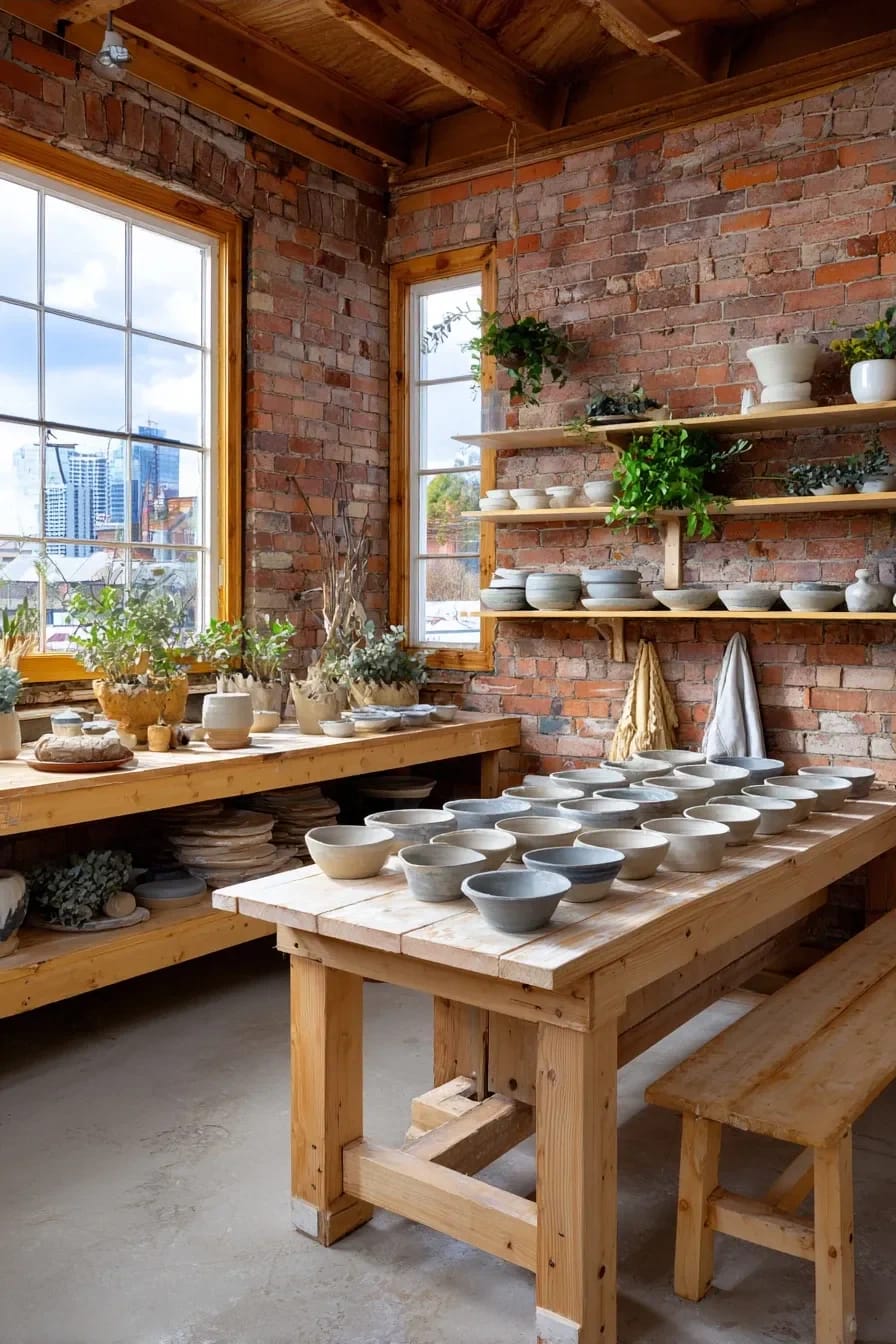
Decide your ware board size first, then build shelving that swallows two boards per shelf with a hand's width to spare. Most people land on boards around 12 by 24 inches because that's a comfortable carry, which puts shelf depth near 14 inches and bay width near 26. Vertical spacing of 10 to 12 inches handles mugs and bowls; leave one bay at 18 inches for taller work so you're not laying vases down.
Wire shelving (the chrome NSF kind, 18 inches deep, rated a few hundred pounds a shelf) is the honest answer over anything with concealed brackets, because fired stoneware is heavy and a shelf of mugs runs 30 to 40 pounds without trying. Wood is fine if it’s ¾-inch ply on a real cleat. Floating shelves are not, whatever the styling suggests. If you want the room to look considered rather than industrial, the trick is the same one that works in a well-run craft room, where the ugly high-capacity storage sits at one end and the display run gets the good wall.
7. A damp box buys you the second session
The reason most home potters abandon pieces halfway is that the clay is bone dry by the time they get back to it. A damp box fixes that: a lidded plastic tote with a slab of plaster cast in the bottom, kept wet, holding humidity around leather-hard work for a week or more.
Container: a 20 to 30 gallon tote with a gasketed lid, straight sides, no ribbing on the floor.
Plaster slab: pottery plaster poured 1½ to 2 inches deep, mixed roughly 70 parts water to 100 parts plaster by weight, left to set flat and cure dry before first use.
Water charge: flood the cured slab, wait ten minutes, pour off standing water. Recharge whenever the surface loses its darkened look.
Ware: pieces on small bats or newsprint so nothing sits directly on plaster, and never a pot that will later be thrown back into reclaim, because a plaster chip in your clay body becomes a lime pop after firing.
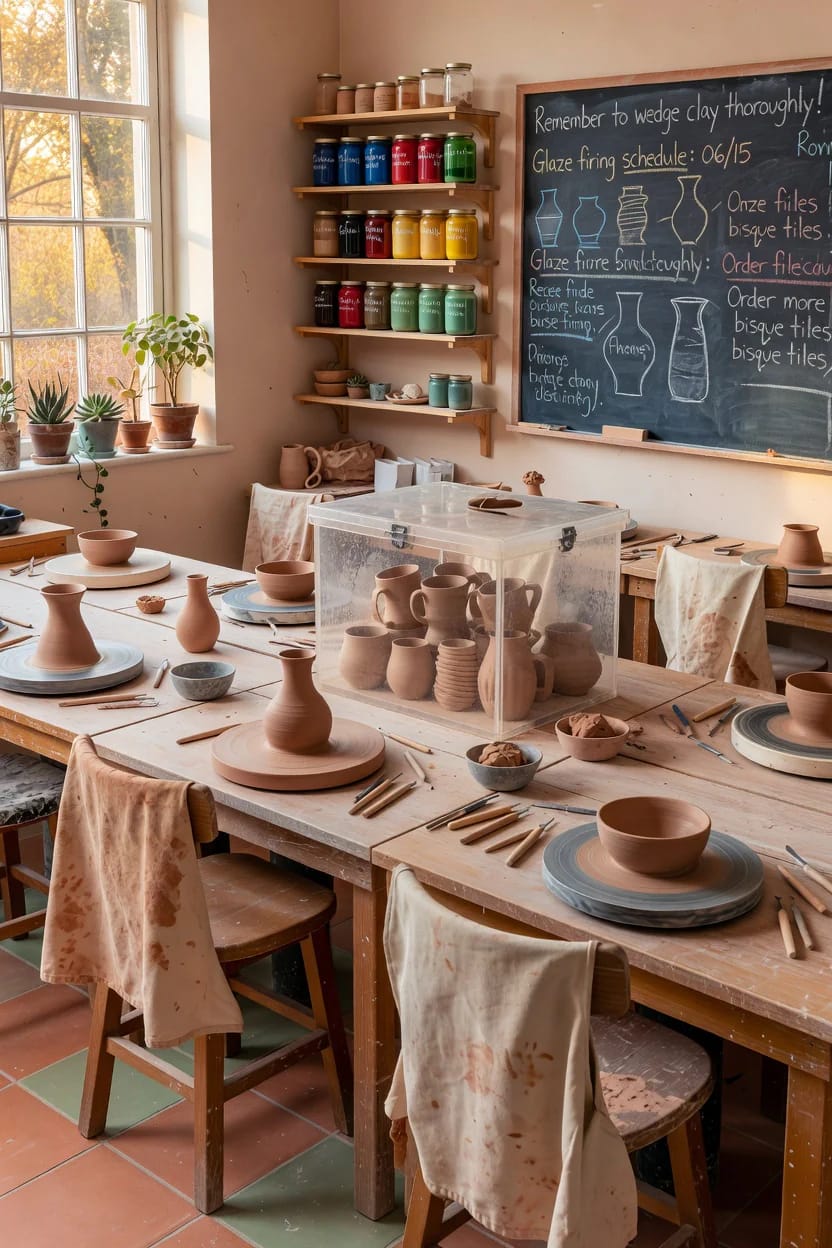
The cooler version works too, and a hard-sided camping cooler is arguably better insulated, though the lid depth limits what fits.
8. The kiln decides the room, not the other way round

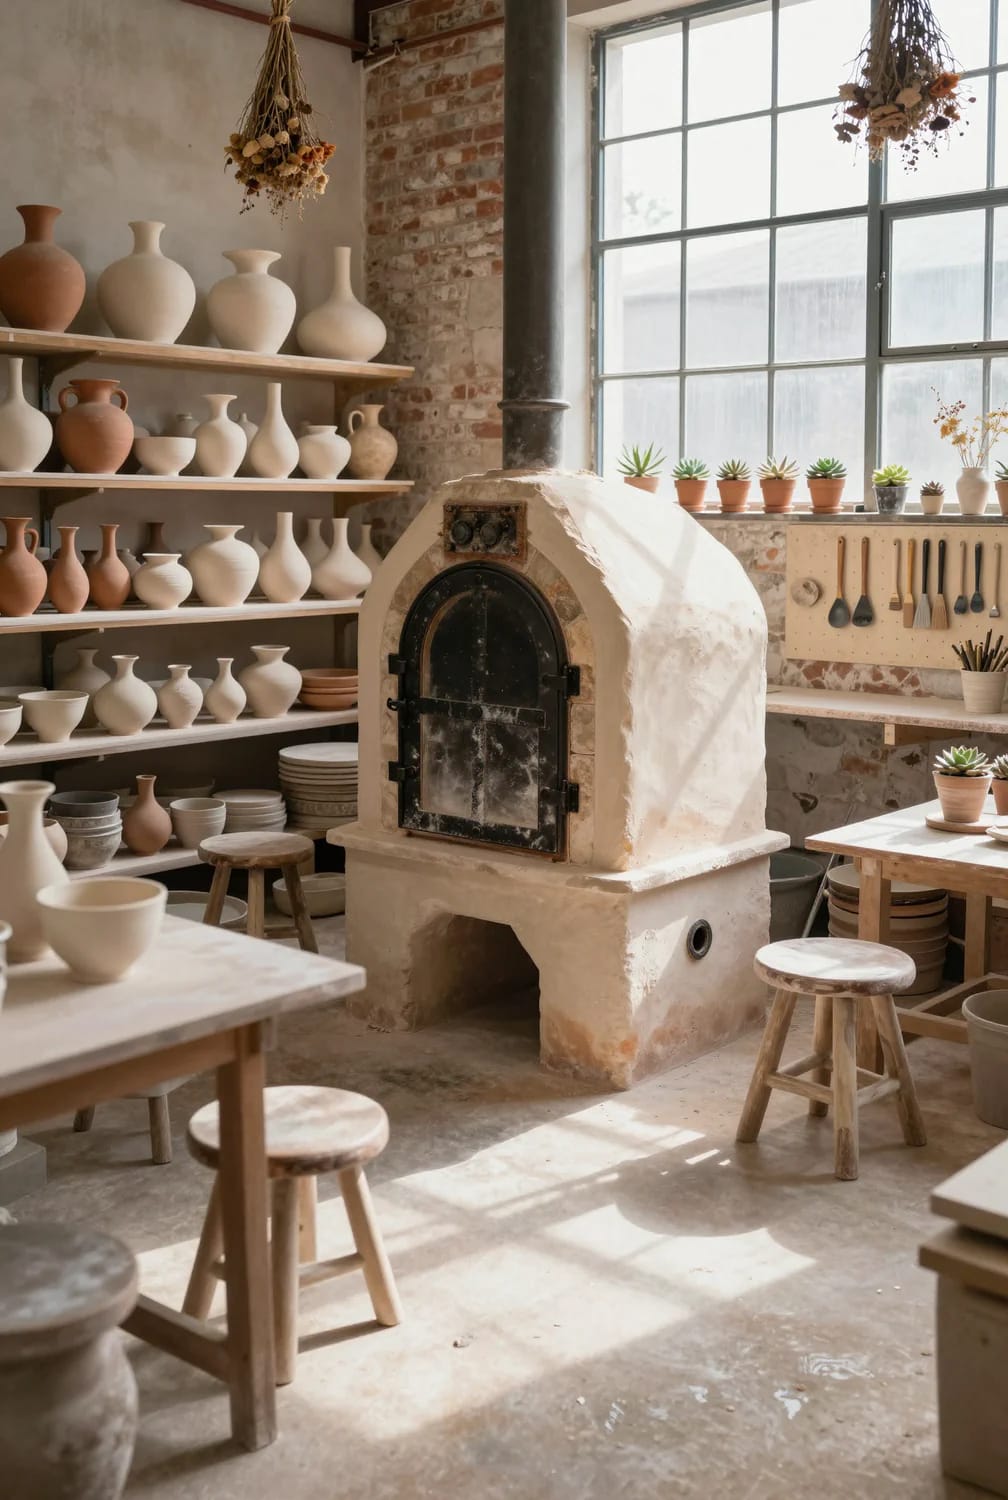
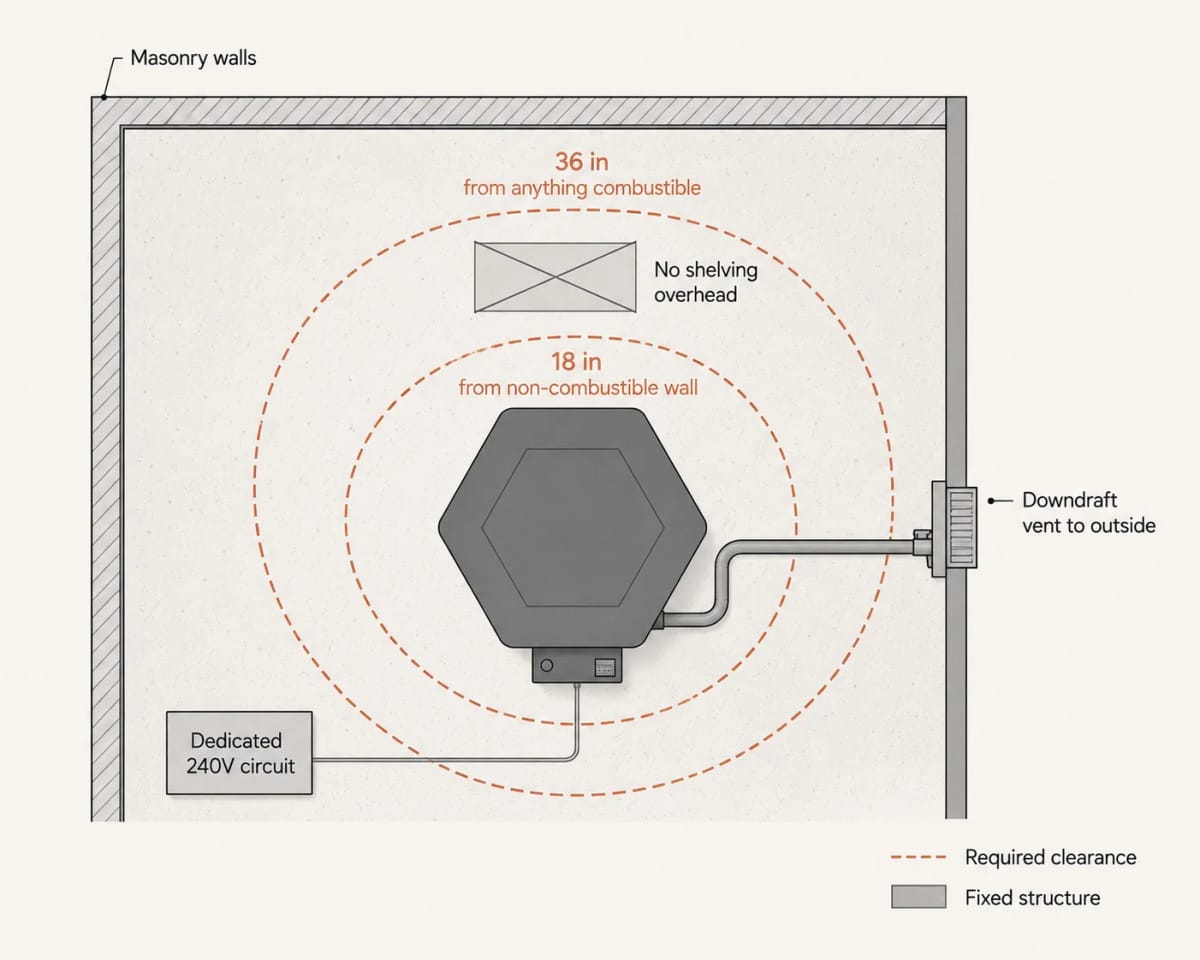
Pick the kiln's spot before you place anything else, because its requirements are the only ones in the room that are non-negotiable. Skutt's own guidance is at least 18 inches from any wall, largely so reflected heat stays off the control board, and most installers work to 36 inches from anything combustible. The floor under it has to be non-combustible: concrete, brick, masonry tile, natural stone. Vinyl plank that looks like stone is still vinyl, and that catches people out.
Power is the second gate. Most full-size studio kilns want a dedicated 240V circuit with the exact breaker and receptacle the manufacturer specifies, and a dryer outlet is usually the wrong amperage and often the wrong plug. Small test kilns run on a 120V circuit, which is the reason so many first kilns are tiny. The third gate is air: a downdraft vent ducted outside pulls fumes from the kiln itself, and it does not remove the ambient heat, so the room still wants a window or a through-wall fan.
Firing unattended overnight, venting into an attached garage that shares air with the house, and stacking a wooden shelf above the kiln to save floor space. I would not put a kiln directly under a bedroom, even with a vent, and I would take the detached-garage option over the basement one almost every time. Get an electrician’s quote before you commit to a location; the price swings enormously with the length of the cable run, and anyone quoting off a photo is guessing.
9. A pottery studio in an apartment is a cart, a table, and a rule
Hand-building at home in a flat is entirely workable; wheel-throwing mostly is not, and the honest reason is water and dust rather than the wheel itself. The setup that works is a wipeable table (a plastic-laminate or sealed-ply top, not raw wood), a rolling cart holding tools, slip, and a covered clay bin, and a hard rule that nothing dry ever gets sanded, swept, or vacuumed with a household machine indoors.
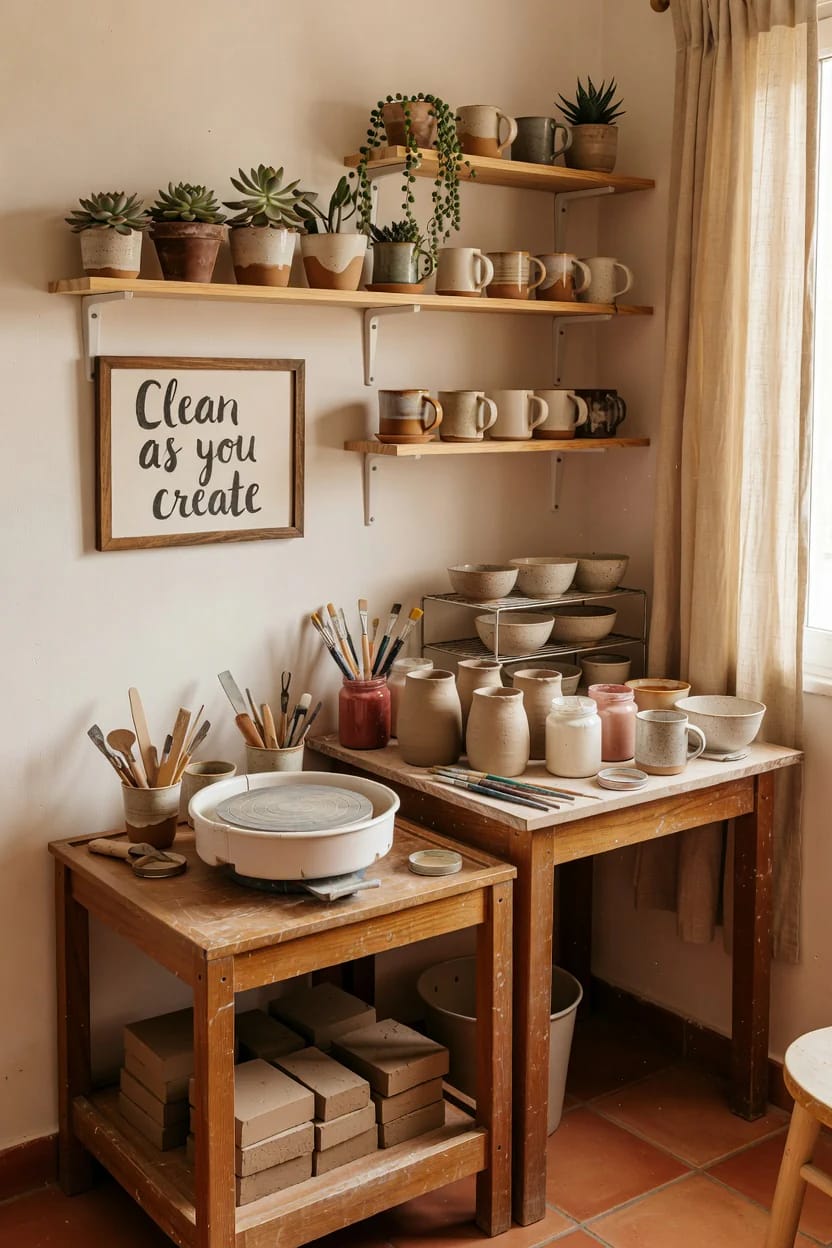
Dry clay and most glaze materials contain crystalline silica, and the hazard is the fine airborne fraction, not the mud on your hands. Never dry sweep and never use a household vacuum, which exhausts the finest particles straight back into the room. Wipe surfaces with a damp sponge, mop the floor with plain water at the end of every session, and wear a fitted N95 or P100 for any dry mixing or sanding. A cloth mask does nothing here.
Six feet of wall in a spare bedroom
72 in run, hand-building only, no plumbing, fires at a community studio.
Left 24 inches: a 30-inch-wide wire shelving bay, four shelves at 12-inch spacing, holding a damp box on the bottom, clay in the middle, finished work up top. Centre 36 inches: a folding laminate-top table at 34 inches high, which is right for standing slab work and a few inches taller than a dining table. Right 12 inches: a two-tier cart parked against the wall, pulled out to be worked around. Two five-gallon buckets live under the table, one for rinse water and one for settled slip, both carried to the bathtub tap rather than the kitchen sink. Total spend lands around $250 to $450 depending on whether the shelving is new, and the table is the one thing worth not buying secondhand, since a wobbly surface makes slab work miserable.
Storage is the thing that decides whether it survives the first month. The layouts that work borrow from hobby rooms that share space with something else, where everything has a parked position. If the clay corner is sharing a room with a desk, the geometry is close to a corner working setup, with the difference that your corner needs a wipeable perimeter.
10. The backyard shed is the best pottery studio most people can actually build
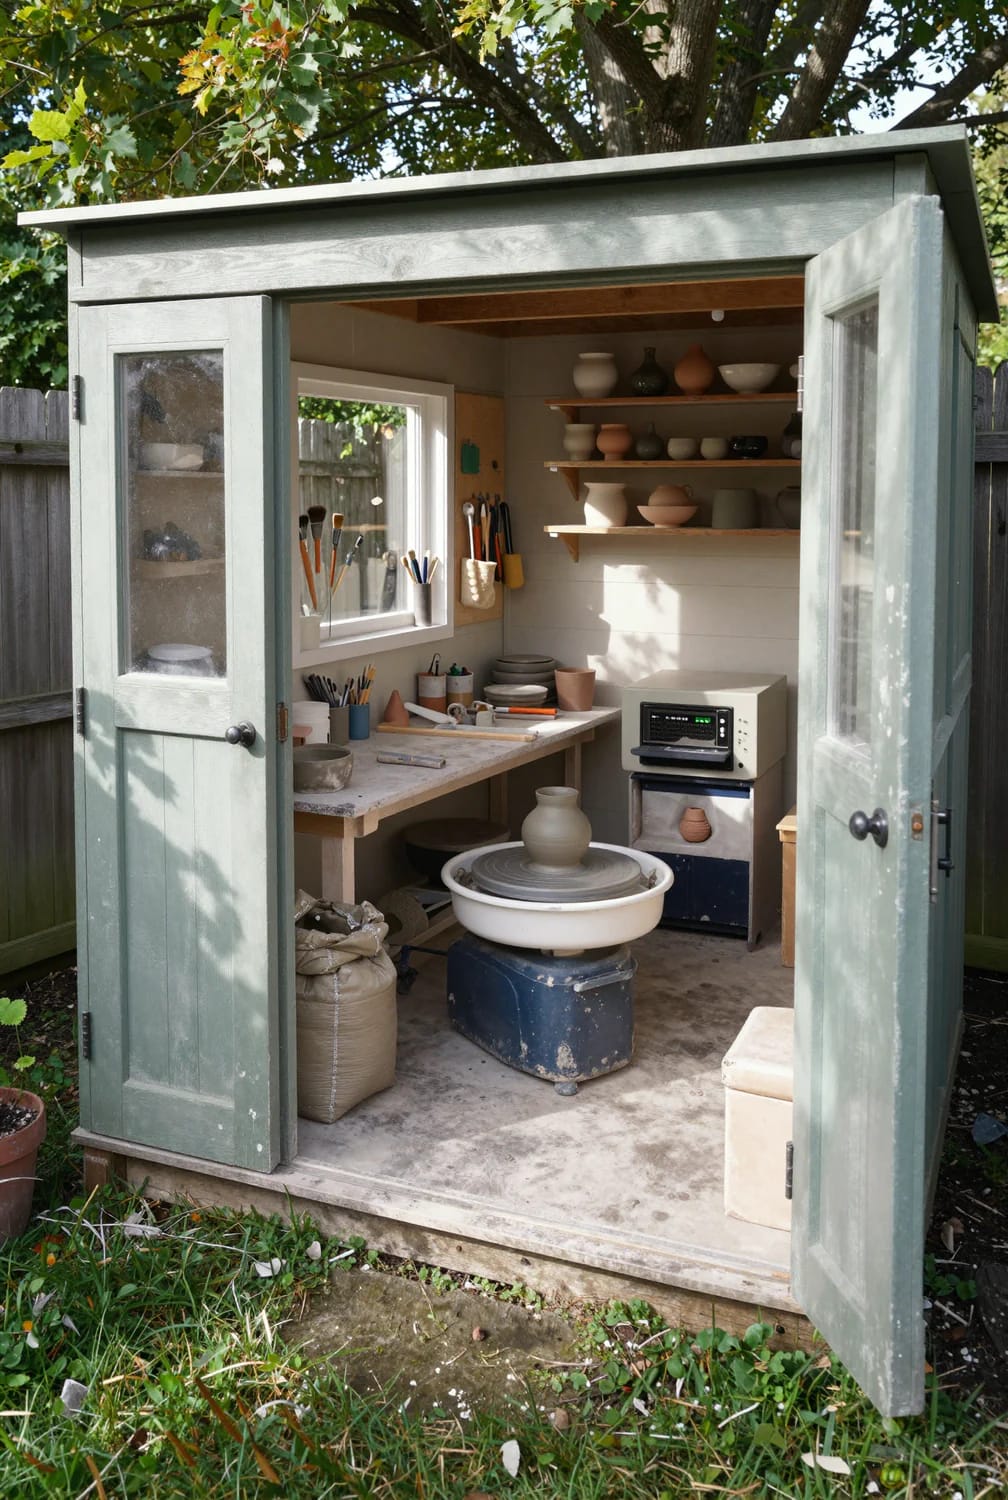
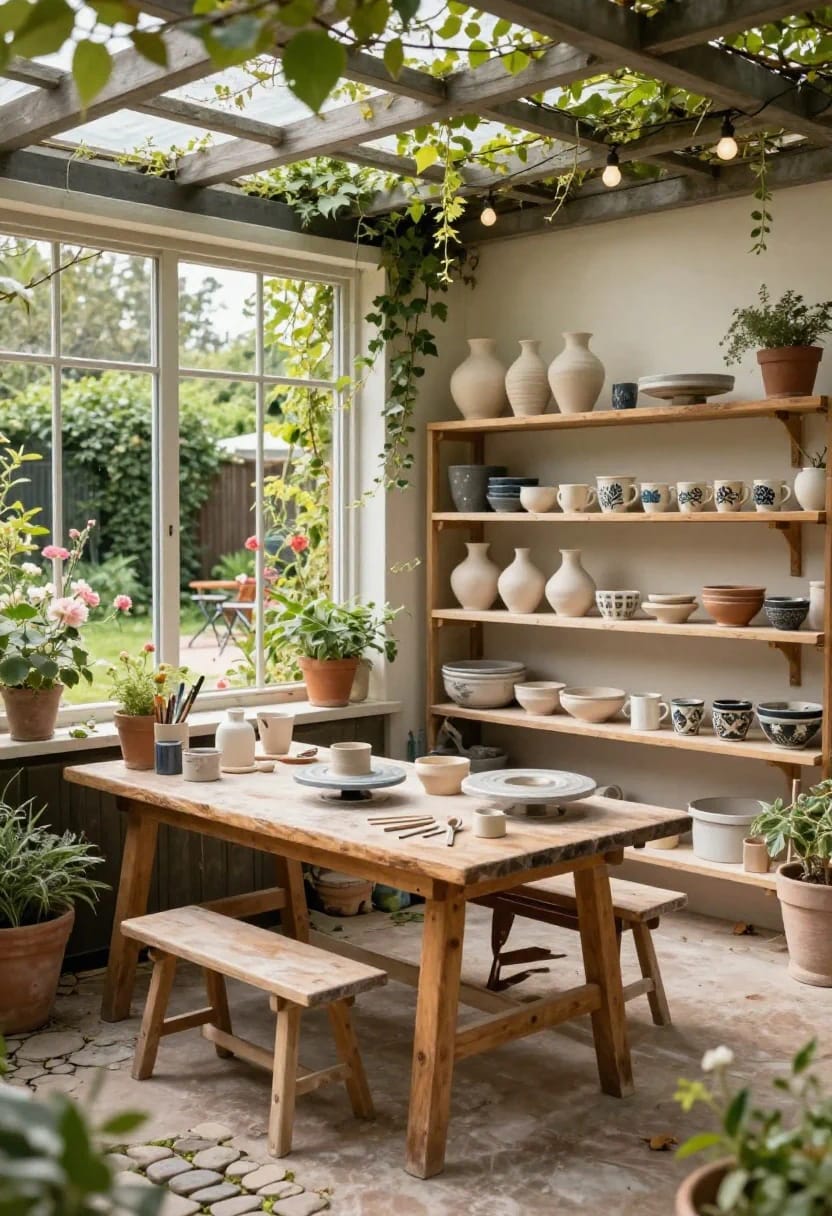
An eight by ten shed, once insulated and wired, gives you about 80 square feet, which comfortably holds a wheel, a table, and a full wall of shelving, and it takes all the water and dust out of the house permanently. That last point is worth more than the square footage. Insulate the walls and roof, seal the floor or pour a slab, and run a dedicated circuit rather than an extension lead across the lawn.
Two cautions. Unheated sheds freeze, and freezing damages both greenware and any water left in a bucket or a wheel splash pan; in a cold climate you want a frost-watch heater or you lose December and January. And if the kiln is going in the shed, the clearances from item eight apply exactly as written, plus a non-combustible floor under it. The exterior end of this project is mostly a shed problem rather than a clay problem, and the usual backyard shed decisions about siting, roofline and door width are worth settling before the concrete goes down.
| Location | Water access | Kiln possible | Year-round | Realistic setup cost |
|---|---|---|---|---|
| Spare room | Carry it in | No | Yes | $250 to $600 |
| Attached garage | Often plumbable | With vent and clearances | Cold in winter | $600 to $2,000 |
| Backyard shed | Needs a run or a bucket system | Yes, best case | Only if insulated | $3,000 and up |
| Balcony | No | No | Seasonal | Under $300 |
Sequence matters more than budget here. Floor, sink and trap first, because they're the ones that get expensive once furniture is in the way. Shelving and the damp box next, since they're what make a second session possible. The kiln last, after you know how much you actually fire and whether the panel can take the circuit.
One honest gap: I could not find reliable numbers for what a dedicated kiln circuit costs, and the quotes people report vary by a factor of four depending on cable run and panel capacity. Treat any figure you read, including a range, as a placeholder until an electrician has stood in the room.
If you do only one thing this weekend, put a bucket of clean water beside the wheel and stop rinsing at the tap. It costs nothing, it saves the drain, and it is the habit every other decision on this list is quietly built around.
Related Posts
- Workshop Studio Ideas for People Who Actually Make Things
- 15 Charming Xmas Pottery Ideas for a Modern Winter Look
- 15 Vintage Craft Room Ideas for a Charming Creative Space
- French Mudroom Ideas That Hold Up to Actual Mud
- 15 Cool Winter Ceramic Decor Ideas for a Winsome Home
- 15 Eclectic Craft Room Office Ideas for Modern Creatives
this was so helpful, thank you for posting!
Thank You ❤️