
The usual advice is to buy the bundle: plush gingerbread men, a “Baking Spirits Bright” sign, a plastic candy garland, all staged on a counter nobody apparently chops onions on. That is backwards. Gingerbread works as a palette plus two or three real objects, and it falls apart the moment it becomes a themed merchandise pile. The nine ideas below are ordered so the cheap, high-impact moves come first and the ones that survive a working kitchen come with the warnings attached.
One thing to settle early: edible decor is on a clock. A baked gingerbread house stops being good to eat inside a week or two, collects dust, and can attract ants if it sits out uncovered. Clear lacquer preserves it for years but permanently ends its career as food. Plan for that before you build anything.
Most of this can be done for under fifty dollars using surfaces you already have, which is the whole argument for the counter, the window frame, and the cabinet fronts over yet another storage bin of seasonal plastic.

1. Build the palette on molasses brown and icing white, not red and green
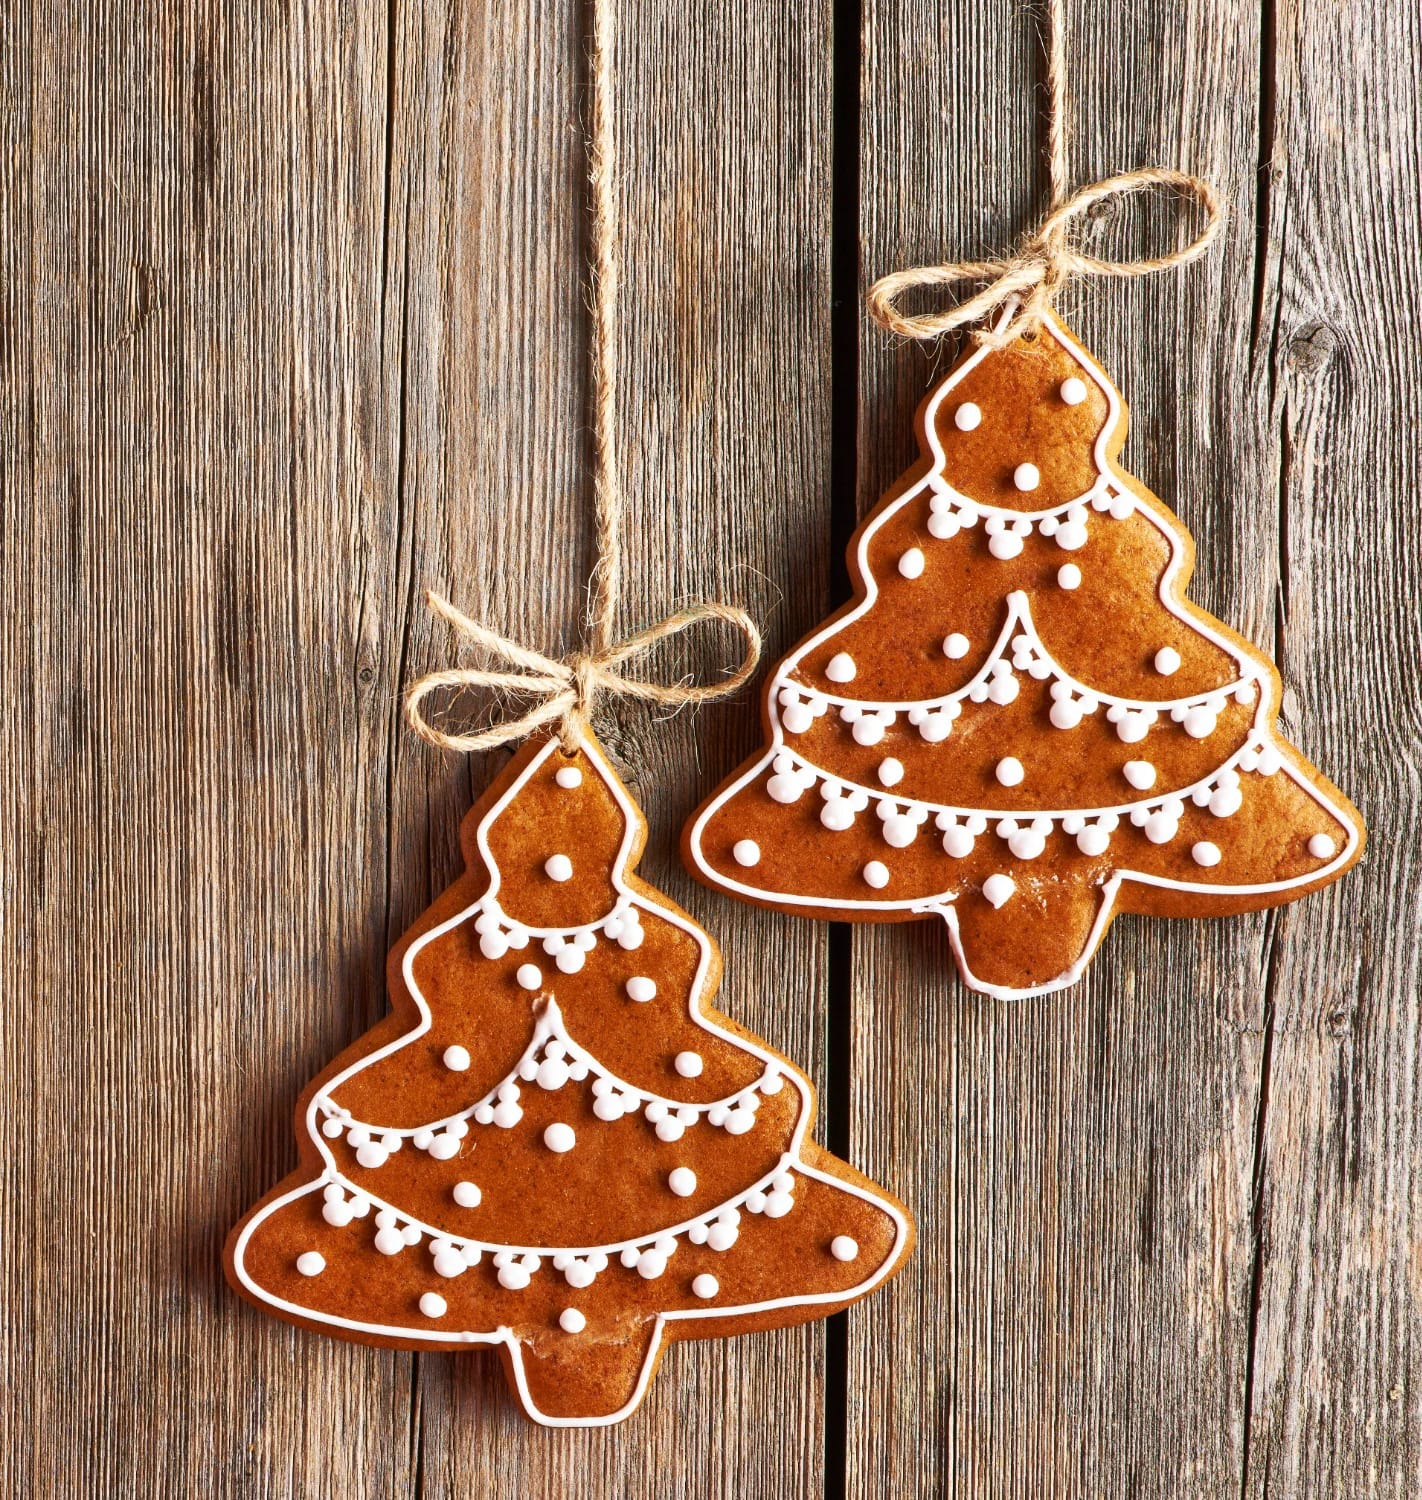
Gingerbread is a brown-and-white scheme with one candy accent, and the fastest way to wreck it is to bring standard Christmas red and green along for the ride. Brown reads warm. Fir green reads cool. Put them side by side under kitchen lighting and the brown goes muddy, the green goes plastic, and the whole counter starts to look like a school craft table. Pick the three tones deliberately: a deep molasses brown (kraft paper, unfinished wood, real baked cookies), a chalky icing white (matte, never glossy), and roughly ten percent of one accent, candy red or peppermint pink.
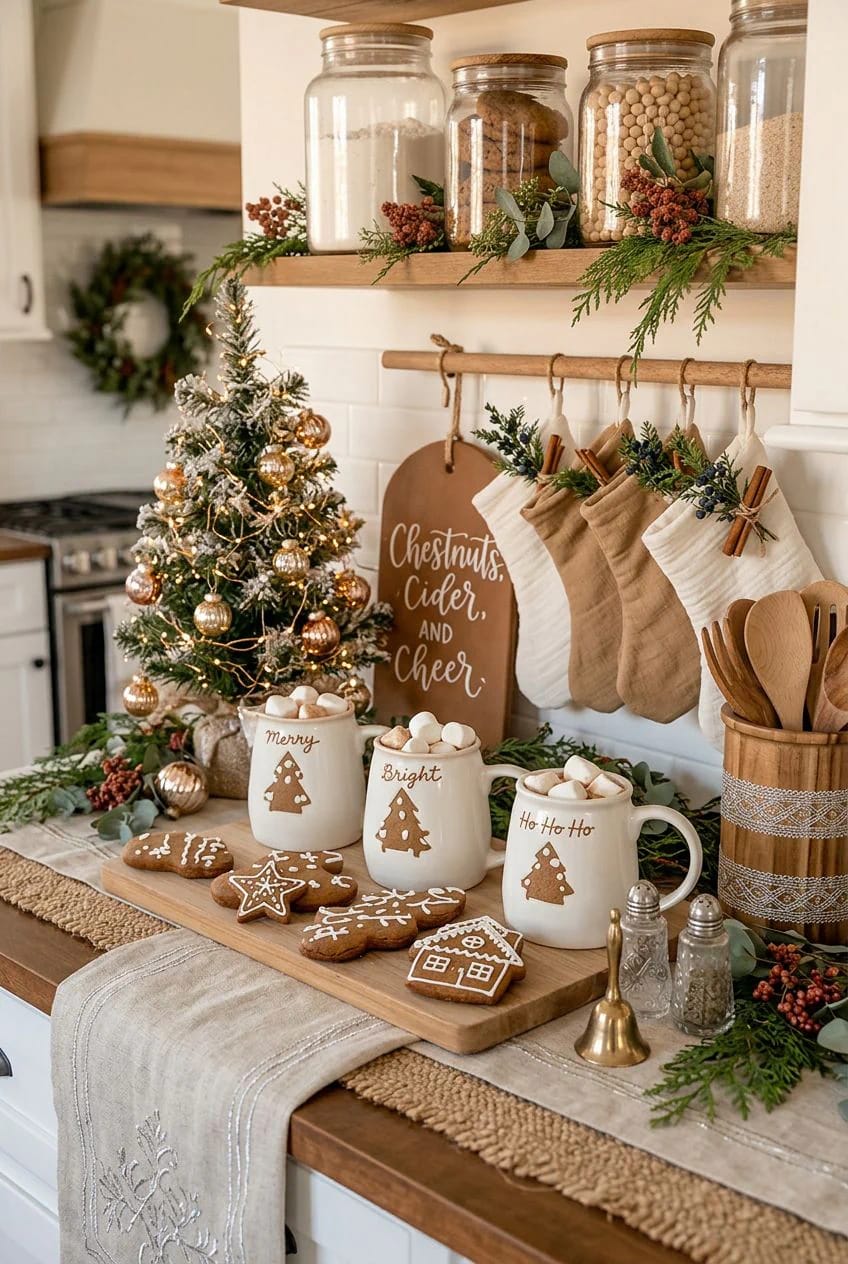
Granted, this only holds if your cabinets cooperate. Cream, white, or pale oak fronts carry brown decor easily. If you already have dark walnut or espresso cabinets, the gingerbread pieces disappear into them, so the answer is to push the icing white harder: white bottle-brush trees, white ceramic, white ribbon, and let the brown come from the cookies alone. Skip the printed sign. Nobody has ever walked into a kitchen and thought, at last, a word.
2. Pipe faux royal icing on the glass cabinet doors
If you have glass-front uppers, draw the icing rather than buying it. A white liquid chalk marker on the inside face of the glass gives you the scalloped trim of a gingerbread house at roughly the cost of a sandwich, and it comes off in January with a damp cloth. It is the single cheapest idea here and the one people ask about.
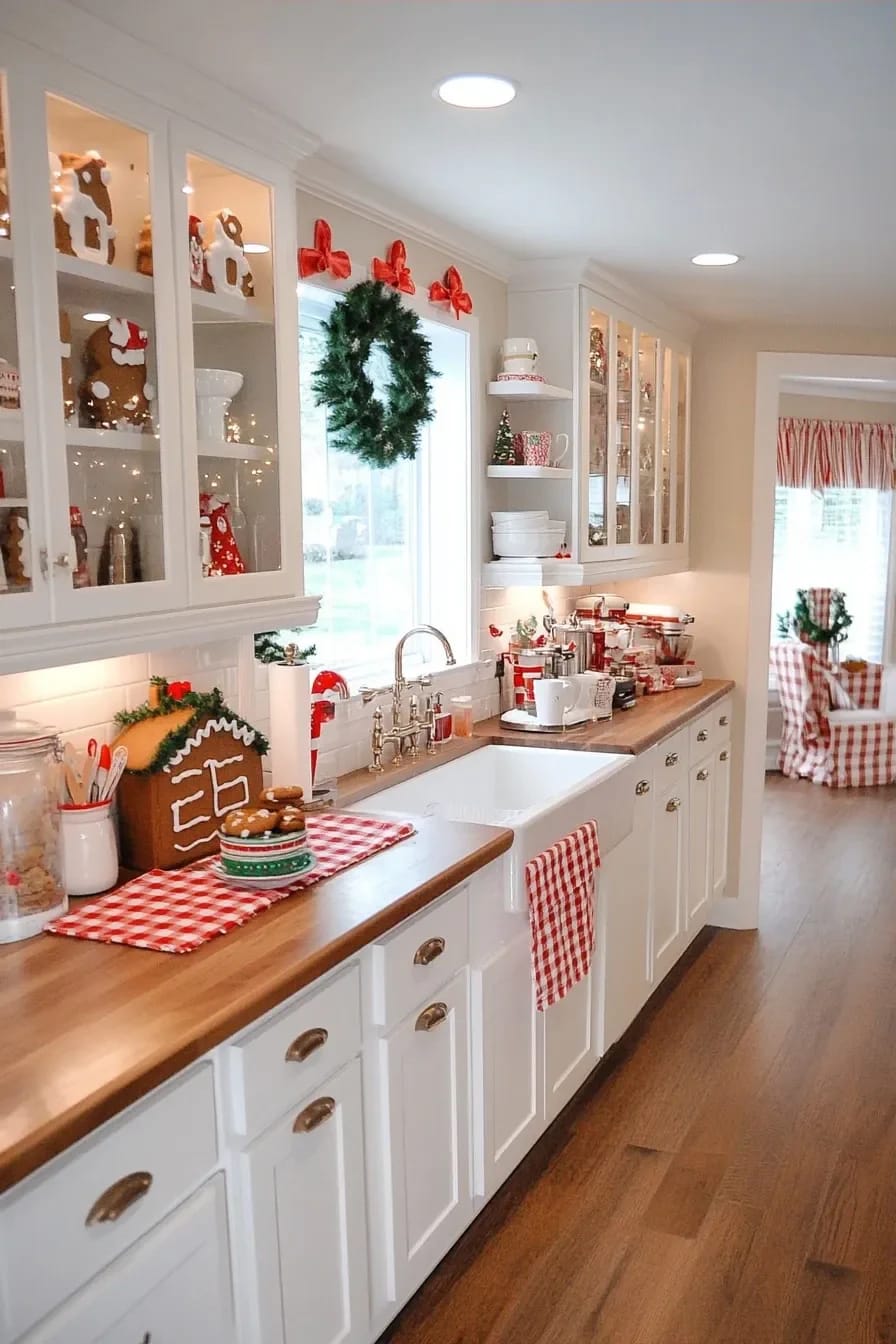
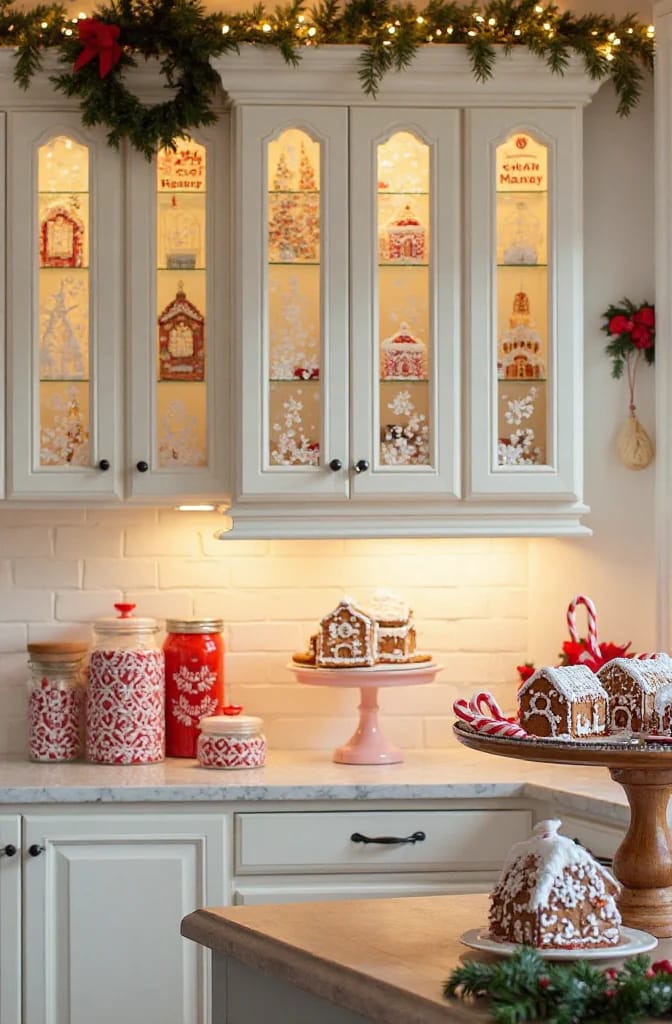
Water-based chalk markers wipe off. Paint pens do not.
Buy the water-based kind and test one stroke in a bottom corner first. Oil-based paint markers and acrylic paint pens bond to glass and will have you out there in February with a razor blade. A fine-tip white set like these Arteza liquid white chalk markers with a fine tip runs somewhere in the ten to fifteen dollar range, and one pen covers a whole run of cabinets. Glass only. Do not try this on painted wood or a laminate front, where the pigment sinks into the finish.
Draw the frosting line, not a picture
Scallops along the perimeter, dots at the corners, maybe a single swag across the center rail. That is the entire vocabulary. Stenciled snowflakes and cursive “Joy” turn the pane into a car dealership window, and they block the view of the dishes, which is the reason you have glass fronts in the first place. If you want more from the cabinetry itself, the rest of what cabinet fronts can carry at Christmas covers wreaths, ribbon bands, and the hardware trick nobody uses.
3. Give the tiered tray one job
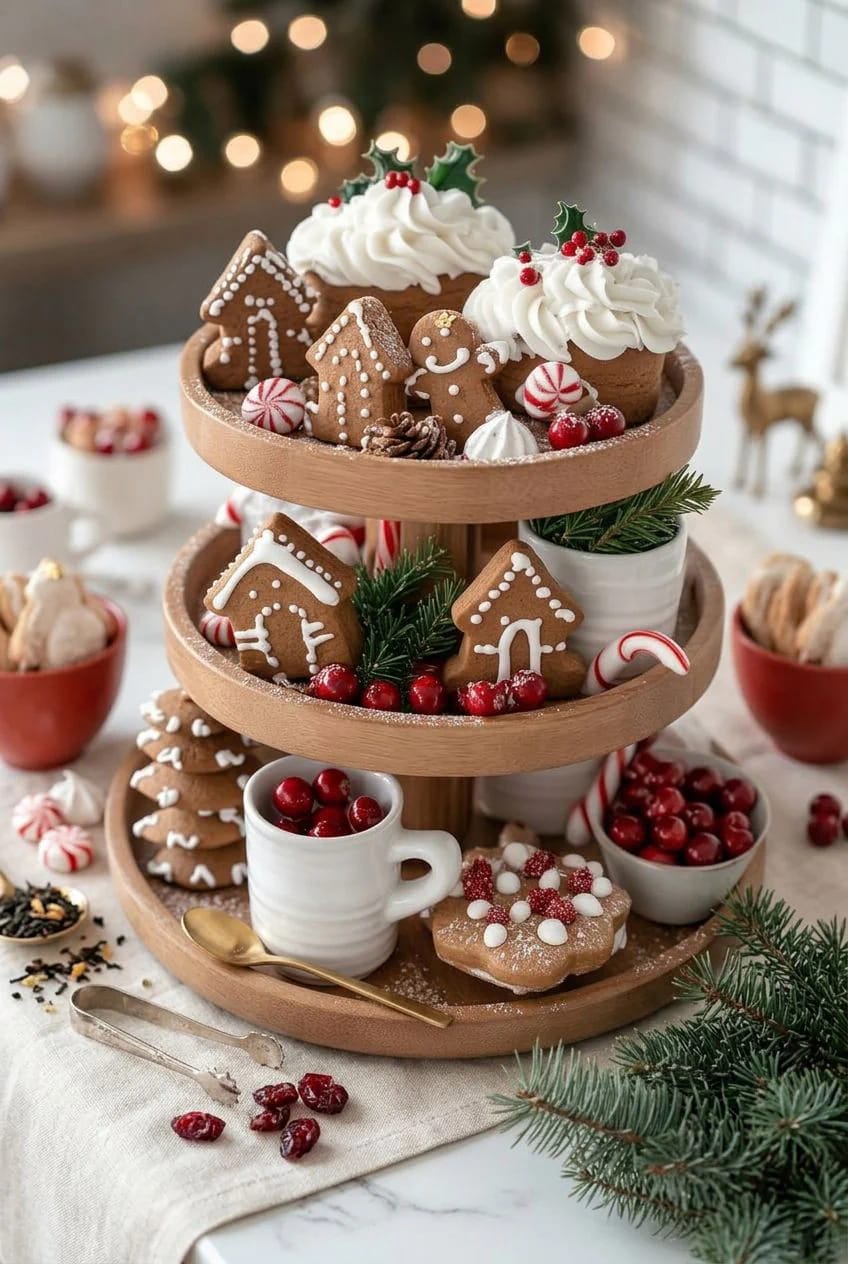
A gingerbread tiered tray fails when it becomes a landfill of every small brown object you own. Give it a single theme (cookies and candy, or houses and trees, not both) and cap the whole thing at five to seven objects across all tiers. A standard three-tier stand is about eighteen to twenty inches tall, which sounds like a lot of real estate and is not.
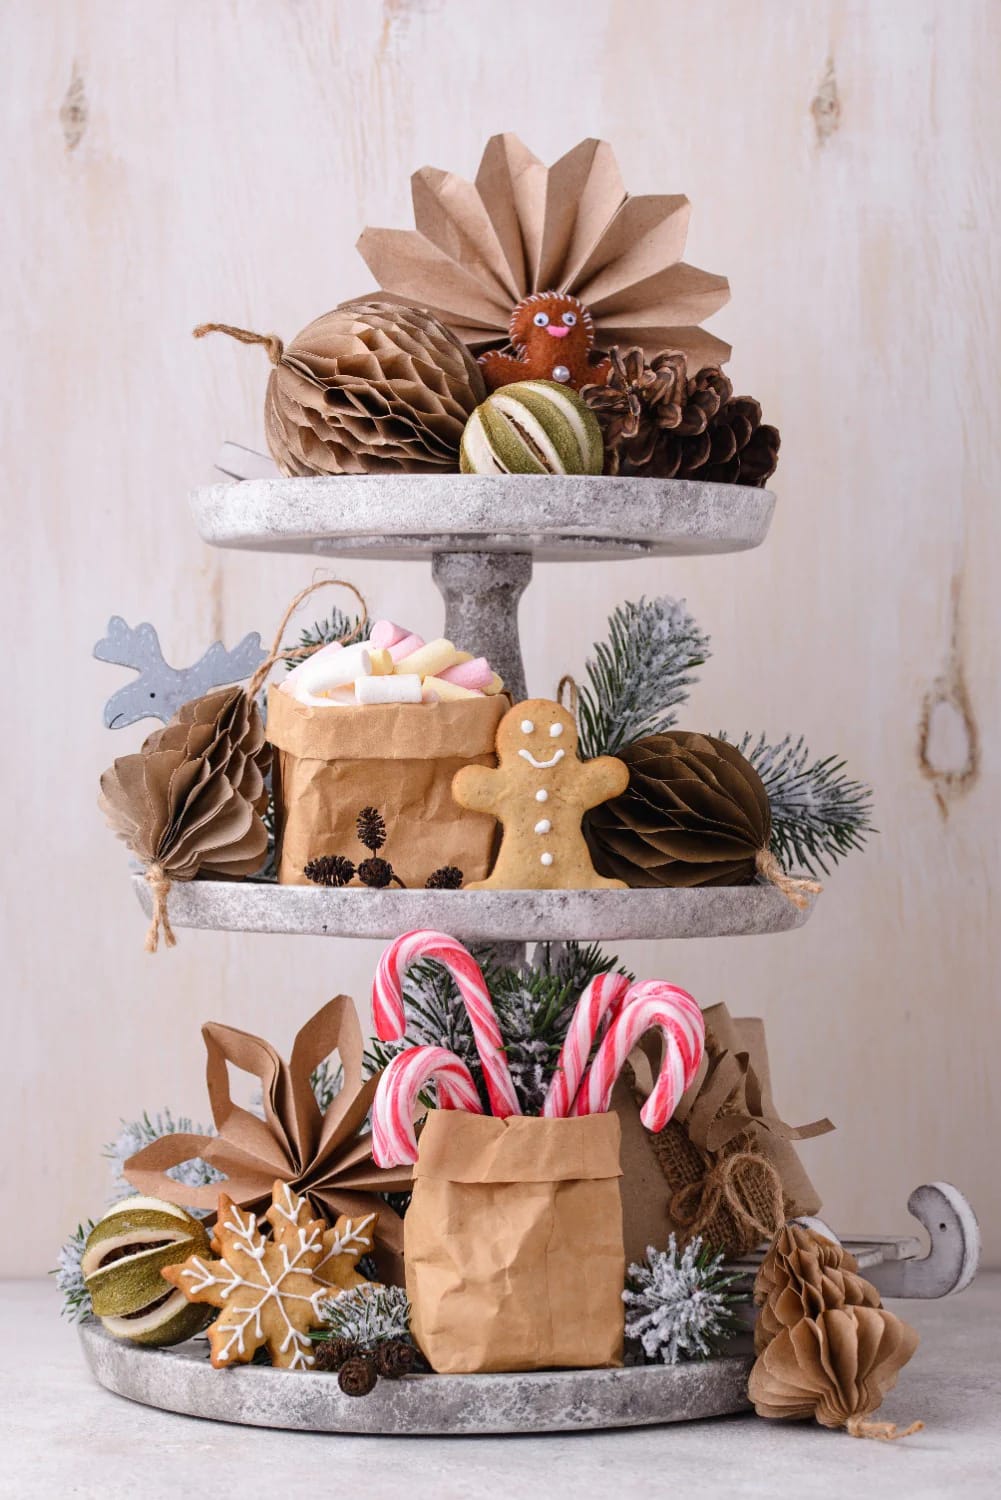
Weight the bottom tier with the tallest single object (a small house, a jar of peppermints), keep the middle busy, and leave the top tier almost bare with one cookie propped upright. The empty air is what makes the arrangement read as styled instead of stored. If real cookies are on there, swap them out weekly; they go stale, and stale cookies on an open tray are an open invitation to ants. For the counter beyond the tray, what else earns counter space in December is worth a look before you commit surface you need for cooking.
4. One gingerbread house, on a cake stand, under a cloche
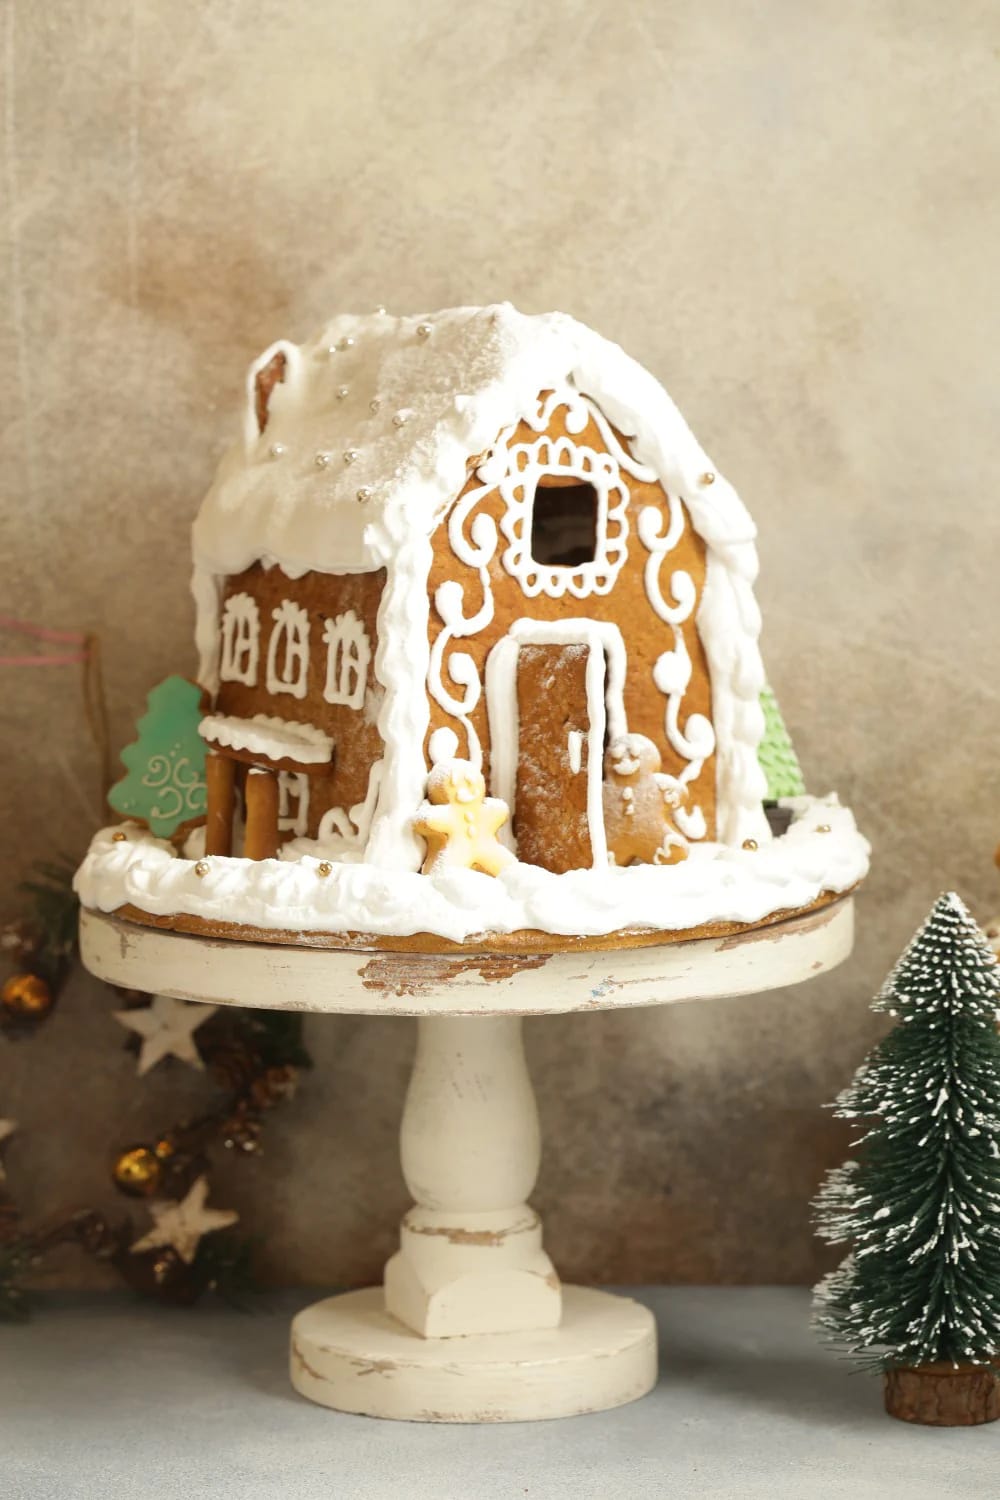
Raise the house and isolate it. A gingerbread house sitting flat on the island is a project; the same house on a white cake stand under a glass cloche is a centerpiece, because the stand gives it a plinth and the dome gives it a frame. Clear the rest of the island while it is up there. One object at height beats four objects competing.
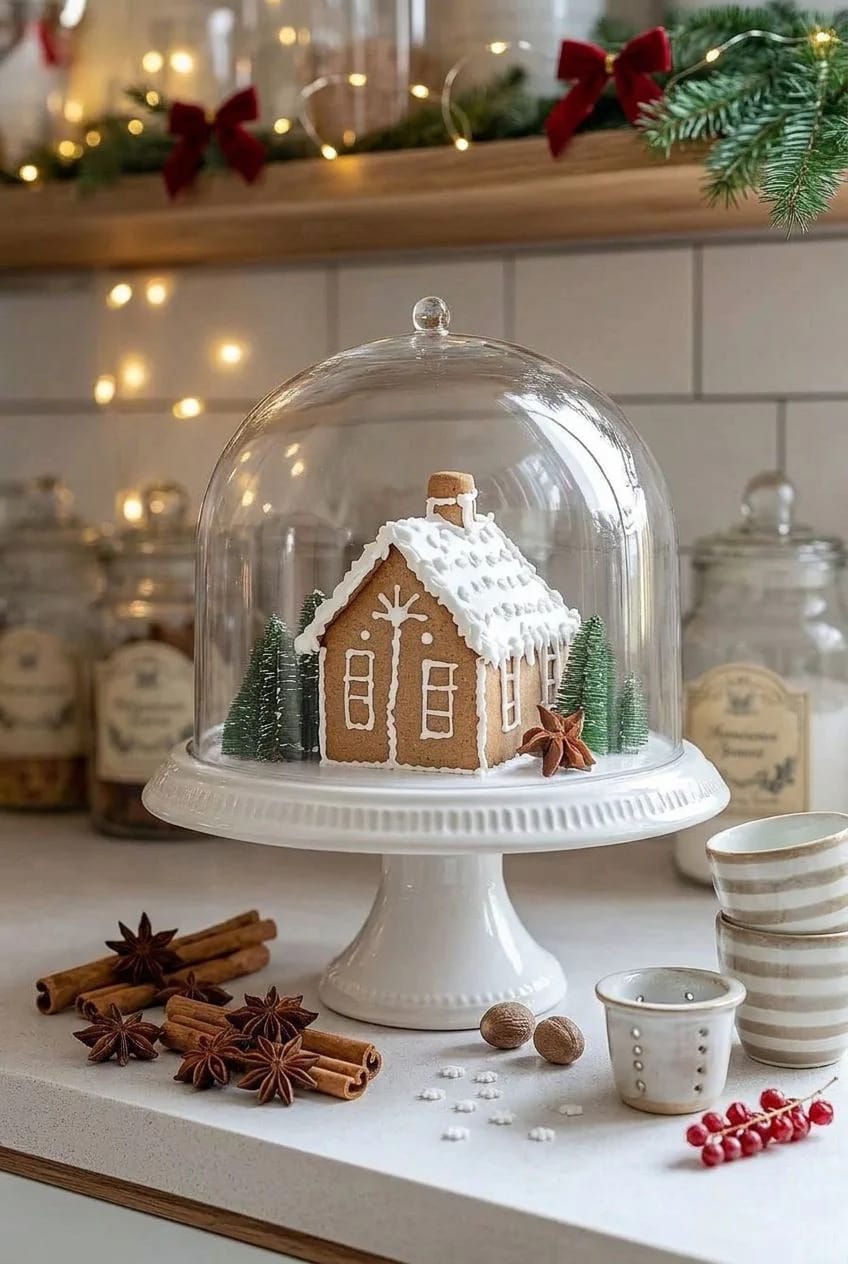
The two-week clock on a real one
A baked house holds its structure for months, but it stops being pleasant to eat after a week or two, and left uncovered it collects dust and can draw ants. If you want to keep it, a clear acrylic or polyurethane spray seals it and it will come back next year, at the price of never being food again. Tell the kids before you spray, not after.
Ceramic and resin houses are the ones that come back
A ceramic or resin house is the low-drama version: no crumbs, no clock, and it stores in a box. Light it with a battery tealight rather than a plug-in bulb so there is no cord crossing the island. Pricing on these swings hard between seasons and sells out early, so treat any figure you read in a roundup, including this one, as a guess rather than a quote.
 23 Christmas Kitchen Island Decor Ideas That Bring Instant Holiday Charm More ways to dress the island without giving up the surface you actually work on.
5. Turn the dead space above the cabinets into a gingerbread village
The soffit ledge above your uppers is the best gingerbread real estate in the house and it is currently holding a wicker basket from 2011. A row of houses up there reads at eye level from the doorway, sits far above every work surface, and cannot be knocked into a mixing bowl.
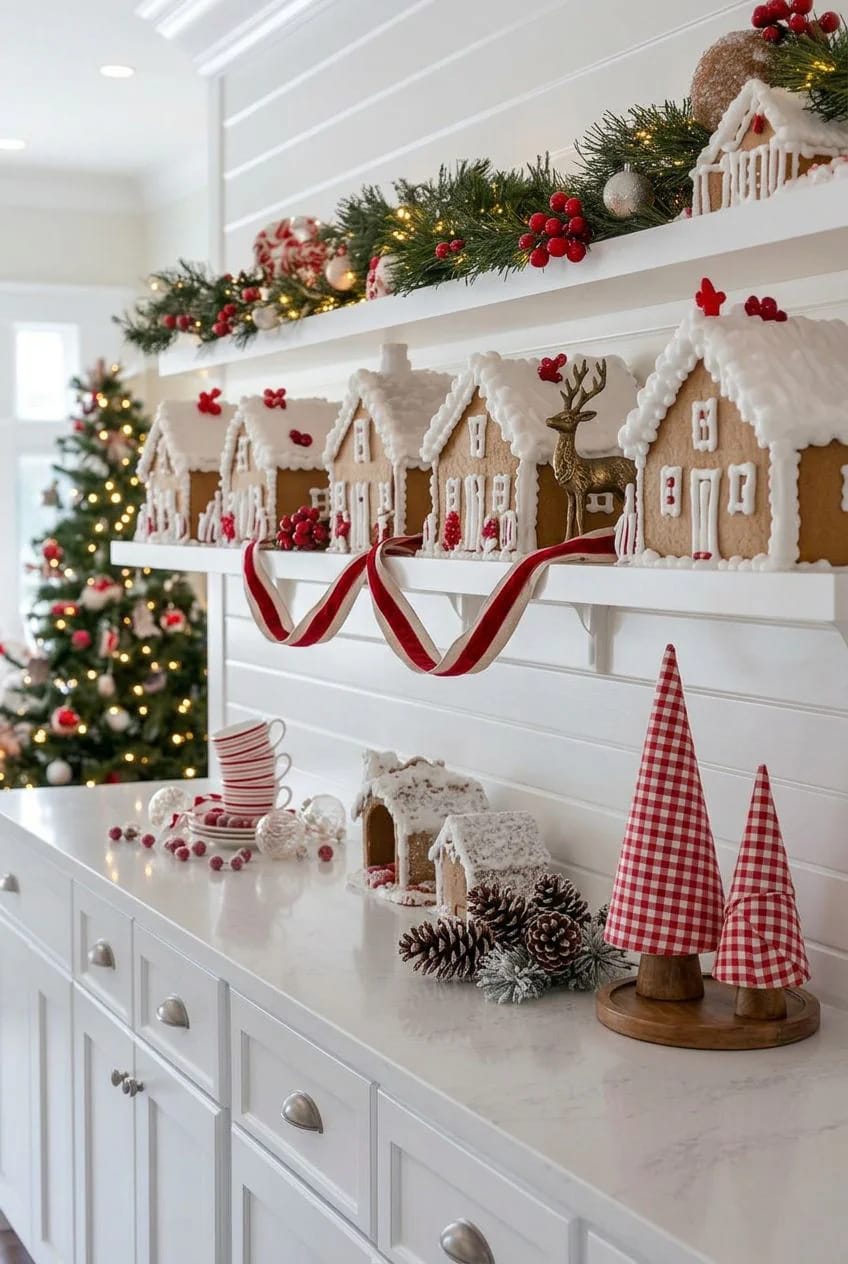
Scale up, not out. Objects on a high ledge lose about a third of their apparent size, so a village of tiny two-inch houses reads as clutter from the floor. Use three to five pieces at graduated heights, tilt the front faces down a few degrees toward the room, and hide a warm strip light or two battery puck lights behind them on a six-hour timer. For a longer view of that shelf, how that ledge gets styled the other eleven months has the proportions worked out.
An eight-foot cabinet run, done in an afternoon
8 ft of soffit ledge, roughly 14 in deep, viewed from a doorway 10 ft away
Three houses at twelve, nine, and seven inches, spaced unevenly with the tall one left of center. Two white bottle-brush trees, one at each end, so the row has bookends. Kraft paper crumpled and flattened for snow, tucked under the bases and not visible from below. Two battery puck lights behind the houses, timer set to come on at four. Bought new, that is roughly twenty-five to forty dollars, and most of it comes back out of the same box next year.
6. Hang the cookie-and-citrus garland at the window, not over the range
Put it across the window frame or along an open shelf. The range hood is the obvious spot and it is the wrong one: a working kitchen throws a fine oily film onto anything above the cooktop, which turns baked cookies dull and sticky within days, and hanging combustible ribbon over open burners is a conversation with your smoke alarm. The window frame gets you backlight through the dried citrus, which is the entire point of the material.
Seal the cookies, or bake salt dough instead
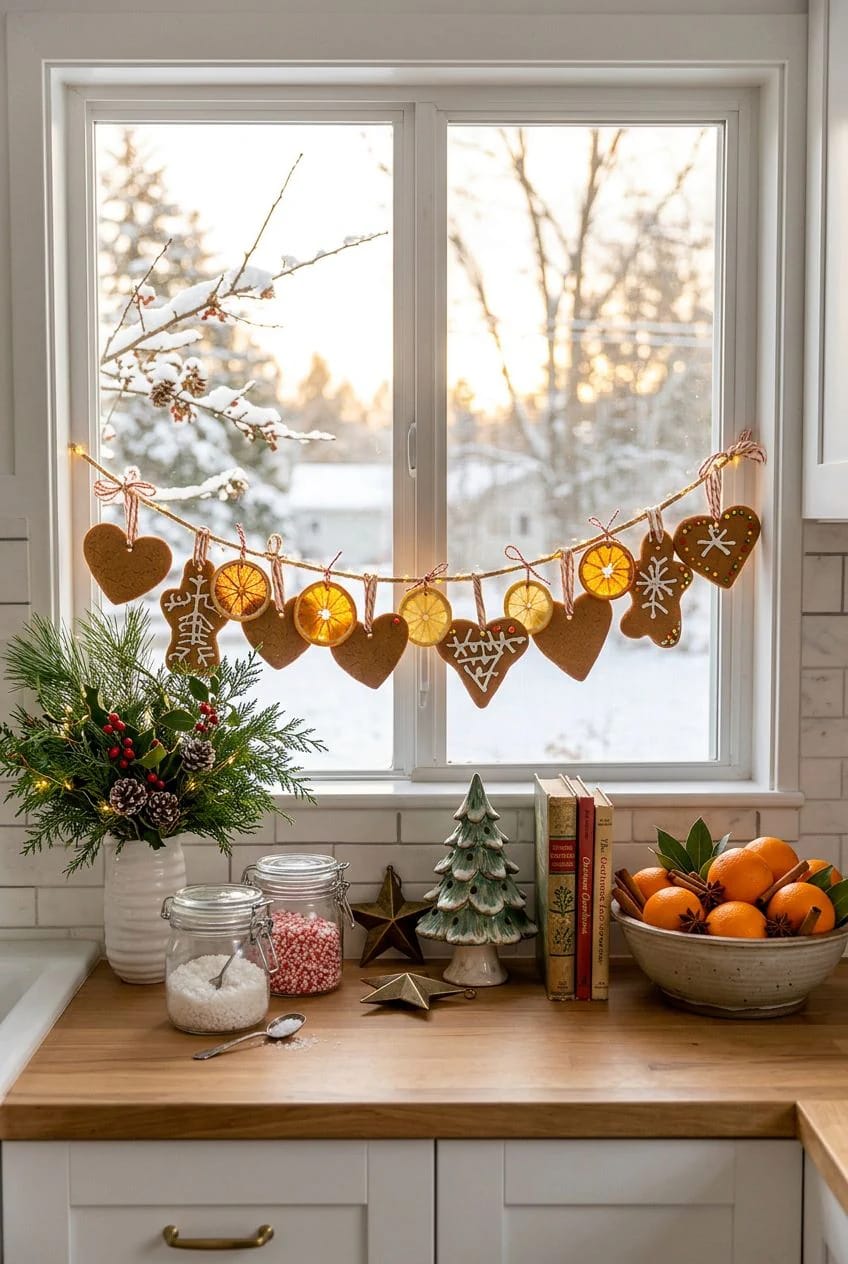
Real cookies on a string soften, warp, and eventually crumble off the twine. Salt dough is the version that survives the season and the next four: roughly two parts flour to one part fine table salt, water added gradually until it holds like play dough, rolled to about a quarter inch, baked low (200 to 225°F) for one to two hours until it is hard through, then sealed with a clear acrylic or polyurethane spray. It comes out the color of shortbread rather than gingerbread, so brush the pieces with a thin wash of brown acrylic before sealing. Two cautions: salt dough is genuinely toxic to dogs if eaten, and it will not look like a cookie up close, only from across the room.
Dried citrus is what stops it reading as plastic
Alternate the figures with dried orange slices and whole cinnamon sticks, roughly one citrus slice for every two cookies, and let the strand sag unevenly instead of hanging it taut. Light behind the oranges is the whole trick, which is why the window beats the shelf if you have the choice.
| Ornament material | Realistic lifespan | Cost for a 6 ft strand | Watch out for |
|---|---|---|---|
| Real baked cookies | 1 to 3 weeks on display | $5 to $8 in pantry staples | Softening, ants, crumbling at the string hole |
| Salt dough | Years if sealed and stored dry | Under $3 | Toxic to dogs; needs a brown wash to read as gingerbread |
| Felt or wool figures | Indefinite | $15 to $30 | Reads as craft, not bakery, at close range |
| Resin or ceramic | Indefinite | $20 to $40 | Weight; a heavy strand pulls tacks out of a window frame |
 How to Make a Dried Orange and Cinnamon Christmas Hanging Ornament The drying method that keeps the slices translucent instead of turning them to leather.
7. A three-foot bakery tree at the end of the counter
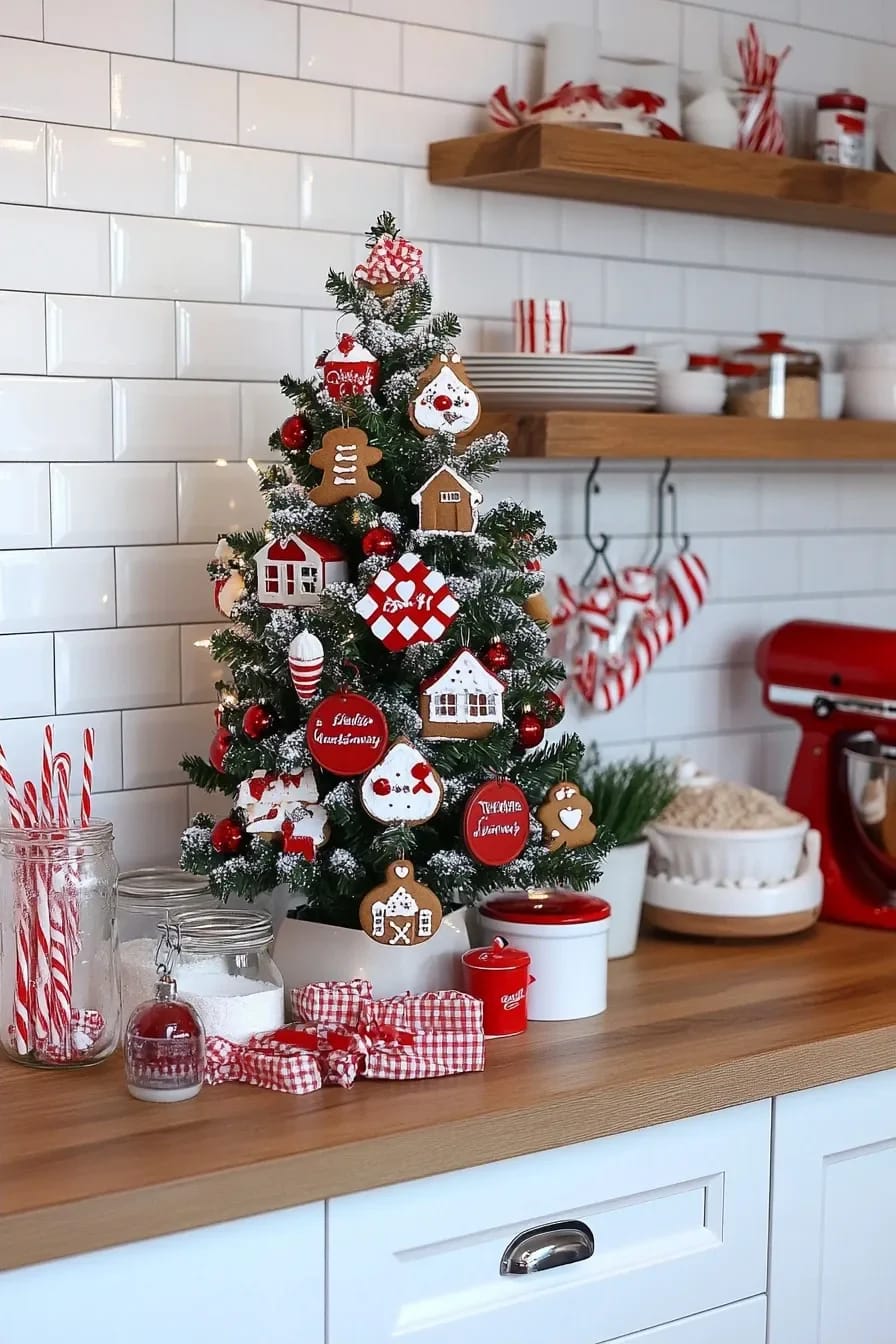
Three to four feet is the right height for a counter tree: tall enough to register from the doorway, short enough that you can still reach the upper cabinet behind it. Hang it with gingerbread figures, wrapped peppermints (the twisted cellophane ends catch light), and kraft paper stars, then run cream or brown ribbon instead of tinsel. Battery lights on a timer, warm white only. If you want the little trees at its base to look like fir instead of craft-store fuzz, a cone-and-loop method beats winding the stems.
8. Move the candy into glass and let it do the color work
Candy is the cheapest accent in the scheme, and it only looks intentional behind glass. Three matching apothecary jars or your existing flour-and-sugar canisters, one filled with red-and-white peppermints, one with cinnamon discs, one with pale gumdrops, and the accent color in your palette is handled for about eight dollars.
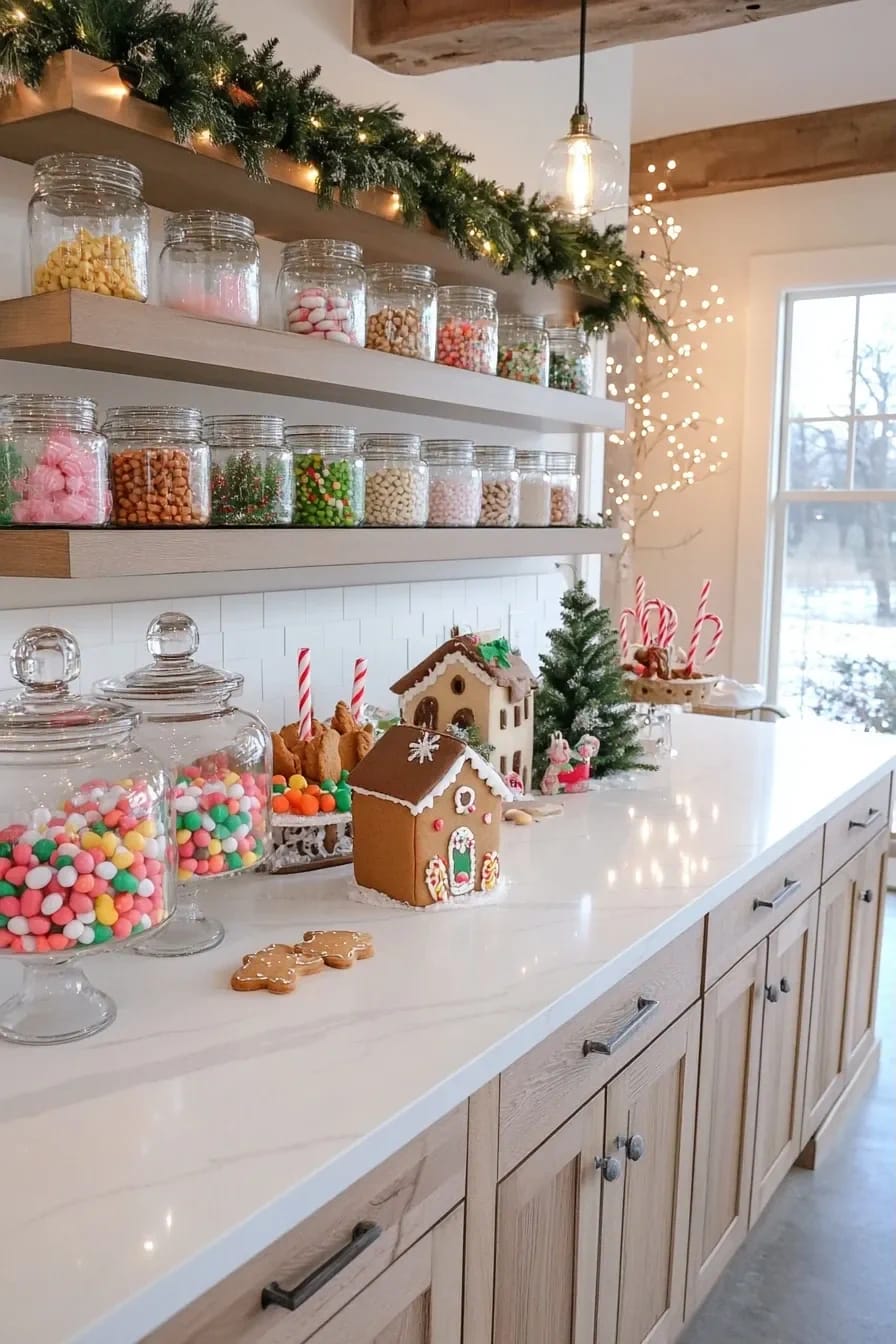
Hard candies hold their color for the season; soft ones do not. Gumdrops and anything gelatin-based go tacky and start weeping in a warm, humid kitchen, so keep those in the smallest jar and expect to replace them. Keep all three off the stretch of counter beside the cooktop, and out of direct sun. On the budget side of the whole room, nine ideas ranked by impact per dollar makes the case for ribbon over almost everything else.
Open cookies, candy, and a real gingerbread house are food, and a kitchen is where pests already want to be. Ants find sugar on a counter fast, and pantry moths will happily colonize an open jar of anything grain-based. Keep displays in sealed glass where you can, wipe crumbs from under the tray weekly, and once a display item has been out for a few weeks, throw it out rather than eat it. If you see any mold on a baked piece, the whole piece goes.
9. Get the light down to 2700K and the brown finally reads as gingerbread
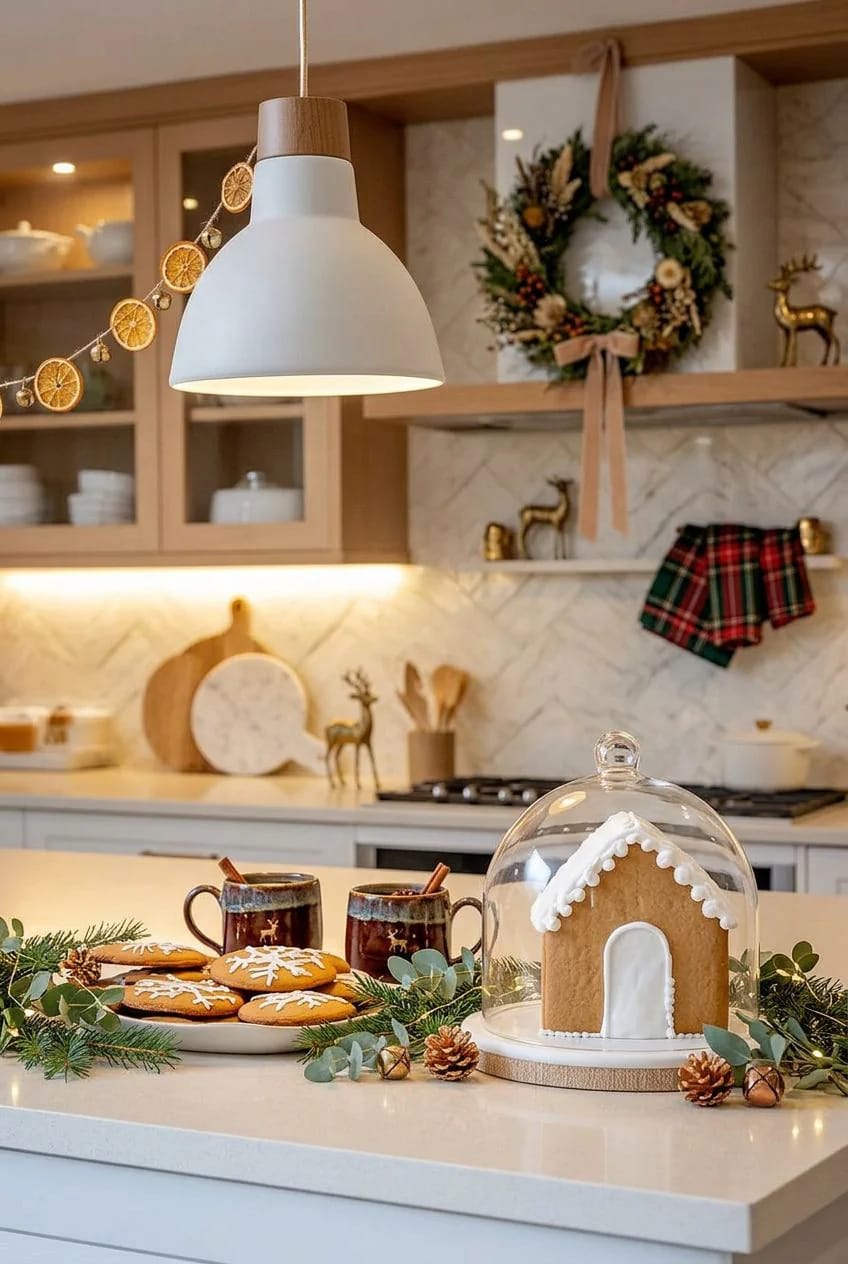
Bulb color temperature does more for a gingerbread kitchen than any object in this list. At 4000K, the standard "cool white" that ships in most kitchen fixtures, brown goes grey and icing white goes blue, and every cookie on the tray looks like a prop. At 2700K, with a decent color rendering index (80 is fine, 90 is better), the same brown turns amber and the white turns cream. Put a warm strip under the uppers, put it on a dimmer, and at night turn the ceiling lights off entirely. The room does the rest.
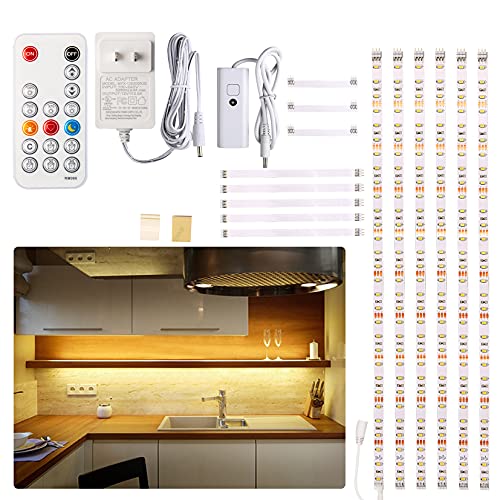
Dimmable, hidden, and fixed at 2700K rather than tunable, so nobody can accidentally set your kitchen back to hospital white.
Do this
- 2700K under the cabinets, dimmed to roughly half after dark.
- Battery tealights inside the house and behind the village, on a six-hour timer.
- Warm white string lights if you use any at all.
Avoid
- Multicolor lights. They fight the two-tone palette you just built and win.
- Leaving the ceiling can lights on at full while the strip glows underneath.
The same logic that carries a hygge living room applies here: light you can lower and texture you can sink into do more than any amount of stuff.
Do the lighting before you bake anything
The order matters more than the list does. Swap the bulbs or run the under-cabinet strip first, because every decision after it (how much white to add, whether the brown reads warm, whether the candy in the jars looks like color or like litter) gets made under that light. Draw the icing on the glass next, since it costs almost nothing and changes the whole room. The house goes last, on its cake stand, under its dome, because from the moment you build it the clock is running.
Related Posts
- 29 Creative Christmas Kitchen Decor Ideas You’ll Absolutely Love
- 21 Gorgeous Kitchen Christmas Decor Ideas To Copy
- 23 Christmas Kitchen Island Decor Ideas That Bring Instant Holiday Charm
- 20 Creative Farmhouse Christmas Decor Ideas You’ll Love in 2024
- 21 Budget Christmas Decor Ideas to Elevate Your Holiday Home
- 21 Cozy Christmas Cabinet Decor Ideas for a Festive Home