
Almost every tutorial on this tells you to hold the can six inches from the glass and spray straight through a stencil, which is exactly how people end up with a chalky white lump that looks like a mall window in 2003. Distance is the craft. Back the can off to fifteen or eighteen inches, build the white in two or three passes with a minute between them, and the frost starts reading as weather instead of paint. Nine ideas follow, and two of them use no aerosol at all.
The materials list is short: something white that sticks temporarily to glass, and something to mask the glass with. The masking is where people overspend. A twelve dollar die-cut snowflake set gives you three shapes you will use once, while a stack of paper doilies gives you a dozen and looks better.
This is all indoor glass, all reversible, and all fine on a rental. What it is not fine on is anything with a coating: tinted film, low-E, old leaded panels. Those get skipped entirely, and the reason is in the removal, not the application.
Paper doilies stencil a better snowflake than the plastic set sold beside the spray
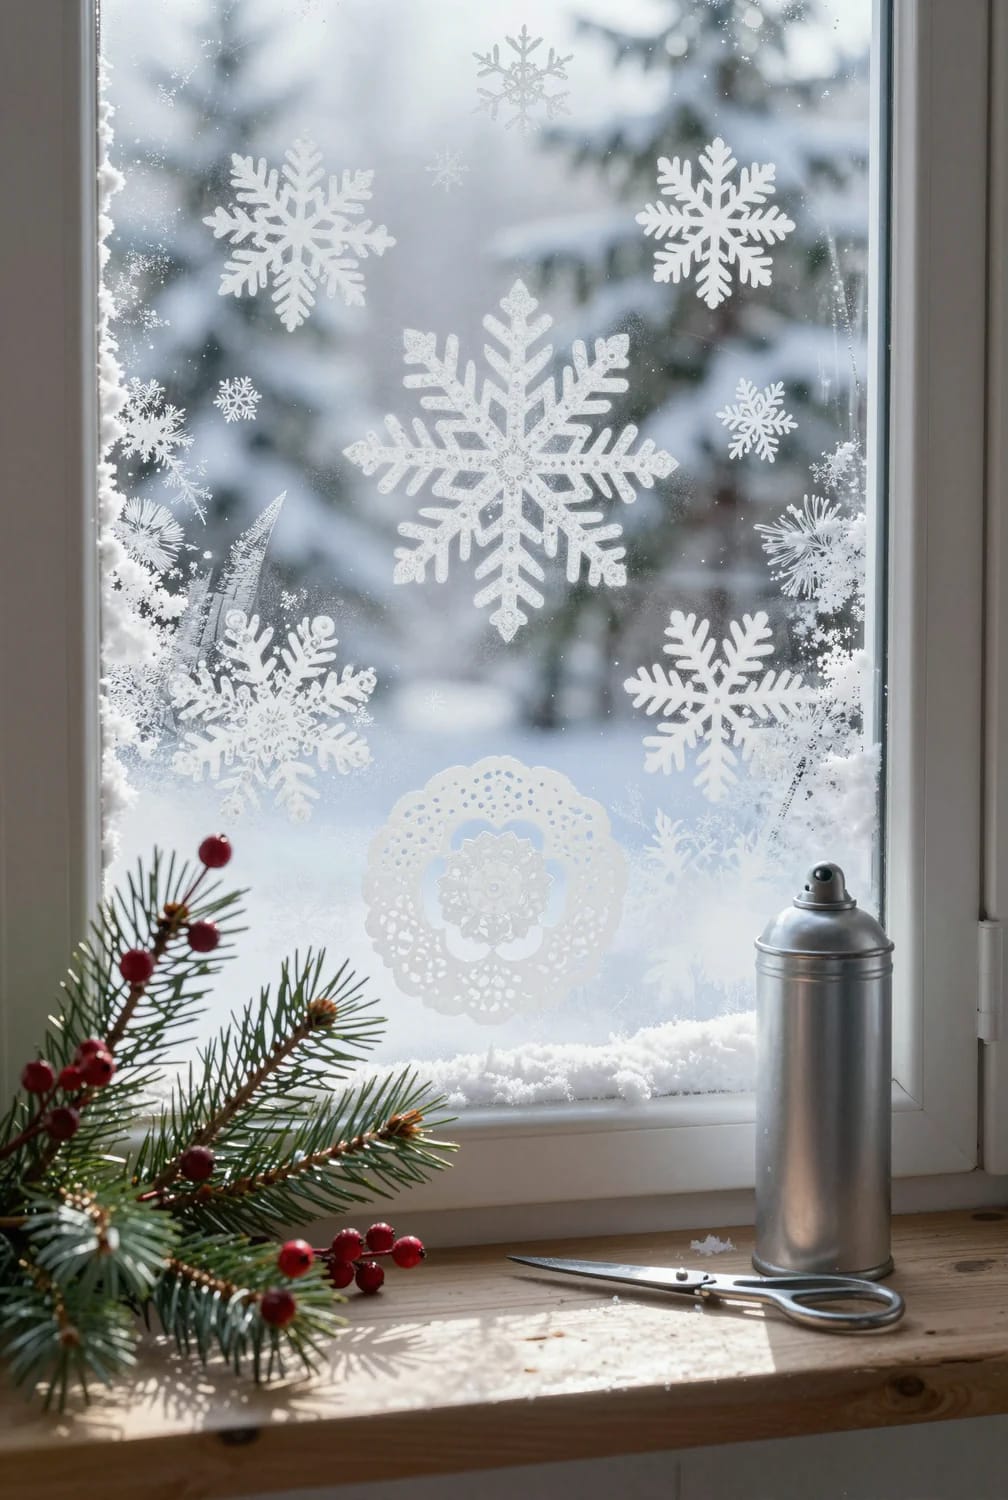
An eight inch paper doily has finer radial lace than any craft-store snowflake stencil, and it costs about fifteen cents. The plastic sets photograph like a stamp because they are one: three shapes, repeated across a window, at identical density. A doily reads as ice because the cut is irregular and the paper lifts very slightly off the glass, letting a hair of overspray under the edge.
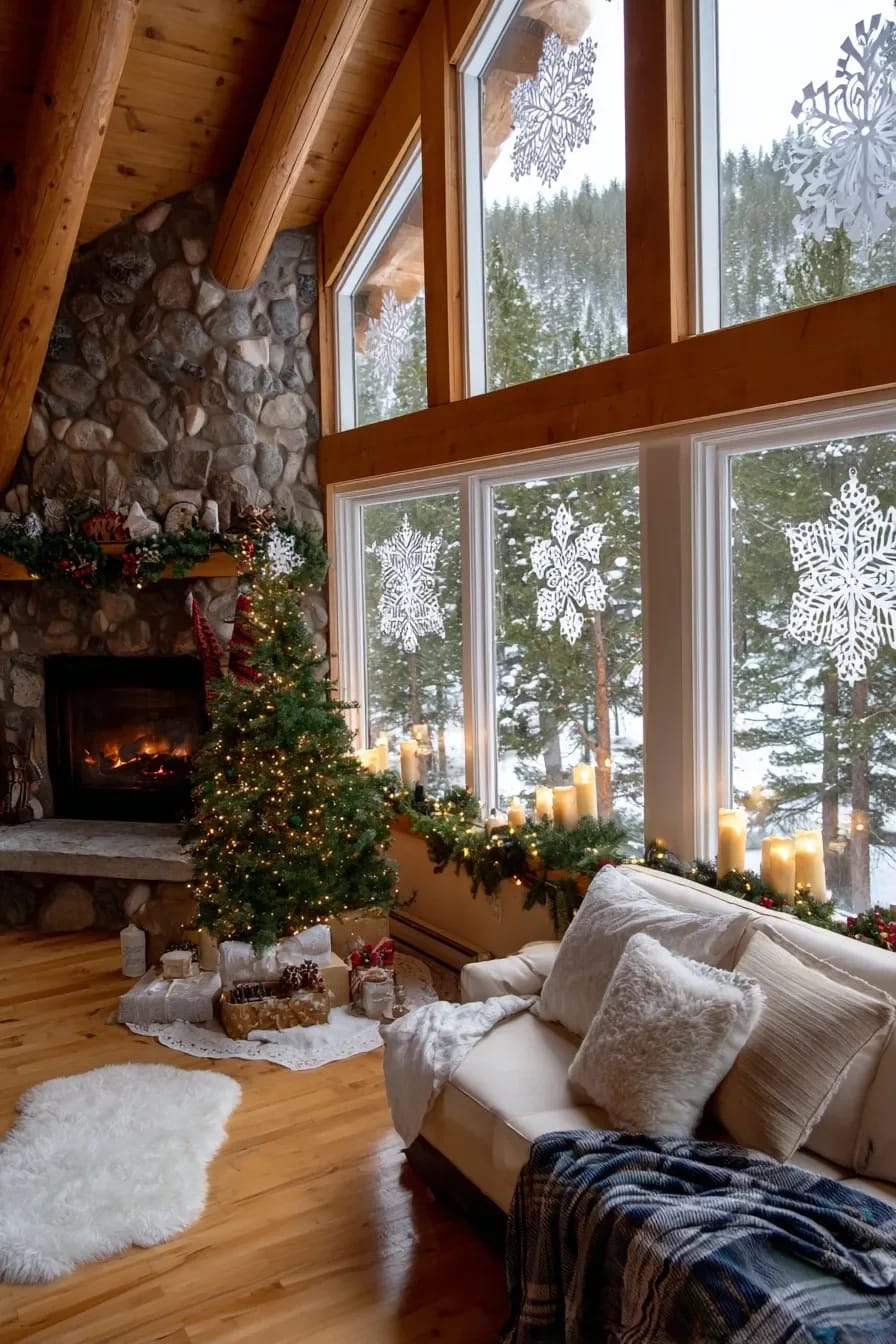
Hold it flat with four small loops of low-tack tape at the compass points, not at the edges where the lace is finest. Spray in short passes at a shallow angle so the mist arrives sideways rather than head-on, then lift the doily straight off before it soaks. You get two or three uses out of one before it sags. Buy them by the fifty-pack rather than the eight-pack; the same aisle of the dollar store that supplies the doilies also has the votives and jars worth grabbing while you are there.
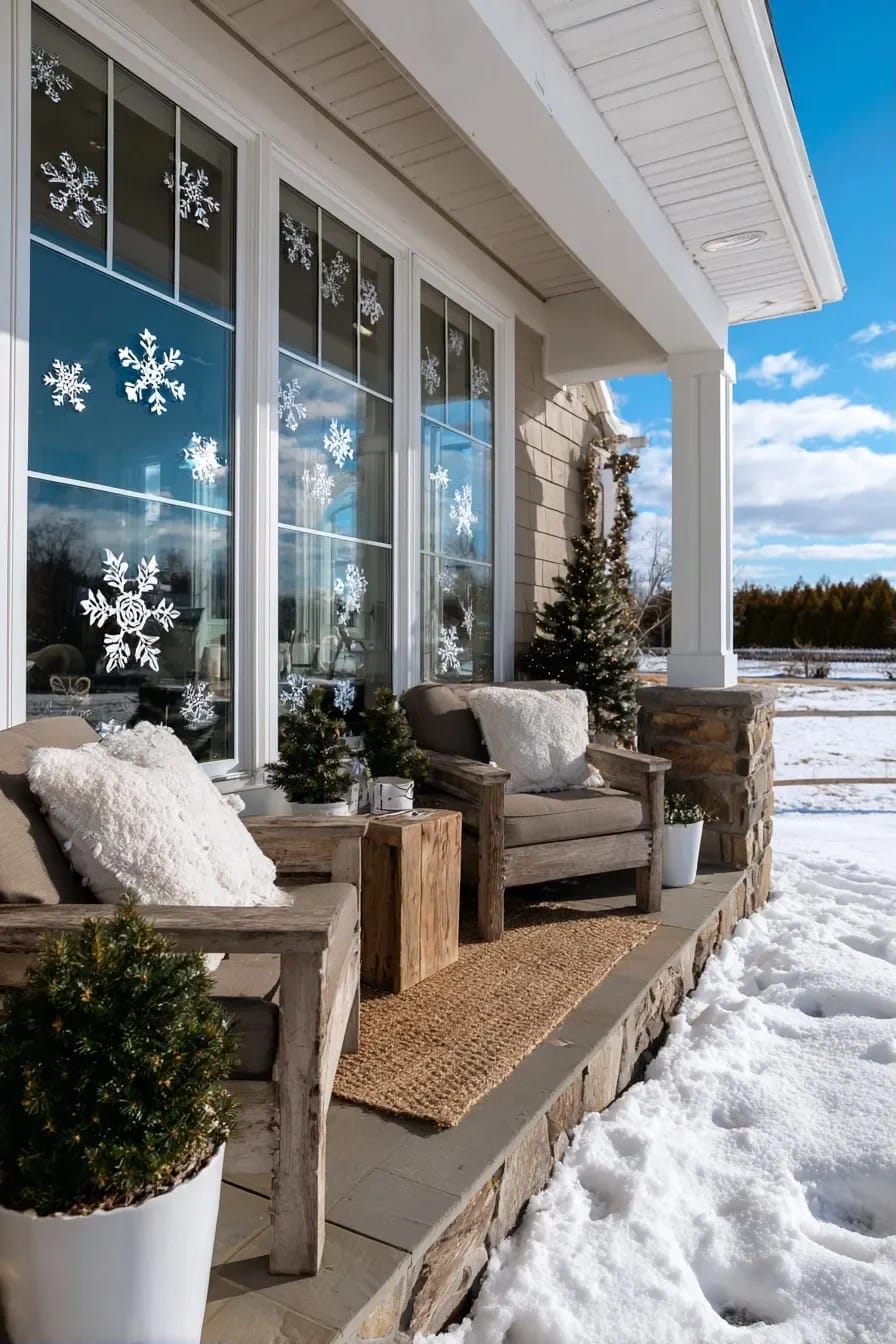
Epsom salt and light beer frost the pane with no aerosol at all
The old recipe works, it costs under two dollars, and it wipes off with a wet cloth. Dissolve Epsom salt into warm light beer, let it settle for about half an hour, then sponge it onto the glass and walk away. As the liquid evaporates the magnesium sulfate recrystallizes into needle-shaped spikes that look far more like real window frost than anything in a can, and the residual sugars in the beer are what make it grip the glass instead of running.
Ratios in circulation run from four tablespoons per cup up to eight. Start at four, look at the first pane once it dries, and go heavier if the crystals come out sparse. If children are doing the sponging, swap the beer for lukewarm water with a drop of blue dish soap; you lose some of the crystal structure and keep all of the mess.
Mixing it thick enough to actually crystallize
Warm the liquid first. Cold beer holds far less salt in solution, and an undersaturated mix dries to a faint haze that reads as a dirty window rather than frost. Microwave the cup for around a minute, stir the salt in until it stops disappearing, then let it stand until the foam collapses.
Where the sponge should actually land
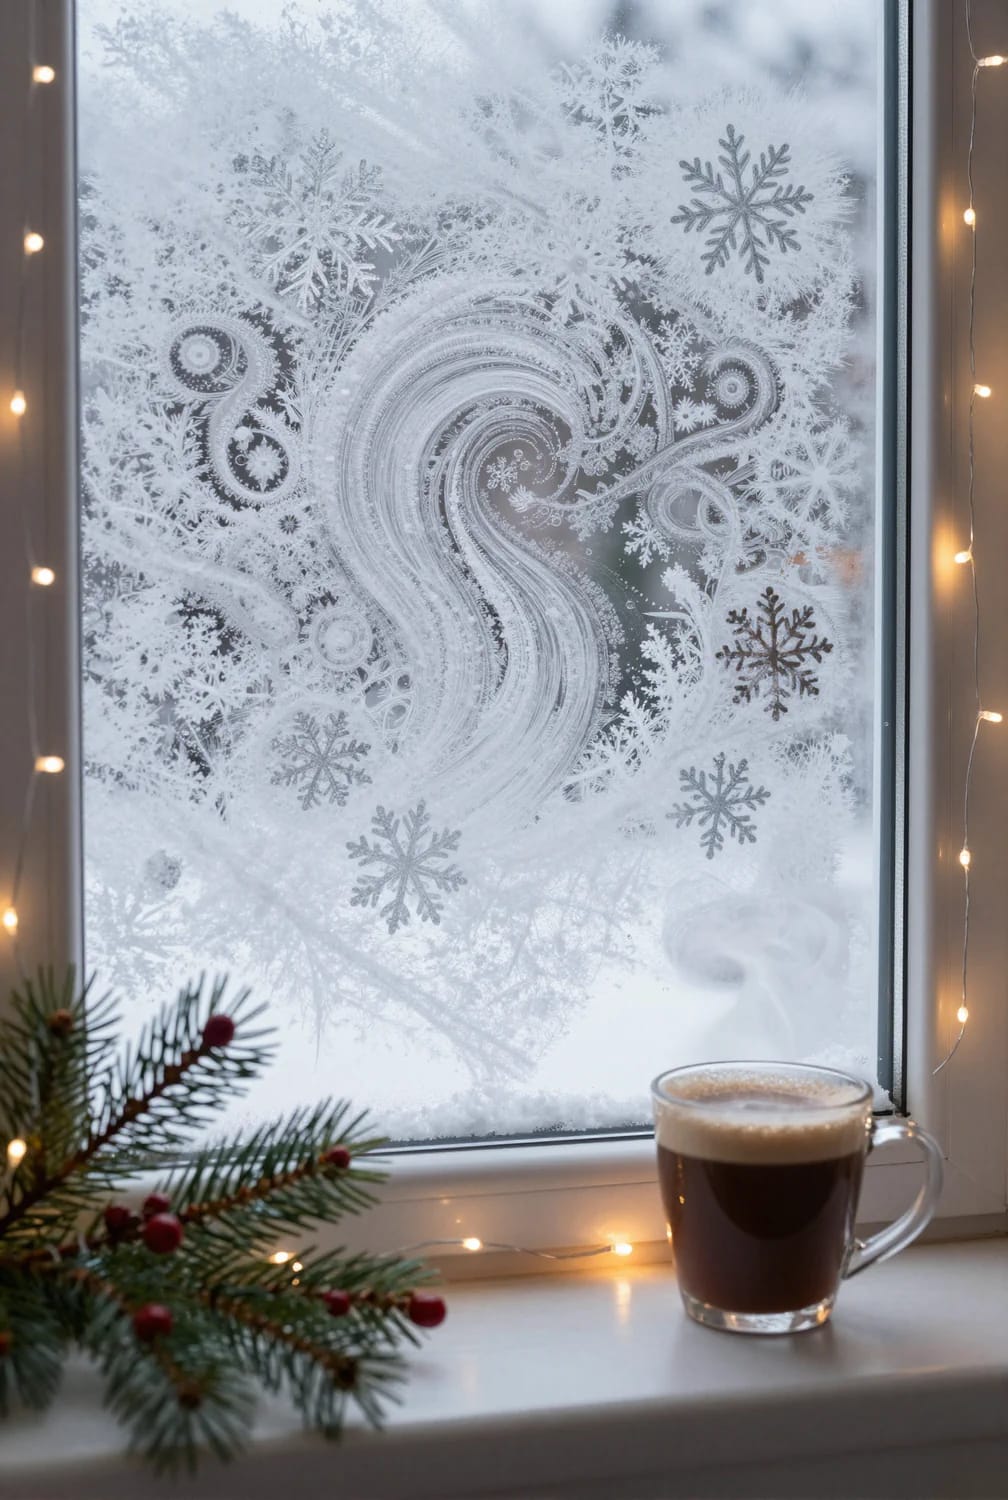
Real frost grows inward from the frame, so sweep the sponge in an arc at the bottom corners and let it thin out toward the middle. Never coat a whole pane evenly. The centre staying clear is the entire illusion, and it is the same reason the pantry-and-junk-drawer approach to last minute decorating tends to beat the store-bought version: the irregularity is doing the work.
Removal is where the difference between products matters. Salt frost and spray snow both come off with soapy water and patience. The window installers who deal with the January cleanup all say the same thing: vacuum the loose material first, soak the rest with glass cleaner for thirty to sixty seconds, then work in circles with microfiber. No blades.
Frosted glass spray paint and spray snow sit near each other in the craft aisle and behave nothing alike. The frosting paint is oil-based and semi-permanent; getting it off means lacquer thinner or acetone, and on a rental window that is a deposit conversation. Check that the can says snow or flocking. And skip all of this on coated, tinted, or leaded glass, where scraping and solvents both do damage you cannot undo.
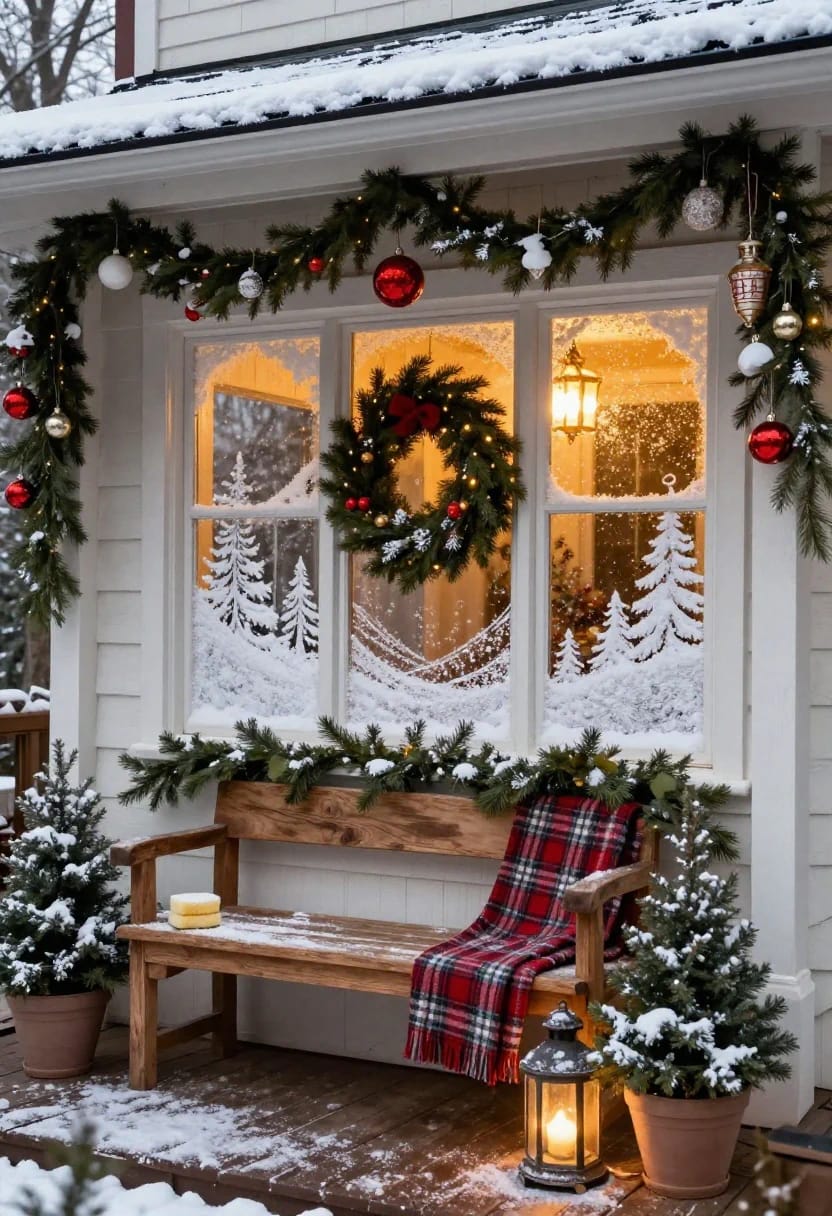
Tape the shapes and let the clear glass be the picture
Reverse-stencilling is the single biggest upgrade available here, and nobody does it. Instead of spraying a white shape onto clear glass, you mask the shape and spray everything around it, so the finished pane is a field of white with sharp clear trees, stars, or stripes cut through it. Backlit at dusk, those clear shapes glow while the white stays flat, which is the opposite of how sprayed snowflakes behave.
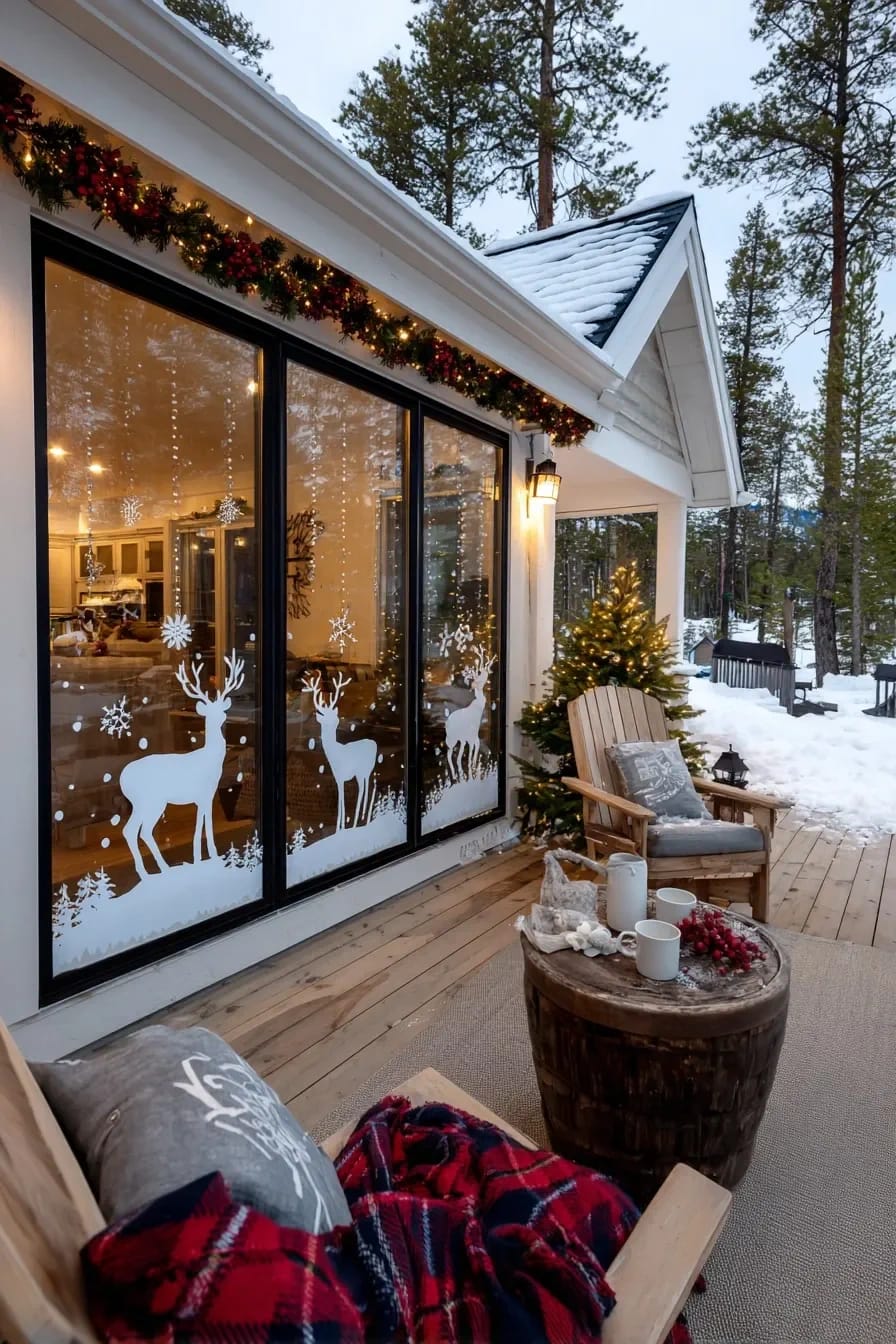
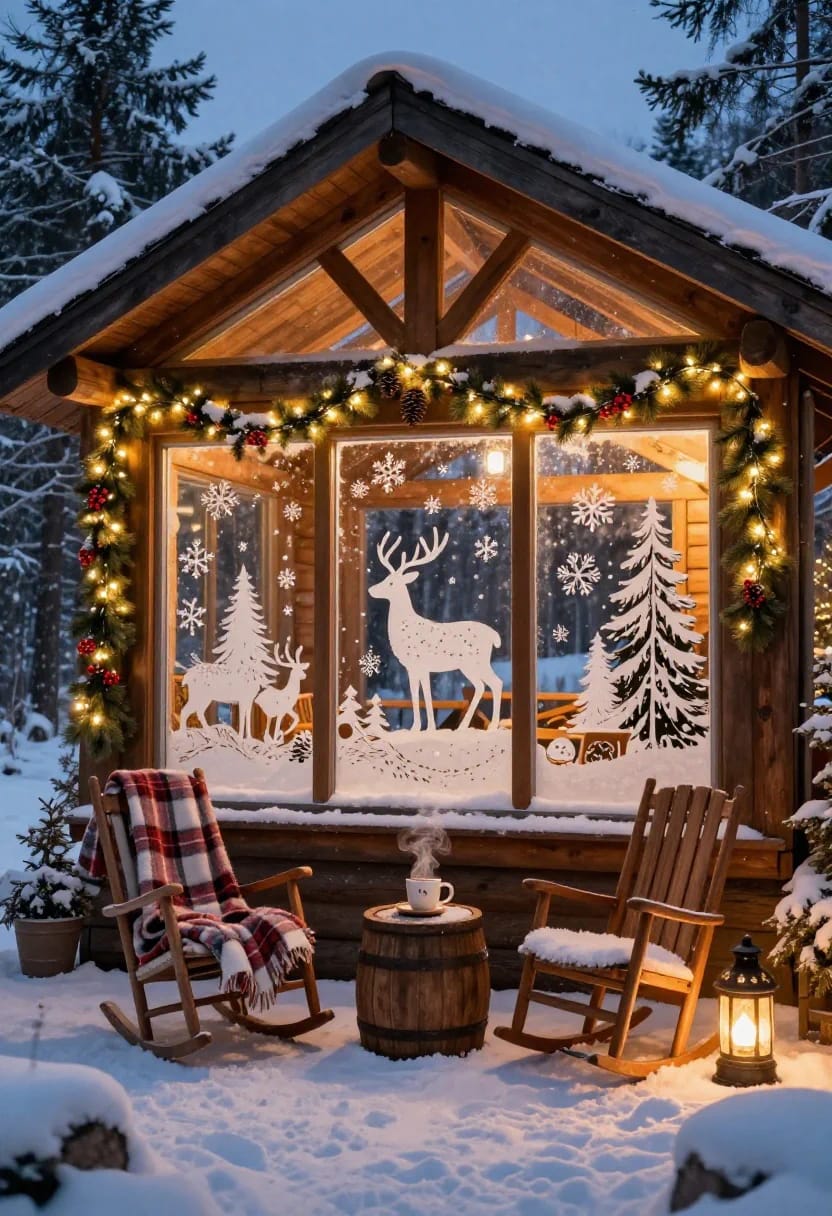
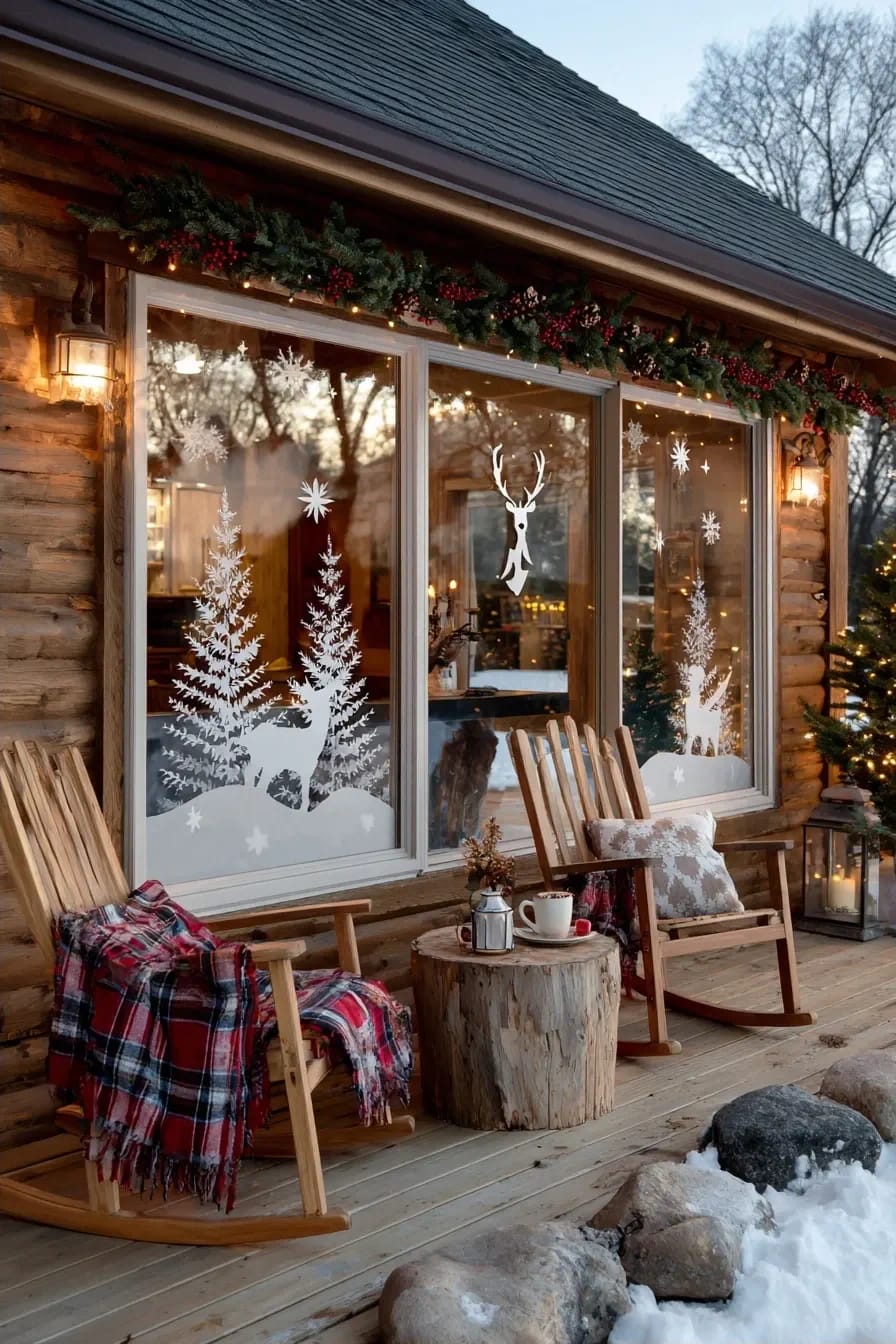
Straight-sided shapes are the ones to attempt: triangles for firs, a five-pointed star, horizontal bands. Lay strips of blue painter's tape directly on the glass, overlap them, cut through with a fresh blade using very light pressure, and peel away the negative. Curves will fight you, and a wobbly curve in white spray is unforgiving.
One pane of this beats six. Three trees of different heights in a twelve-pane window, everything else left clear, looks considered; the same treatment repeated in every pane looks like a decal kit.
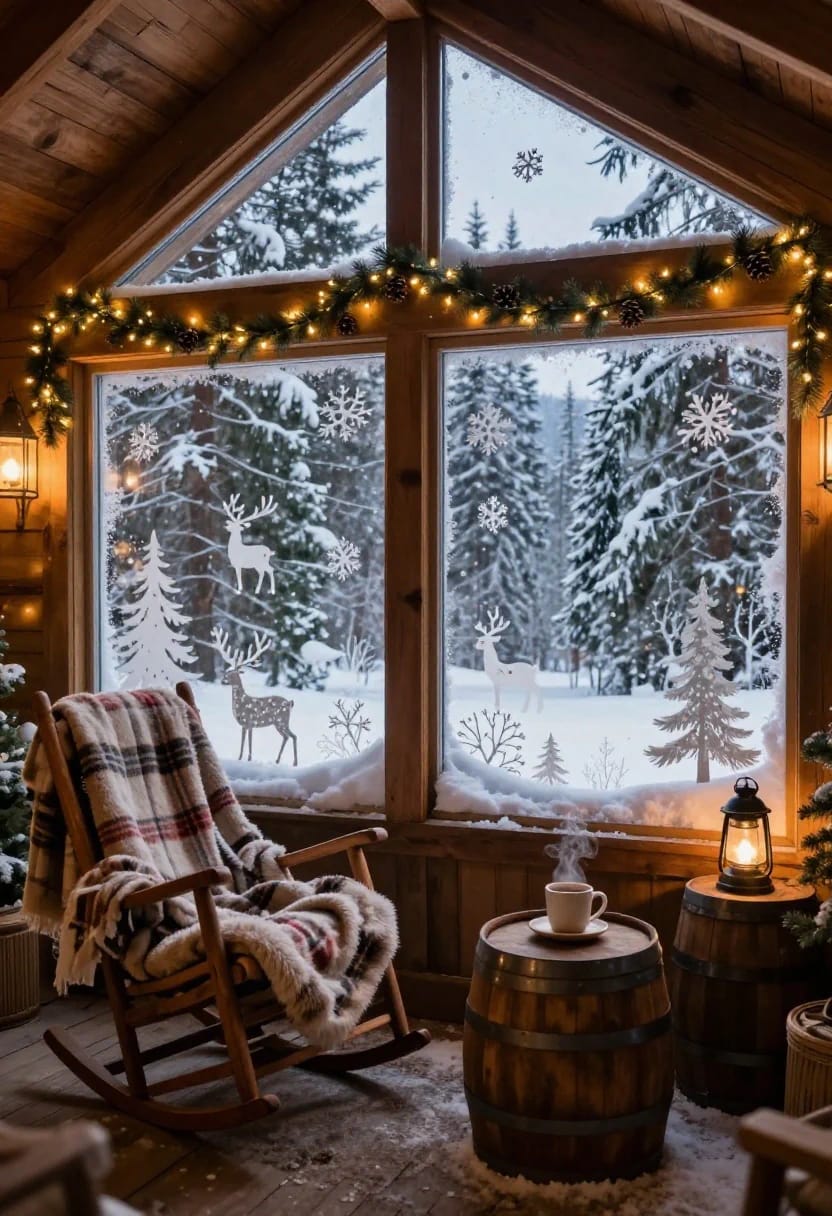
Skip the stencil entirely on the bottom third of the pane
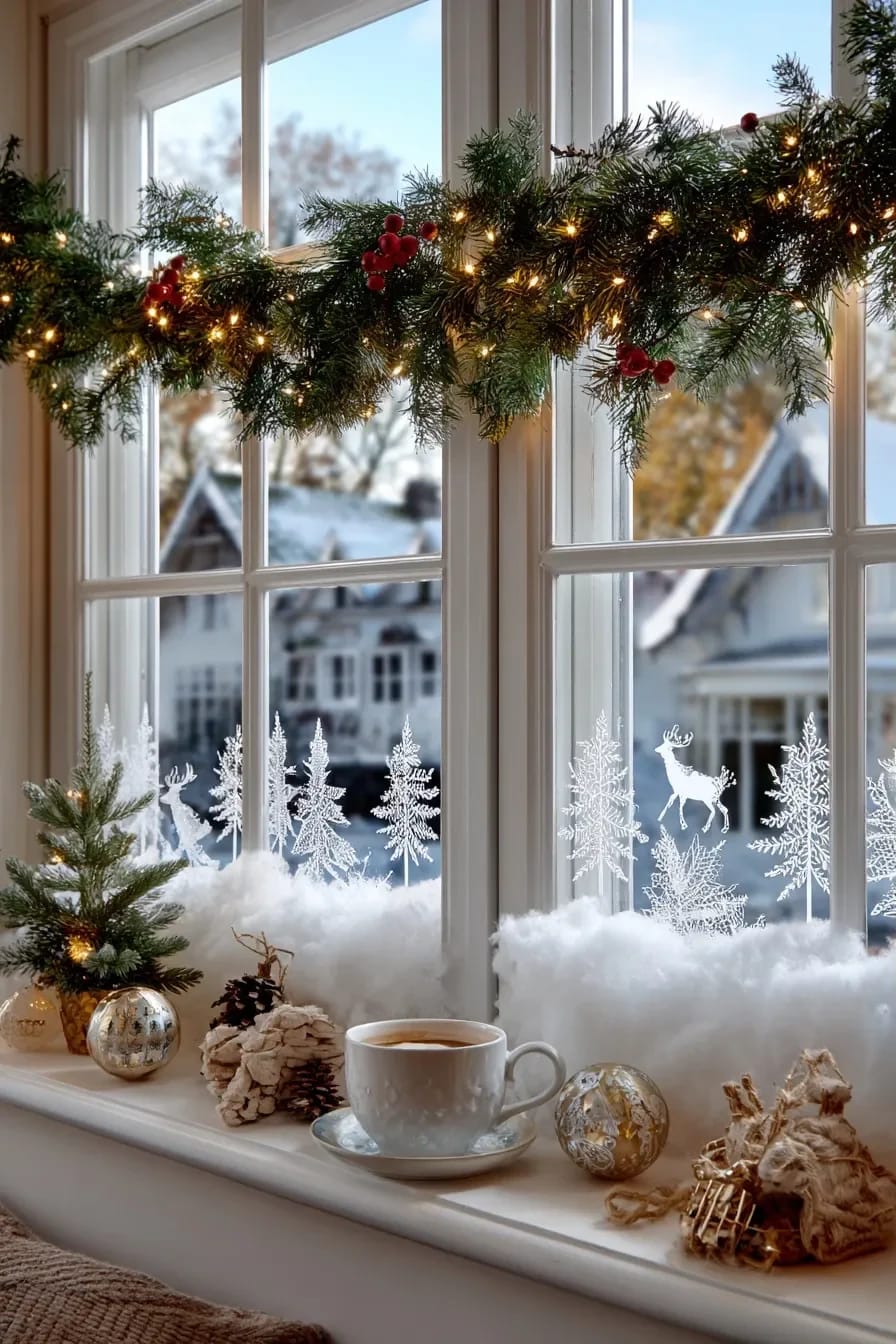
The most convincing snowy window in any given house usually has no shapes on it whatsoever. Aim the can at the bottom edge and about halfway up each side, leave the top and centre bare, and let the overspray drift into the middle on its own. That gradient is what accumulated snow actually does against glass, and it takes ninety seconds.
A few things that separate this from a smeared pane:
- Two thin coats, not one heavy one. Thick spray takes a long time to dry and slumps while it does.
- Tape the sash and sill first, and put newspaper on the floor. Some of the snow will fall.
- Heavier in the corners than along the middle of the bottom rail.
- On a divided-light window, do each small pane’s lower edge separately so the grid pattern stays legible instead of turning into one white band.
- Stop earlier than you want to.
Build a village along the sill so the roofline reads from the sidewalk
A silhouette skyline running the width of the glass is the one idea here that works better from outside the house than inside it. Because it sits low on the pane, it survives whatever is on the sill, and because it is solid white, it stays legible at dusk when the room behind lights up. Cut it from a single long strip so the rooflines connect.
Scale the rooflines to the muntins, not to the window
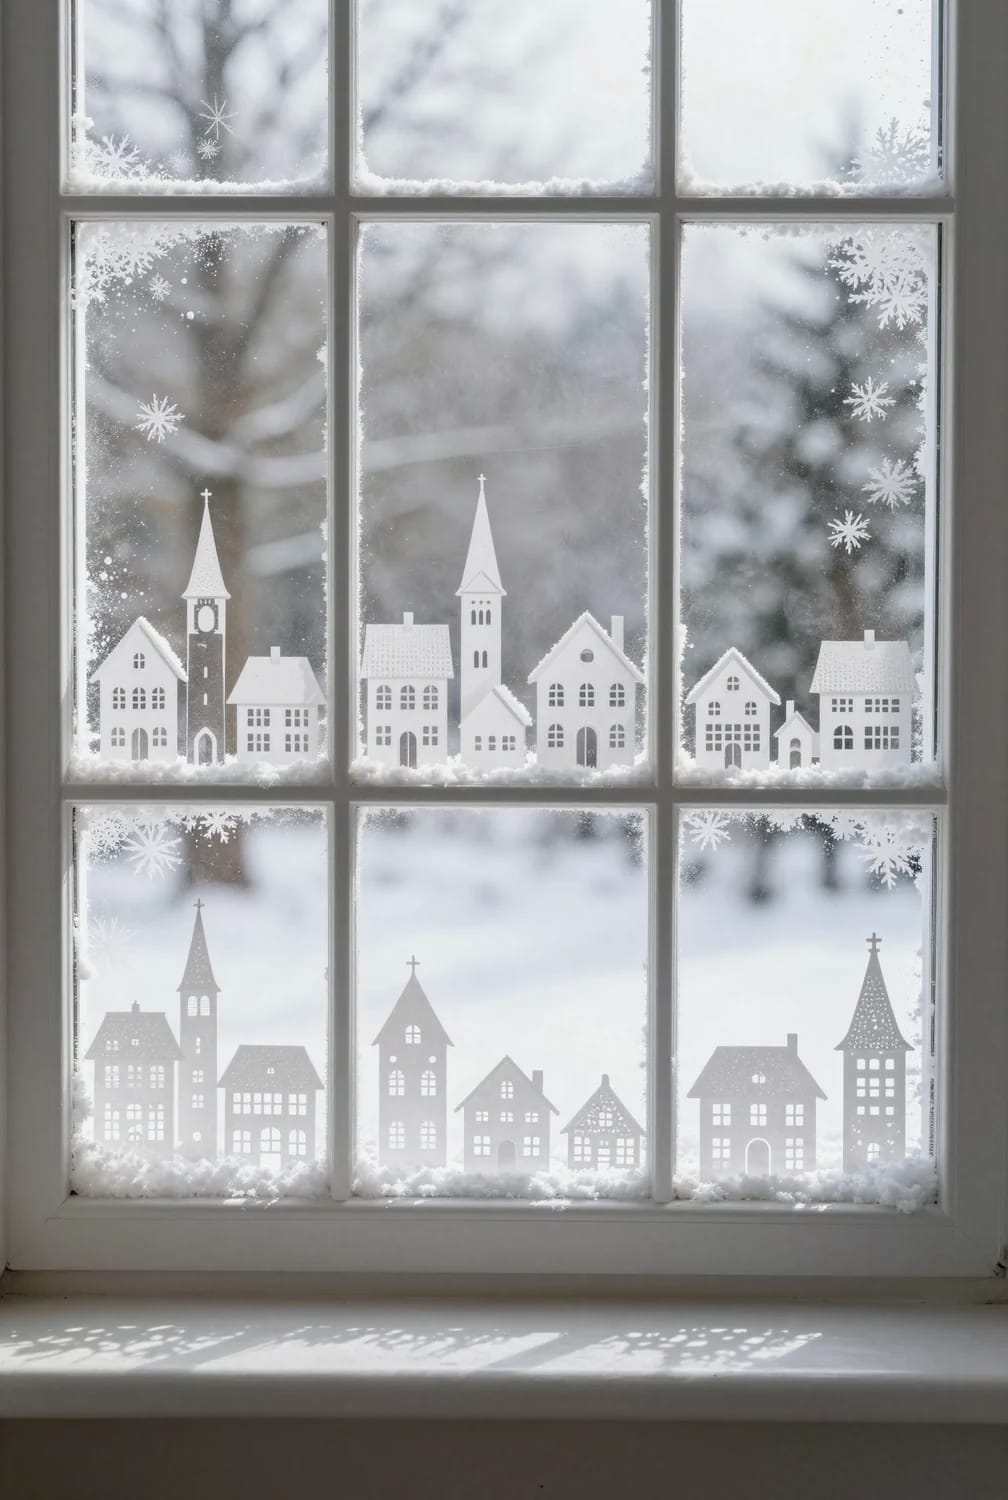
Tallest structure at roughly the height of one pane, shortest at about a quarter of that. When the skyline outgrows the glazing bars it stops reading as distance and starts reading as a mural, and the sense of a village sitting far away collapses.
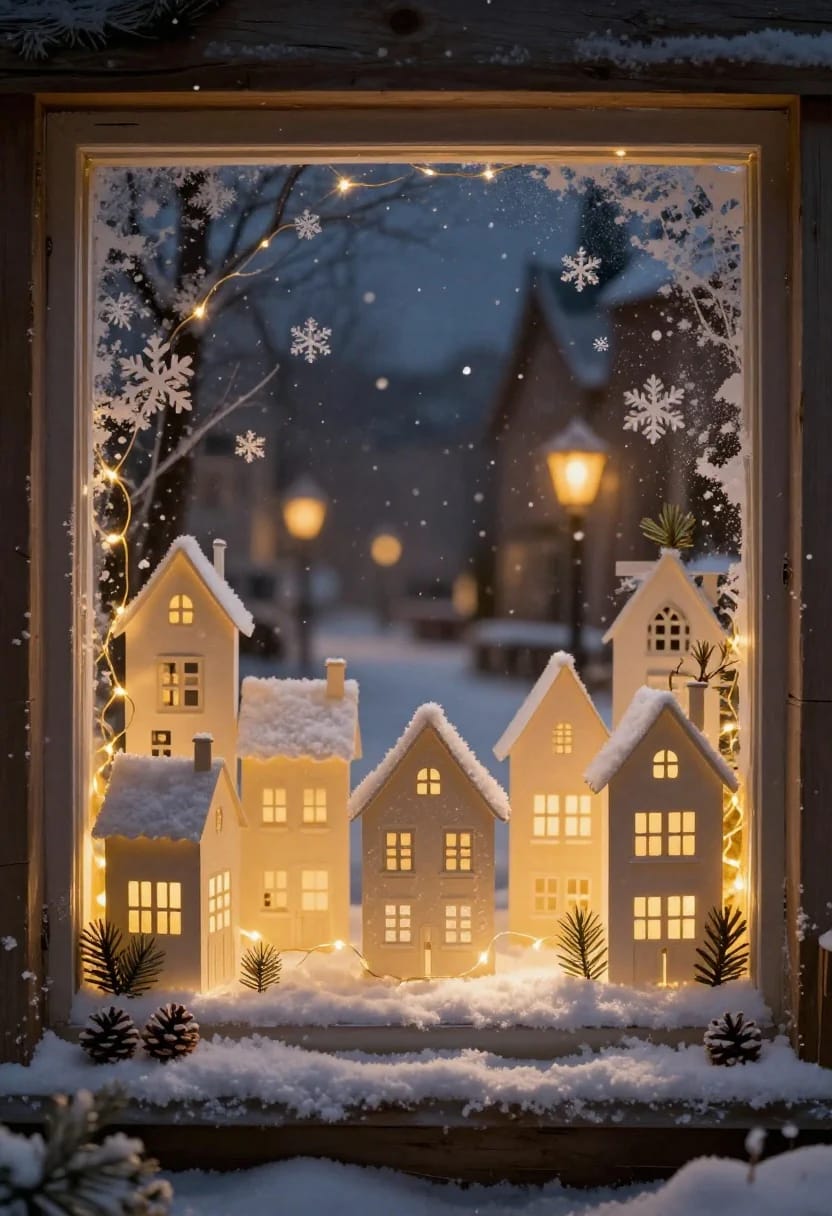
Cut the skyline from one sheet, never from pieces
Tape a long strip of paper across the glass, draw the whole roofline freehand in pencil, then cut. Individually cut houses will not sit at a consistent baseline no matter how carefully you tape them, and the eye catches a wandering ground line immediately. Keep the offcut too; it is your stencil for next year, and it stores flat behind a picture frame.
Contact paper cuts a crisper Christmas word than any lettering kit
Self-adhesive shelf liner is the correct material for words on glass, because it seals to the surface and the spray cannot wick underneath. Freezer paper works if you already have it, waxy side to the glass, but it needs tape at every letter and it will still let a fuzzy edge through on the tight curves.
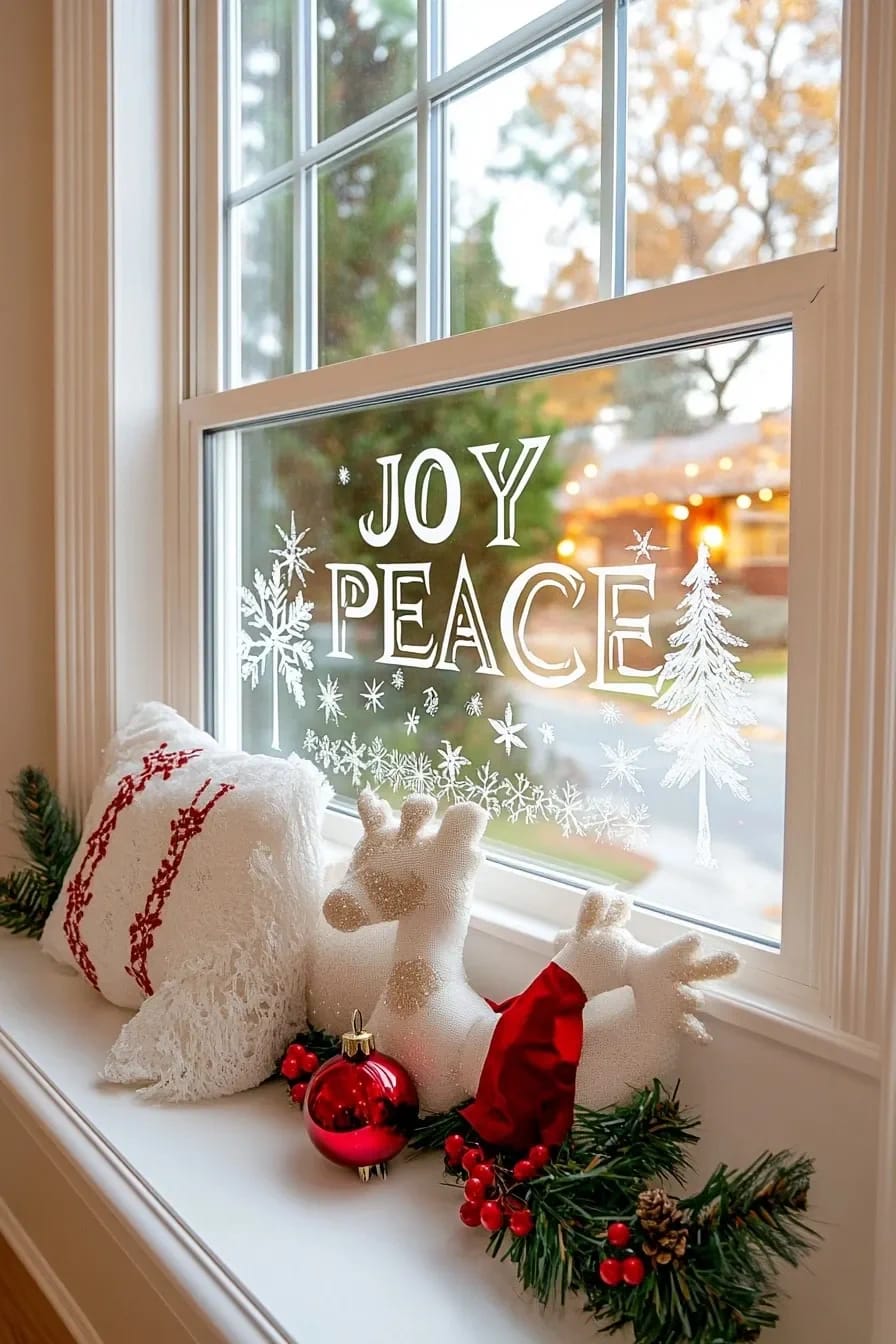
Print the word at final size, tape the printout under the liner, cut through both, then peel and stick. Condensed serifs and heavy sans faces survive a blade; anything with hairline strokes will not. Keep the words short. NOEL and JOY hold up at four inches tall on a standard sash, and a full sentence across a window is the paper-and-glue-stick move that belongs on a classroom door, where a room full of kids can build it in an afternoon.

A whisper of blue over the white is what makes faux snow look cold
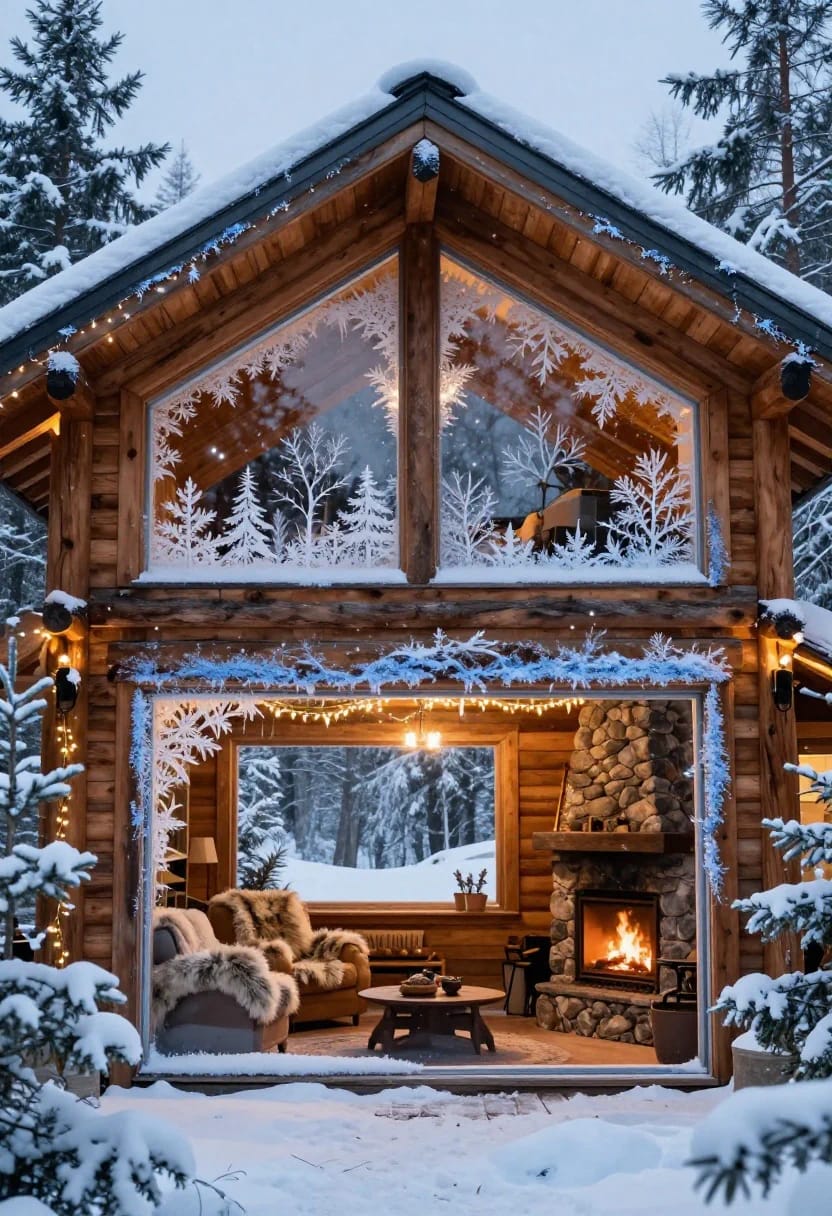
Spray snow dries a warm, slightly yellow white, which is why a whole window of it reads as cream against real snow outside. The fix is a whisper of blue chalk pastel, dusted with a soft brush into the thickest areas only and left off the edges entirely. Two or three passes with almost nothing on the brush.
Cool white LEDs in the same window do the same job optically, and if you already have them, use those instead and leave the pigment alone. Every colour you add is another thing to remove in January, which is the quiet argument for the restraint that makes cheap beginner projects look expensive in the first place.
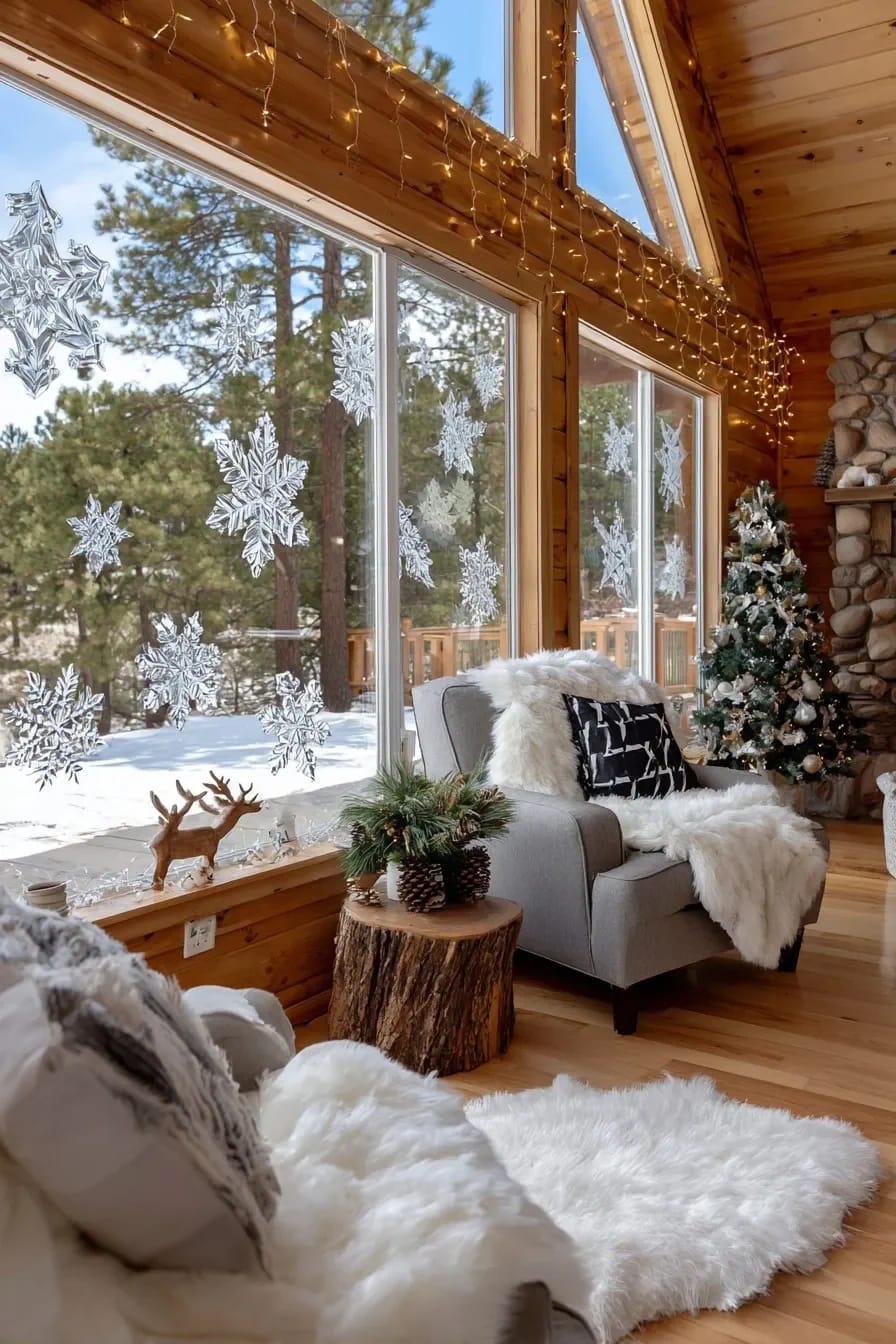
Backlight the frost instead of hanging more lights on the glass
Stencilled snow is a filter, not a decoration, and it only becomes one after dark when something is lit behind it. A single warm lamp on the sill turns a frosted lower pane into a glow with texture in it; a curtain of icicle lights taped to the same glass turns it into a lit rectangle with white smudges on it.
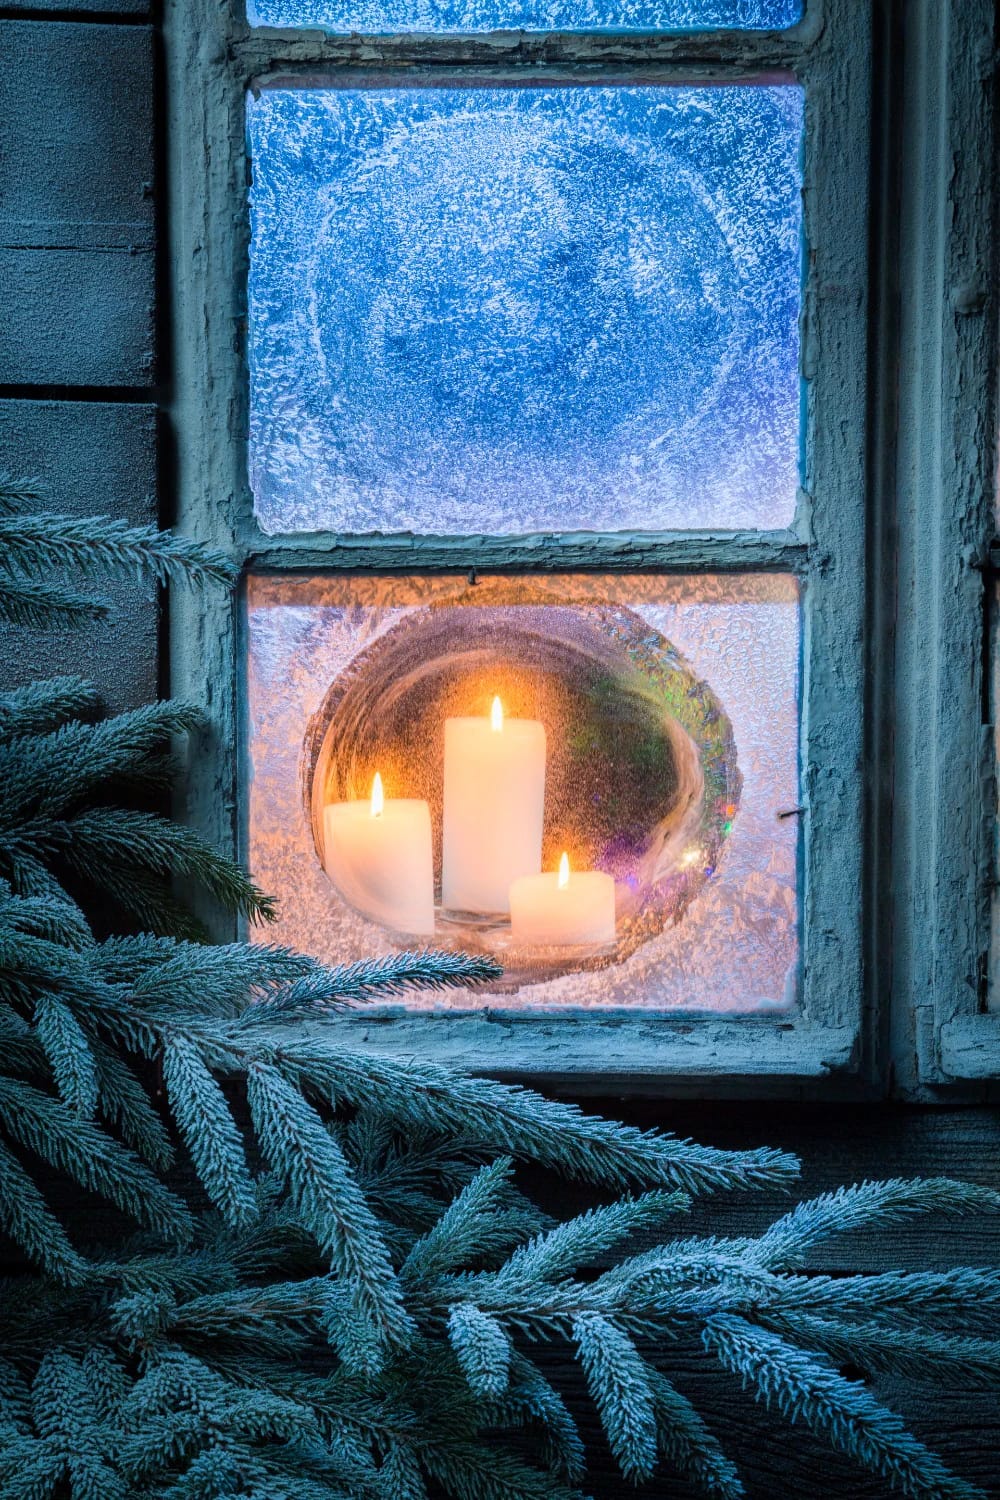
Set the light source eighteen to twenty-four inches back from the glass and below the frosted band, so it grazes upward through the texture rather than blasting through it. Warm white, always: cool white behind warm white spray goes grey. The same one-colour discipline that keeps a roofline from looking thrown together applies at the scale of a single pane.
 Christmas Window Decorations: 12 Ideas for Glow That Reads From the Street and the Sofa What to do with the sill, the frame and the rod once the glass itself is handled.
Mirrors, shower doors, and the glass you forgot you own
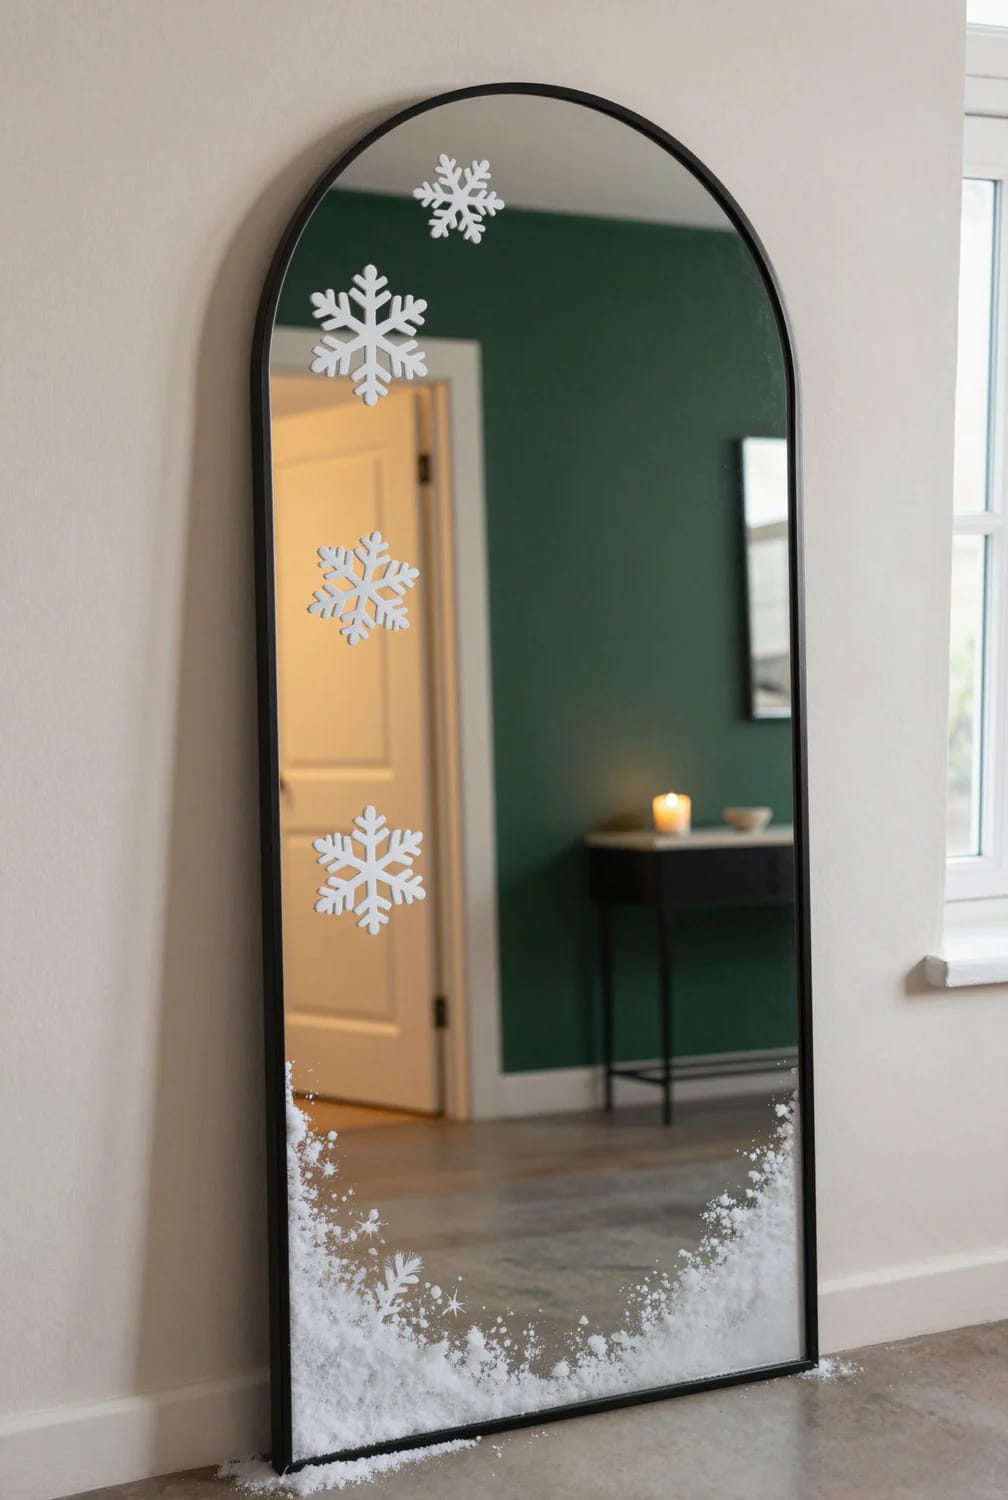
Anything smooth and non-porous takes this: mirrors, glass cabinet fronts, the storm door, tile. Mirrors are the one worth doing first, because a stencilled snowflake on a mirror sits in front of a reflected room rather than in front of a street, and the illusion of it floating in space is stronger than anything you will get on a window.
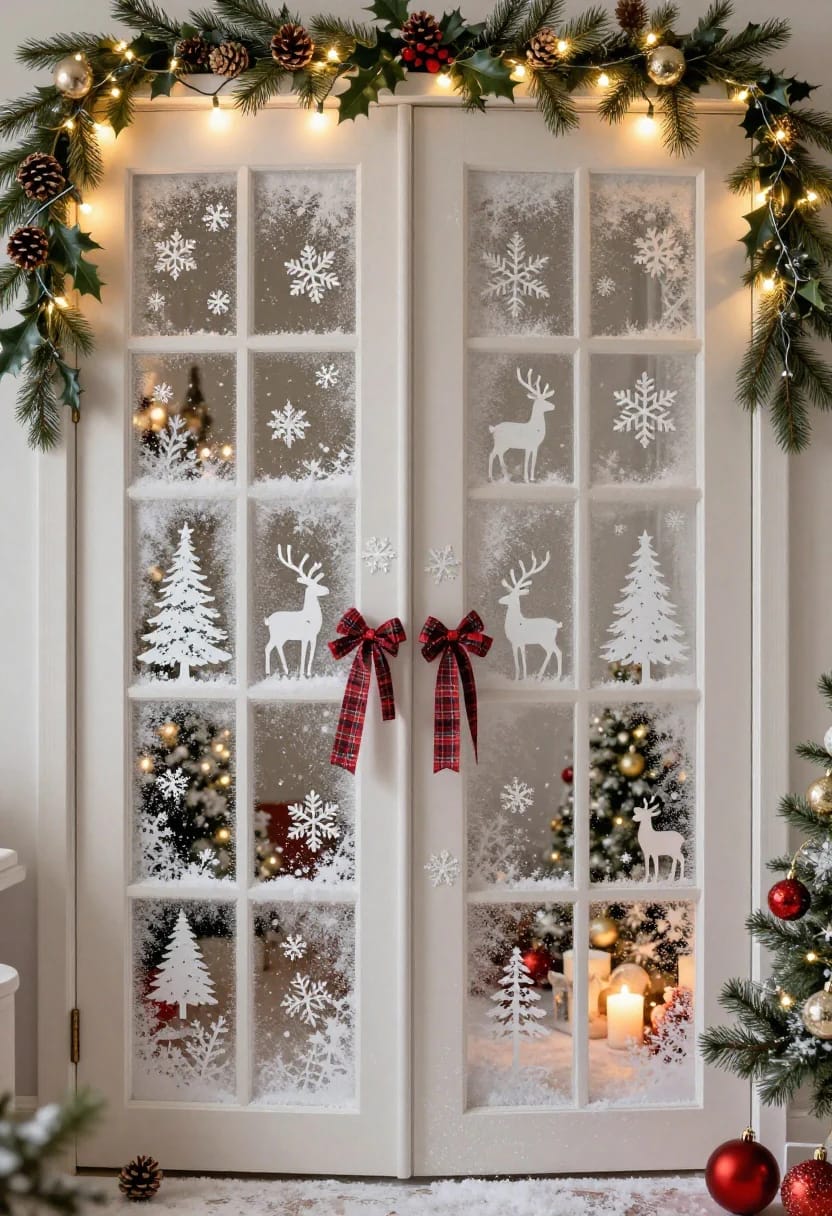
The shower door nobody thinks of
A frosted band along the bottom of a glass shower panel looks intentional all year, and in a small bathroom it buys a little privacy for free. Keep it below eye level and keep it dry for the first hour. Steam will lift fresh spray snow off glass long before you have finished admiring it.
Two rules that stop the whole house looking sprayed
Pick two surfaces and stop. A kitchen window plus the hall mirror is a decorating decision; every reflective surface in the house getting the same treatment is a spree, and by the second week of January you are cleaning nine of them with a bottle of Windex and mounting regret. Keep the snowflake scale consistent between the two so they read as one idea, and let the second surface carry less of it than the first.
Related Posts
- No-Sew DIY Christmas Decorations for Crafters
- Christmas Window Decorations: 12 Ideas for Glow That Reads From the Street and the Sofa
- Farmhouse Front Porch Christmas Decor Ideas That Read Warm, Not Staged
- 12 DIY Christmas Decorations Using Dollar Store Supplies That Don’t Read Cheap
- Front Porch and Front Door Christmas Decor: 11 Ideas That Read in Daylight, Not Just at Night
- Indoor Penguin Christmas Decorations That Don’t Look Like Lawn Ornaments