

Most dried orange decor fails in the oven. Slices come out opaque and leathery instead of translucent, the peel curls up at the edge, and no amount of styling rescues a garland built from brown discs. The ten ideas below assume you got the drying right and deal with the harder question of what to actually do with the slices once you have a tray of them, from a wired mantel garland to a bay swag over the range.

1. Wire the slices into the mantel greenery instead of stringing them on twine
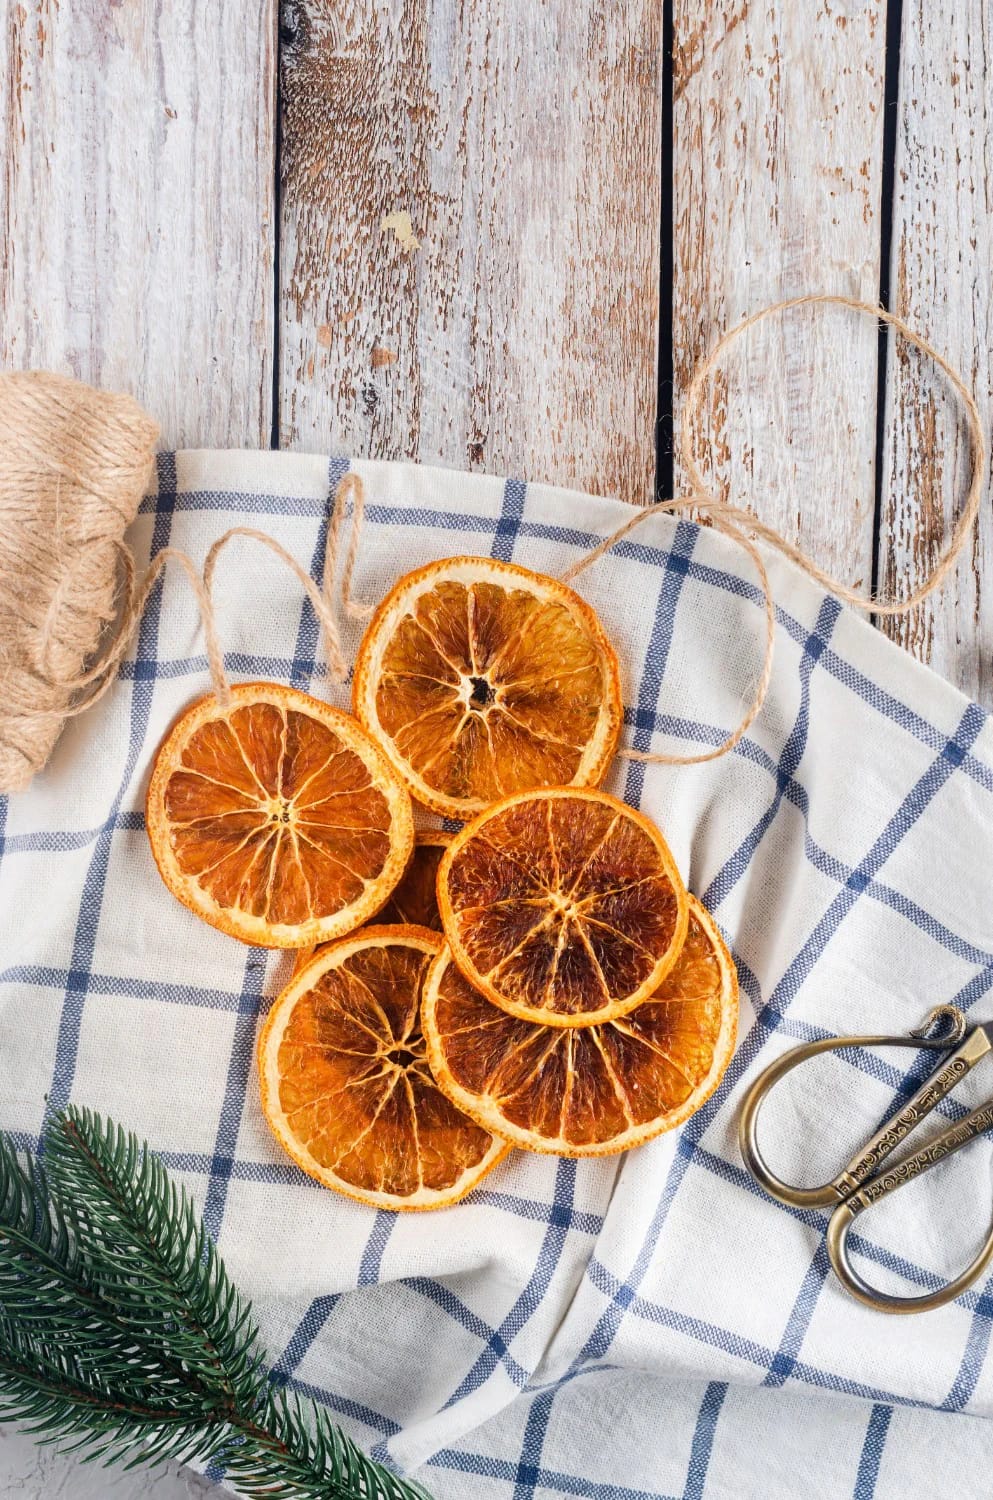

Thread a four-inch length of florist wire through two segments of each slice and twist it onto the greenery, rather than stringing slices onto jute like beads. A strung garland spins. Every slice ends up showing its edge to the room, which is a two-millimetre brown line instead of the ridged amber wheel you spent nine hours drying.
Density comes before decoration
Five feet of mantel wants roughly twelve feet of greenery, layered as two shorter lengths rather than one long piece pulled tight. Cedar carries weight better than fir and drops less; the needles hold their matte grey-green for about three weeks indoors, and the branch structure gives you somewhere to hide wire. Once the greenery is dense enough to look slightly excessive, the oranges have something to sit against, and you need far fewer of them. Eleven slices across a five-foot mantel is plenty. Thirty looks like a fruit display. The same layering logic drives most of the mantel garlands that read collected rather than bought, which is worth reading before you commit to a shape.
The tail is what makes it read cottage
Let one end fall toward the hearth by a foot or more and stop the other end short of the mantel corner. Symmetry is the farmhouse move. Cottage rooms are small and slightly wonky, and a garland with one heavy tail and one clipped end looks like it grew there rather than being installed.
 How to Make a Dried Orange and Cinnamon Christmas Hanging Ornament The drying method and the assembly details that keep a slice-and-cinnamon piece from looking like a school craft project.
2. Build the front door wreath on dried hydrangea, not fresh berries

Hydrangea heads cut in September and left to dry upright in an empty vase go bronze-pink and hold that colour for years, which is the exact register dried oranges want beside them. Fresh holly berries fight the amber; they pull the whole wreath toward traditional red-and-green and undo the faded thing you were going for. A dried florist bunch runs about twelve to twenty dollars if you have no bush of your own, and one bunch covers a small wreath with heads left over.
3. Back-light a row of slices in a kitchen window
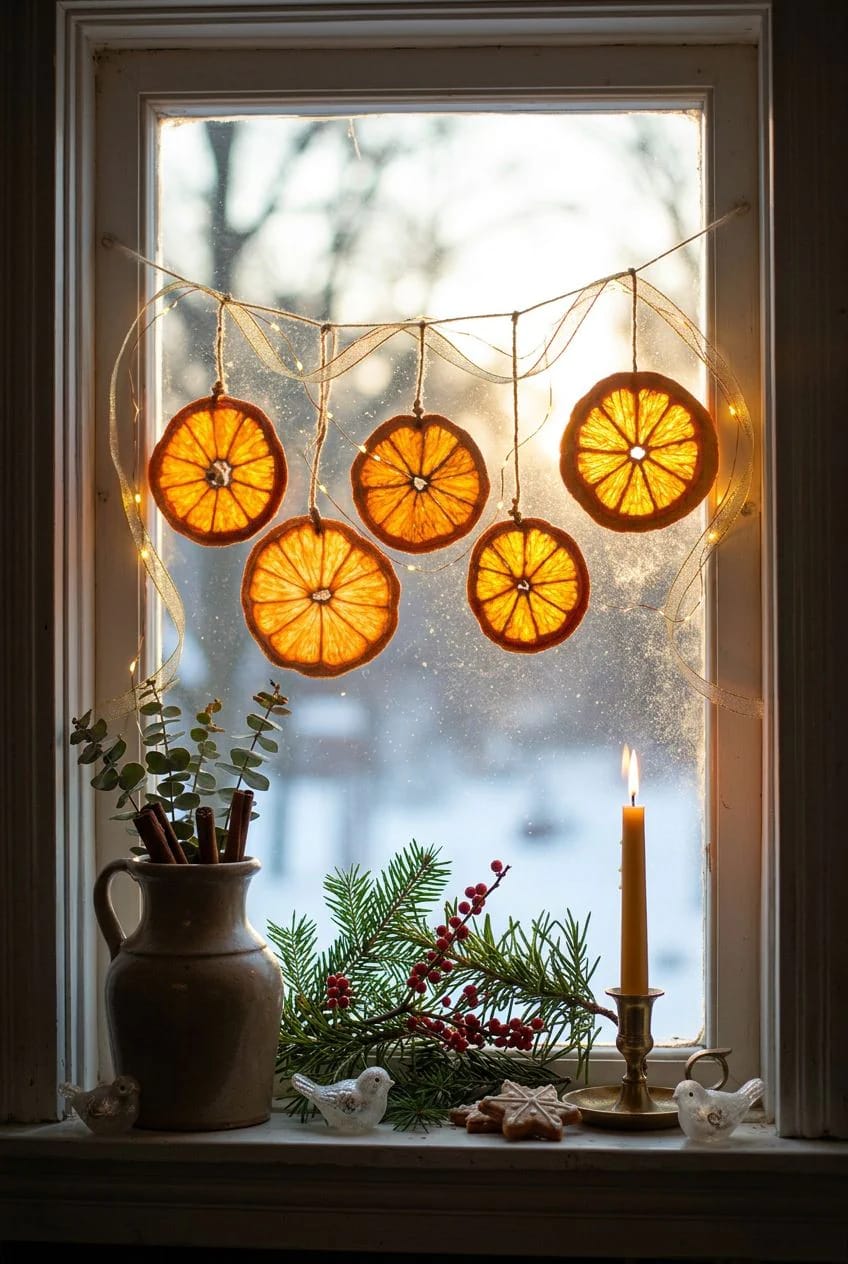
Properly dried slices are translucent, and hanging them against glass is the only way to use that. Around three in the afternoon in December the light comes through low and turns each disc into something closer to a small stained glass panel than a decoration; it costs nothing, it uses the slices that came out slightly uneven, and it works in a room too small for a tree. One caveat that matters: a south-facing window will bleach them to buff by February, so put the good ones north or east and hang the seconds in the sun.
If the window sits in a room where you also want the evening to work, the sill lantern and lamp arrangement in these hygge living room ideas built around light and texture pairs with this without competing.
4. Clove-studded pomanders in a wooden dough bowl by the door
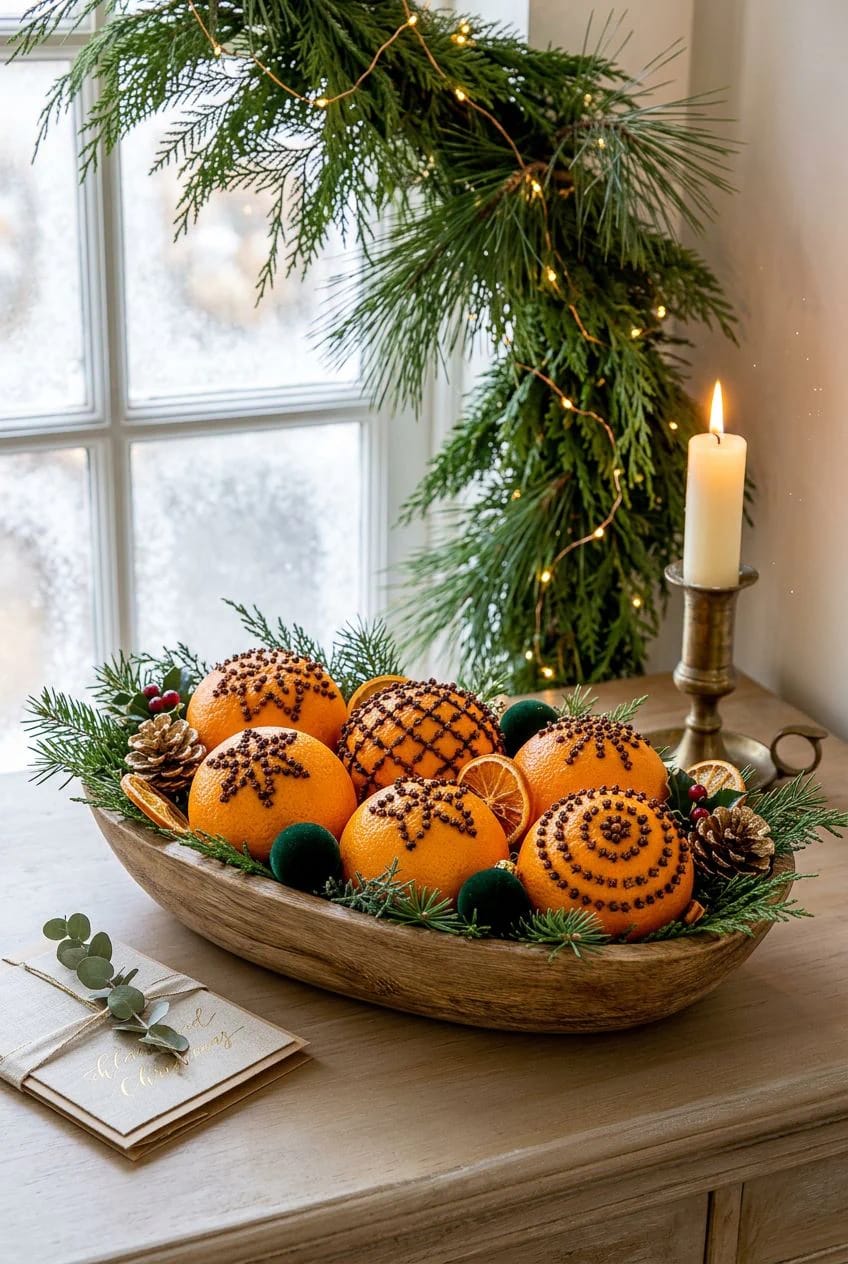
Pomanders are the oldest idea in this article and the one most likely to go wrong, because the orange has to dry from the inside out while sitting in a warm room. Space the cloves about a quarter inch apart and leave bare peel showing between the rows, both because the fruit shrinks as it cures and because airflow between the rows is what stops mould. Roll the studded fruit in ground cinnamon and orris root, or arrowroot powder if you cannot find orris, then cure it in a paper bag in a cool dry spot for three to six weeks, turning every few days.
You will know it is done when it feels light for its size and sounds hollow against a knuckle. That is also why a dough bowl on an entry table is the right home for them rather than the dining table: they keep releasing scent for months, and the entry is where a visitor meets it first.
Losing most of a batch to mould is common enough that published accounts of it are easy to find, including one crafter who lost seven of ten oranges in a single cure. Three things cause it: cloves packed edge to edge with no gaps, a cure spot that is warm or humid, and skipping the fixative powder. Refrigerating them overnight only delays the problem. If a fruit softens or weeps rather than hardening, throw it out; mould spreads through a bagged batch fast.
5. Hang the tree slices on linen thread and brass hooks, not red ribbon
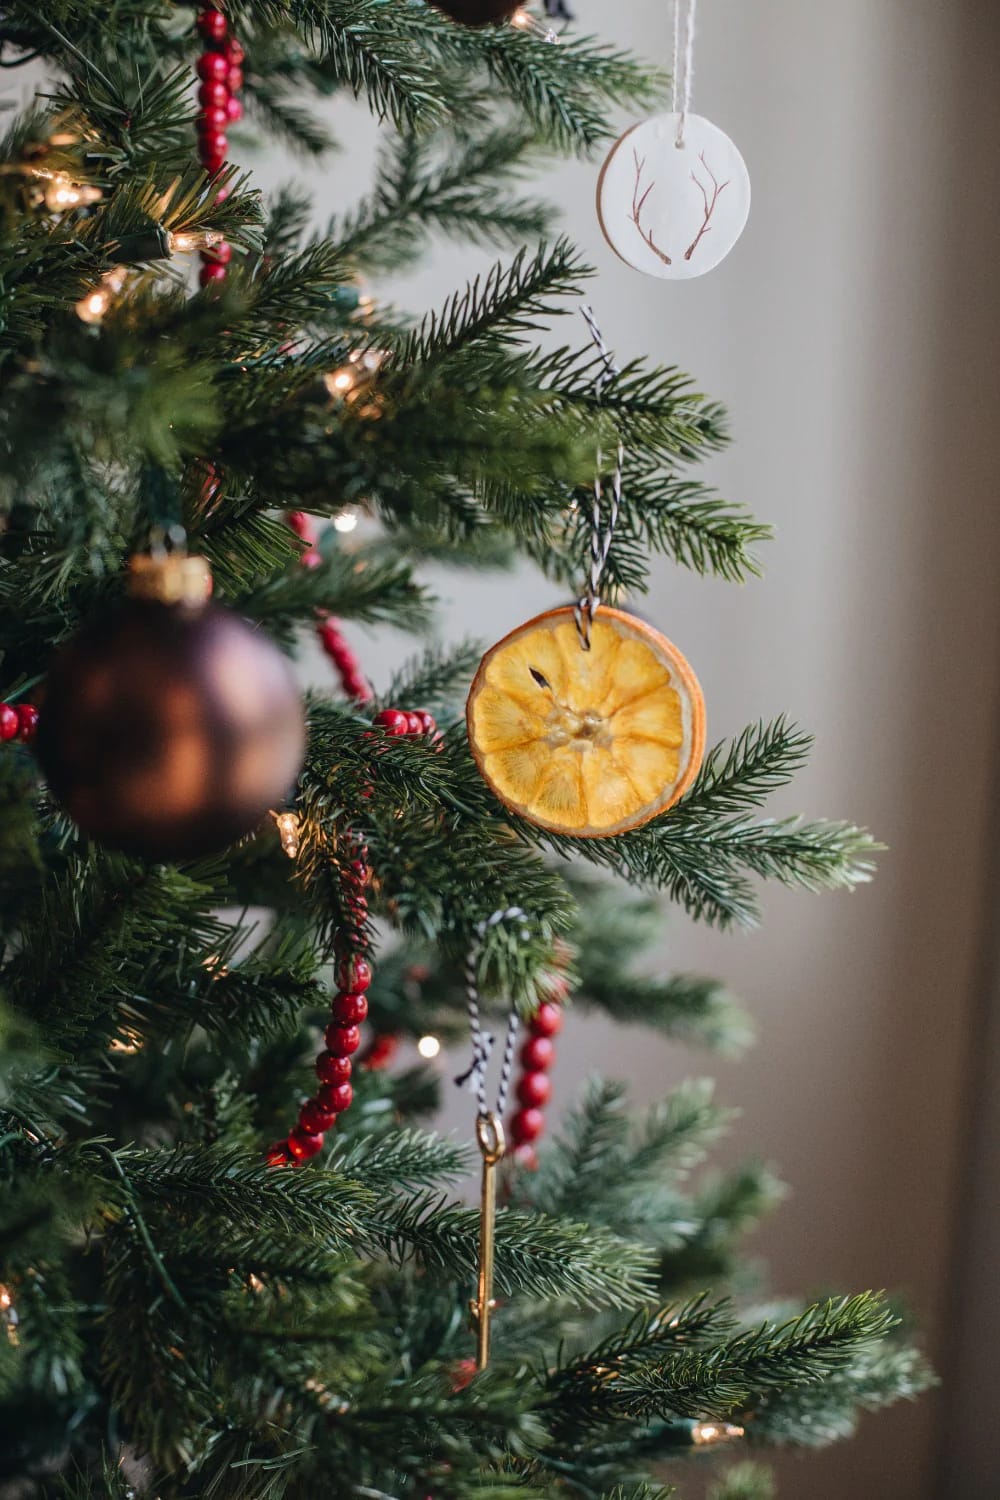
Red satin ribbon is the tell that the ornament came from a kit. Undyed linen thread or thin jute disappears against the needles and lets the slice do the work, and a brass cup hook screwed into a wood slice or knotted straight through the thread means the ornament hangs flat instead of twisting.

Which slices actually survive a season on a tree
The thicker cuts at a quarter inch handle handling better than the thin eighth-inch ones, which snap where the thread hole weakens the pith. Thread through the segment wall rather than the outer rind, about a centimetre in from the edge; the rind splits, the pith does not. Pair them with the wooden ornaments that suit a natural tree and the whole tree stays in one material family.
6. Tie a dried floral posy to every napkin
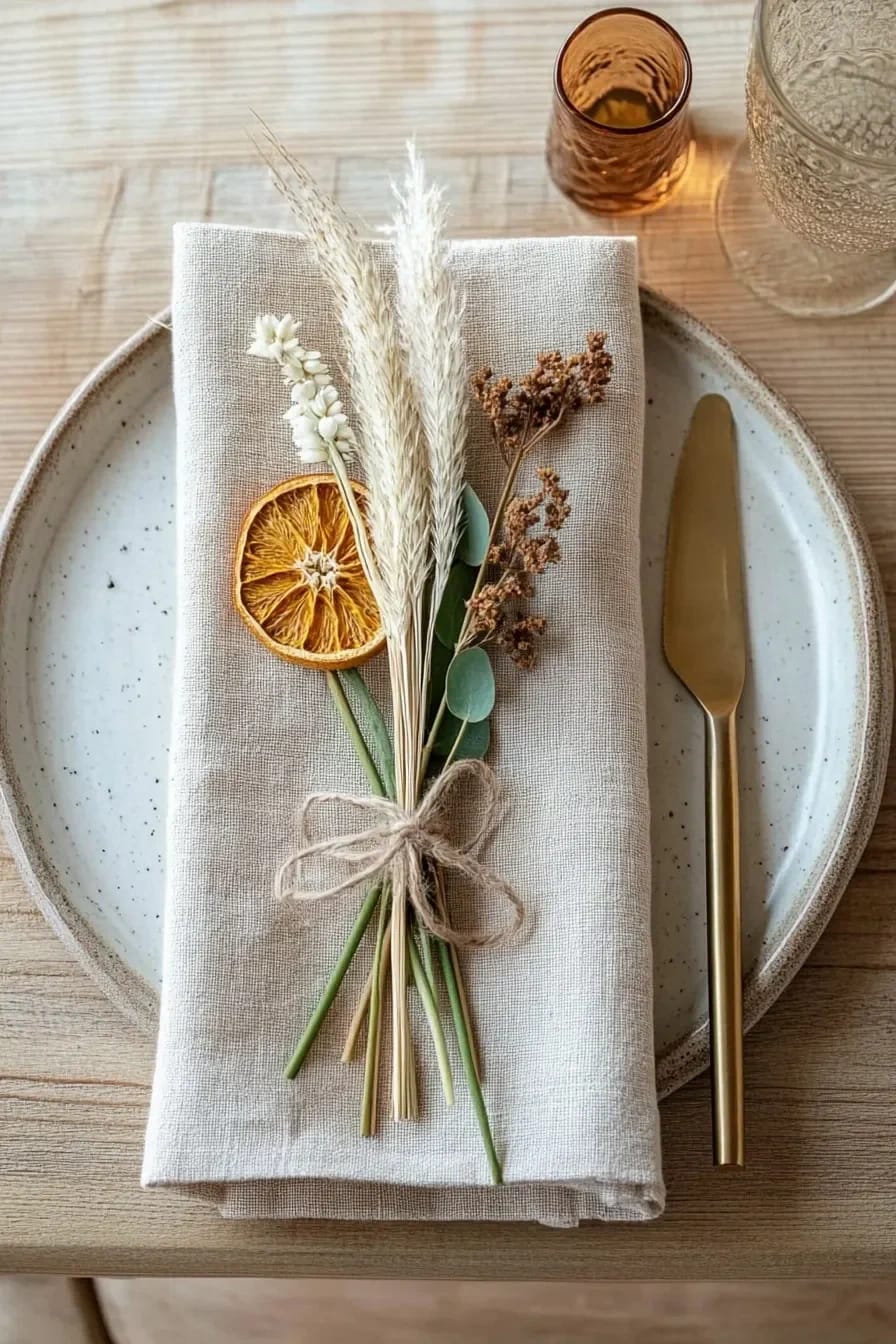
Each posy costs a few cents in materials and takes about ninety seconds. Guests take them home, which is more than a place card does.
7. Keep the citrus runner under fourteen inches so people can see over it
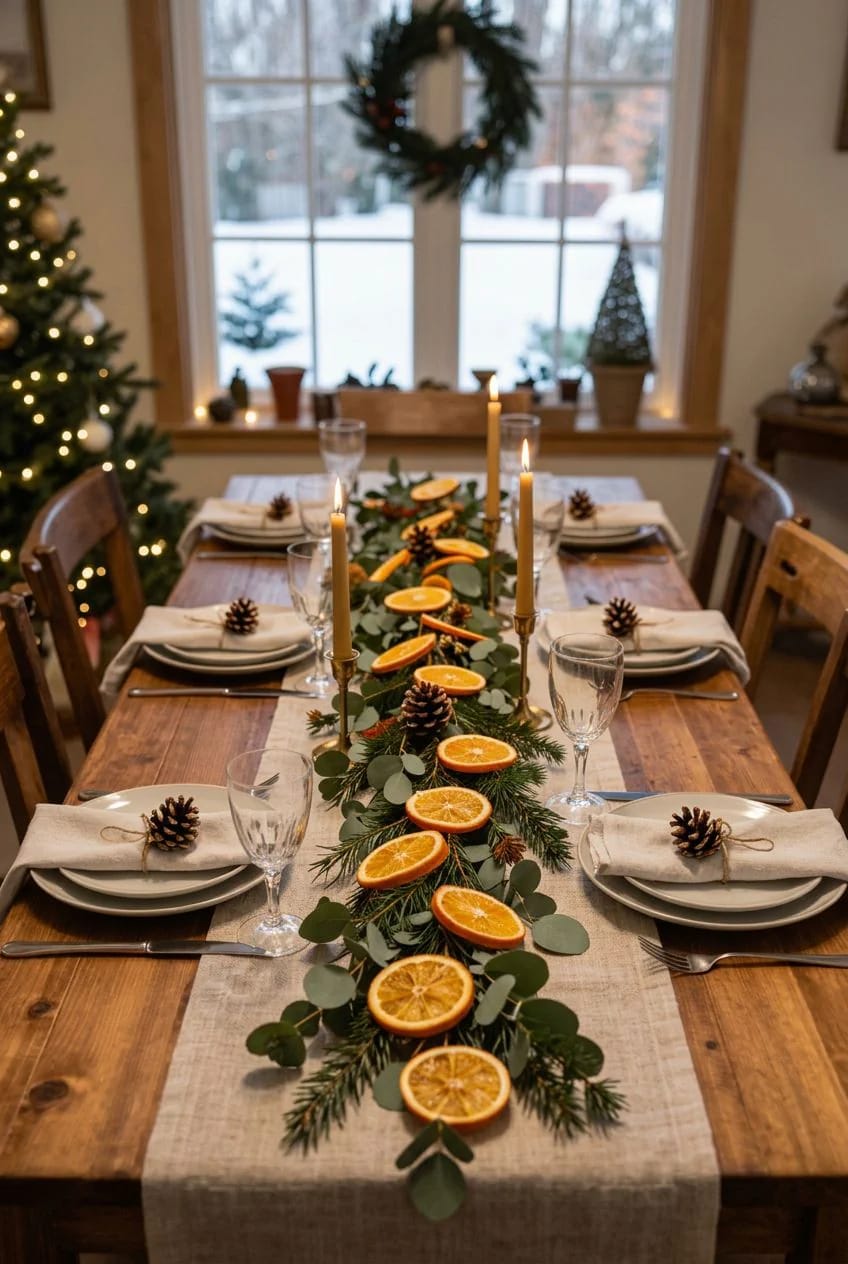
Run eucalyptus down the centre of the table in a loose line, lay dried orange slices flat along it rather than propping them up, and cap the height with squat ivory candles. Anything taller than about fourteen inches sits in the sightline between the two people who have to talk across it, and they will spend the meal leaning around a centrepiece. The flat-laid slices also catch candlelight from above and glow, which the upright ones do not.
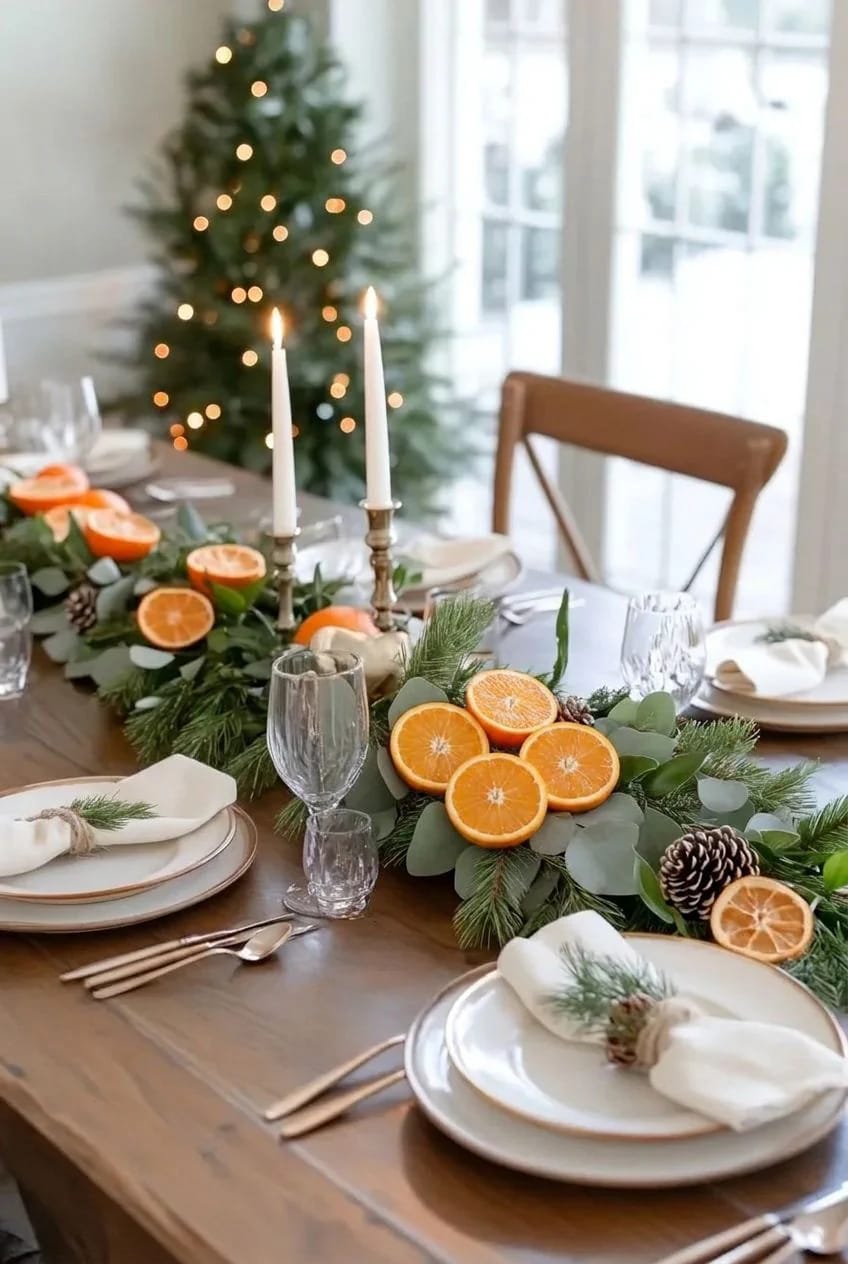
Silver dollar eucalyptus dries in place over about ten days and shifts from grey-green to a softer sage, so the runner improves across the season instead of wilting. There are a dozen more low arrangements in this collection of table centrepiece and tablescape ideas built around the sightline rule if you are setting more than one table.
8. Let the oranges set the palette: rust, ochre and bruised pink, no red or green
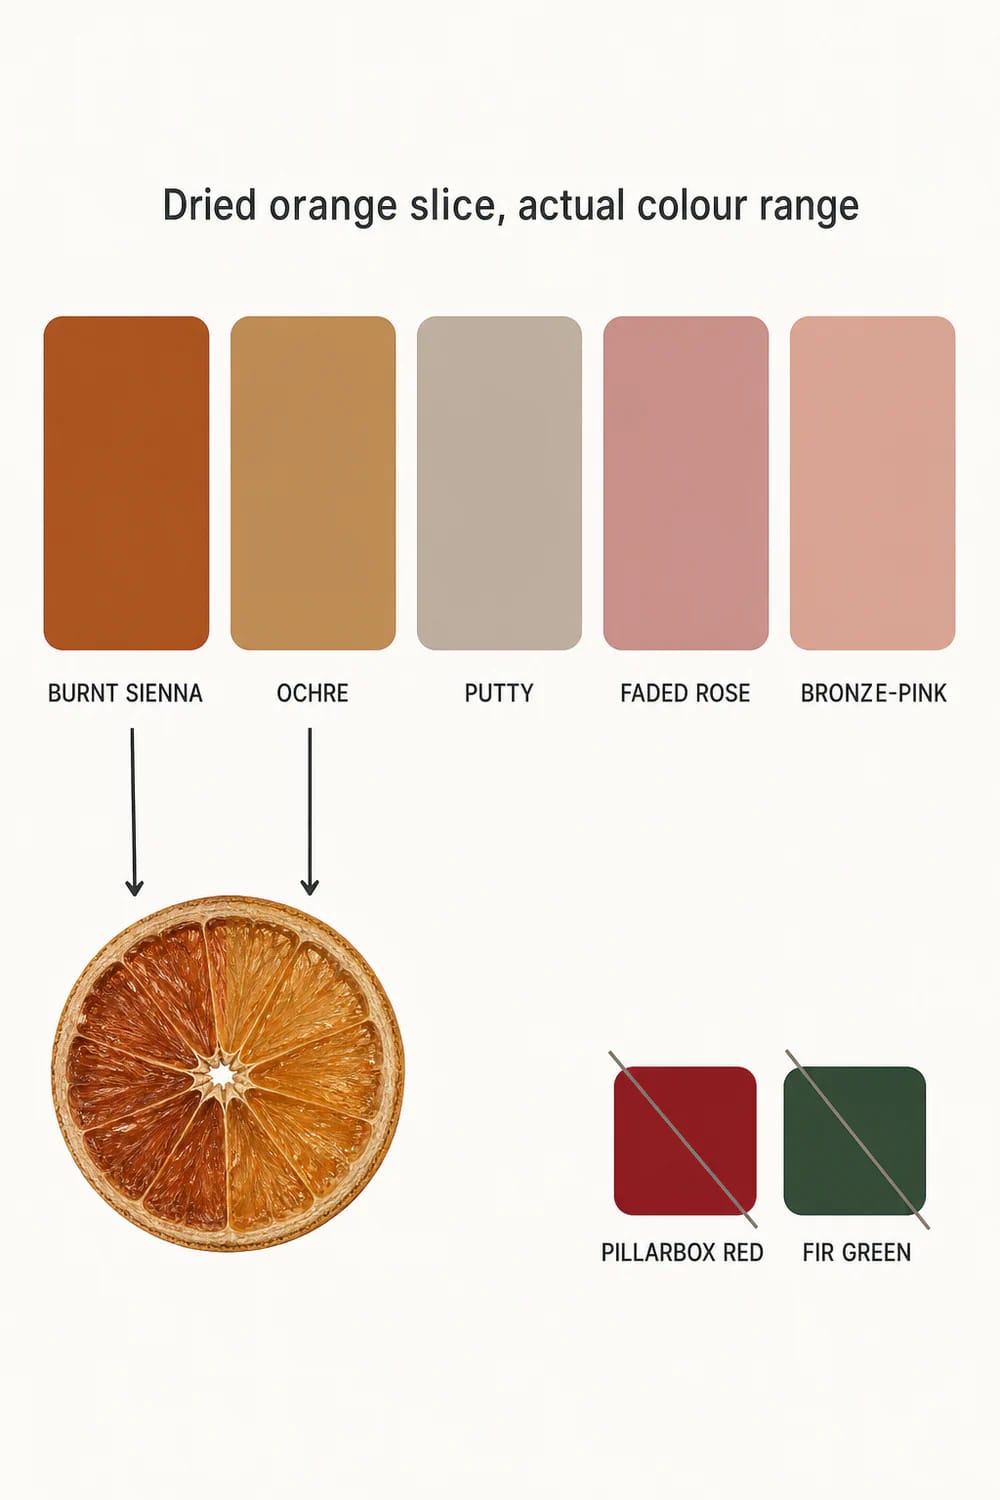
A dried navel slice is not orange. It sits between burnt sienna at the rind and a pale ochre through the segments, and the moment you put a saturated pillarbox red beside it the slice reads as a faded version of the red rather than as its own colour. Build outward instead: putty walls, oatmeal linen, bronze-pink hydrangea, one bruised rose element. This is the same restraint that runs through the faded, heirloom approach to a vintage Christmas, where saturated colour is the thing that gives away a room as new.
Do this
- Repeat the amber in at least three places in a room so it reads as a scheme and not as one bowl of fruit
- Use brass and unlacquered copper as the metal; both sit in the same warm range
- Let one element be genuinely pale (chalky cream candles, unbleached linen) so the ambers have something to be dark against
Avoid
- Pillarbox red anywhere in the same sightline
- Cool silver tinsel and white fairy lights, which turn the slices grey. Warm bulbs only.

 Farmhouse Christmas Decor: 12 Ideas That Skip the Red-and-Green Cliché The same muted palette applied to galvanised metal, raw wood and burlap instead of chintz and painted furniture.
9. Hang a bay and orange swag over the range
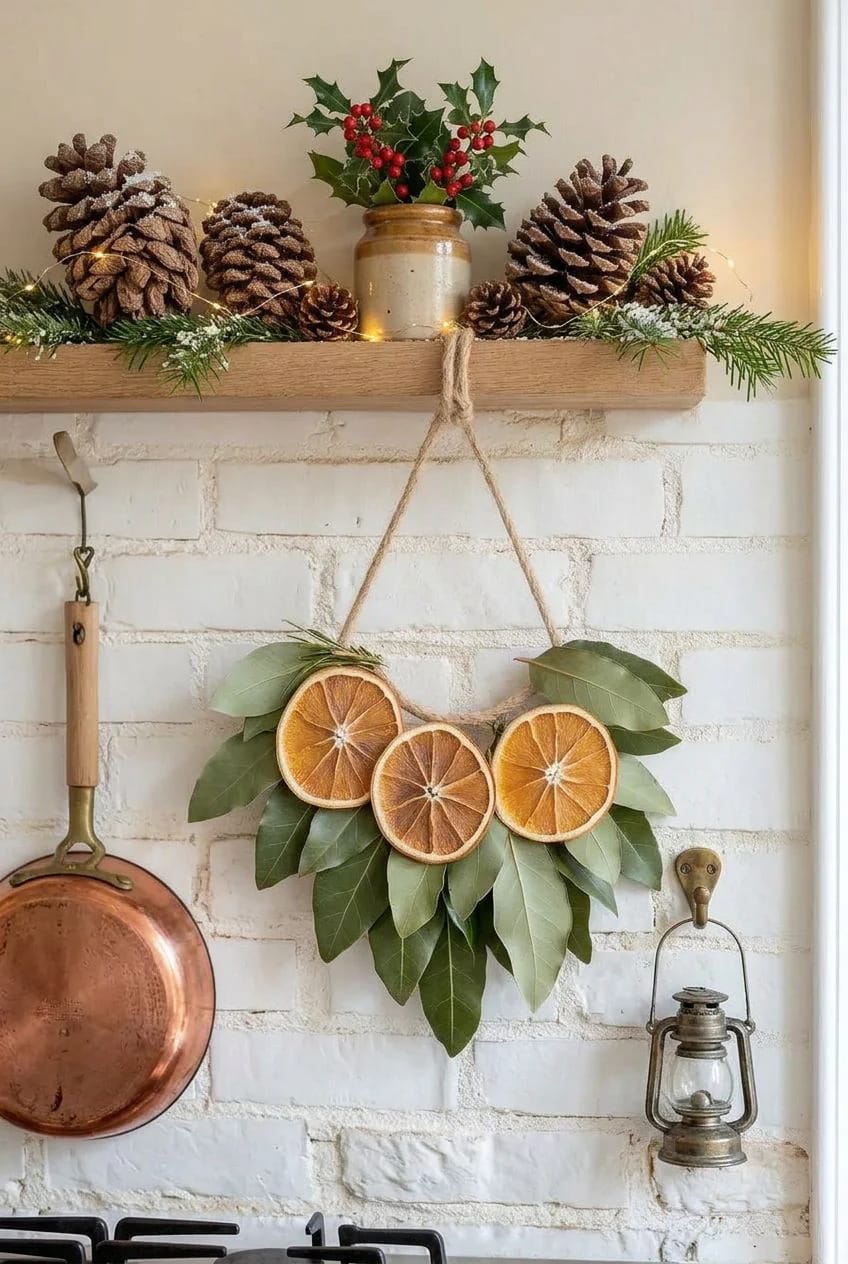
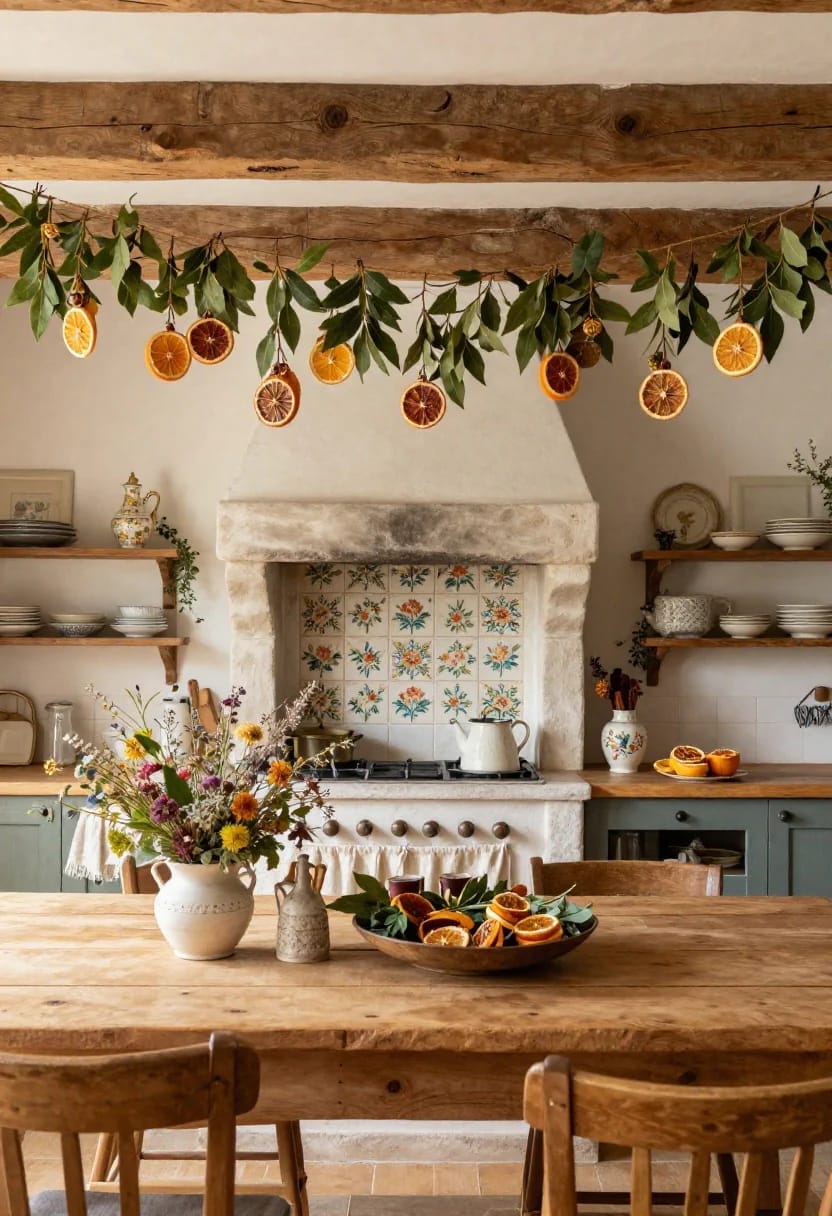
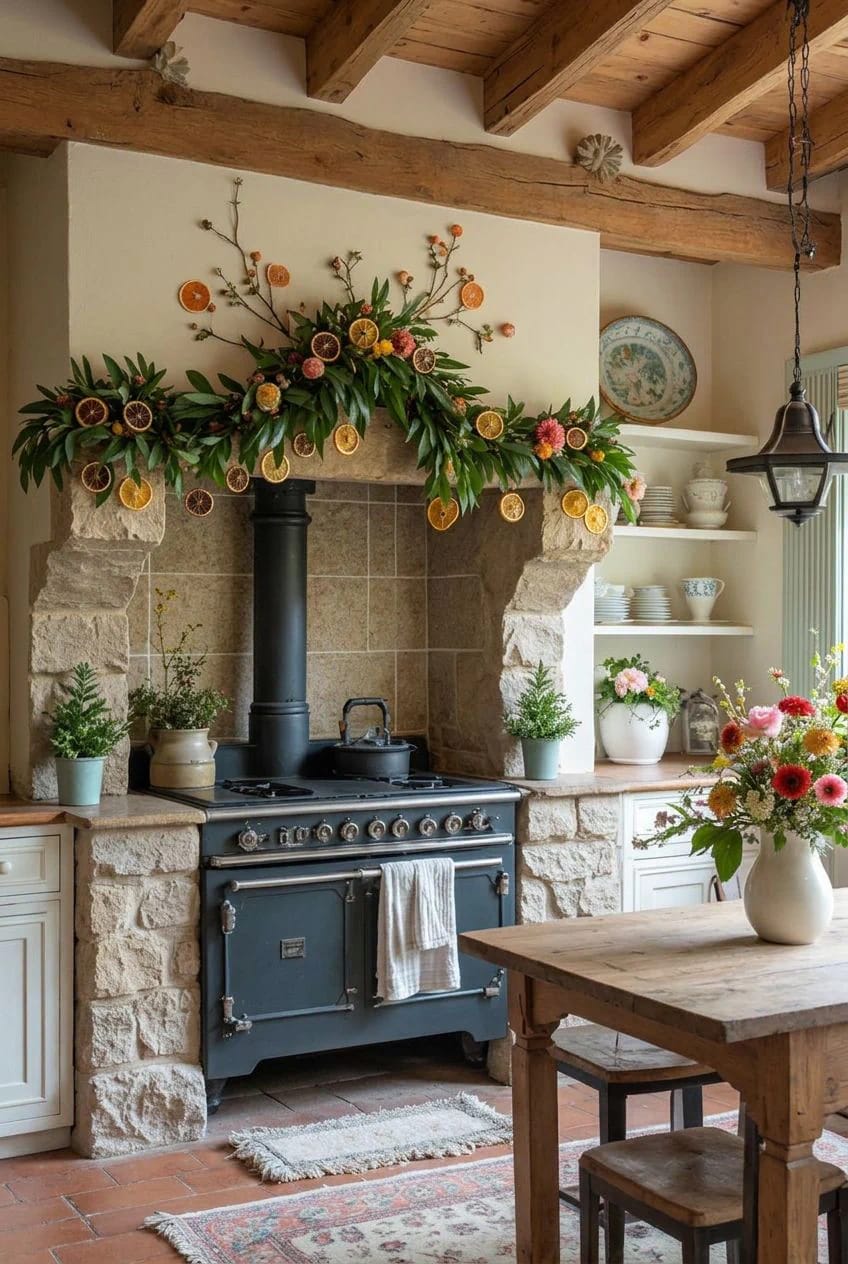
Bay handles the heat and the rising grease better than eucalyptus or fir, which go limp and sticky in a fortnight above a working range. It also dries in place without shedding, and the leaves stay usable in cooking well after the swag comes down in January.
Where not to hang it
Nothing goes directly over a gas burner or within about eighteen inches of one, dried citrus included; the slices are essentially sugar and paper. Fix the swag to the chimney breast or the wall above the splashback, never to the rangehood itself.
10. Wrap presents in kraft paper with one slice and a rosemary sprig

A roll of kraft paper runs about eight dollars and wraps more presents than any printed roll of the same price; the slice and the sprig cost nothing if you dried a tray and grow rosemary. Vary what goes under the twine from parcel to parcel rather than repeating the same trio, because a stack of identical gifts under a tree reads as merchandising.
Start the pomanders before you buy the greenery
The sequence is the one genuinely time-sensitive thing here. Pomanders need three to six weeks in a paper bag, so they go on in mid-November or they are still weeping when guests arrive; slices need one long afternoon and keep for years in a jar; the cedar, bay and eucalyptus should be the last things you buy, because they start counting down the moment they come indoors. Get the fruit done early and the rest of it is an evening's work.
Related Posts
- 25 Traditional Christmas Decor Ideas with a Nostalgic Vintage Touch
- 15 Easy DIY Christmas Centerpieces to Brighten the Yuletide Season
- 15 Elegant Dried Flower Decor Ideas to Inspire You
- 15 Creative White Christmas Decor DIY Ideas For Easy Elegant Inspiration
- How to Make a Dried Orange and Cinnamon Christmas Hanging Ornament
- 15 Trendy Christmas Tree Fall Decorations for Your Home