
This is the maximalist end of the spectrum: the whole exterior lit at night, the house that makes drivers tap the brakes and roll down the window. Getting there is less about buying more lights and more about a handful of decisions that separate a planned display from a tangle of mismatched strands, starting with which bulb actually reads from the street and ending with the music-synced shows that turn a front yard into a destination. A few of these are weekend jobs; a couple will eat a Saturday and a stepladder's worth of patience.
1. Start at the roofline with C9 bulbs, because mini lights vanish from the street
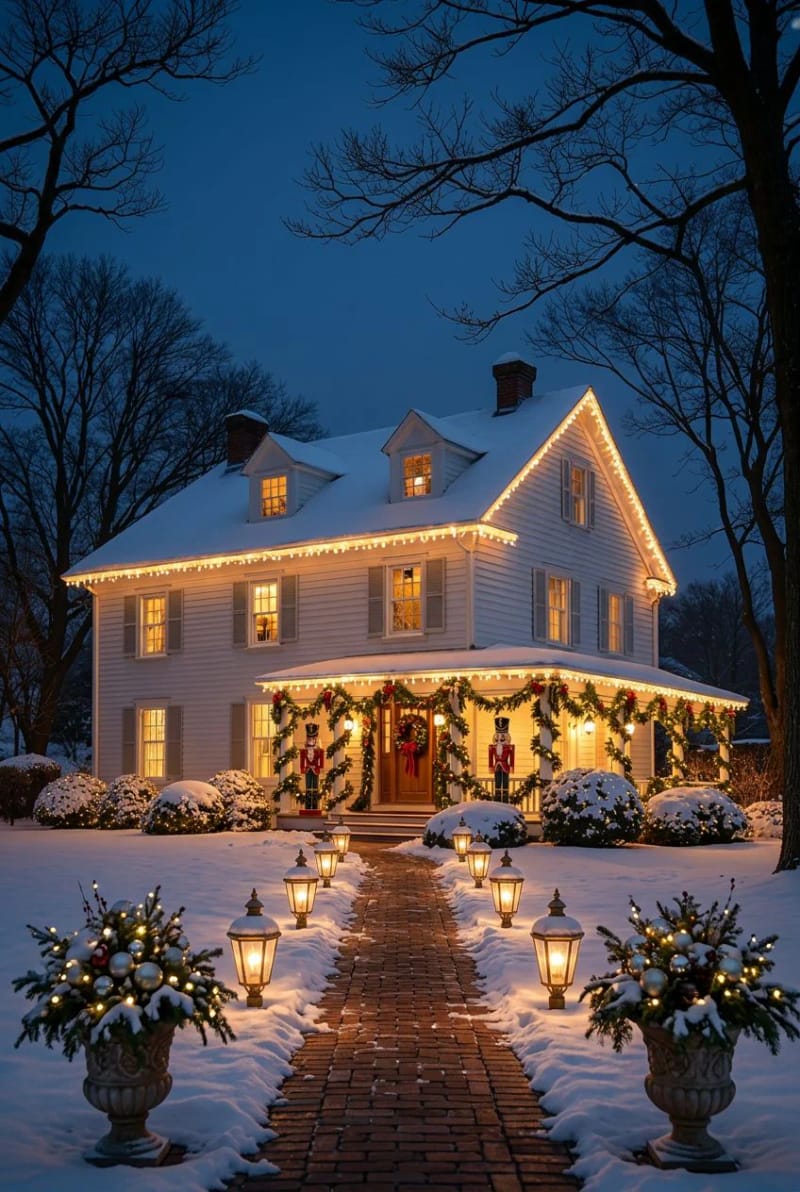
The roofline is the backbone, and it wants C9 bulbs, not the mini strands most people default to. A C9 stands about 2.25 inches tall on an E17 base and reads as a clean, individual point of light from across the street; minis blur into a haze past about thirty feet. Run them at the standard twelve-inch socket spacing for a measured rhythm, or tighten to six inches if you want the dense, commercial look. For a one-story ranch you can outline the front in an afternoon; a 100-foot set of warm white C9s runs roughly $70 to $120.
| Bulb | Where it belongs | From the street |
|---|---|---|
| C9 (E17, ~2.25 in) | Rooflines, ridge lines, gutter runs, long driveways | Bold, defines the shape of the house from blocks away |
| C7 (E12, ~1.5 in) | Window frames, door surrounds, porch columns | Crisp detail without overpowering the architecture |
| 5mm / M5 mini | Bushes, shrubs, tree canopies and branches | Disappears into foliage, twinkles through leaves |

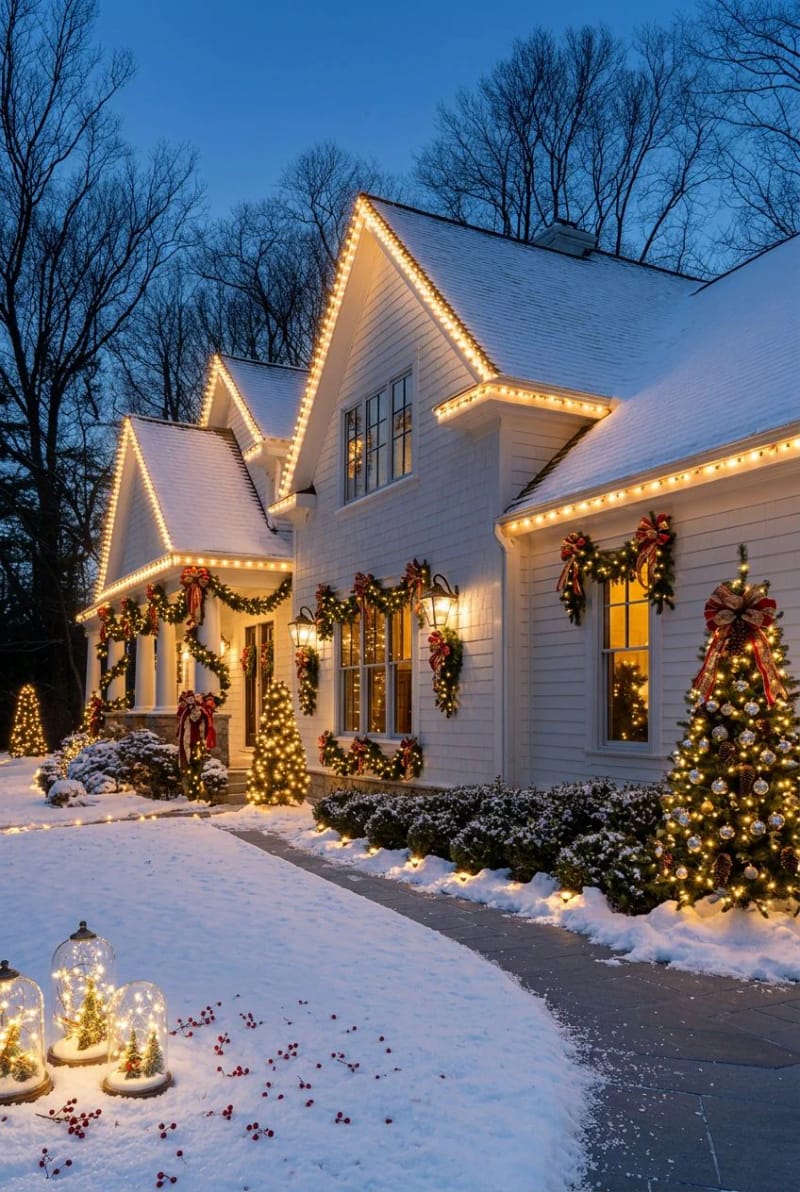
2. Go permanent and app-controlled so you stop climbing the ladder every December
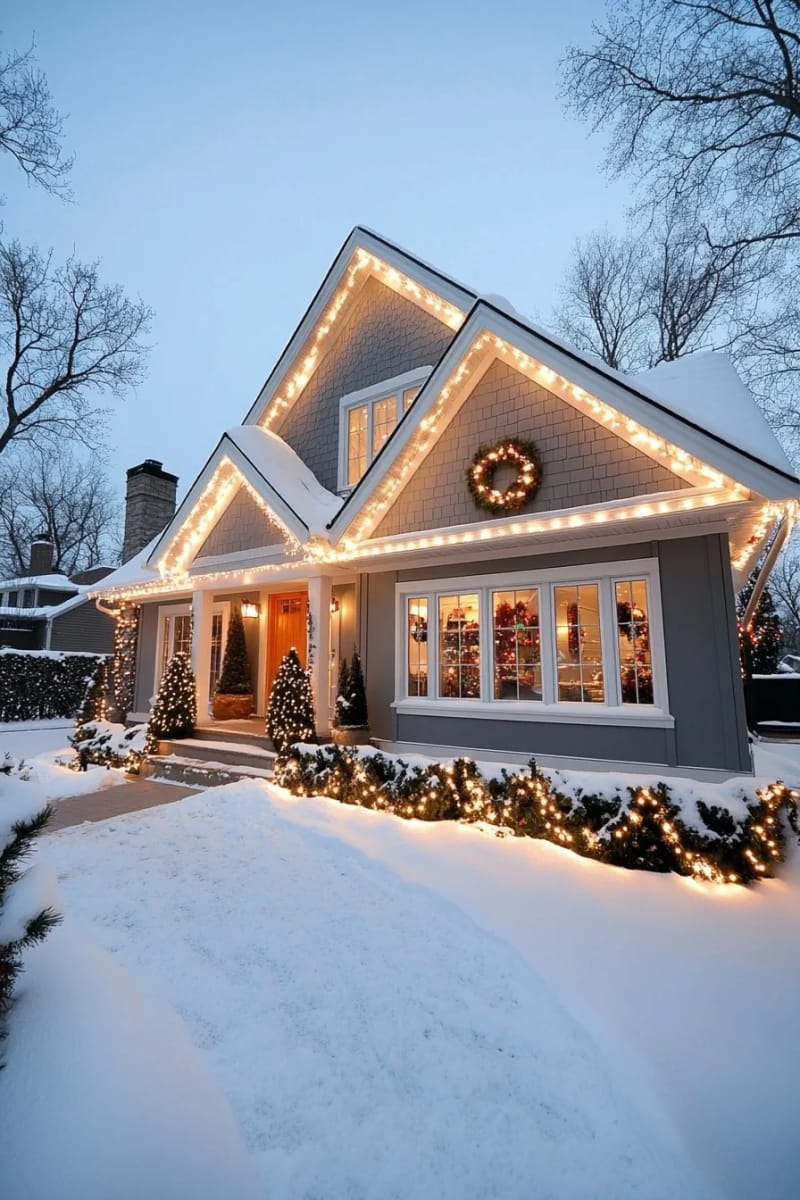
The people who own the block year after year almost never re-hang anything. They installed permanent LED tracks once and now run a holiday scene from their phone. Systems like Govee and Twinkly mount low-voltage RGBIC points under the eave, hold up to IP67 in weather, and switch from warm white on a Tuesday to red-and-green on the 1st without a ladder. A DIY 100-foot Govee run lands around $200 to $300; professional permanent installs run $2,000 to $8,000, with most homeowners spending somewhere near $3,500 to $4,600. The math gets persuasive fast when seasonal pro installs cost $220 to $686 a year and creep past $1,300 on a two-story.
Cuttable and spliceable, IP67-rated, and it does warm-white daily lighting the rest of the year so it doesn’t read as “Christmas lights you forgot to take down.”

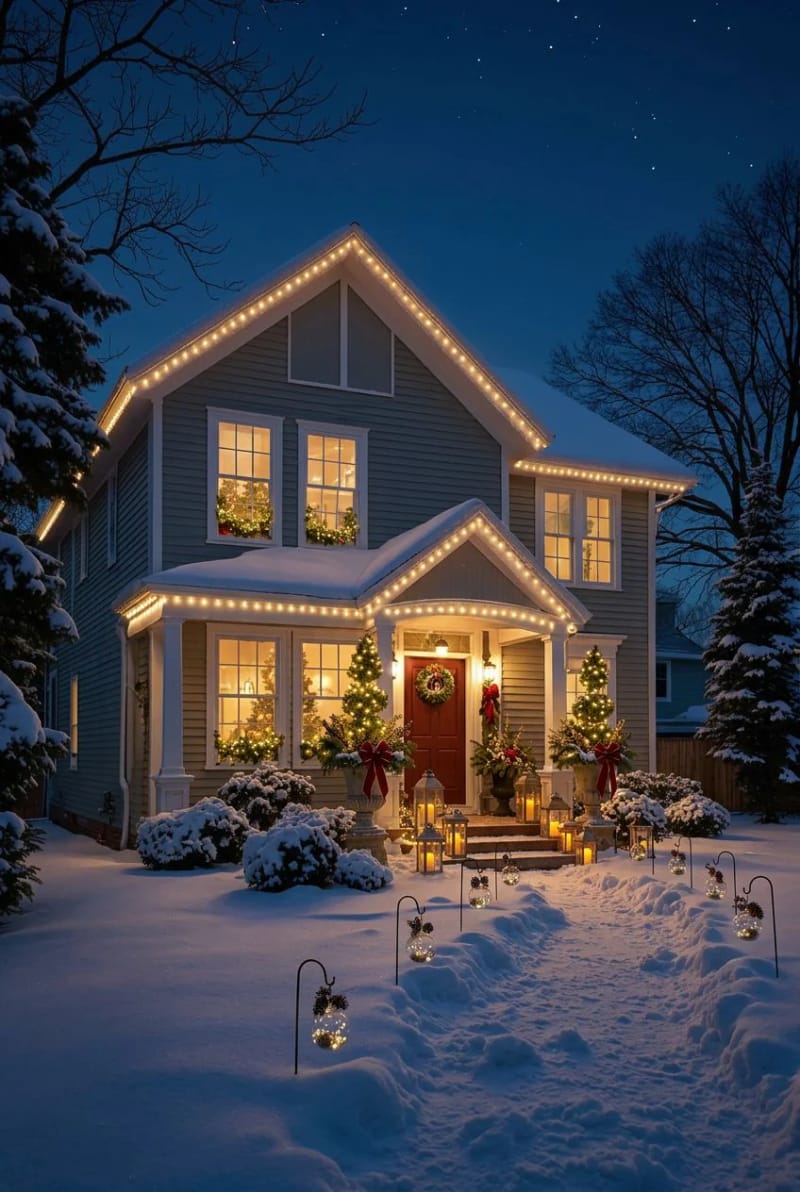
3. Pick two colors and commit, because warm white reads more expensive than rainbow
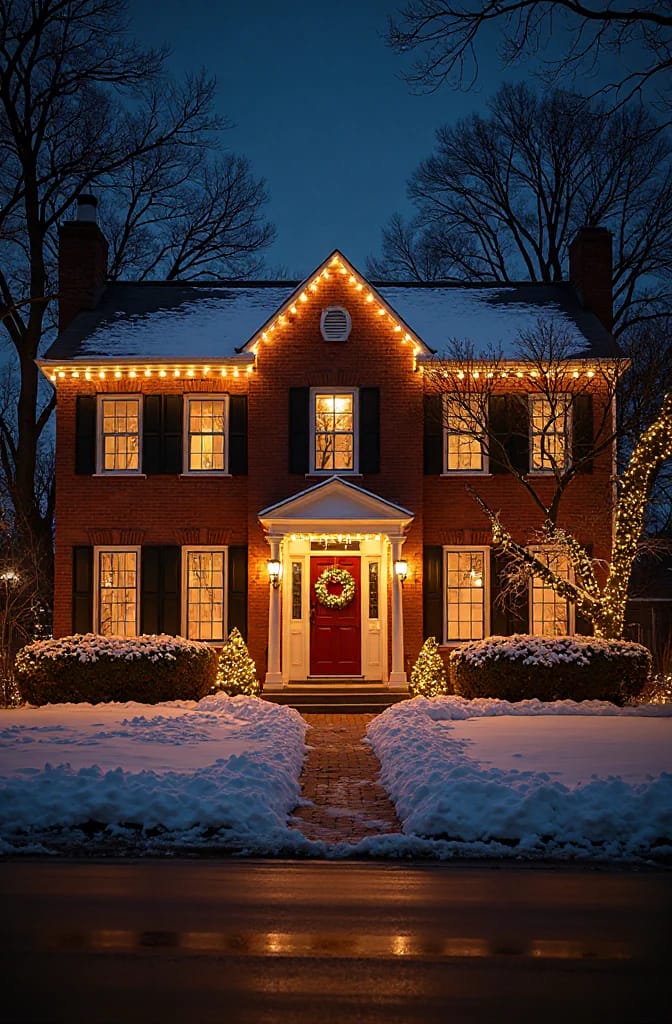
The fastest way to make an ambitious display look cheap is to use every color at once. Multicolor has its place, but undisciplined multicolor reads like the clearance bin at the hardware store, and the houses people actually photograph almost always commit to a tight palette. All-warm-white is the safest expensive-looking choice. If you want color, anchor on one and treat it as an accent, not a free-for-all.
Choose a base (warm white or cool white) and at most one accent color, then repeat that pairing across the roofline, windows, trees, and lawn. Consistency of color temperature across every fixture is what separates a designed display from a pile of lights; mixing warm-white minis with cool-white C9s on the same house is the single most common way a big display falls apart up close.
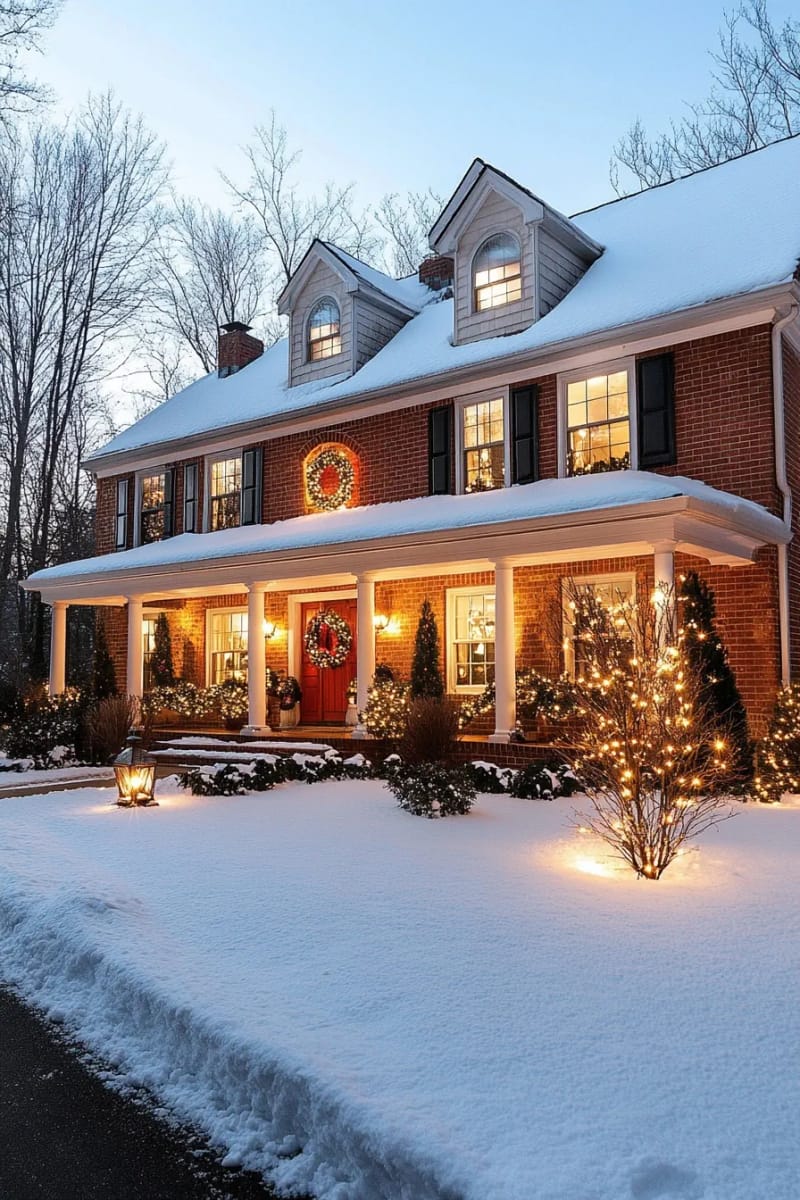
4. Net the bushes instead of wrapping them strand by strand
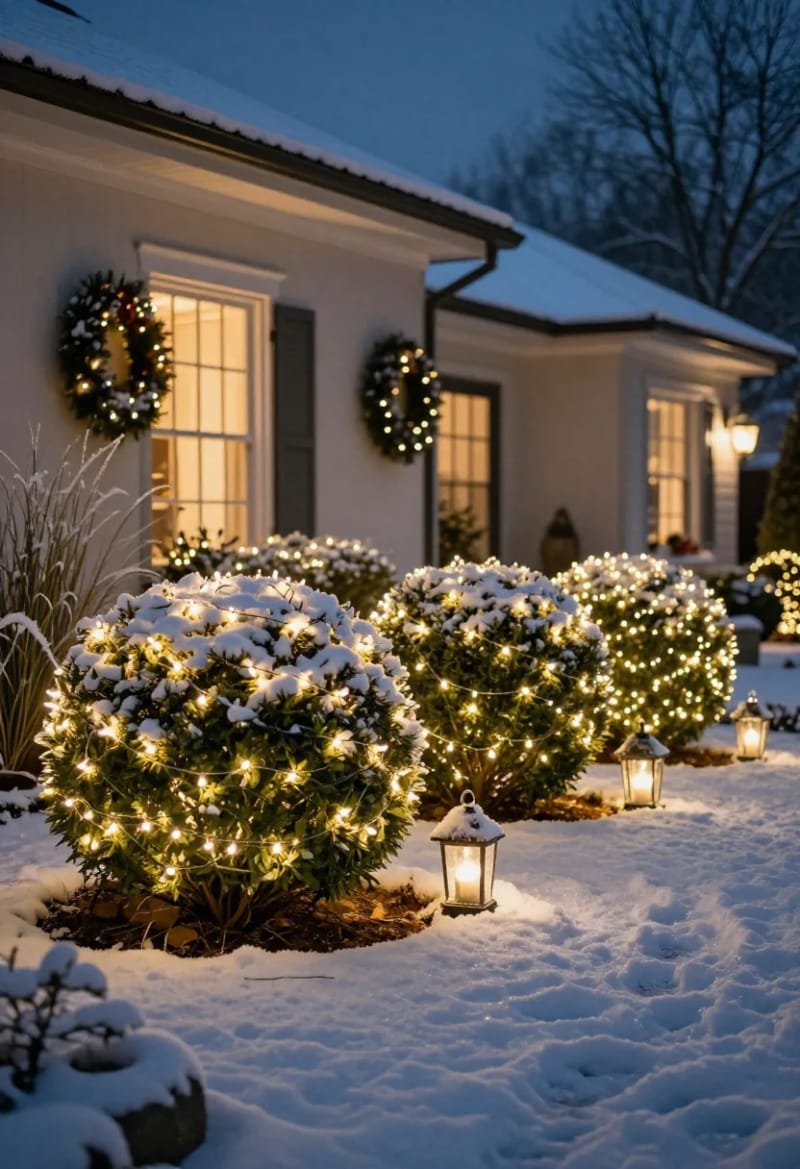
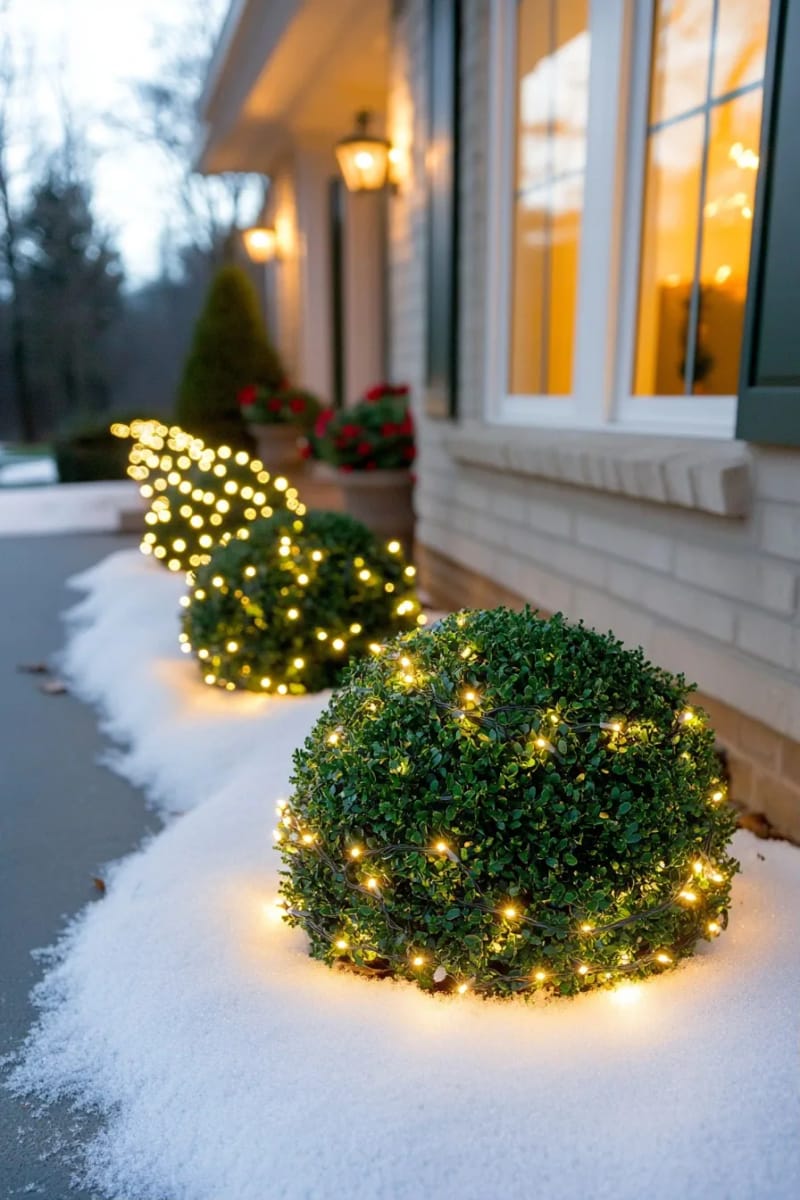
Wrapping a shrub by hand is the chore everyone quits halfway through, and it never looks even. A 4×6-foot net of LED bulbs drops over a boxwood or hedge in under a minute and gives you uniform coverage with no dark patches. Commercial-grade nets connect end to end, so a long hedgerow becomes one continuous run, and they store flat instead of in the cursed tangle a wrapped strand becomes by January. Figure roughly $15 to $30 per 4×6 panel for a sealed outdoor set.
Sealed 5mm wide-angle bulbs rated for 40,000 hours and connectable end to end, which is what you want when you are netting four shrubs off one outlet.

5. Wrap tree trunks tight and let the branches stay loose
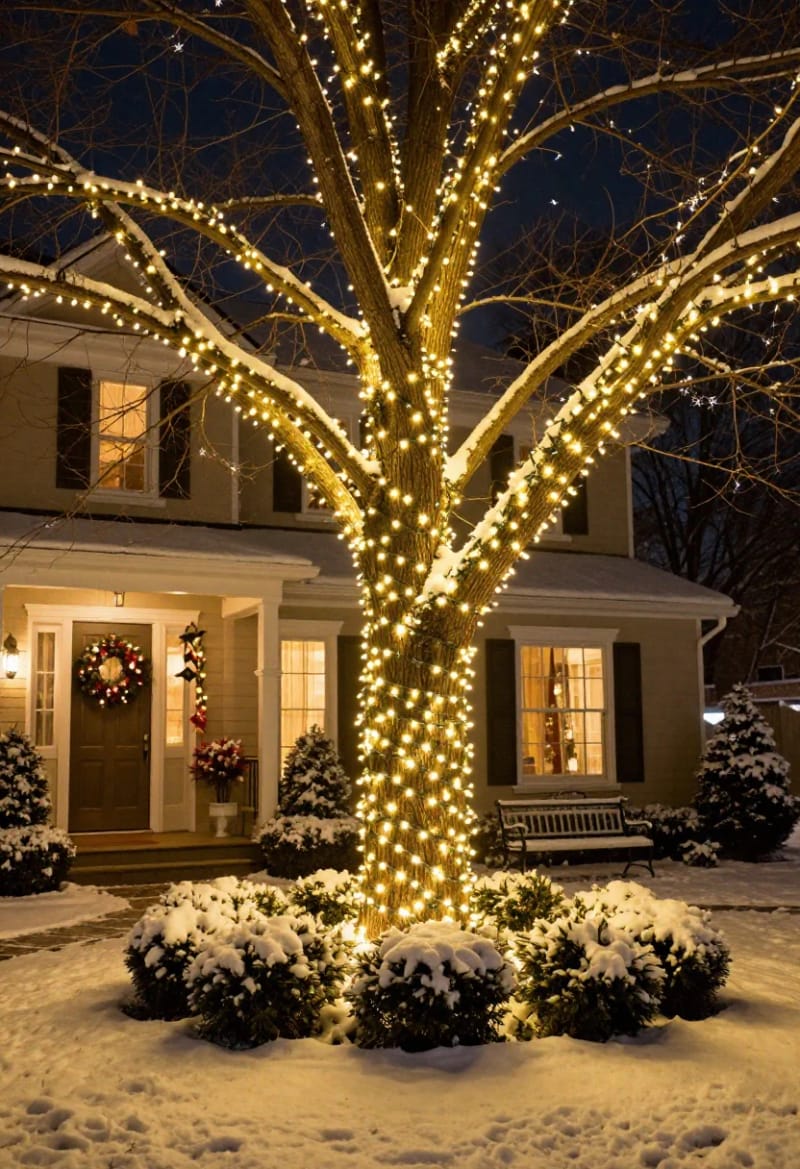
Wrap the trunk densely, almost solid, then loosen the spacing as you climb into the branches. The dense base gives the tree visual weight from the street; the airy limbs keep it from looking like a glowing pole. Use 5mm minis for the canopy and, on a really large oak or evergreen, run a few C9s up the main trunk lines to hold definition from a distance.
6. Wireframe reindeer beat inflatables once the sun goes down
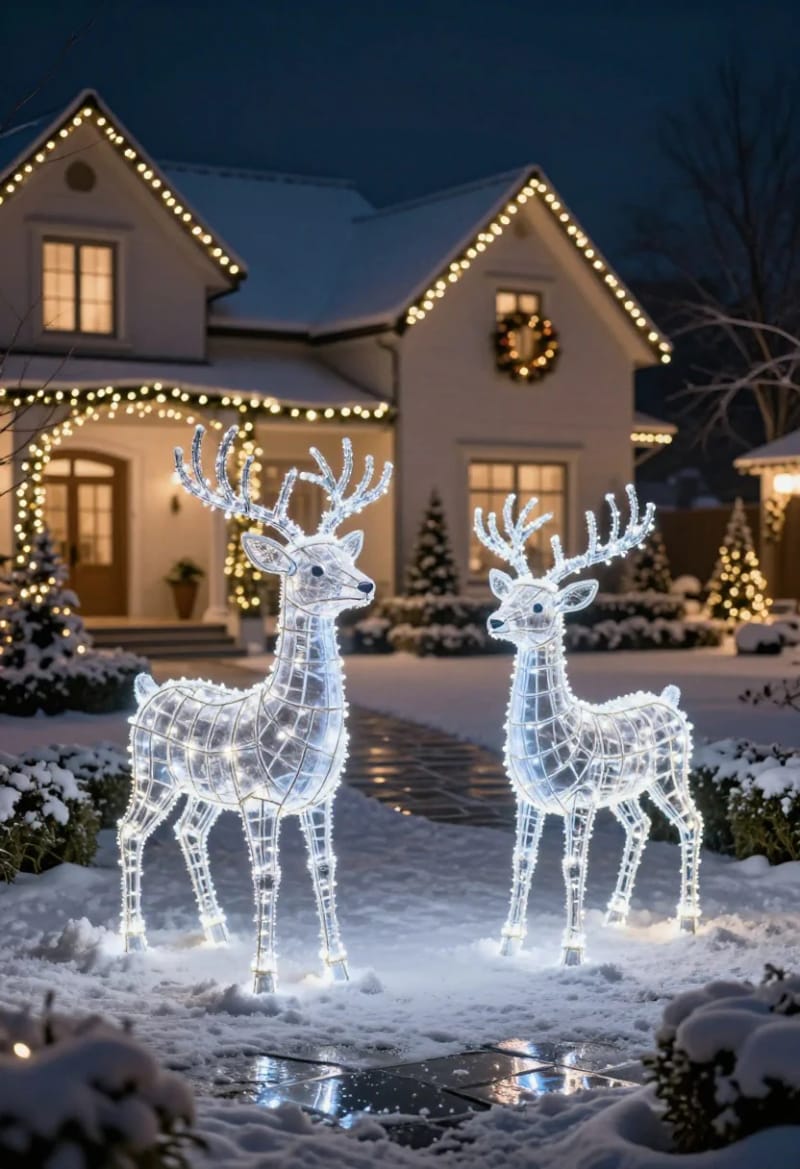
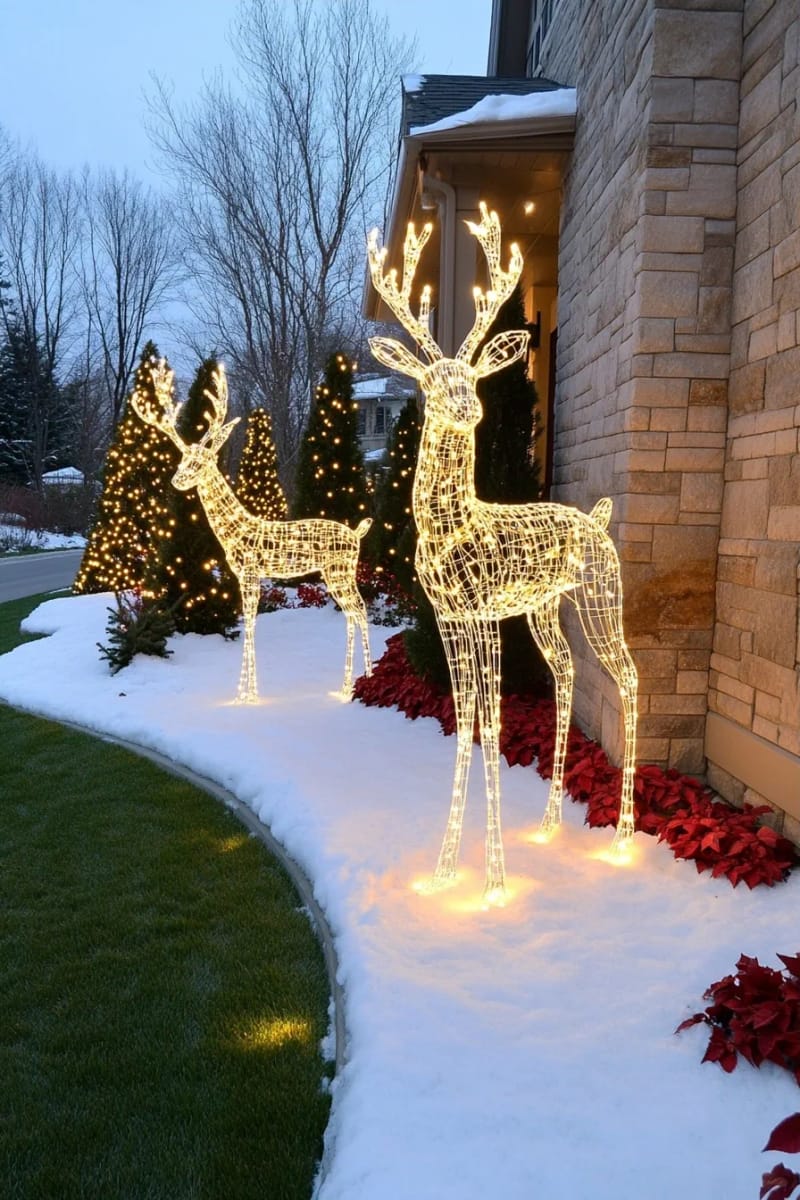
Inflatables look great at the store and deflate into a sad nylon puddle the moment the blower cuts out, and after dark they read as dim lumps unless they happen to be internally lit well. Wireframe figures, the LED-wrapped metal deer and sleighs, do the opposite: they are basically invisible by day and resolve into clean glowing line drawings at night, which is when your display actually matters. They store collapsed, survive wind, and a posed pair (one head-down "grazing," one upright) looks intentional in a way a waving inflatable Santa never will. I owned the inflatable Grinch for exactly one season before the seam gave out.
7. Line the path and driveway to frame the whole approach
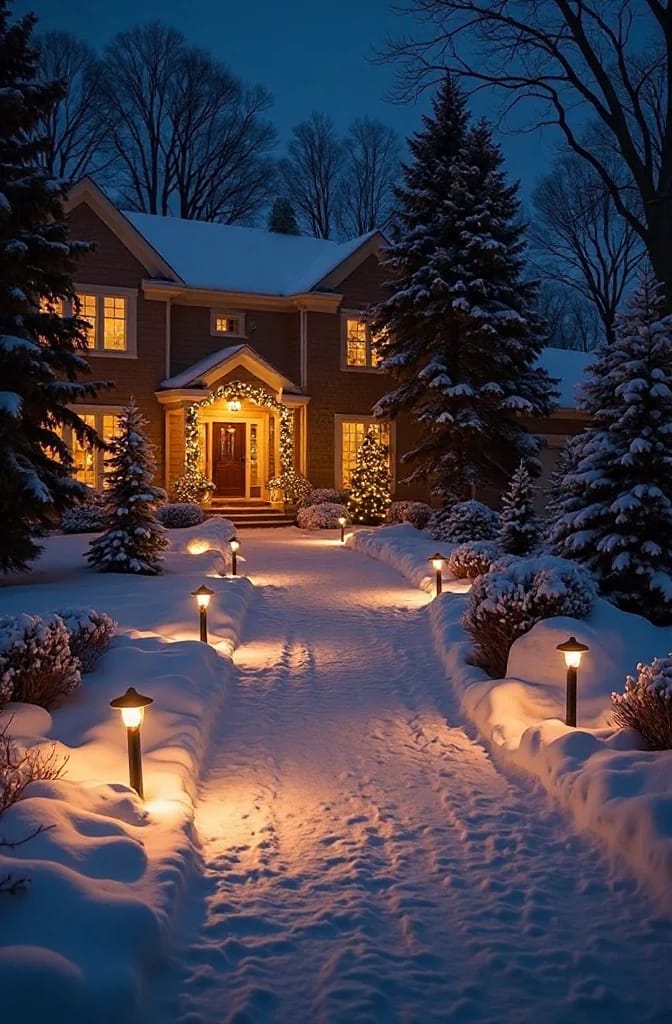
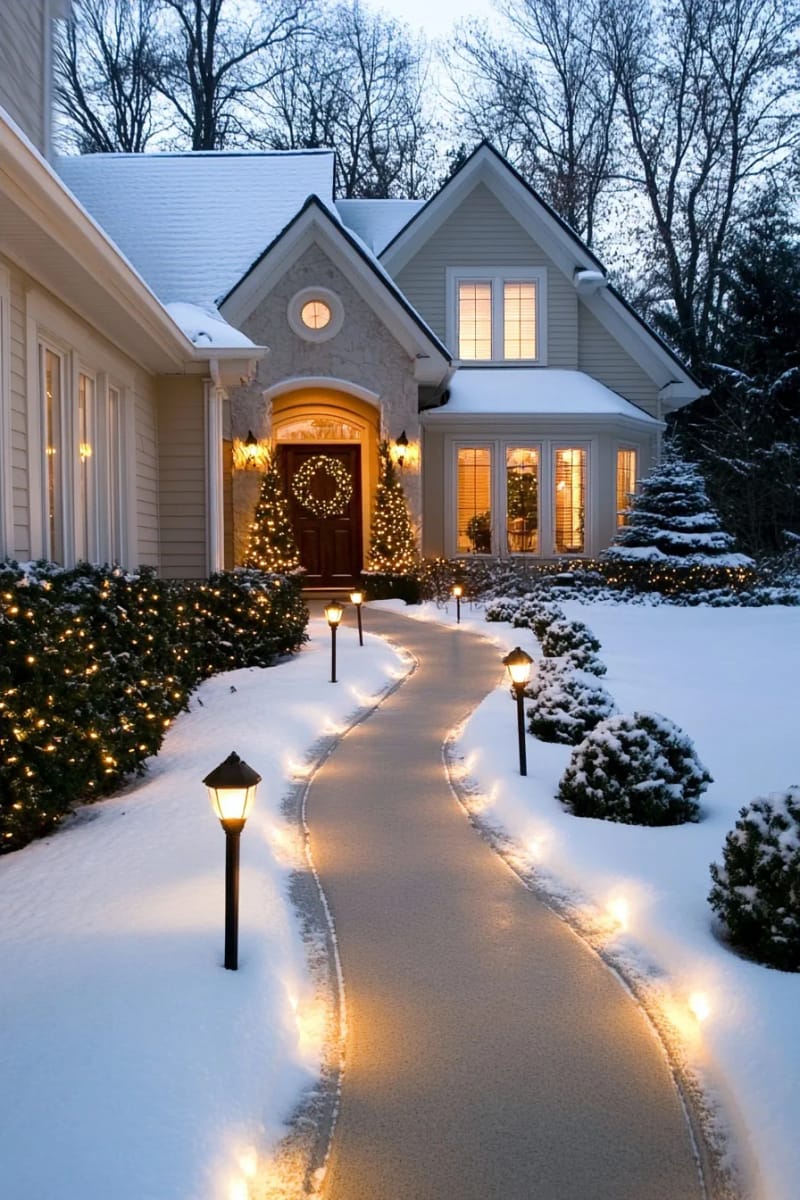
A lit path turns a yard full of scattered decorations into a composed scene by giving the eye a route to the door. Stake lights, lit candy canes, or low lanterns at even spacing along the walk and driveway do most of the work; the rule is even spacing and a single color, because a randomly spaced path looks like an afterthought. Run the line all the way to a lit entry so it terminates on something, not on empty porch.
8. Hang icicle and meteor-shower lights for vertical movement
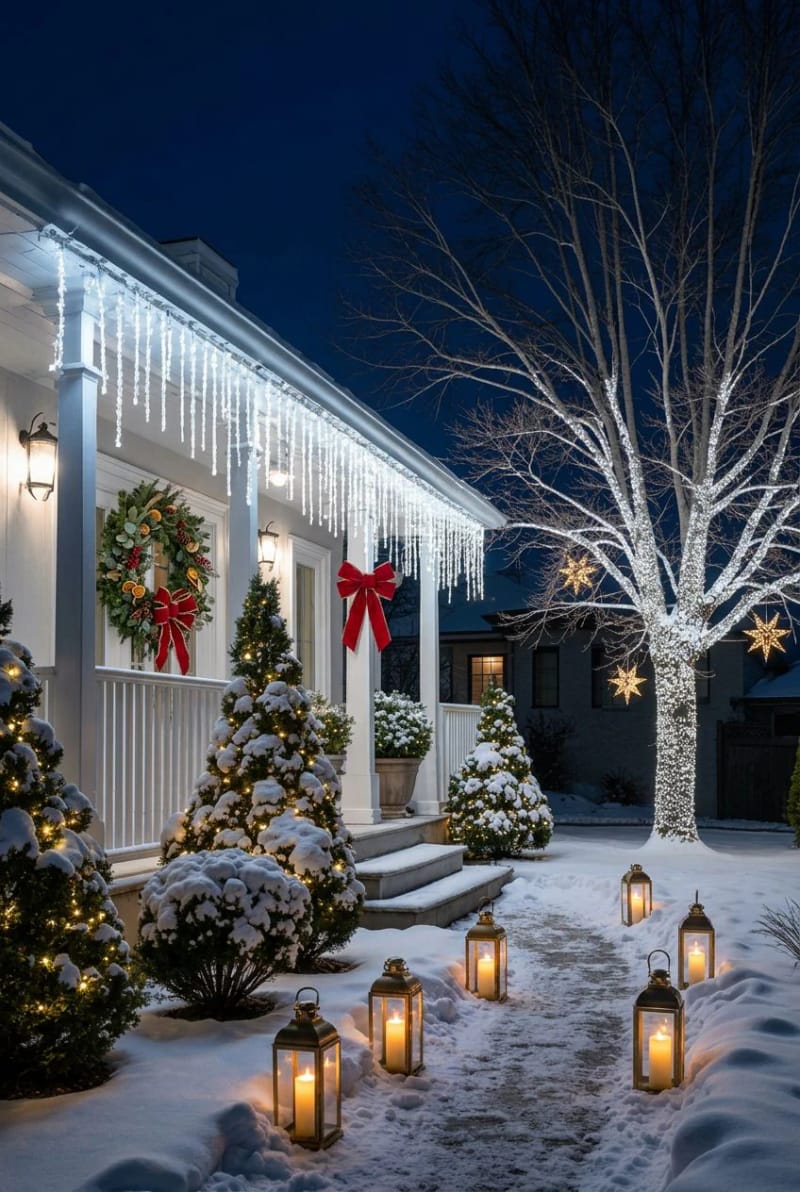
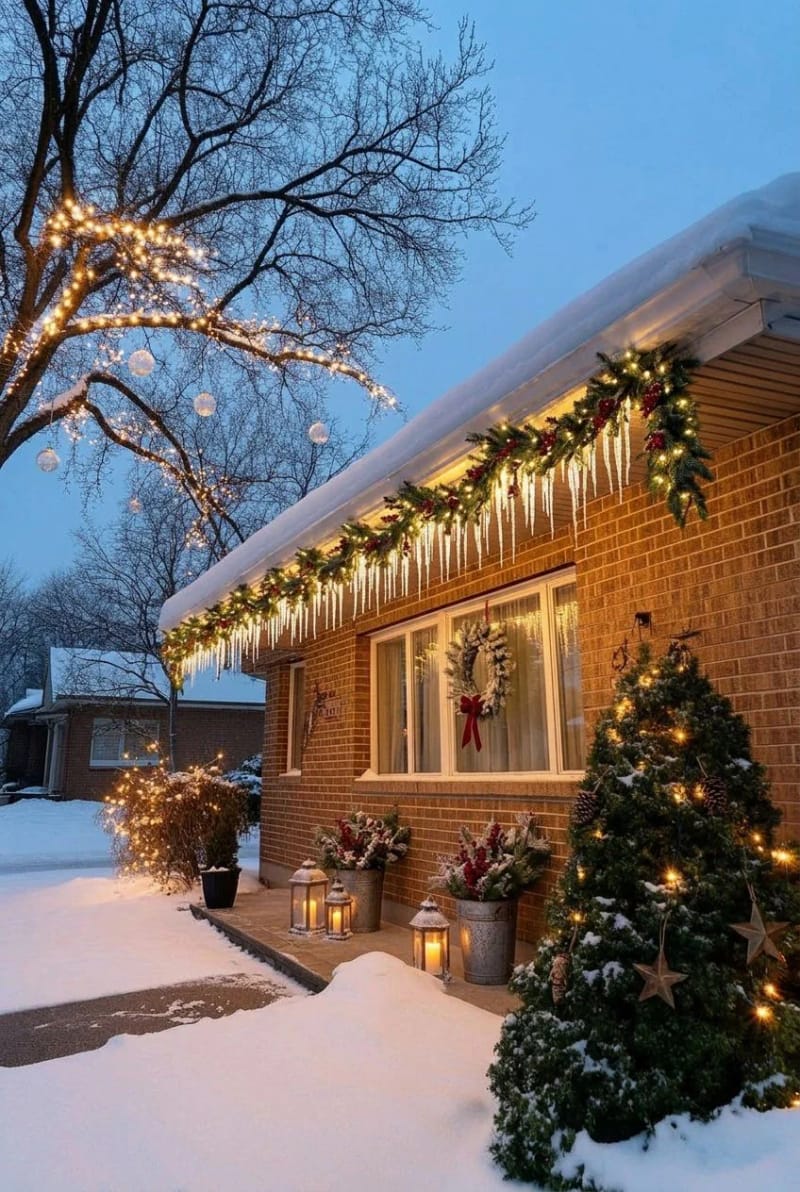
Everything else in a display is static, so one element of implied motion makes the whole house feel alive. Icicle strands with staggered drop lengths give the eaves a dripping edge; snowfall or meteor-shower tubes mounted vertically in a tree produce a falling-light effect that genuinely stops traffic. Use these in moderation, since the motion is the accent, and a house where every surface is animated reads as chaos rather than a focal point.
9. Build one mega-element instead of spreading the lights thin
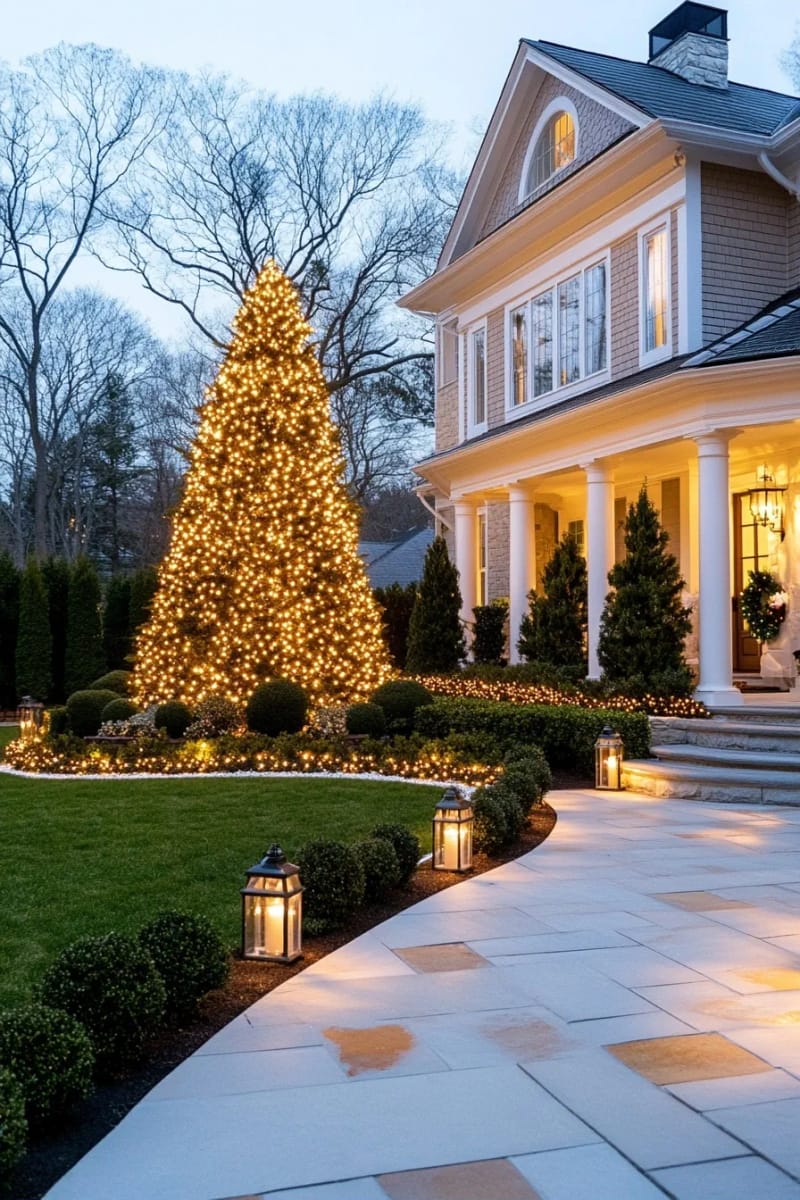
A single overwhelming feature beats even coverage every time. A 20-foot evergreen wrapped solid, a giant lit star on the gable, a tunnel of light arches over the walk: one dominant element gives the display a center of gravity and lets you keep everything else quiet. Spreading the same budget evenly across the whole lot just produces a uniformly busy yard nobody's eye settles on.
One big element plus a fully lit house adds up fast. A standard 15-amp circuit can carry 1,800 watts, but you should stay under 80 percent of that, about 1,440 watts, and account for anything else already on the same circuit. LEDs make this easy (you can often chain 20-plus low-wattage strings end to end), but old incandescent C9s cap out at three to five strands before the inline fuse blows. Plug into GFCI-protected outdoor outlets and spread the load across separate circuits before you spread it across the yard.
10. Program a music-synced show, and use the FM trick that makes it land
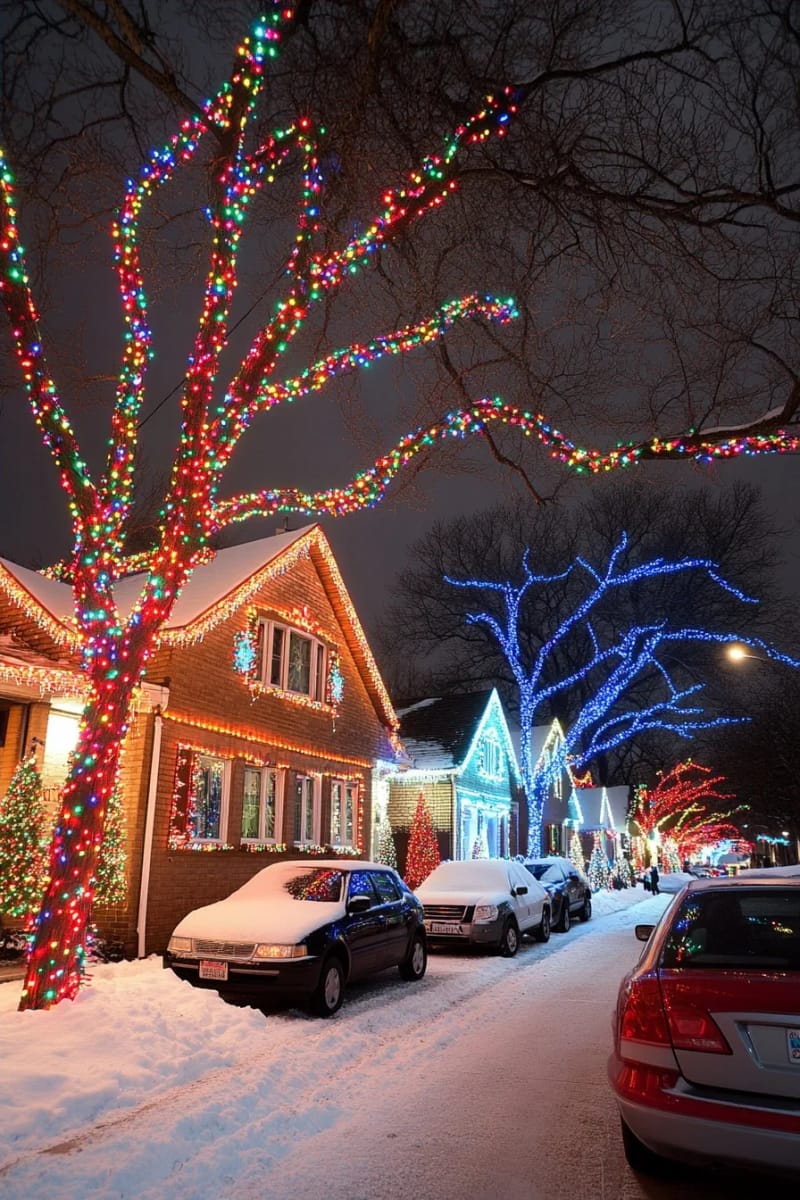
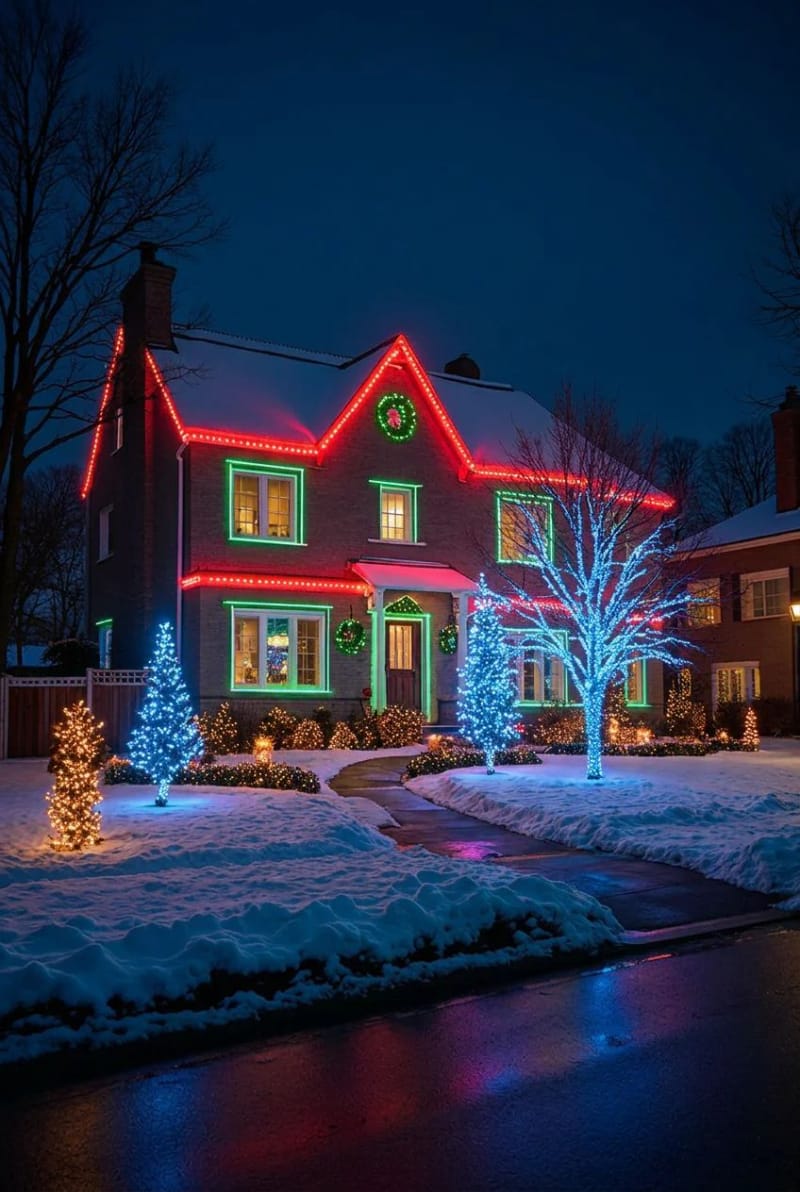
This is the deep end, the houses that draw a line of parked cars. Pixel-addressable lights driven by software like xLights or Light-O-Rama let you choreograph every bulb to a track, and the part most beginners miss is the audio: you broadcast the soundtrack on a low-power FM transmitter and post the station number on a yard sign, so viewers tune in from their cars instead of you blasting the neighborhood at 9 p.m. Budget real time here, not money first; a first sequence can take a full weekend to map and time. People email me assuming it's a kit you plug in, and the honest answer is that it's closer to a hobby than a purchase.
11. Use projection only on a blank wall, never the whole house
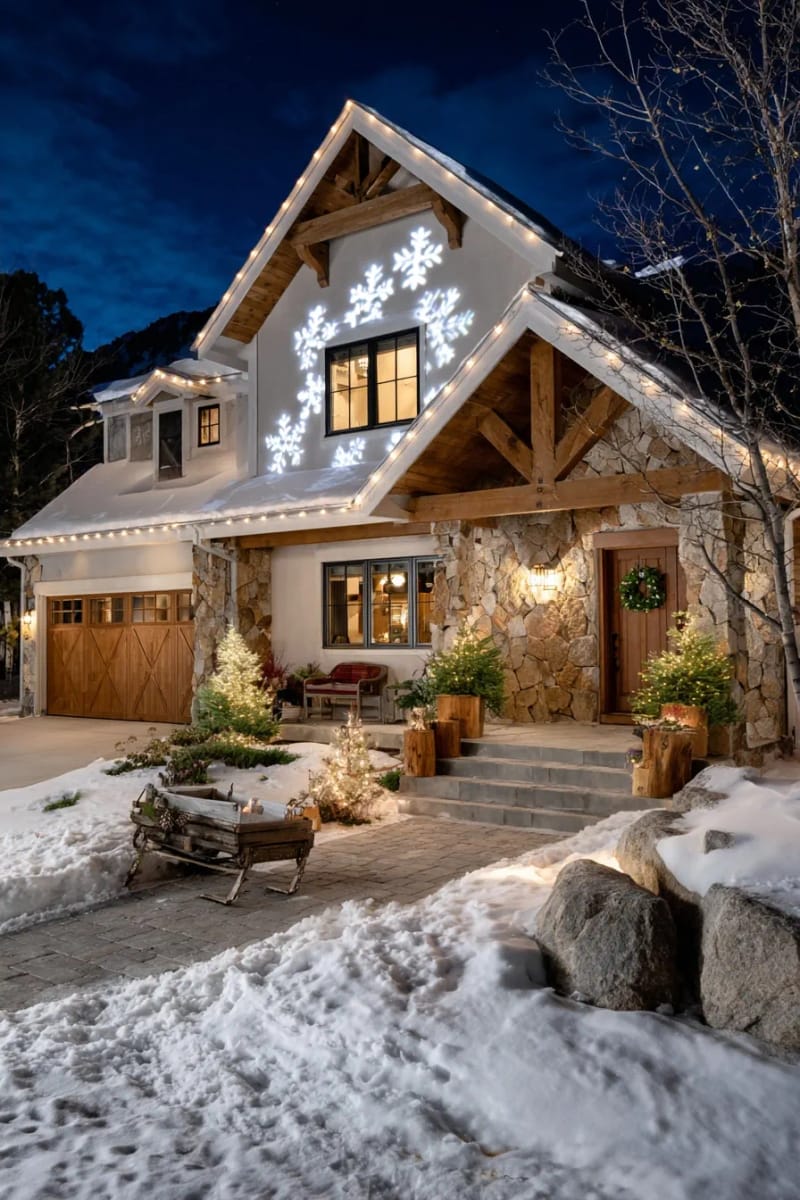
Projection is the shortcut that looks cheap more often than not, because most people aim a $25 laser box at a textured brick wall full of windows and get a blurry mess of green dots. It works in exactly one situation: a large, flat, blank surface, a stucco gable or a garage-side wall, where a focused image of falling snow or drifting stars can actually hold its edges. Treat it as one accent on one wall, not a substitute for hanging real lights.
Do this
- Aim at a single flat blank wall with no windows breaking up the surface.
- Buy a gobo or LED image projector with a real focus ring, not a cheap laser-dot box.
- Stake it close and low so the beam hits the wall straight on.
Avoid
- Projecting across textured brick, stone, or a façade full of windows.
- Using it as the main event. It is an accent, full stop.
- Leaving the projector exposed to direct snow and rain if it isn’t weather-rated.
Conclusion
If you're building from scratch, go in this order: roofline C9s first, because they define the house and everything else hangs off that silhouette; then commit to your two-color palette before you buy another thing; then add the bushes, trees, and a single mega-element; and only then think about the music-synced show, which deserves its own dedicated weekend. The houses people actually drive by aren't the ones with the most lights. They're the ones where someone made the color discipline from section three non-negotiable and let one feature dominate instead of lighting every square foot the same.