
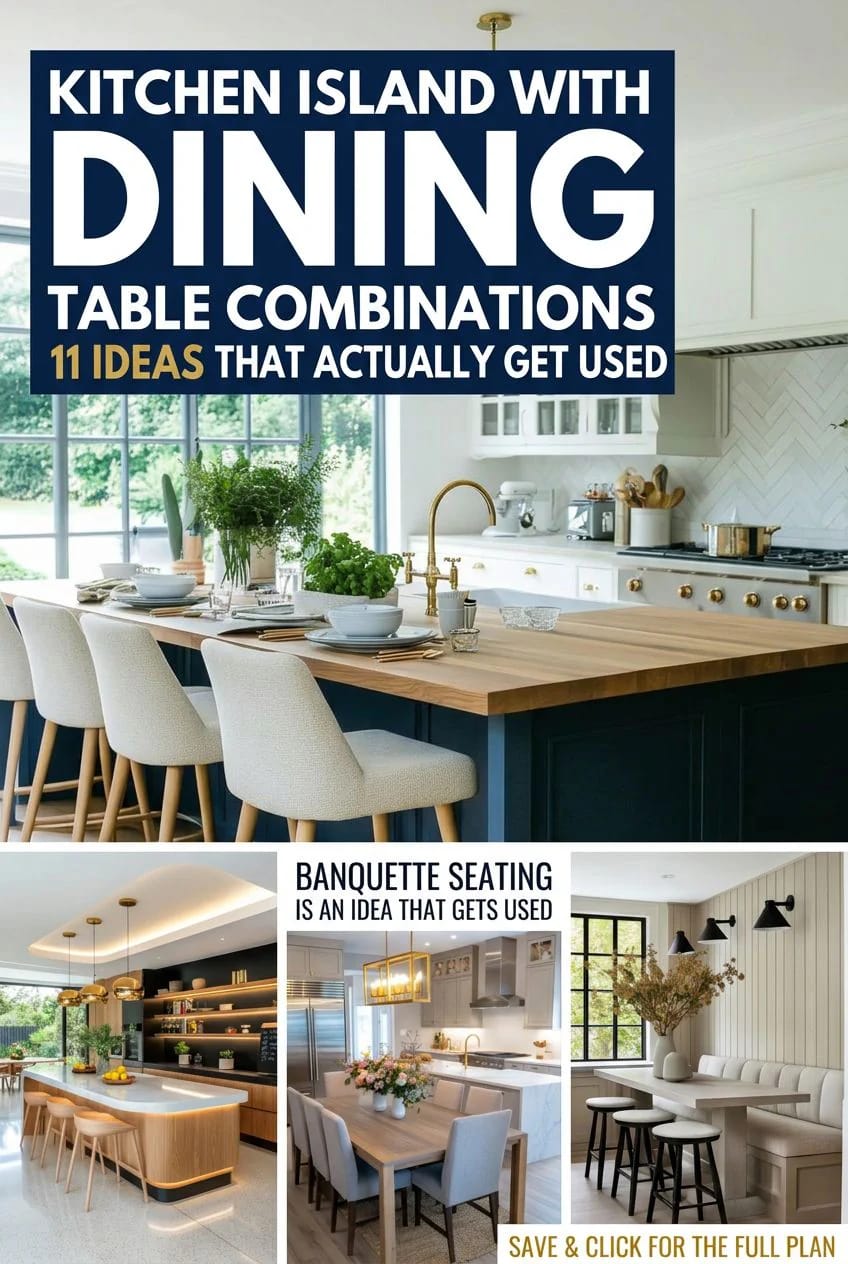
Walk into any kitchen showroom and the island on the floor is 36 inches high with a 12-inch overhang and three backless stools tucked underneath. It photographs well and it seats nobody for longer than a bowl of cereal, which is the whole problem with treating a kitchen island with dining table as one surface. The National Kitchen and Bath Association is specific about this: a 30-inch table needs 18 inches of knee depth per diner, a 36-inch counter needs 15, and a 42-inch bar needs 12. The eleven configurations below are sorted by the constraint each one solves, not by how they render.
A few numbers govern all of them. Allow 24 inches of width per seated person, keep 36 inches behind the seats if anyone has to edge past and 44 if they need to walk, and remember that stone has a structural limit before it needs steel. Half of what follows can be retrofitted to an island you already own; the rest wants a cabinetmaker.
1. Step the dining end down to 30 inches
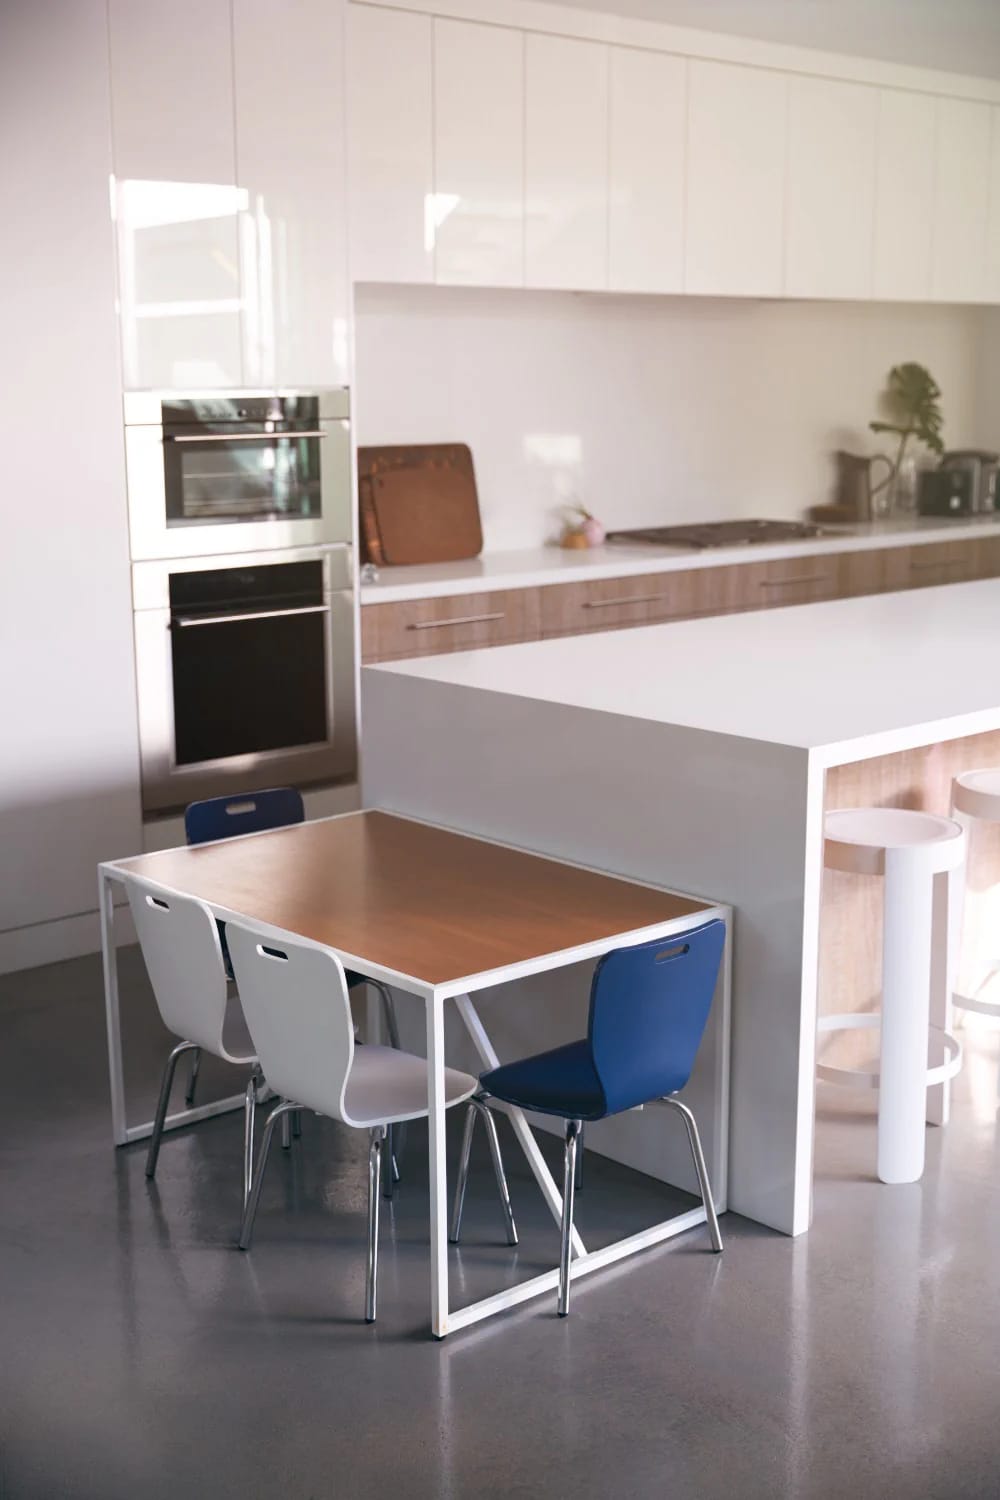
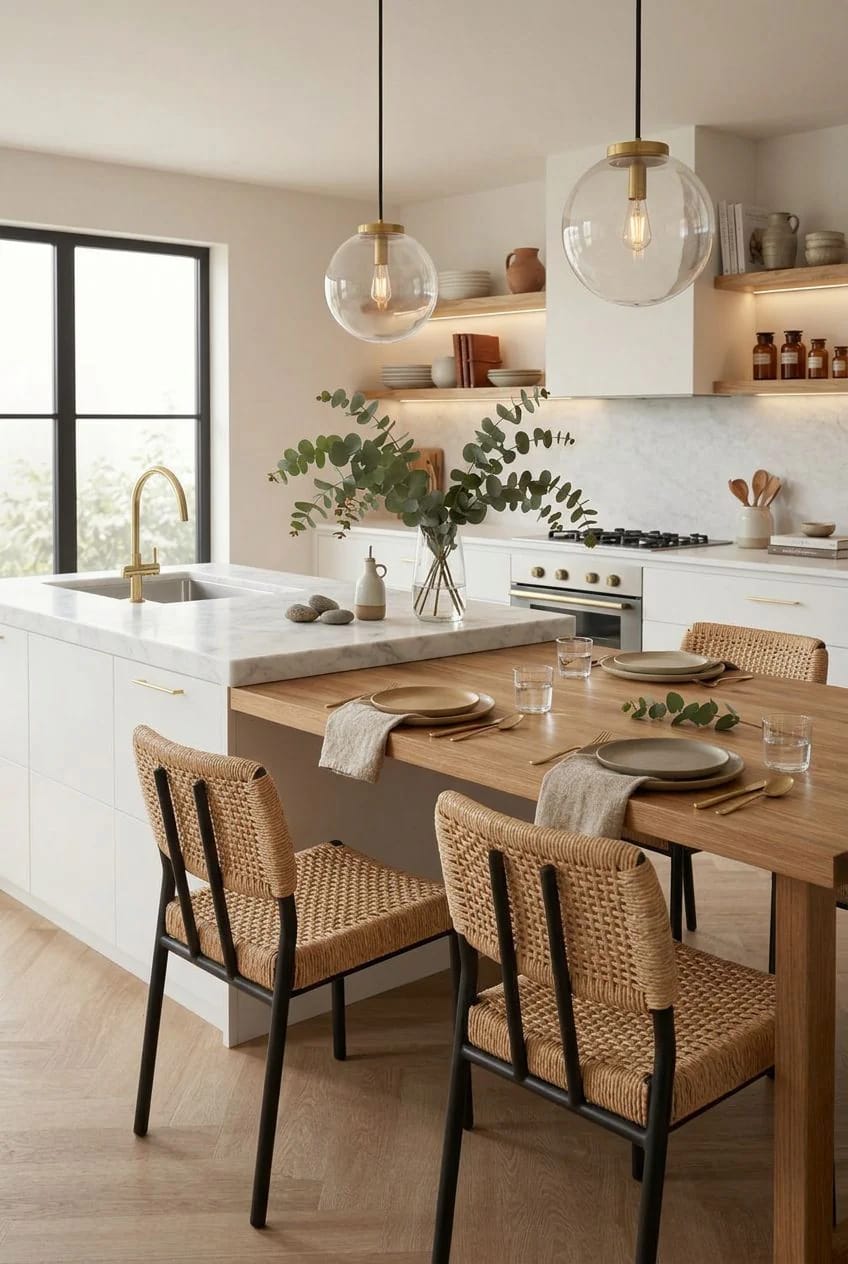
The most reliable version of this combination is two heights in one footprint: a 36-inch prep counter that drops to a 30-inch table at one end. The drop buys three extra inches of knee clearance per diner, which is the difference between sitting through a meal and perching through one. It also lets you use ordinary dining chairs, which cost a third of what counter stools cost and are far easier to replace.
Why the drop is six inches and not four
Chair seat height is the fixed quantity here, not counter height. A standard dining chair seats you at about 18 inches, and the gap between seat and tabletop wants to land near 12. Split the difference at 32 or 33 inches, as some fitted designs do, and you end up with a table that suits neither chairs nor stools, so people bring in a stool and sit with their knees under their chin.
What the step does to the fabricator's quote
Two heights means two slabs, two edge profiles and a joint that has to be detailed rather than assumed. Granted, the lower piece is usually small enough to come out of the offcut from the main run, so ask about remnant pricing before you accept the second-slab number. The seam where the two heights meet is where the eye lands, so keep the material continuous across it or make the change deliberate with a different one.
2. Keep one 36-inch surface, but ditch the backless stools
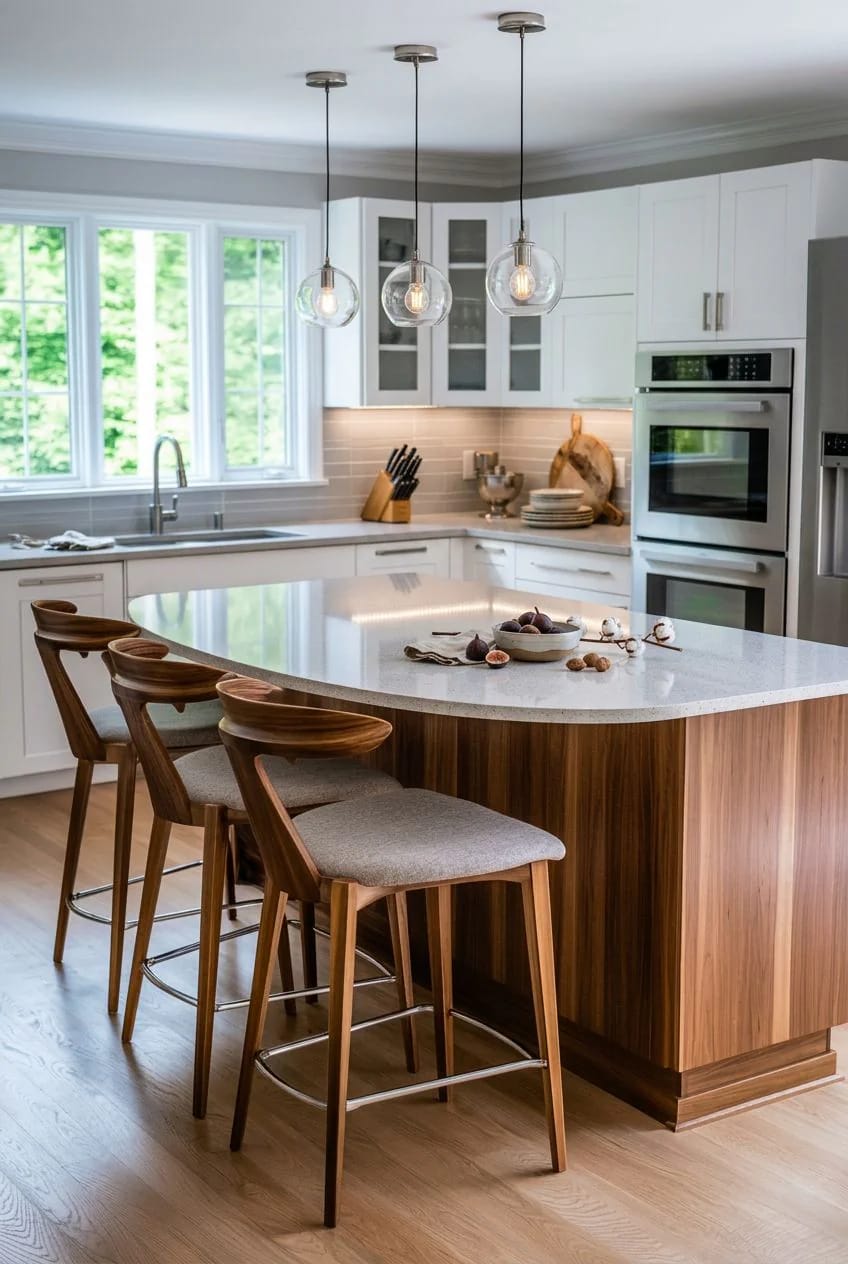
If the room cannot spare the width for a stepped table, keep the single counter height and change the seating instead. Counter chairs with backs and a 24 to 26 inch seat height turn the same slab into somewhere people stay. Backless stools are the single most common reason an island with seating goes unused after the first month, and no amount of overhang fixes them.
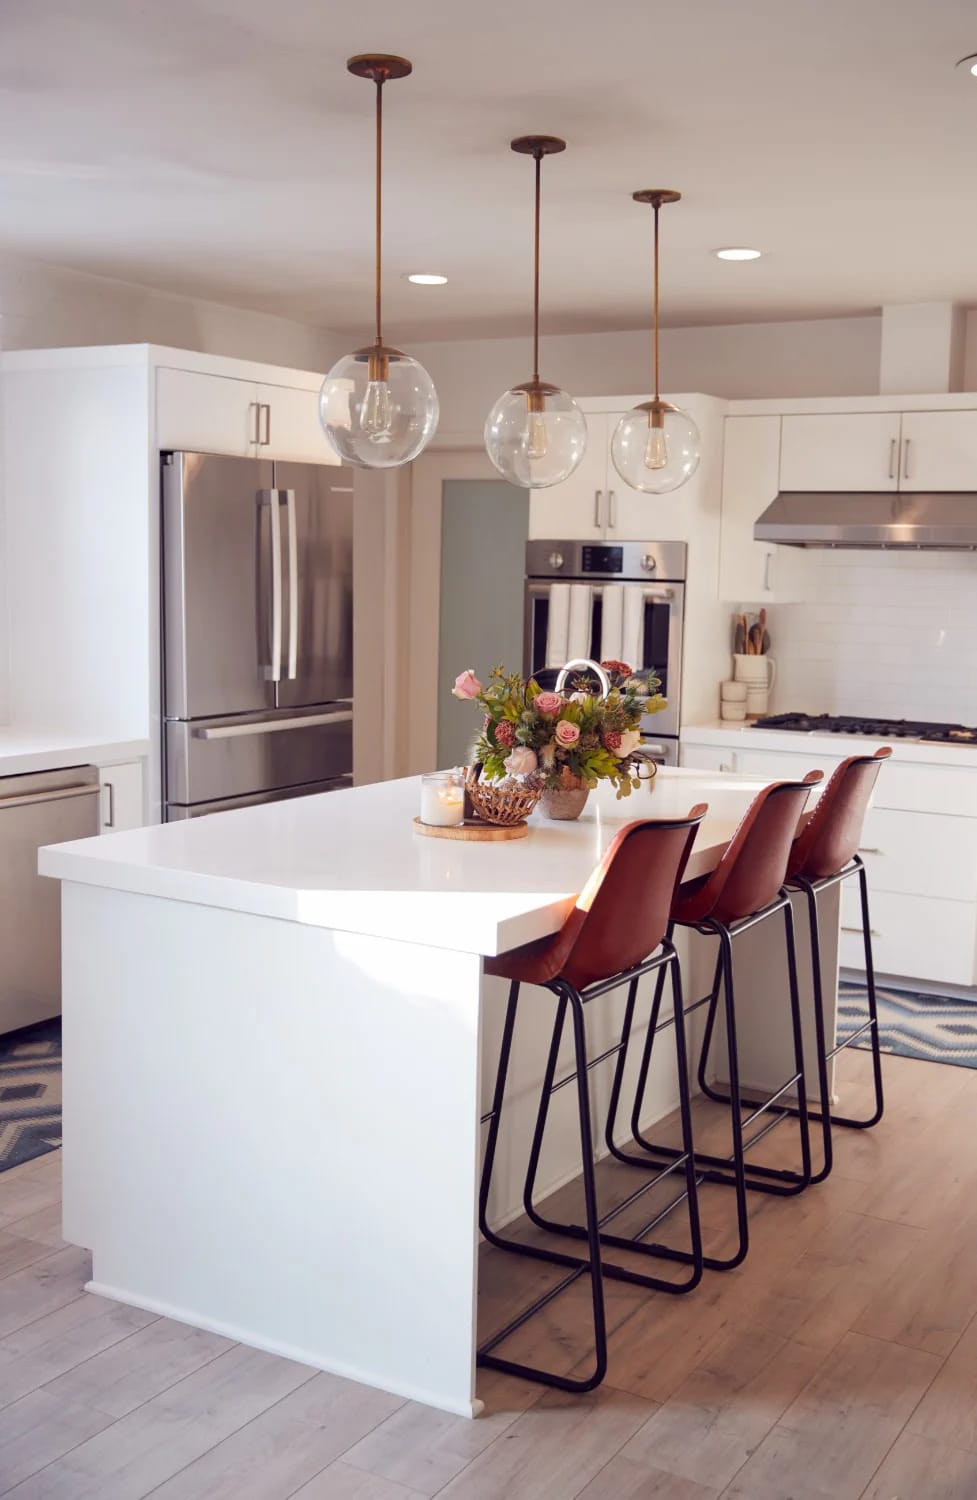
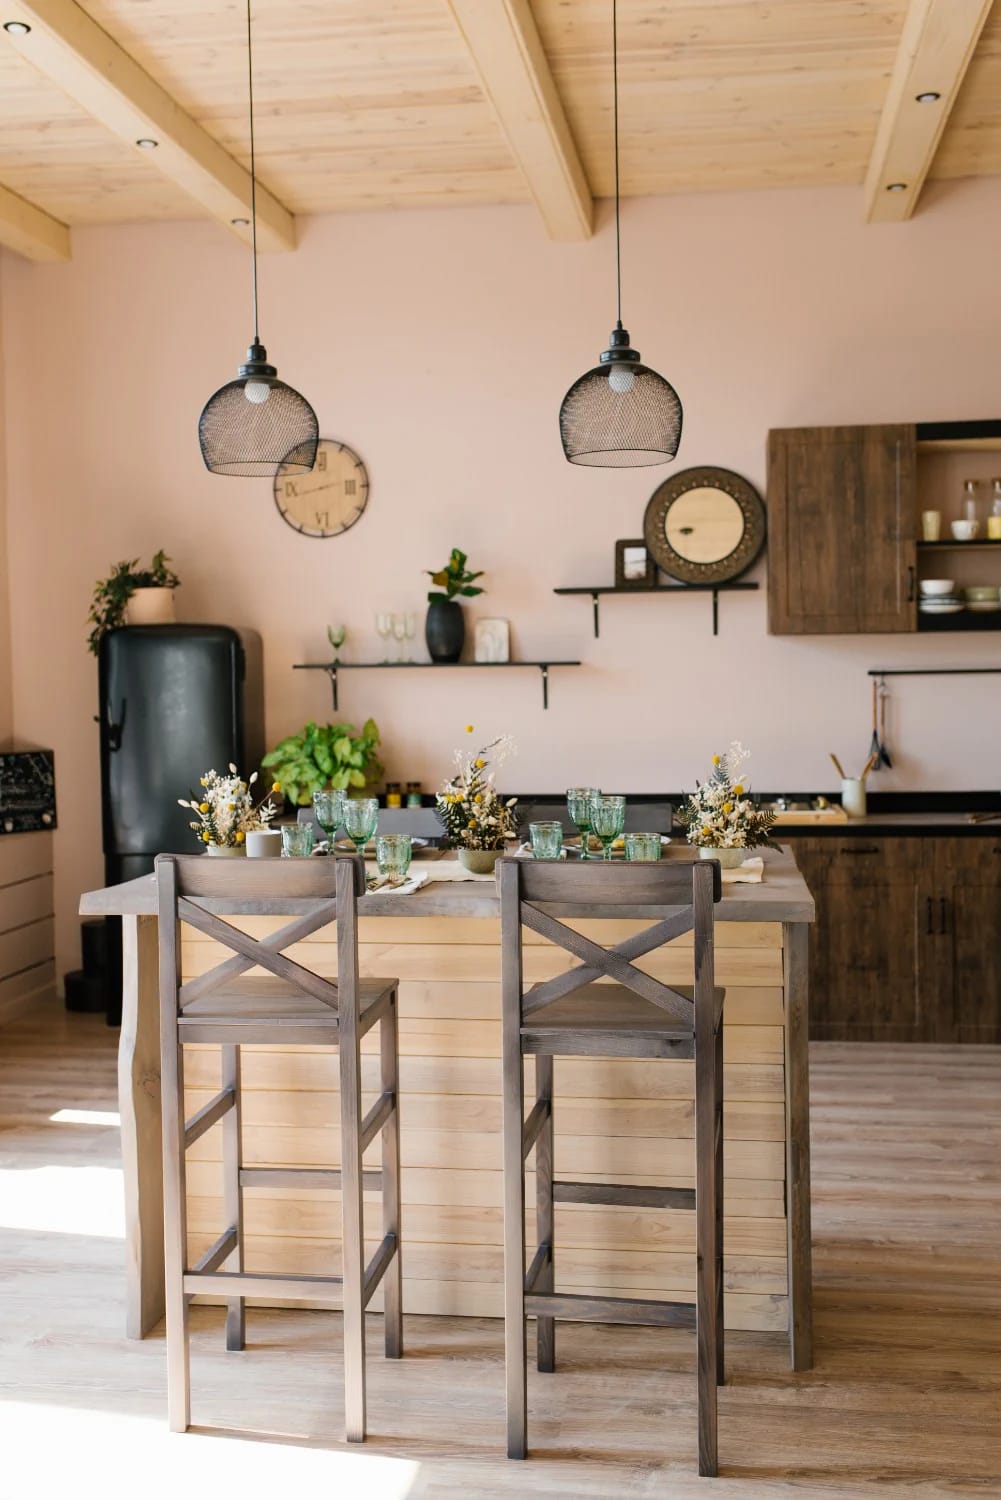
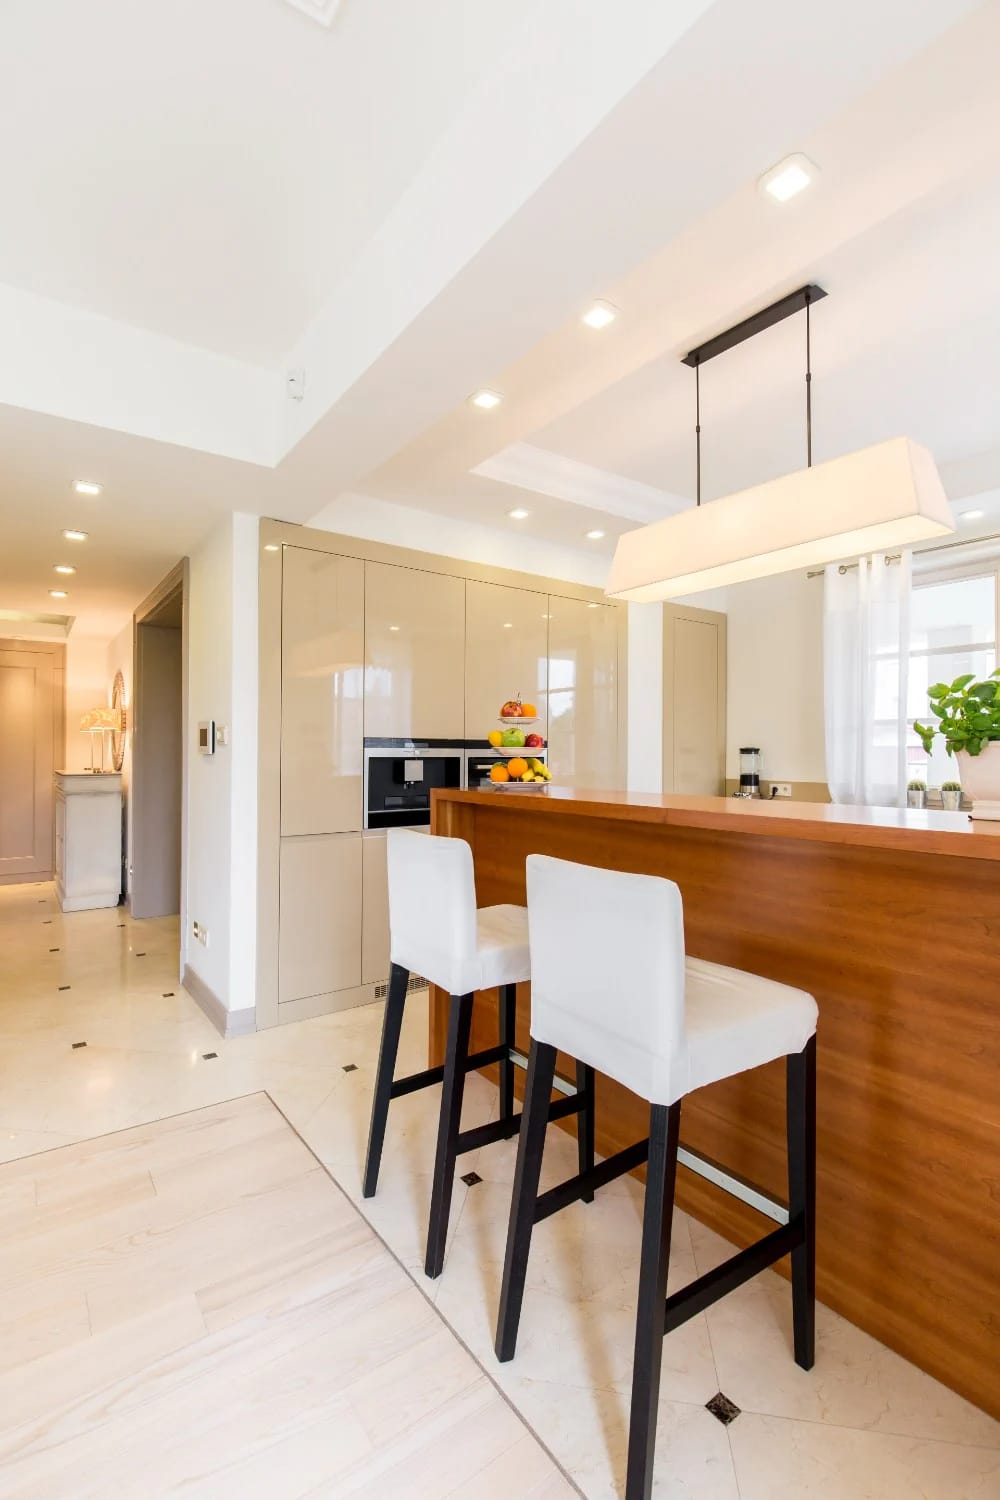
Measure before you buy four of anything. Three chairs at 24 inches each need 72 inches of clear run, and an island that measures 84 inches overall rarely offers that once you subtract the returns at either end. Two comfortable seats beat four apologetic ones, and the same logic runs through the measurements that decide whether an island works before any finish is chosen.
 26 Genius Kitchen Island Ideas: Style and Functionality Twenty-six island configurations, including the ones that work with no seating at all.
3. Cantilever the stone instead of adding table legs
A floating stone dining end reads better than any leg you could put under it, and it is the option most often specified without checking the limit. The Natural Stone Institute puts unsupported overhang for 3cm granite at roughly 10 to 12 inches, and the old fabricator's rule caps the unsupported portion at a third of the slab's total depth.
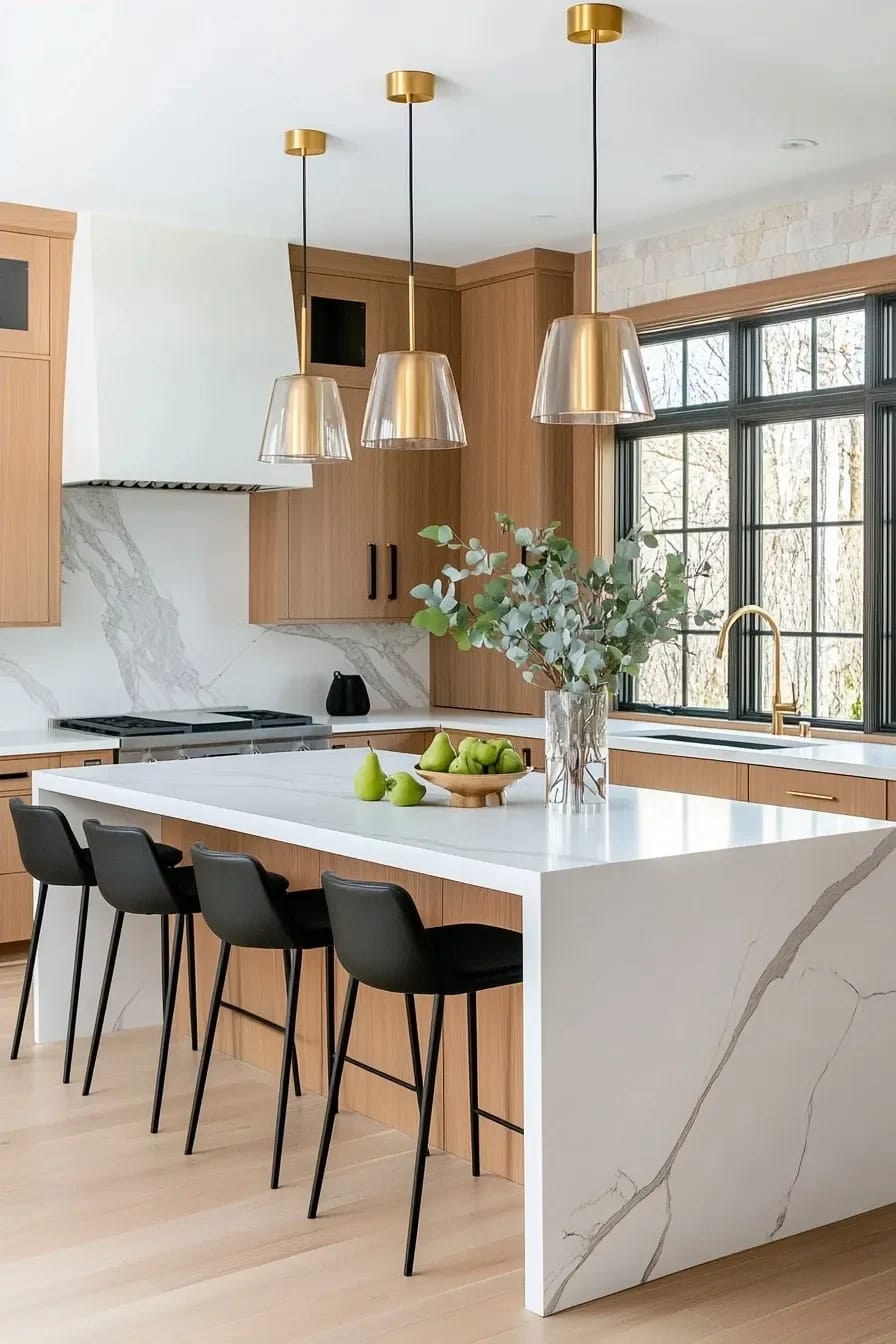
Engineered quartz is tighter than natural stone, not looser. Cambria publishes a 10-inch maximum unsupported overhang, and 2cm material of any kind wants continuous support under anything anyone will lean on. Past 12 inches you are into steel: a flat plate or an L-bracket let flush into the cabinet box, spaced at roughly 18 to 24 inches. Past 24 inches, most fabricators want a leg or a post, and at that point the honest answer is that you are building a table, not an overhang.
Decorative wood corbels are the thing I would argue about. They are sold as support and they are mostly theatre, because a corbel deep enough to actually carry a seated load is deep enough to hit your knees, which is the exact space the overhang was cut to create. Flat steel, let in and painted out, costs less and disappears. Material choice matters here too, since a slab with heavy movement will show that movement along a cut edge you are about to stare at from twelve inches away, and how veined quartzite behaves once it is cut and joined is worth understanding before the template visit.
4. Hide a pull-out table inside the island
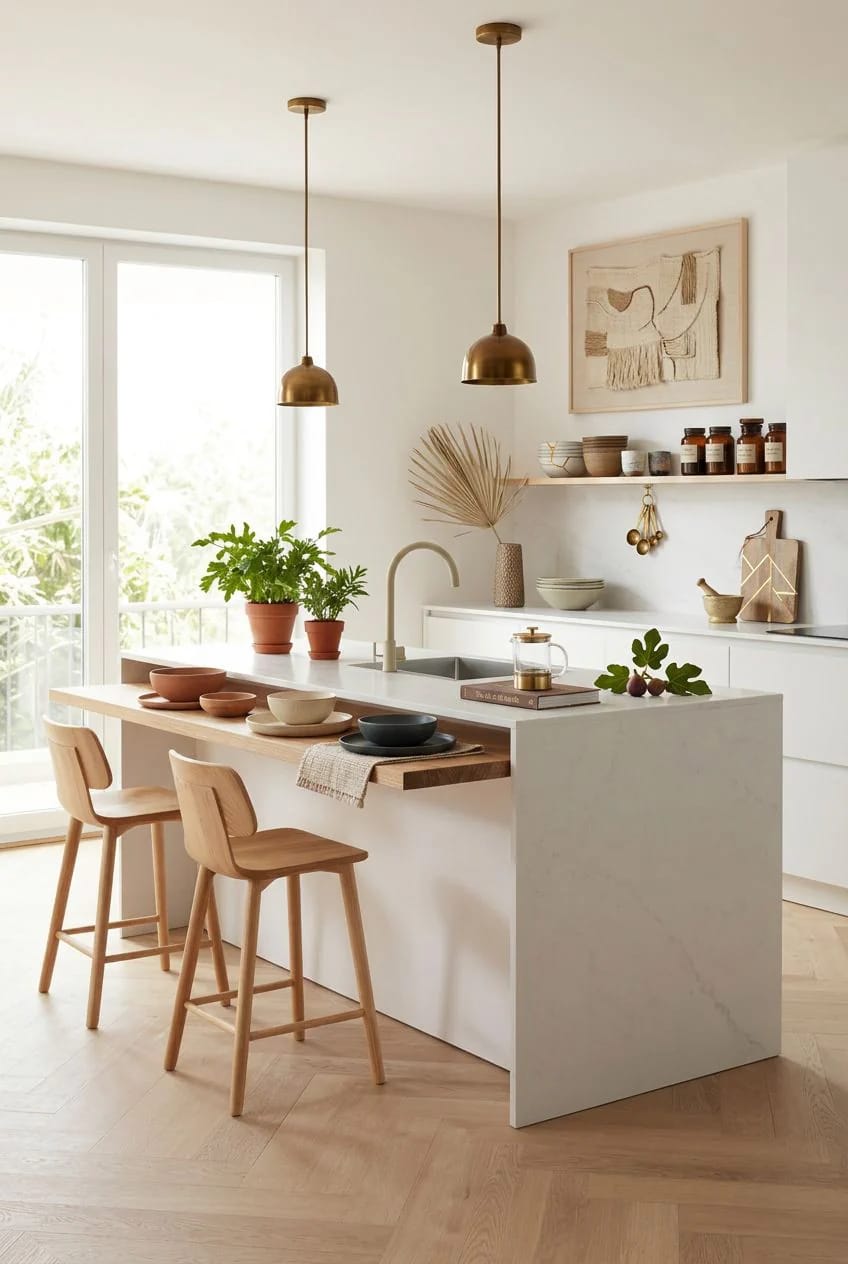
For a kitchen under about ten feet wide, the extending island earns its keep: a slab on runners that lives inside the cabinet box and pulls out to seat two or four. Homary and Wayfair both sell freestanding versions, and cabinet makers will build the mechanism into a fitted island for less than you would guess. Check the runner load rating rather than the marketing copy, because a cantilevered pull-out holds plates comfortably and elbows less comfortably, and nobody eats without leaning.
5. Put a timber dining end against a stone island
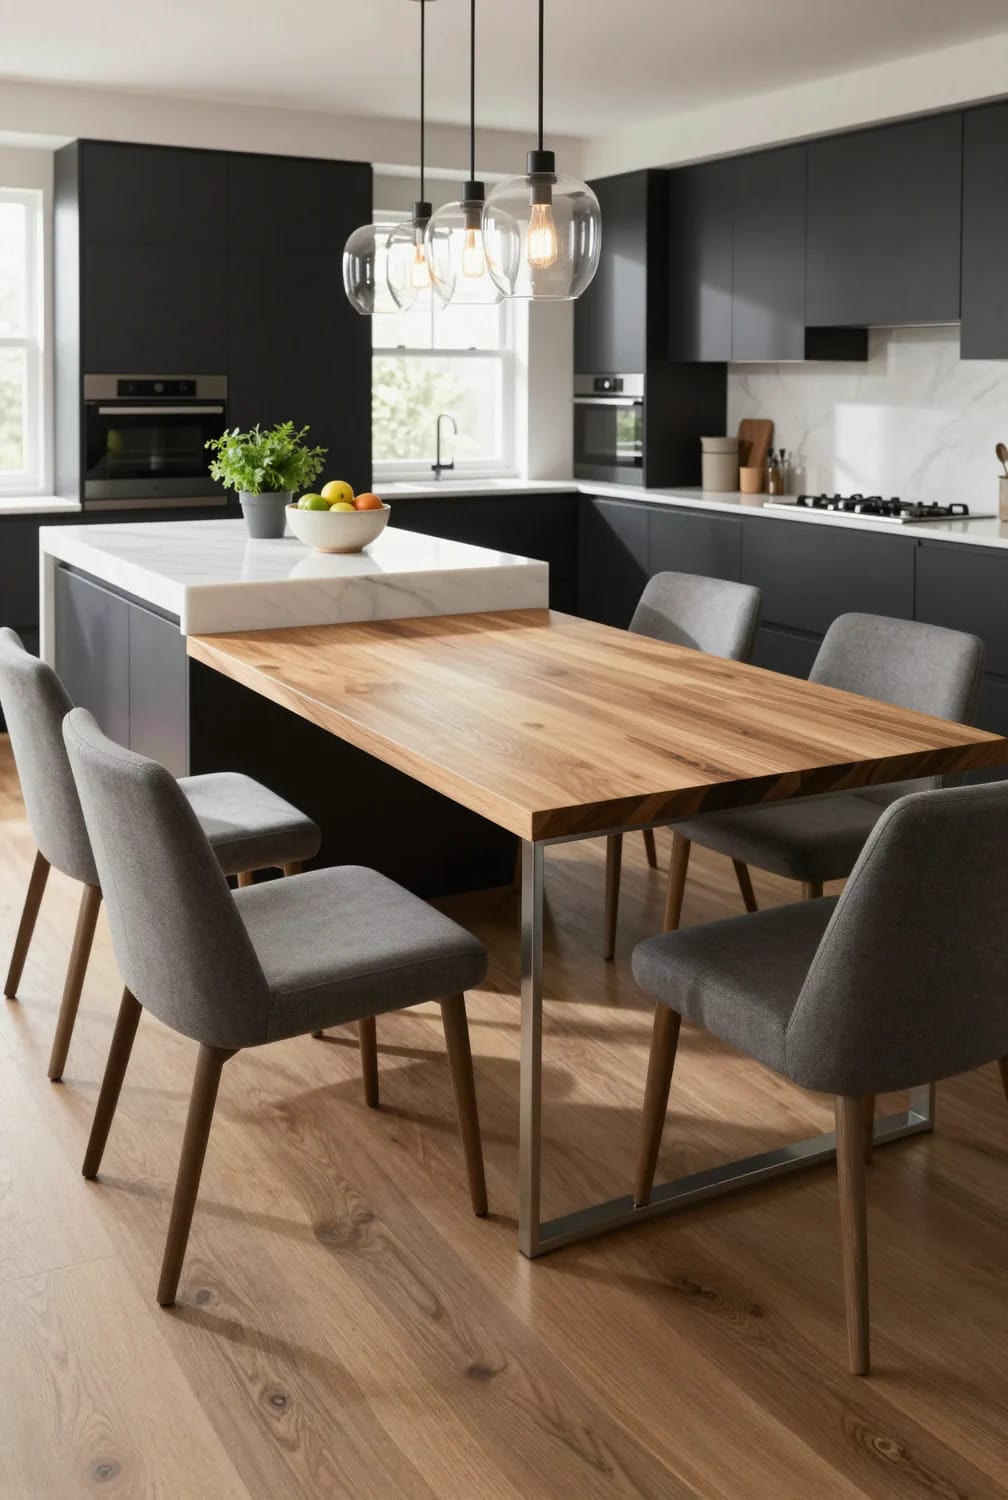
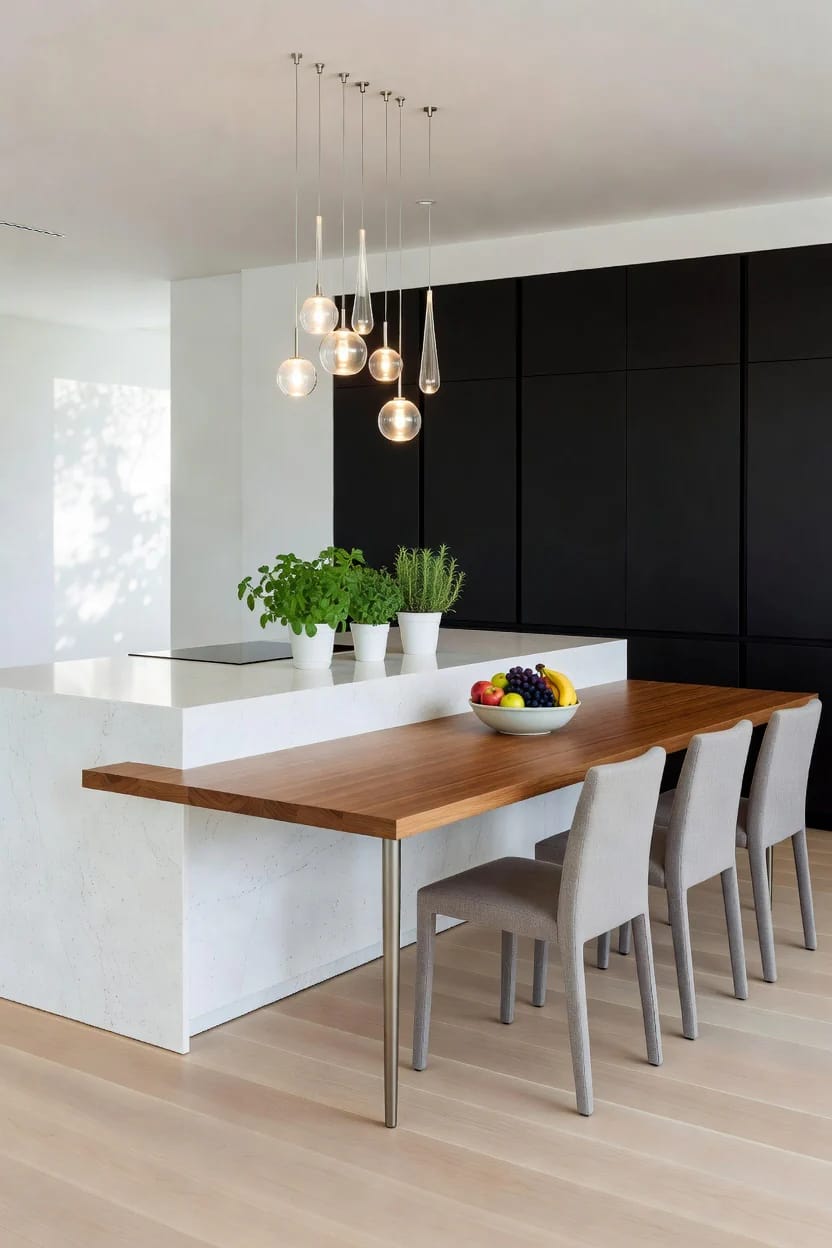
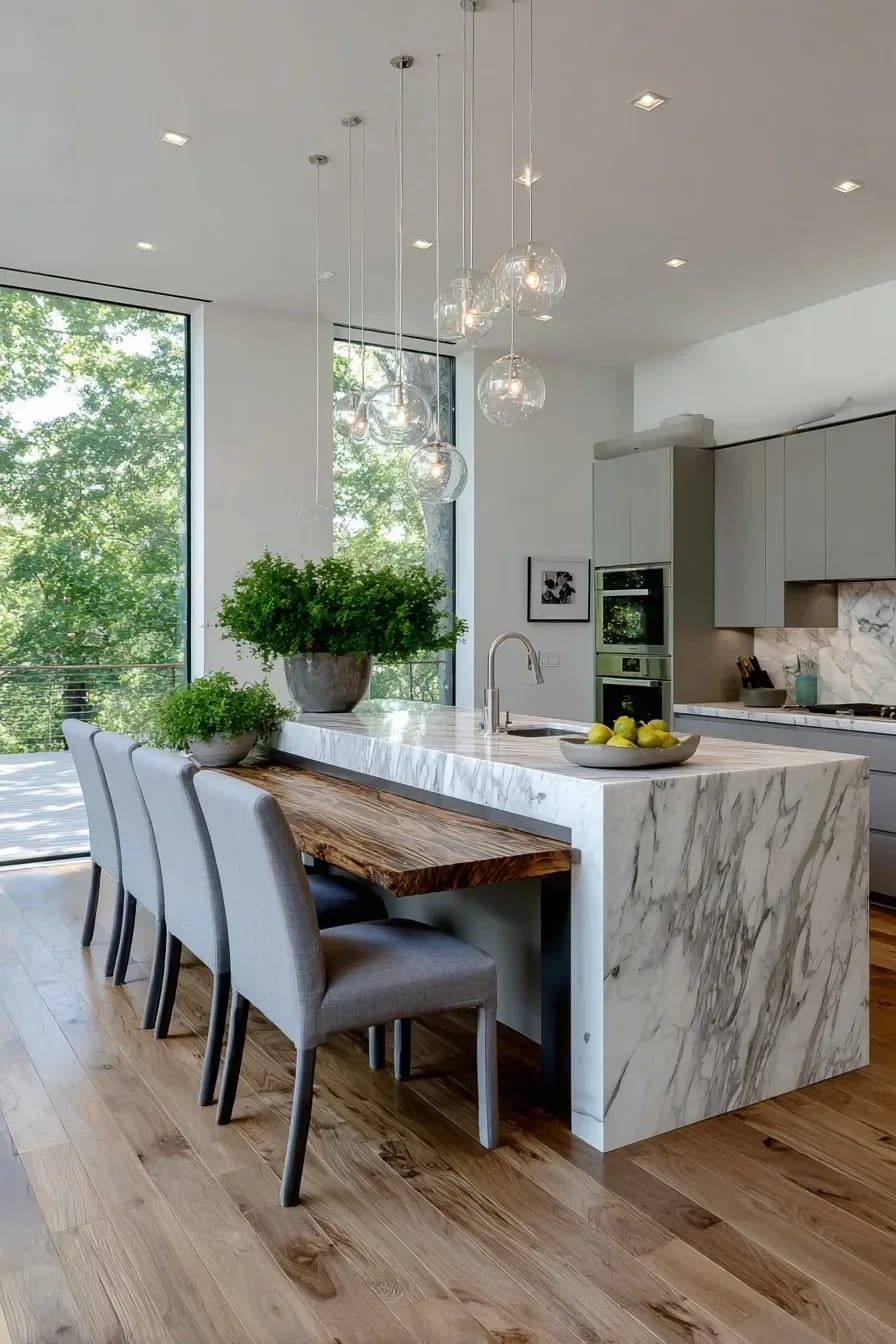
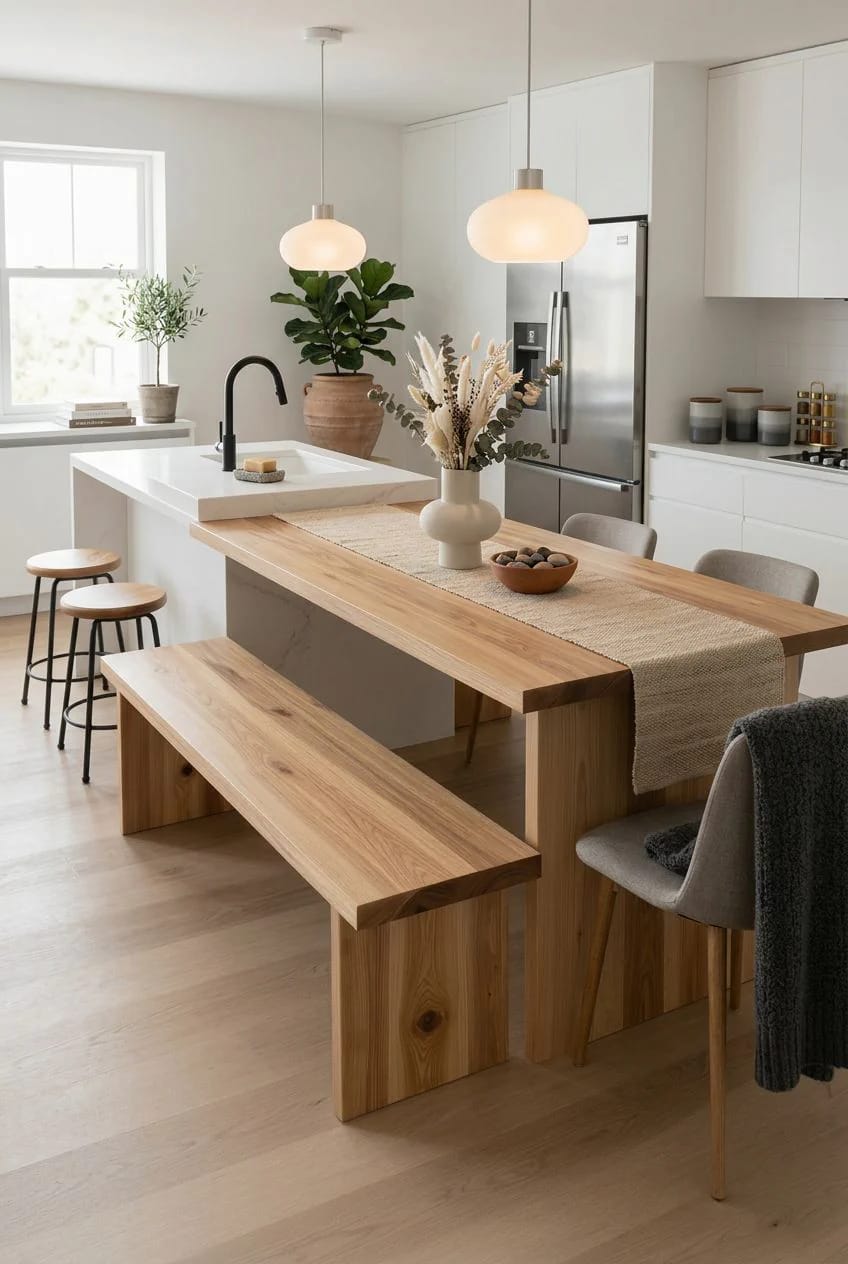
Changing material at the height change does two jobs at once: it hides the joint and it tells you where cooking stops. A 1.5-inch oiled oak or walnut top on the dining end costs a fraction of extending the stone, and it warms up under your forearms in a way honed granite never will in January. The trade is maintenance. Oil it when water stops beading, which is roughly monthly for the first half year and then a few times a year, and accept that a wet glass left overnight leaves a dark ring in the grain. That ring sands out with 220 grit in about ten minutes, which is either fine or intolerable depending on who you are, and the same calculus runs through which island countertops actually survive daily cooking.
6. Run a bench down one side and stools down the other
The geometry that makes a bench work
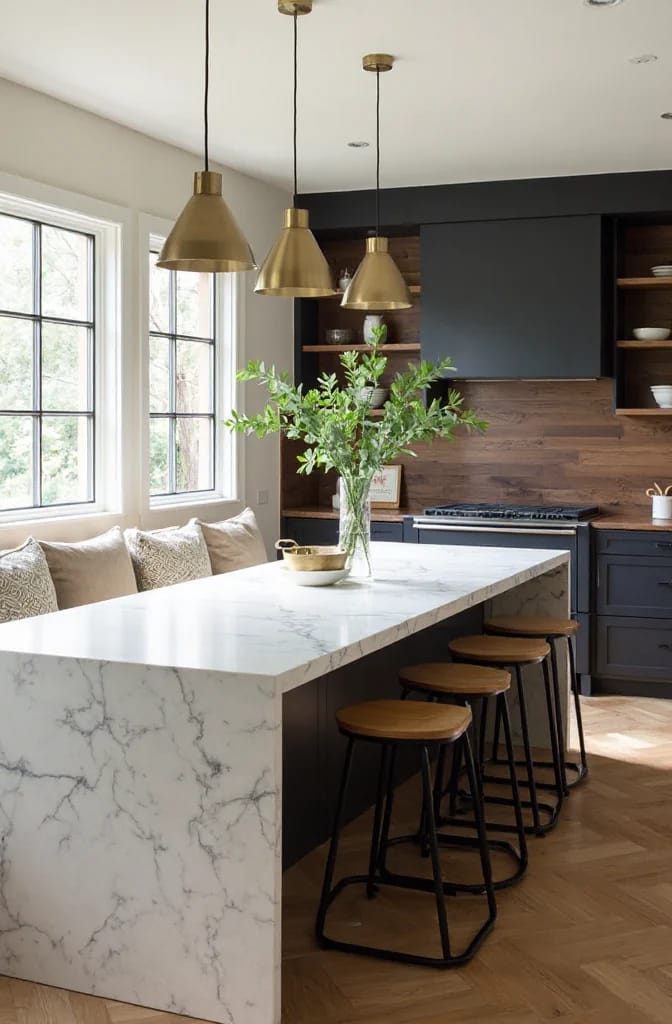
Asymmetric seating is the most space-efficient version of the whole idea: a fixed bench along the wall side of the table and loose stools or chairs on the kitchen side. The bench seats at 18 inches with a depth of 18 to 20, and because it has no chair legs to pull out, it needs no clearance behind it at all. That single fact often saves 18 inches of floor across the room, which is frequently the difference between an island fitting and not fitting.
Where booths go wrong
Wrapping the bench around two or three sides looks generous in a rendering and traps whoever sits inside. Somebody always has to climb out mid-meal to check the oven, and in a full booth that means two other people standing up first. Leave one side open, and if you are upholstering, choose a performance weave with a tight face rather than a loose boucle, since the seat directly beside a hob collects grease you will want to wipe rather than blot.
Storage under the bench is the other tempting mistake. Lift-up seats sound efficient and behave badly, because you cannot open them without moving cushions, table settings and usually a person. Drawers in the bench face work; hinged lids mostly become the place where the picnic blanket goes to die.
7. Give the dining end a round top
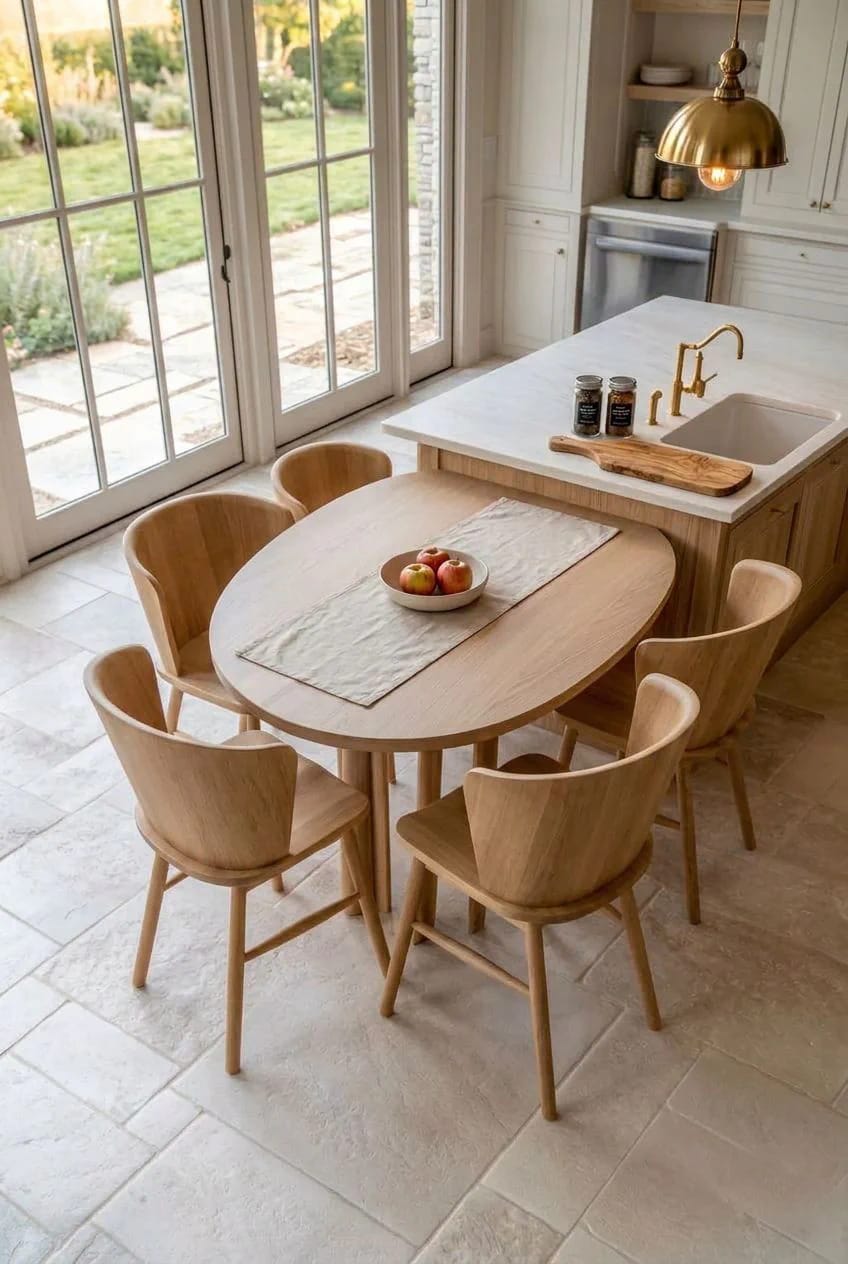
A round end solves the traffic corner that a rectangular one creates. Circles have no corners to walk into, so a 42 to 48 inch round top seats four in a footprint that a rectangle needs 60 inches to match. It reads softer too, though that is a side effect rather than the reason.
 39 Clever Small Kitchen Ideas: Maximize Your Space with Stylish and Functional Designs Space-saving moves for kitchens where every inch of the island has to earn itself.
8. Choose the T or the I by measuring your walkway first
What each shape costs in floor
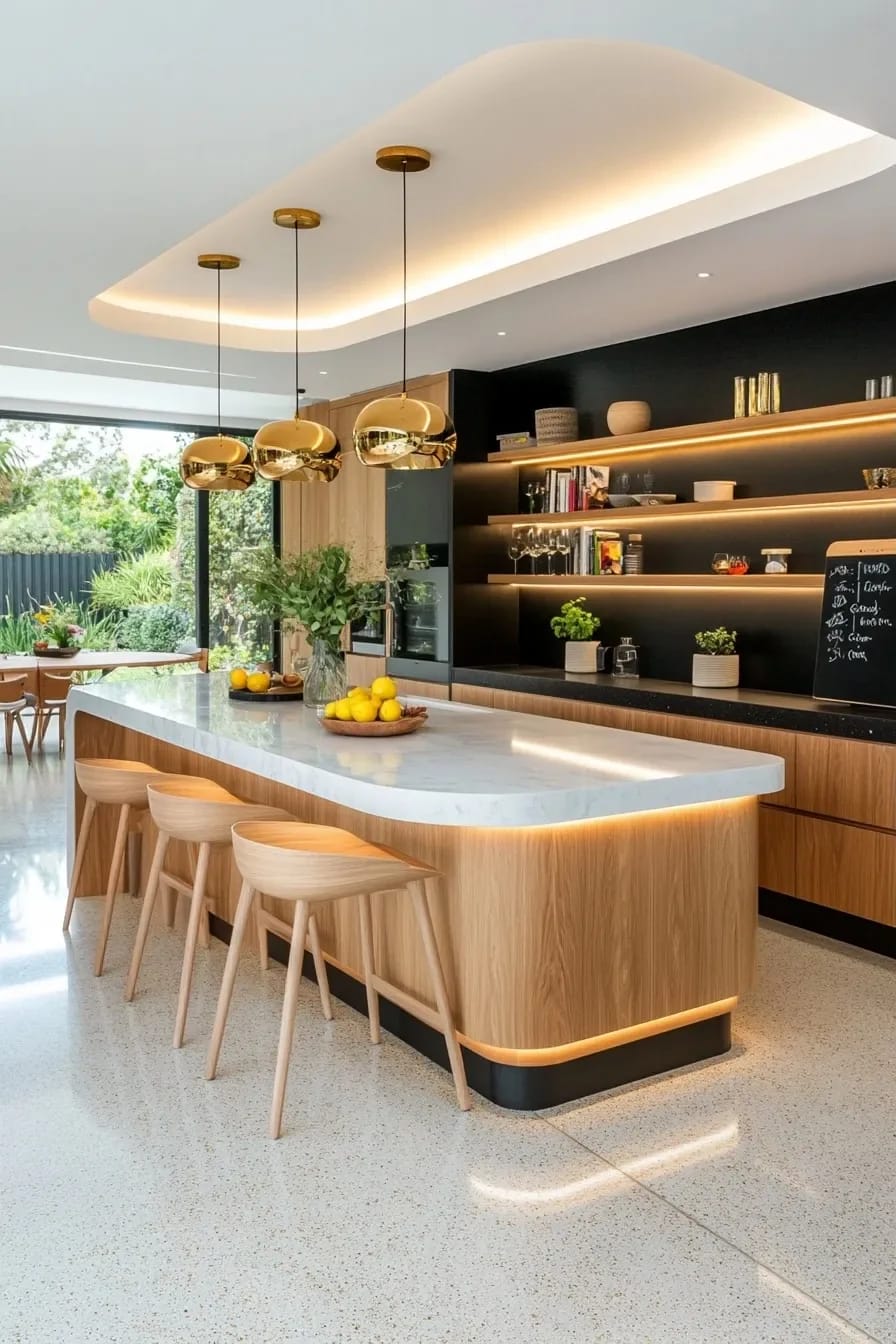
The table can sit perpendicular to the island, forming a T, or continue in line with it, forming a long I. The T is shorter overall and pushes width sideways; the I is narrow and long, and it suits galley-shaped rooms that cannot spare lateral space. Work out which one your floor can carry before you fall for either, because this is a subtraction problem, not a preference.
The clearances that decide it
- 36 inches is the minimum working aisle between the island and a run of cabinets. Two cooks want 42 to 48.
- Behind seated diners: 32 inches if nobody passes, 36 to edge past sideways, 44 to walk normally.
- Appliance doors swing into the aisle. A dishwasher door is roughly 24 inches deep when open, and it lands exactly where somebody is sitting in the I layout.
- Corners of a T catch hips. Ask for a clipped or radiused corner on the table end; it is a standard fabrication note and costs almost nothing.
9. Light the two halves as two different rooms
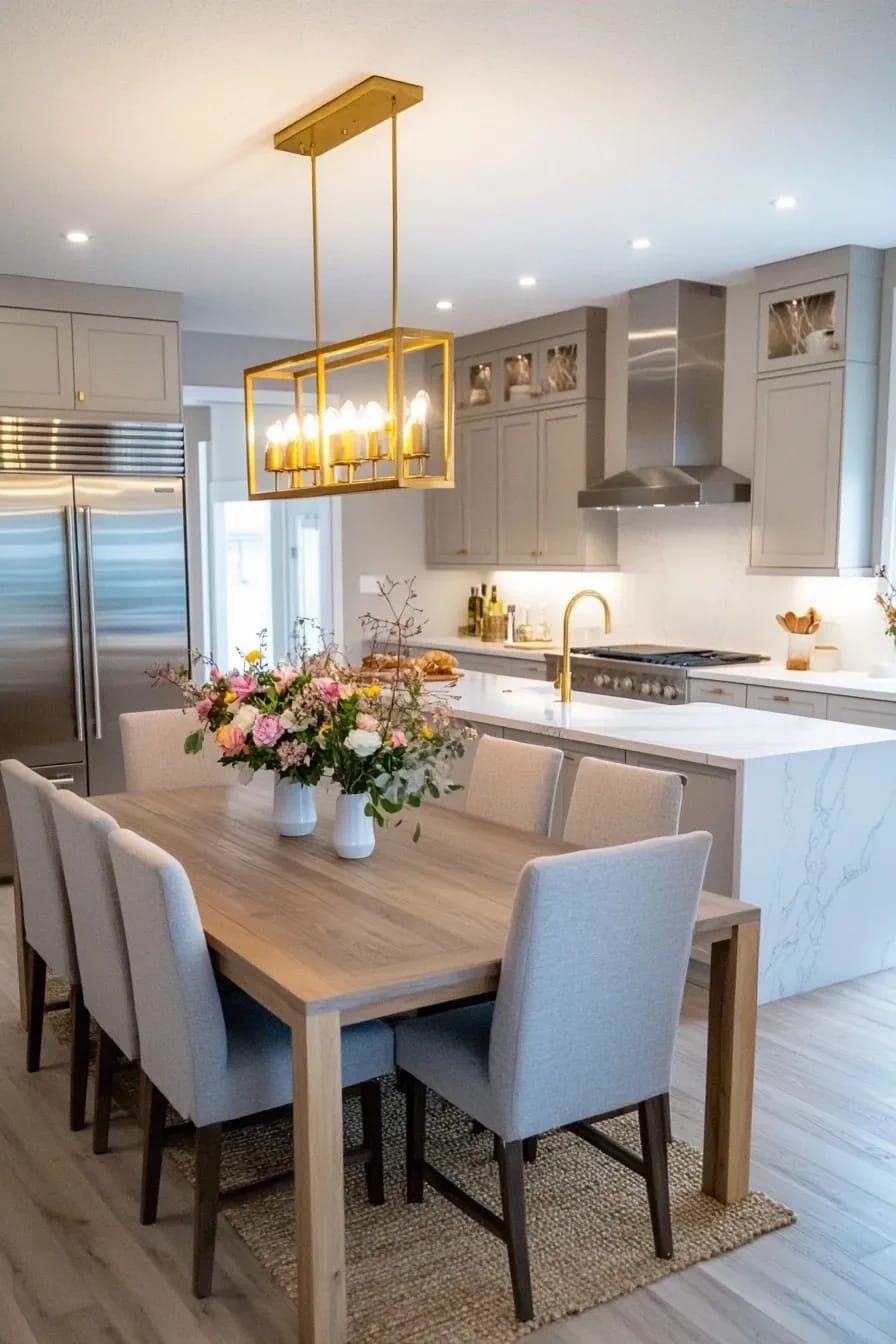
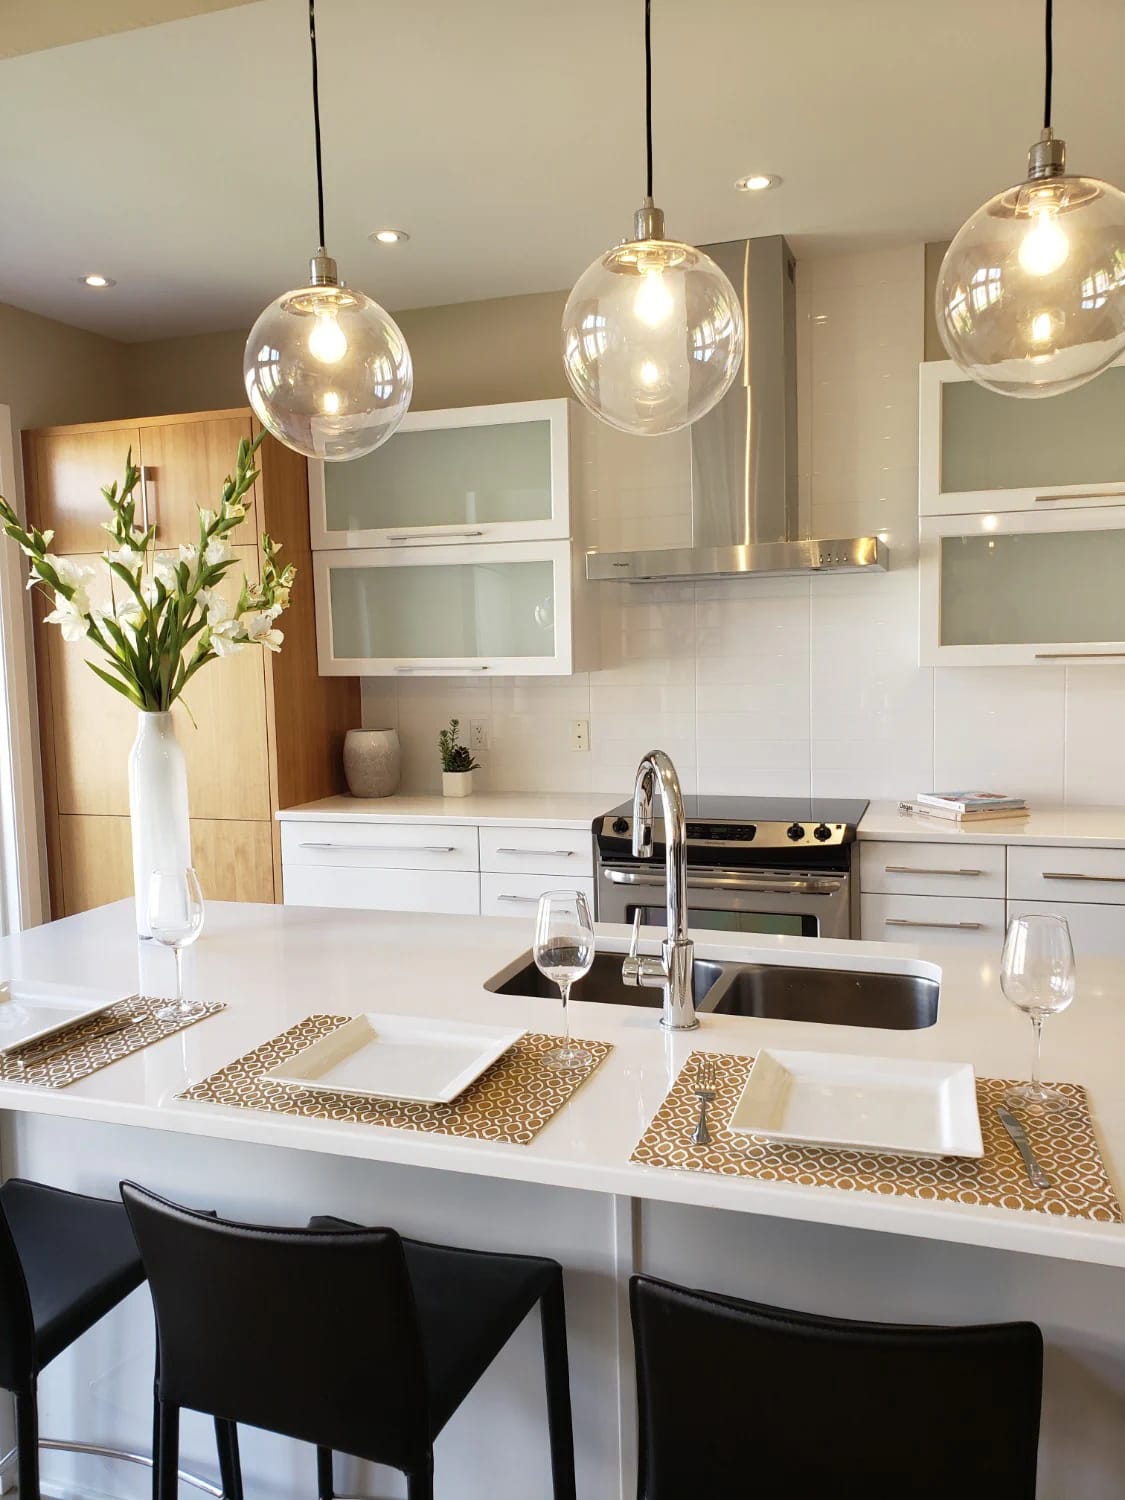
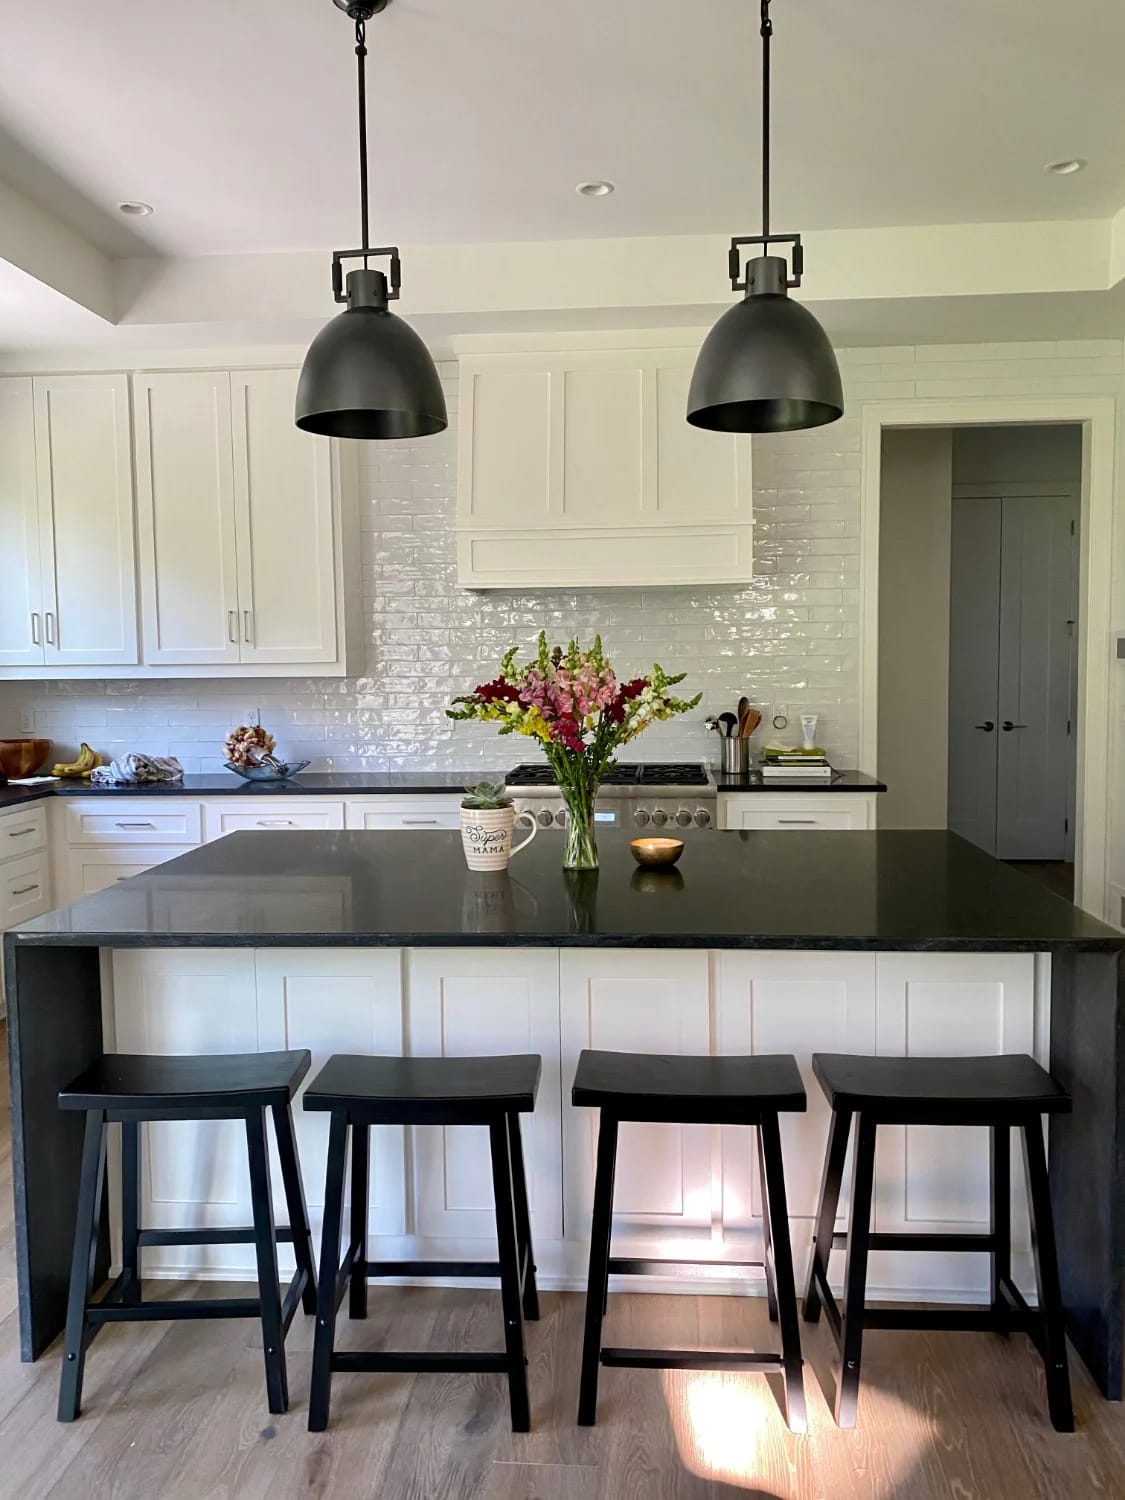
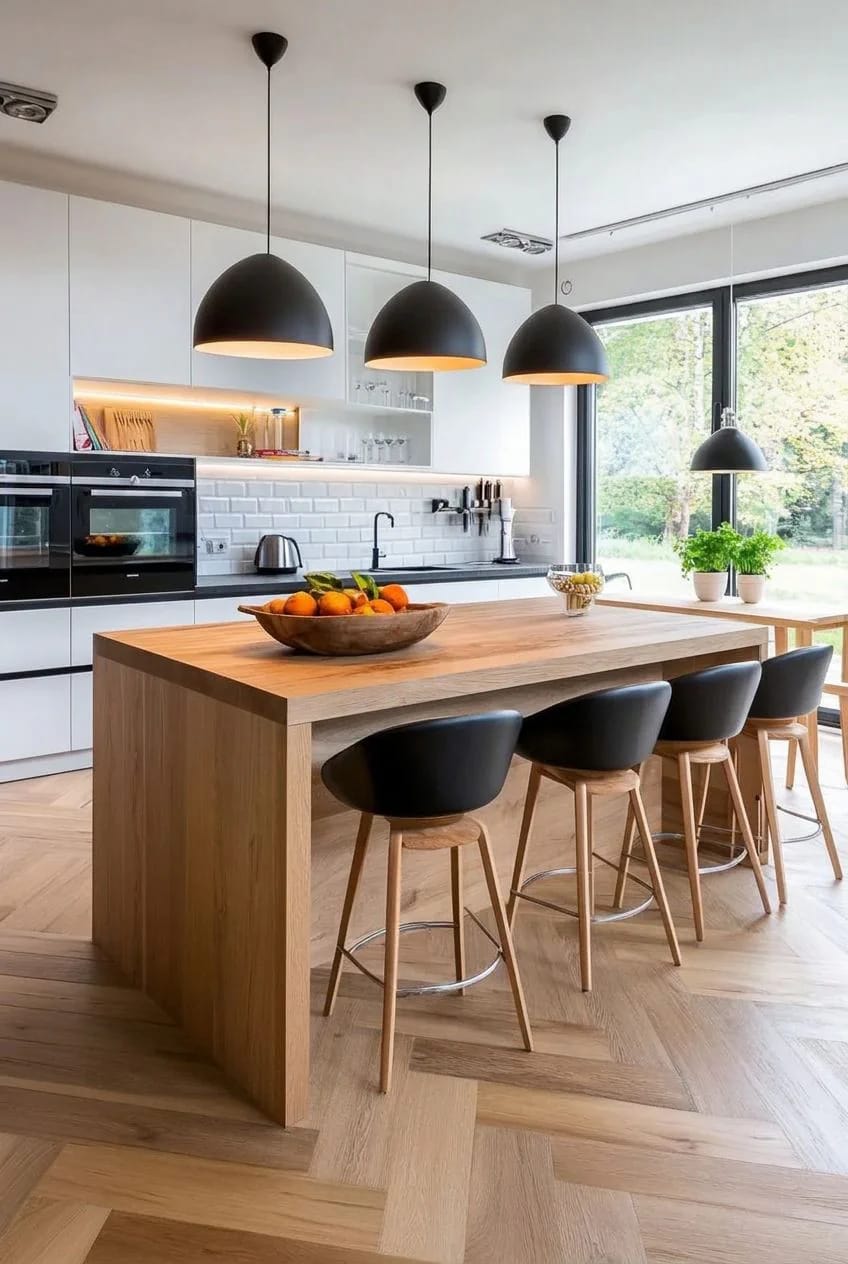
Do not run one line of three matching pendants across both zones. The prep half wants bright, even light around 30 to 36 inches above the counter, and the dining half wants one lower, warmer fixture that people can see each other under. Put them on separate switches, and put the dining side on a dimmer, since a table lit at full output at nine at night is a table nobody sits at. Two fixture families in one sightline is the harder part to get right, and how layered light changes a kitchen after dark covers the rest of that argument.
10. Leave the underside of the dining end empty
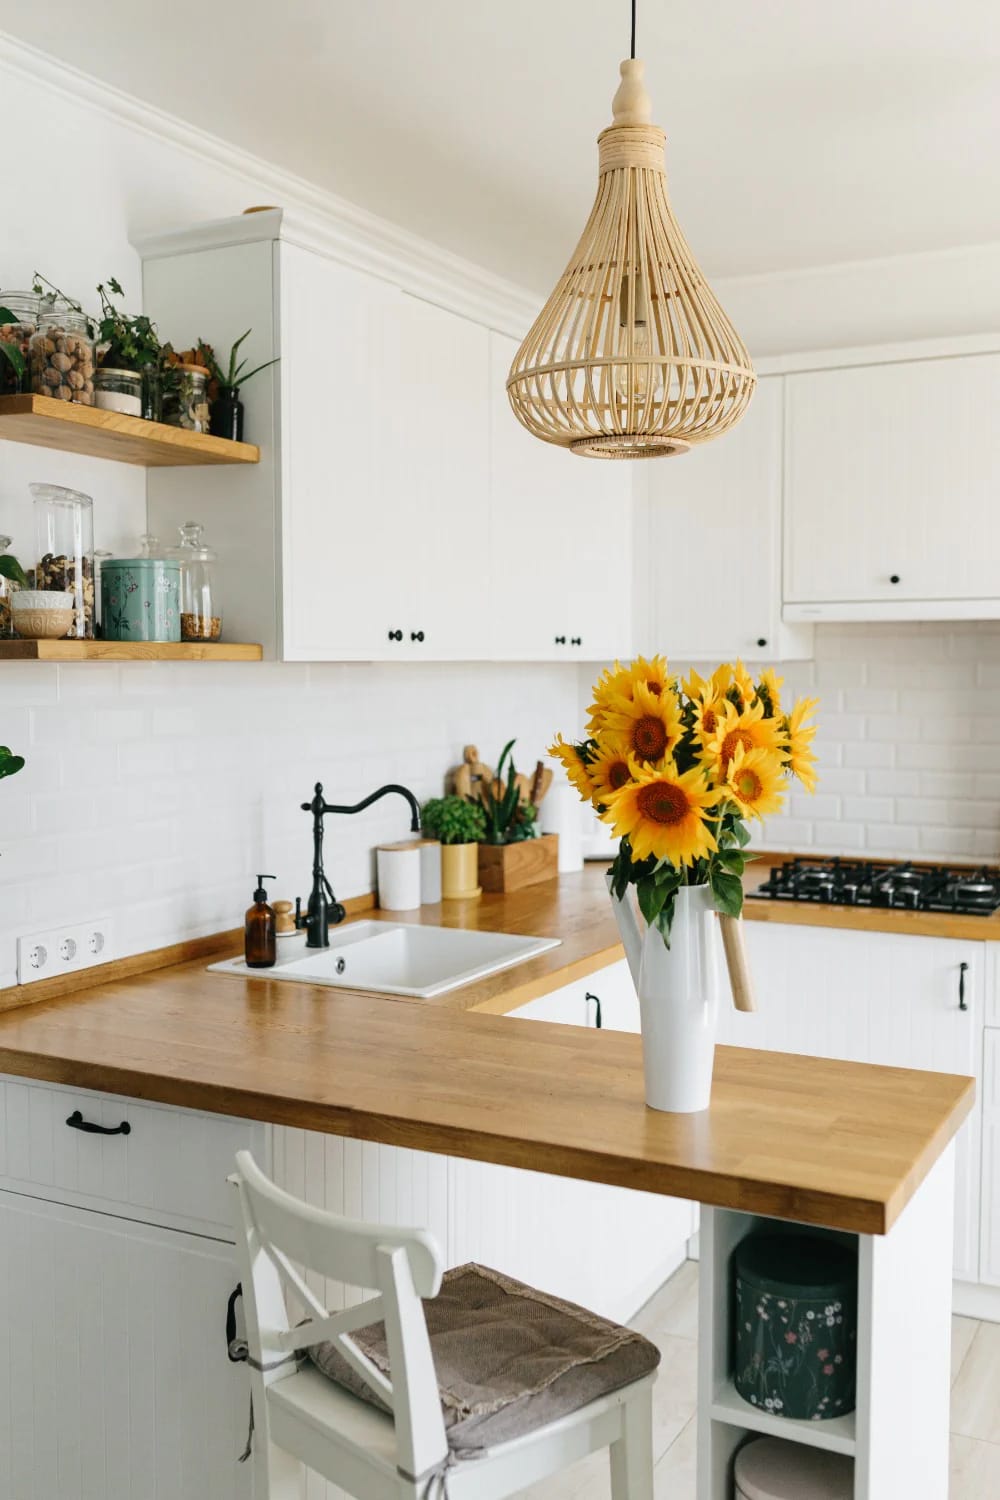
Resist the drawer bank under the table end. Knee space and storage want the same 15 to 18 inches, and only one of them can have it. An open base also makes the whole thing read as furniture rather than as cabinetry that grew, and it gives you somewhere to push chairs fully in. If storage is the pressure point, take it out of the island’s cooking half instead, which is where giving every object somewhere to go actually pays off.
11. Paint the base, keep the top in timber
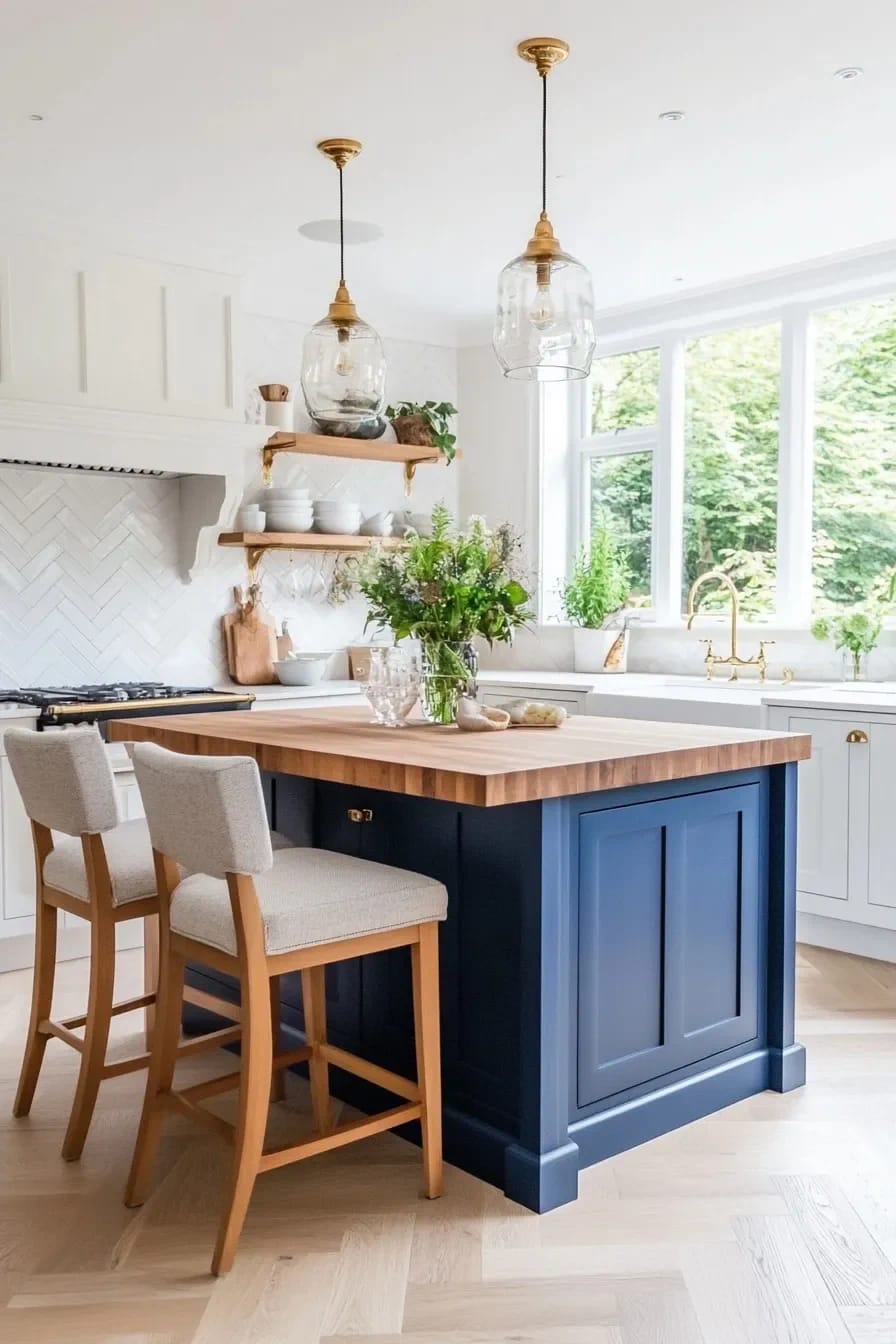
Two-tone is the cheapest way to make a fitted combination look like two pieces of furniture rather than one long slab of joinery. A base in something deep, Farrow & Ball's Green Smoke or a muddy clay, under an oiled oak top puts the weight low and stops the whole assembly from bulking out in the middle of the room.
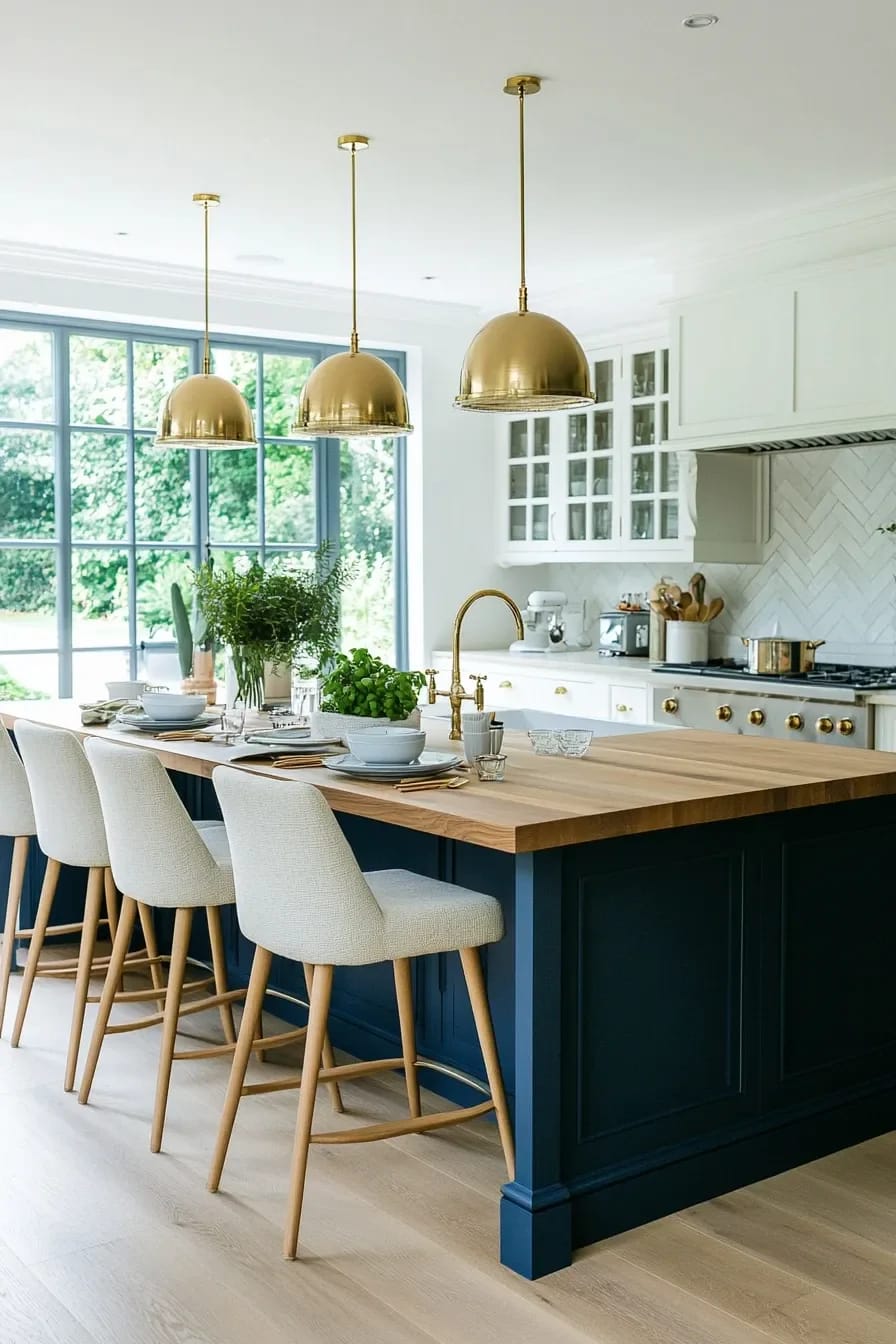
One caution about the colour itself. Deep saturated bases photograph beautifully and mark visibly at shin height, where chair legs and shoes hit them, so specify an eggshell or satin rather than a flat finish on the plinth and the end panels. Warm neutrals hide this better than cool greys do, which is part of why kitchens have swung from cool grey to warm putty over the last few years.
Match the timber on the dining end to the floor and the two disappear into each other; contrast it, and the table end reads as a separate object, which is usually what you wanted when you started drawing this thing.
Related Posts
- 26 Genius Kitchen Island Ideas: Style and Functionality
- 20 Farmhouse Kitchen Island Designs to Inspire You
- 15 Rustic Kitchen and Living Room Combos for Modern Homes
- 12 Japandi Kitchen Design Ideas That Survive Actual Cooking
- 15 Unique Winter Tablescapes to Transform Your Dining Room
- 23 Christmas Kitchen Island Decor Ideas That Bring Instant Holiday Charm