
A floor plan is a horizontal slice through the house taken roughly four feet above the finished floor, drawn at a stated scale, and it will answer nearly every question you have about how the building works if you read it in the right order: title block, walls, openings, dimension strings, circulation. Room labels come last, because they are the least reliable thing on the sheet. What follows is that order, plus the seven or eight places where a drawing quietly misleads people who read it like a picture.
Two things this does not cover. Structural and mechanical sheets carry their own symbol sets and their own conventions, and they deserve their own reading. And the coloured plan images on listing sites are not the drawing: someone redrew them for marketing, usually without the dimension strings, sometimes without the door swings. Treat those as a sketch of the real sheet.

How do you read a floor plan?
How do you read a floor plan: confirm the scale printed in the title block, then read wall thicknesses to separate exterior structure from interior partitions, then the door swings and window symbols, then the dimension strings, and only then the room labels, which are rounded and occasionally optimistic.
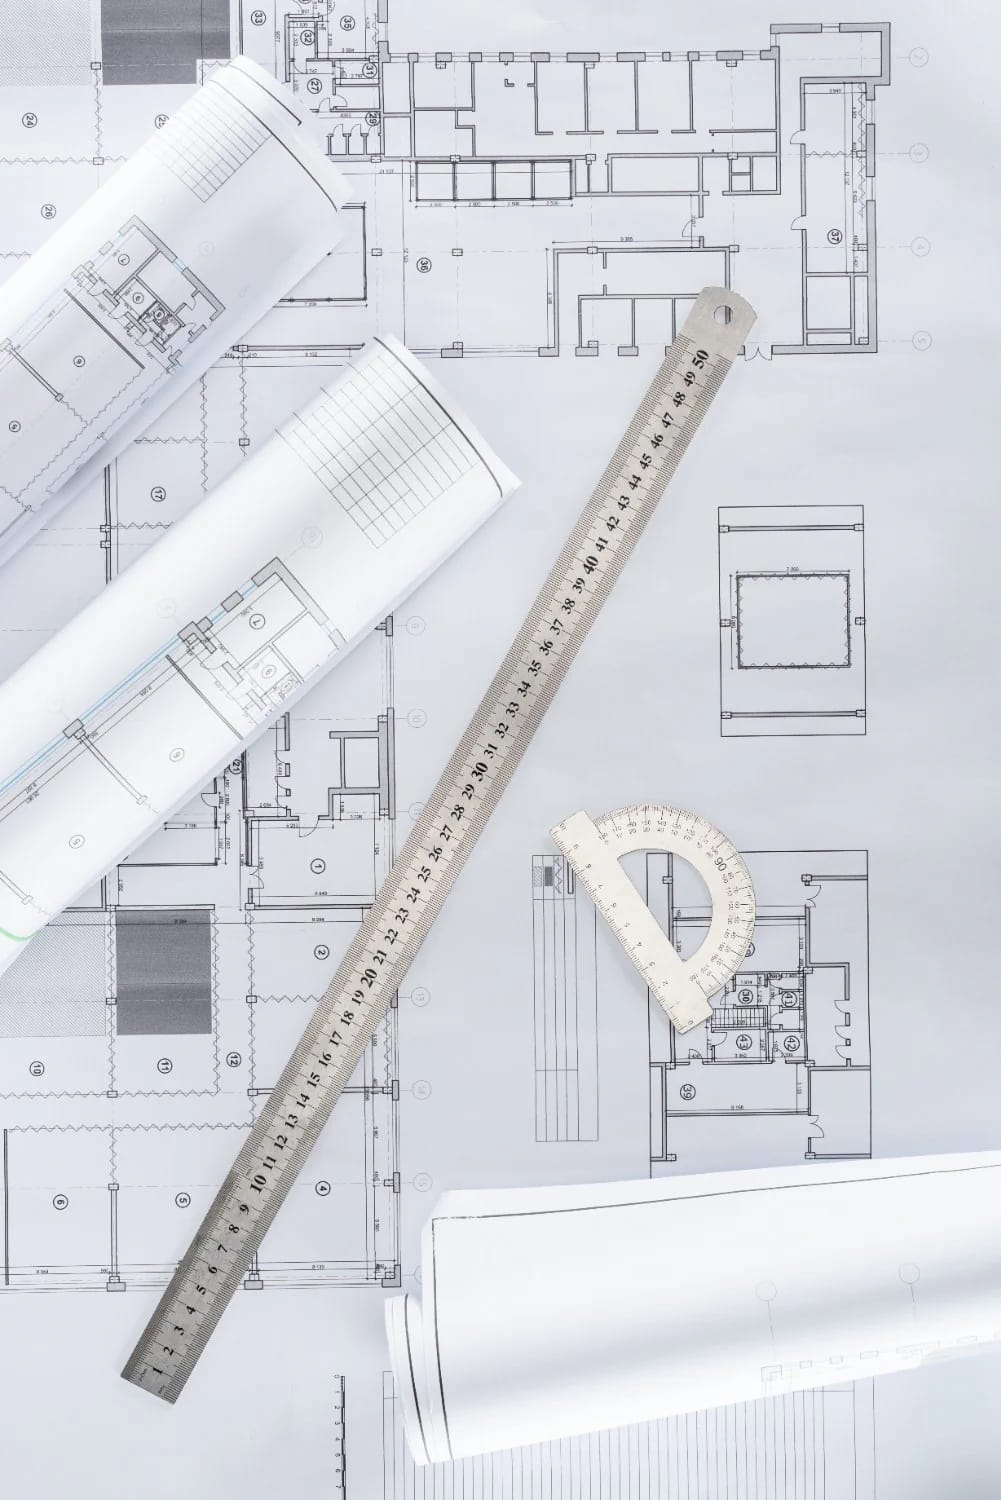
Start in the title block, not in the kitchen
The bottom right corner of the sheet carries the four facts that govern everything else: the drawing scale, the sheet number and total count, the revision date, and the north arrow. Read those before you look at a single room. A plan set with sheet A2 of 11 in your hand and no A3 means you are reading one floor of a house and drawing conclusions about the whole thing, which is a common way to buy a stair you did not want. The revision date matters for the same reason: plans get revised after somebody catches a bearing wall in the wrong place, and the PDF circulating in your email is often two revisions behind the one the builder is pricing.
The north arrow is the fact people skip, and it is the one that decides whether your kitchen window faces the afternoon sun or a neighbour’s garage wall. Plans are drawn with north wherever it suits the page, not up. If you are working out how a given plan sits on ground you already own, the orientation question is worth settling before you fall for the elevation drawings, because flipping a plan to fix solar exposure moves the garage, the driveway and every plumbing run with it.
Also check what the set actually contains. A full construction set runs foundation, floor plans, elevations, sections, details, electrical, and a schedule or two; a marketing PDF runs one page. The difference between those two documents is the difference between something a builder can price and something you can pin, and it is worth knowing which one you are holding.
What you need on the table
Almost nothing, and most of it is already in a drawer. The one purchase worth making is the architect's scale, because the alternative (converting fractions of an inch on a tape measure) introduces errors exactly where accuracy matters.
Materials
- A full-size print of the plan at its stated scale, one sheet per floor. Free if you own a printer that handles the sheet size, otherwise $1 to $4 per D-size sheet at a copy shop.
- Blue painter’s tape, one inch wide, one roll. $5 to $9.
- Highlighters, three colours. You will use all three. $4 to $9.
- Tracing paper or a roll of butcher paper for overlays. Optional. $6 to $14.
Tools
- Triangular architect’s scale, 12 inch, imperial. $8 to $20.
- Tape measure, 25 foot, one inch blade. $12 to $30.
- Mechanical pencil, 0.5 mm, because a pen on a plan sheet is a decision you cannot take back. $3 to $8.
Materials come to roughly $11 to $36 depending on whether you print and whether you bother with the overlay paper; tools to roughly $23 to $58. Buying every line above from scratch lands somewhere near $34 to $94, and most people already own the tape and the pencil, which puts the real outlay under twenty dollars.

Wall thickness is the first real information on the sheet
Thick walls are exterior, thin walls are partitions, and the difference between them is where the money and the structure live. On a competent residential drawing, an exterior wall framed in 2×6 draws out around 6.5 to 7 inches once sheathing and drywall are counted, while an interior 2×4 partition draws around 4.5 inches. That contrast is doing real work: it tells you which lines you can move for the price of a framing crew's afternoon and which ones carry roof load down to the foundation.
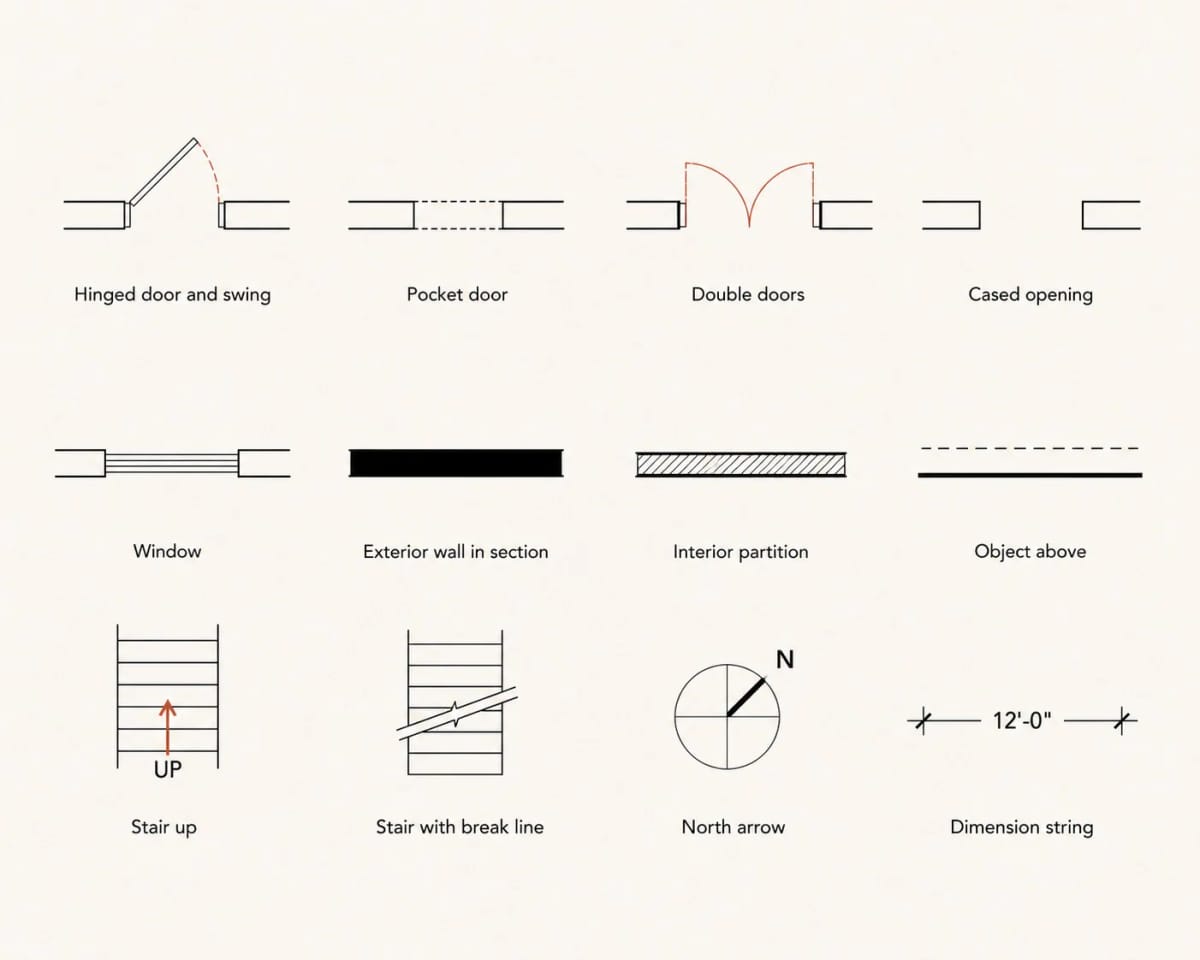
Walls cut by the slice are usually filled solid black or hatched, a convention called poché. Anything drawn in a lighter or dashed line is not in the slice: it is above you or below you. Beginners read a dashed rectangle in the middle of a great room as a rug or a change in flooring. It is almost always a beam, a ceiling drop, or the edge of a loft.
Now count the corners. Every jog in an exterior wall is another inside corner and another outside corner to frame, flash, insulate and side, and a plan with fourteen exterior corners costs meaningfully more to build than a plan with eight that encloses the same area. This is the single most legible cost signal on a floor plan and it is visible in two seconds, which is why it belongs near the front of any reading; the longer version of that argument, with the other cost drivers hiding in plan geometry, is worth reading before you compare two plans on price per square foot.
A plan where every single wall is drawn at the same thickness is not telling you anything. Some CAD templates default every wall to a flat 4 inches regardless of what it is framed in, and marketing redraws do it routinely. If exterior and interior walls look identical on the page, the drawing has lost the distinction, not the house. Go to the wall schedule or the sections, and if neither exists, stop treating that sheet as a source of structural information.
Door swings and window symbols cost you floor area
The quarter circle at every doorway is the door's swing, and it is a claim on floor you cannot furnish. A 3 foot door sweeps about seven square feet of the room it opens into. Two of them opening into the same corner of a hallway is a collision, and it is visible on the plan before anyone frames anything. Look at which side of the wall the leaf sits on: a bedroom door swinging into the room takes the wall behind it out of play for a dresser, and a bathroom door swinging in over a toilet is a plan that has never been used.
Pocket doors show as a dashed rectangle buried inside the wall, and they matter for a reason the drawing does not state: nothing else can occupy that wall cavity, so the light switch, the outlet and any plumbing all have to go somewhere else. Cased openings appear as a plain gap with no arc and no leaf. Double doors show two mirrored arcs.
Windows read as three thin parallel lines in the wall thickness. What the plan will not tell you is whether the window opens, which is why the window schedule exists, and it is where you check the one thing with legal weight: every sleeping room needs an emergency escape opening with at least 5.7 square feet of net clear opening, a minimum clear height of 24 inches, a minimum clear width of 20 inches, and a sill no higher than 44 inches above the floor. Those four have to be satisfied at once, in the open position. A wide, short awning window over a bed can meet the area and fail the height, and a bedroom that fails that test is a bedroom the appraiser calls a den.
Turning drawing inches into real feet
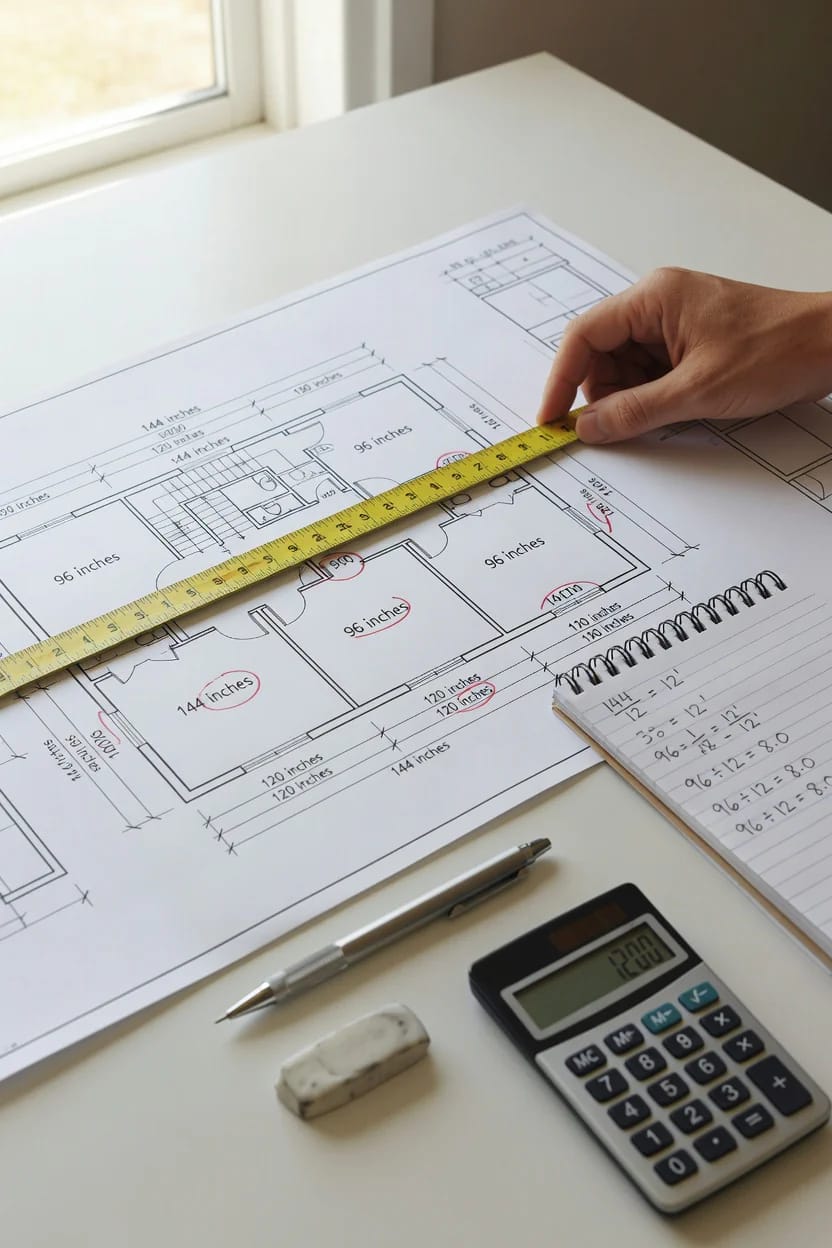
Confirm the scale against a dimension you can read before you measure anything. Residential floor plans are drawn at 1/4 inch to the foot; site and plot plans drop to 1/8 inch; construction details climb to 1/2 inch or larger. Metric sets use 1:50 for floor plans and 1:100 for site plans, so one centimetre on the page is half a metre on the ground. The check takes ten seconds: find a wall with a written dimension, measure it with the scale, and see whether the two agree.
Then use the scale the way it is built to be used. Lay the 1/4 edge along the wall with the zero at one end and read straight off; there is no arithmetic, which is the whole point of owning one. If you would rather work from a photo of the sheet on your phone, the calculator below does the same job from an ordinary ruler measurement.
Drawing inches to real feet
First wall, real length
Second wall, real length
Approximate floor area
Rounded to the nearest inch and the nearest square foot, and an estimate in every case. A sheet sent to the printer with “fit to page” is no longer at its stated scale, and a written dimension always outranks anything measured off paper.
Print dialogs default to shrinking a sheet to fit the paper, usually to somewhere between 94 and 97 percent. Every measurement taken off that print is short by the same fraction, which reads as a room three inches smaller than it is and a house that seems to lose a few square feet. Print at 100 percent with scaling off, then verify against a written dimension before you trust anything you measure.
Dimension strings, and what they measure to
The written dimensions outrank the geometry, always. Most sets carry a general note reading "do not scale drawings" for exactly this reason: line work drifts in printing and in CAD, but the number typed on the string is what the framer builds to. When a scaled measurement and a written dimension disagree, the written dimension wins and the discrepancy is a question for the designer.
Where those strings measure to is the part nobody explains. Most residential sets dimension to the face of the stud, with door and window locations given to their centrelines, which means the numbers describe framing and not the finished room you will stand in. Add half an inch of drywall on each face and a room dimensioned at 12 feet 0 inches finishes at about 11 feet 11 inches. Some drafters dimension to finish faces instead, and some CAD packages draw every wall 4 inches thick whatever it contains, so the honest answer is that there is no universal convention and it should be stated in the general notes. If it is not stated, that absence is itself a quality signal about the set.
Read the strings in layers. The outermost string gives overall building width, the next gives the major bay divisions, the innermost locates individual partitions and openings. Add each inner string across and it should equal the outer one; when it does not, someone changed a wall and did not update the total. Room labels sit outside this system entirely: “13-0 x 15-6” printed under BEDROOM 2 is rounded, usually to finish faces, and it is the number that flatters. Square footage totals deserve the same suspicion, since heated area, garage and covered porch get counted differently by different vendors, and it is worth knowing how much of that total you actually need before you compare two plans by it.
Stairs, dashed lines, and what is happening overhead
Count the risers. A stair marked 14R at 7.5 inches climbs 105 inches, which puts the floor above roughly 8 feet 9 inches up, and that single arithmetic step tells you more about the section of the house than the elevation drawing will. The diagonal line cutting across the treads is a break line: it marks where the slice passed through the flight, and the treads drawn beyond it belong to the floor above.
UP and DN are written relative to the floor you are looking at, so the same stair appears twice in a two-storey set, labelled in opposite directions. Check the code minimums against what is drawn: 36 inches clear width, 6 feet 8 inches of headroom measured off the tread nosings, risers no taller than 7.75 inches and treads no shallower than 10 inches. A winder stair squeezed into a 34 inch shaft is a plan that has not been checked.
Walk the plan before you fall for it
Put a finger on the front door and trace four trips you will actually take. Groceries from the car to the refrigerator, counting doors and corners. A laundry basket from the bedrooms to the machine. A guest from the entry to the powder room, noting whether that route passes an open bedroom door. And the sightline from the front door, because in a lot of open plans it terminates on a toilet.
Circulation is the part of a house nobody draws and everybody lives in. Hallways are the honest version, since they are visible and countable; the expensive version is circulation running through rooms, where the path from the garage to the kitchen crosses the dining table and the dining table is therefore never usable. Both arrangements have defenders, and the tradeoff between them is less settled than either camp claims.
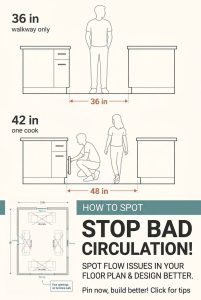 How to Spot Bad Circulation in a Floor Plan Nine circulation failures that sit in plain view on the sheet once you know their shapes.
The clearances the drawing will not defend
A floor plan will happily draw a kitchen that fails every planning guideline in the trade, and nothing on the sheet will flag it. The numbers below are what you check by hand, with the scale, before you like a plan.
In the kitchen, the NKBA planning guidelines put a work aisle at 42 inches minimum for one cook and 48 for two, measured between counter fronts, tall cabinets or appliances. A walkway that is only a passage through wants 36 inches. The dishwasher belongs within 36 inches of the sink with 21 inches of standing room in front of it, and the refrigerator needs 15 inches of landing surface on the handle side. Work triangle legs run 4 to 9 feet each with a total under 26 feet. Measure the island gap on the plan first: a 40 inch aisle looks identical to a 48 inch aisle at quarter-inch scale, and one of them is a kitchen two people can cook in.
Elsewhere the code sets the floor rather than the target. Hallways and stairs need 36 inches of clear width. Habitable rooms and hallways need a 7 foot ceiling, while bathrooms, toilet rooms and laundry rooms are allowed 6 feet 8 inches, and a habitable room has to be at least 70 square feet. These are minimums, not recommendations, and a plan that sits exactly on several of them at once is telling you where the designer ran out of room.
A bedroom labelled 11′-6″ x 12′-0″
King bed 76 x 80 inches, two nightstands at 22 inches wide.
Head the bed against the 11 foot 6 inch wall and the arithmetic is unforgiving: 138 inches of wall, minus 76 for the bed and 44 for two nightstands, leaves 18 inches split between both sides. Nine inches of gap at the head of the bed on each side, in a room the label calls a king bedroom.
Drop to a queen and one nightstand and the same wall gives you 82 inches of furniture and 56 inches of clear floor on the other side, which is where the door swing and a dresser have to live. That is the honest reading of this room, and you get to it in ninety seconds with a scale and a pencil, long before anybody pours a footing.
Tape the room out on your own floor
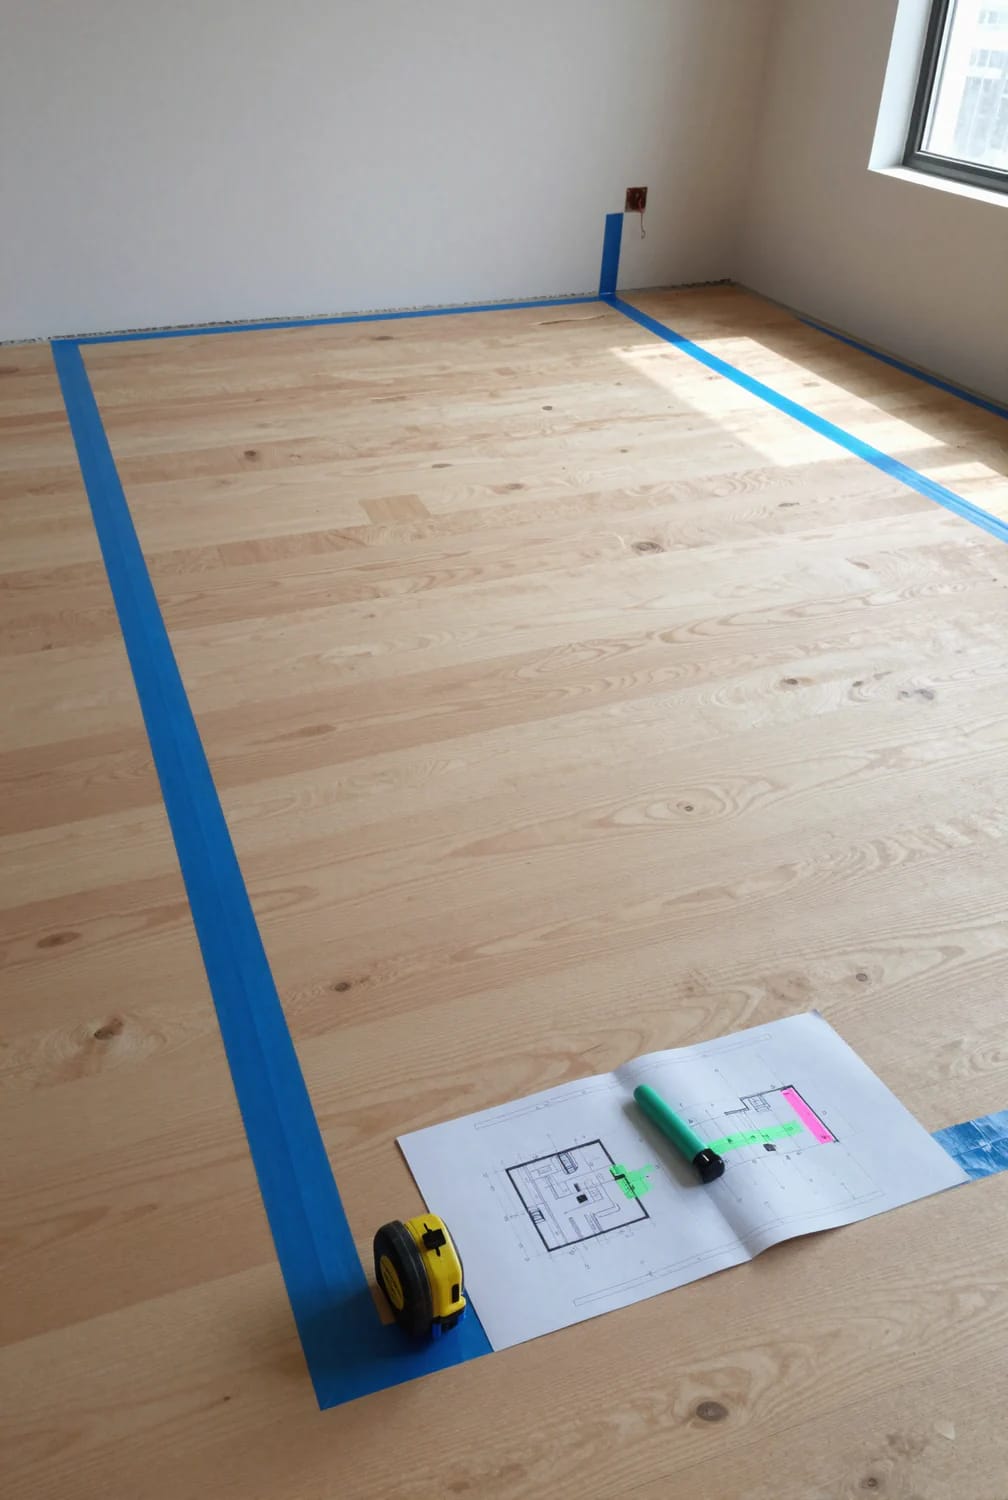
The last step happens off the paper, because nobody has spatial intuition for 138 inches and everybody has intuition for standing in it. Take the two or three rooms you are least sure about and mark them out full size, in a garage, a driveway, an empty room, anywhere with a flat surface and 12 feet of run.
- Mark up the sheet first. Highlight the room outline in one colour, the door swings in a second, the circulation route through the space in a third. Write the two governing dimensions in the middle in pencil.
- Tape the perimeter. Measure from your tape measure, not from the plan, working off the dimensions you just wrote. Keep the tape lines unbroken at corners.
- Add the door swing. Mark the opening, then step off the arc: for a 3 foot door, a quarter circle three feet out from the hinge.
- Put furniture in it. Actual furniture if you have it, cardboard rectangles cut to size if you do not. A dining chair pulled out needs about 36 inches behind it.
- Stand where you would work. In the kitchen aisle, at the foot of the bed, in the doorway you would carry laundry through.
Give this two sessions rather than one. Read and mark the sheet in the evening, when you have the patience to add dimension strings and find the discrepancies; tape out the following day, when the marked-up plan tells you exactly what to measure. Then leave the tape down for 48 hours and walk through it a few times before you decide anything, because the first impression of a taped rectangle is almost always wrong in the direction of “that seems small”. If the tape tells you a room needs another two feet, that is the moment to price the change, and whether the plan is stock or drawn for you changes what that modification costs.
Related Posts
- How to Spot Bad Circulation in a Floor Plan
- Buying House Plans Online: What You Actually Get
- Modern Farmhouse Floor Plans: What Actually Defines Them
- What Makes a Floor Plan Expensive to Build
- Open Concept vs Closed Floor Plan: What You Actually Live With
- 19 Interior Styles You May Never Have Heard Of, But Designers Keep Borrowing From